

The first step in addressing issues with the unloader component is to ensure proper safety precautions are taken. Disconnect the machine from the power source and relieve any built-up pressure in the system by activating the trigger on the gun. This will prevent any accidental discharges during maintenance.
Inspect the unloader system for any visible signs of wear or damage. Common problems include leaks or improper functioning, which can disrupt the flow of water. Disassemble the unit carefully, taking note of how each part fits together. Keeping everything organised will save time during reassembly.
Once disassembled, clean any debris or mineral deposits that may have accumulated. A soft brush or compressed air can be effective for removing obstructions. Replace any worn or damaged components, ensuring you select the exact replacements to maintain compatibility with your model.
Reassemble the unit according to your notes, ensuring all seals are correctly positioned. Once everything is back in place, reconnect the machine and test it under low pressure before moving to a full operation. This precaution allows you to identify any remaining issues swiftly.
Repairing the Unloader Mechanism in Cleaning Units
First, disconnect the unit from the power source and water supply. Release any remaining pressure by pulling the trigger on the gun. This ensures safety while you work. Next, access the unloader assembly, typically located near the pump. You may need to remove protective covers or other components to reach it effectively.
Identifying Issues
Check for visible wear or damage on the internal components. Look for signs of leakage or corrosion, which can indicate that parts need replacing. A malfunctioning mechanism often causes inconsistent pressure; if you notice fluctuations, it may be time to assess this component closely. Ensure that all springs and seals are intact, as these are critical for proper operation.
Replacing Components
If you find any damaged parts, procure suitable replacements from a trusted supplier. Before installing new components, clean the area thoroughly to prevent debris from causing future issues. Carefully follow the manufacturer’s instructions for assembly, ensuring all parts fit snugly. After reassembly, test the functionality by reconnecting the supply and running the machine at low pressure first, gradually increasing to full power.
Identifying Symptoms of a Faulty Unloader Valve
Recognising malfunctioning components in cleaning equipment is crucial. For the unloader mechanism, keep an eye out for inconsistent water pressure; this usually indicates an issue. If the water flow is inconsistent, fluctuating between high and low, or if it suddenly stops, that’s a clear sign of problems in this area. Check for leaks at the connections; persistent dripping can suggest that seals or fittings are compromised.
Unusual Sounds
Listen closely during use. Strange noises such as constant buzzing or chattering while engaging the trigger may indicate internal faults. Ideally, the system should operate quietly and smoothly. If you notice any grinding or rattling sounds, consider it a signal that something is amiss within the mechanism.
Overheating Issues
Monitor for overheating during operation. If the equipment becomes excessively hot to the touch or emits steam, this could signify that the control assembly isn’t functioning properly, potentially leading to further damage. Provide quick attention to this matter to prevent further complications.
Gathering Necessary Tools and Replacement Parts
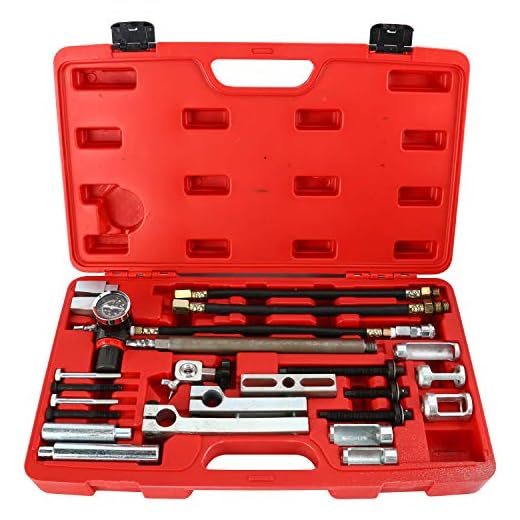
Begin with assembling the following tools:
- Socket set: A variety of sizes ensures fitting various nuts and bolts.
- Wrench set: For loosening and tightening fasteners securely.
- Screwdriver set: Both Phillips and flat-head for different screw types.
- Tape measure: Useful for assessing dimensions when replacing components.
- Pliers: Needle-nose and regular will aid in gripping and bending.
- Drain pan: To catch fluids, preventing mess during the process.
In terms of replacement components, consider these:
- New assembly unit: Ensure it matches the specifications of your model.
- Seal kit: Includes necessary O-rings and gaskets to prevent leaks.
- Spring: A crucial component, check for proper tension and condition.
- Plunger: May need replacement if worn down or damaged.
Ensure all replacements are compatible with your equipment before purchasing. Consulting the user manual can provide specific details on required parts.
Source Quality Parts
Acquire parts from authorized dealers or trusted online retailers. This helps avoid counterfeit items that could cause further issues.
Check Availability
Before starting, confirm that all necessary items are on hand to streamline the task and prevent interruptions. A well-prepared workspace aids in efficiency.
Disassembling the Pressure Washer for Unloader Access
Begin by disconnecting the power source to avoid any accidental activation. Remove the hoses attached to the unit, and use a wrench to detach the water inlet and outlet connections carefully. It’s essential to have a container ready to catch any residual water left in the system.
Accessing the Critical Components
Next, locate the housing cover, which may require a screwdriver or socket set. As you remove the screws or bolts, place them in a safe location to prevent loss. Gently lift the cover to reveal the internal components. Be cautious with any springs or pressure assemblies that may be under tension.
Locating the Component of Interest
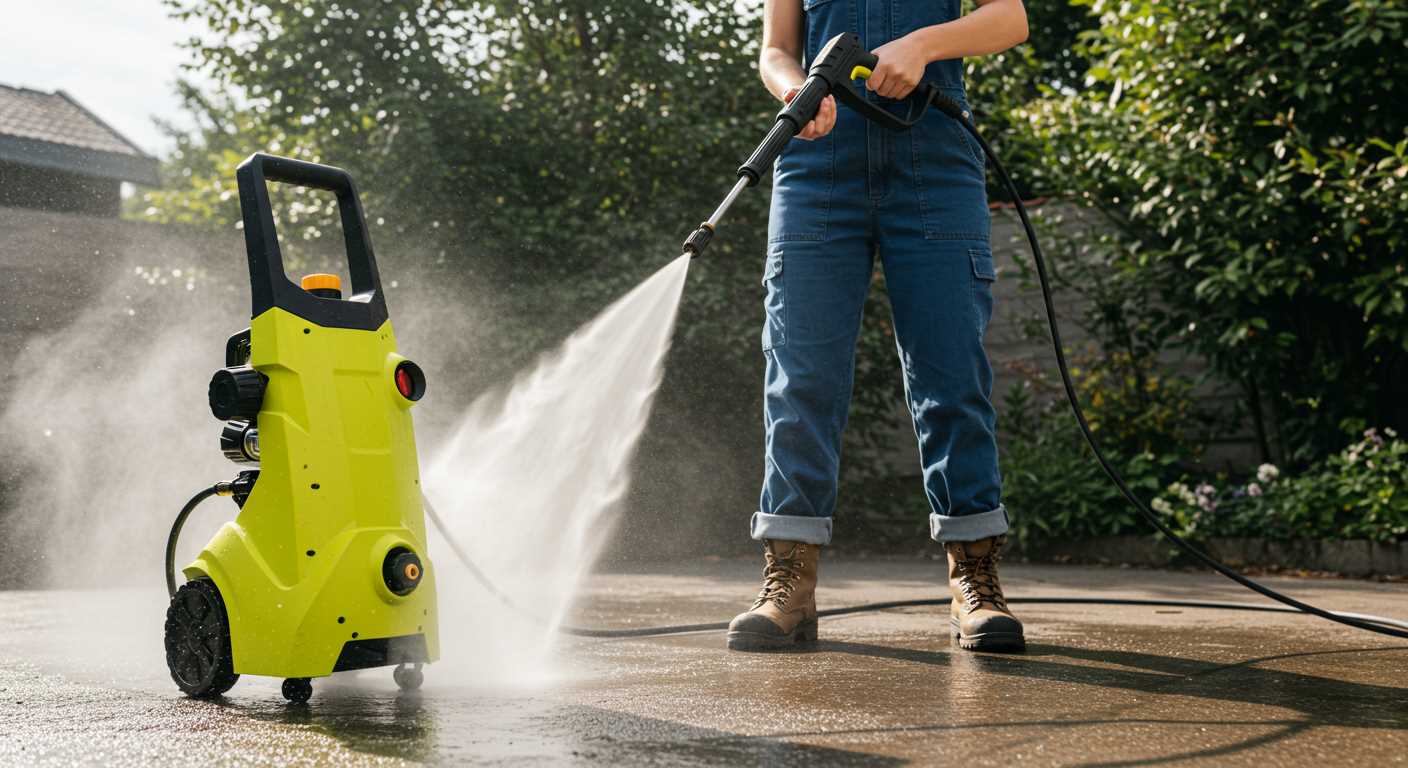
Within the assembly, identify the part responsible for regulating pressure. It is often positioned adjacent to the pump. Pay attention to the orientation of any components as you detach them to ensure proper reassembly. Take photographs during the disassembly process to serve as a handy reference.
Examining and Cleaning the Unloader Valve Components
Begin by removing any debris or dirt from the accessible areas of the assembly. Pay close attention to the passageways and seating surfaces, as build-up can impede functionality. A soft brush or cloth can effectively remove loose particles.
Inspecting Individual Elements
Next, take each component apart for a thorough evaluation. Inspect the spring for signs of wear or corrosion; a damaged spring can affect performance. Check the sealing surfaces for scratches or grooves that may prevent proper sealing. If any component appears compromised, consider replacing it.
Cleaning Procedures
Utilise a mild cleaning solution suitable for metal parts to remove stubborn deposits. Soak the components for a short period, then use a non-abrasive scrub pad to eliminate any remaining residue. Rinse thoroughly to prevent chemical reactions and ensure no cleaning agents remain on the surfaces.
After cleaning, allow all parts to dry completely. Apply a light lubricant to the sealing surfaces to enhance operation and reduce friction when reassembling the parts. Before reinstallation, double-check that all components are free from obstructions and perform smoothly. This attention to detail can significantly enhance the overall performance of the device.
Replacing Worn or Damaged Seals in the Unloader Mechanism
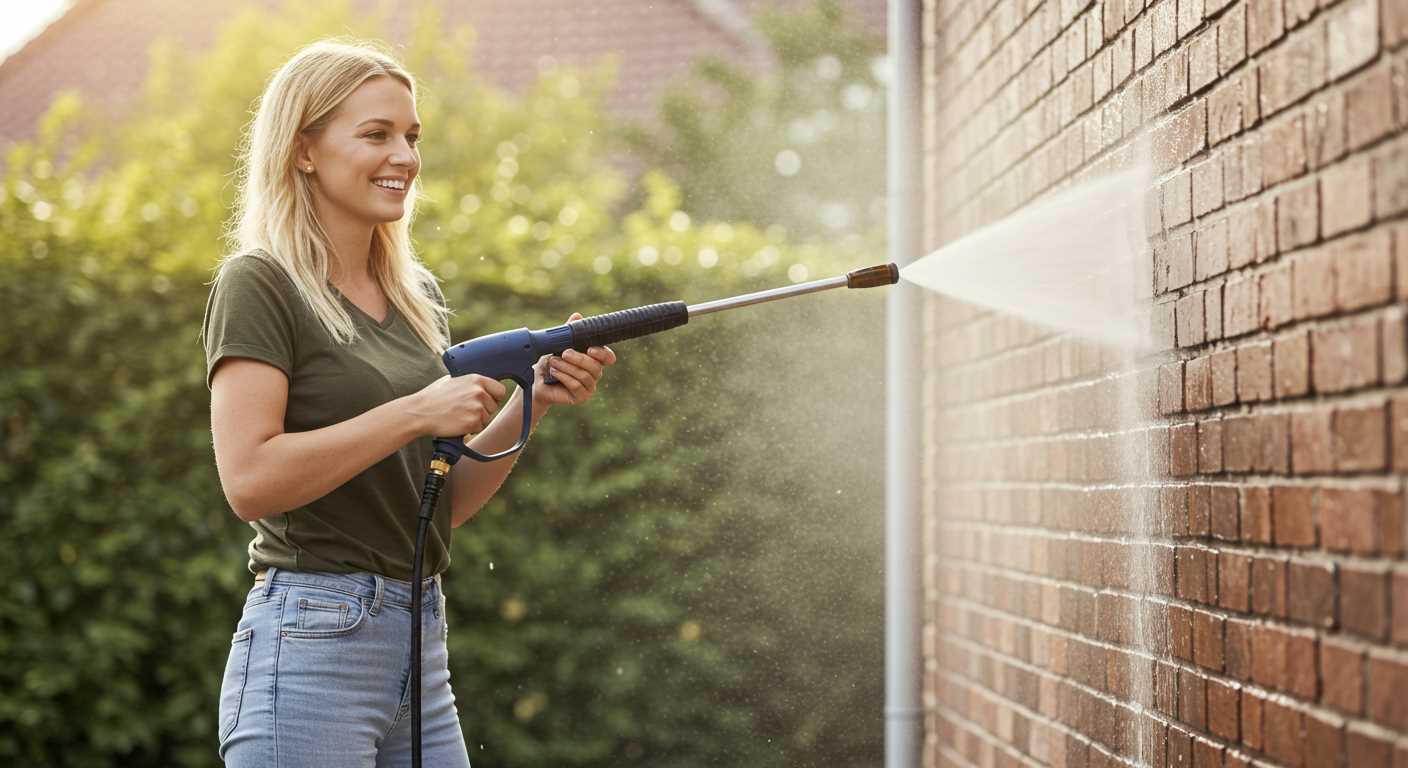
To ensure optimal performance, I recommend replacing any worn or damaged seals within the control device immediately. Begin by obtaining the correct seal kit for your specific equipment model; using mismatched seals can lead to further issues. Carefully remove the old seals, taking note of their placement for accurate reinstallation. Clean the seating areas thoroughly to eliminate any debris or residue, as contaminants can compromise the effectiveness of the new seals.
Install the new seals with precision, ensuring they fit snugly without twisting or bunching. A small amount of silicone grease can aid in achieving a proper seal and facilitate smoother assembly. After securing the covers, check for any visible gaps or misalignments that could indicate improper installation. Once complete, conduct a test run to confirm proper functionality before full operation.
Regular maintenance of these components extends the longevity of the unit and enhances overall performance, reducing the need for more extensive repairs down the line. Pay attention to any signs of wear in the future and replace seals promptly to maintain efficiency.
Reassembling the Equipment After Fixing
Begin by carefully aligning all components in their respective positions, ensuring that the seals are placed properly. Incorrect positioning can lead to leaks or malfunctions.
- Install any new gaskets or O-rings previously acquired to guarantee an airtight seal.
- Secure the assembly using the appropriate fasteners, tightening them in a criss-cross pattern to evenly distribute pressure.
- Reconnect any hoses and fittings you detached earlier, ensuring they are snug but not overly tight to avoid damage.
Once fully reassembled, conduct a visual inspection for any misplaced parts or signs of wear. This step is crucial to avoid future issues.
- Reconnect the nozzle and other attachments, verifying that they are seated properly.
- Fill the tank with clean water before proceeding to test the unit.
Activate the machinery briefly while keeping an eye out for leaks. If any are detected, revisit the assembly to verify the correct placement of each component.
By following these steps meticulously, you can ensure the equipment operates smoothly and efficiently after the maintenance. Finally, store your tools and document any observations for future reference, enhancing your knowledge for subsequent tasks.
Testing the Unloader Functionality Post-Repair
Once the components are reassembled, it’s critical to verify that everything is functioning as it should. Begin by connecting the unit to a water source without engaging the motor. This allows for an initial visual check for any leaks around the reassembled areas. If water is escaping, disassemble again and ensure all parts are seated properly.
Next, activate the motor. Carefully observe the operation; listen for any unusual sounds which may indicate internal issues. The ideal scenario is a steady flow of water without pulsing or excessive vibration. If everything seems normal, proceed to the next step.
Engage the trigger of the wand and monitor the system. The output should be consistent, and water should not spray erratically. If you notice fluctuations, shut down the unit immediately and reassess the alignment and mounting of the components.
To ensure comprehensive testing, adjust the nozzle settings while operating the equipment. This can help identify if the adjustment mechanism is functioning properly. Each nozzle type should show a significantly different pattern of water dispersion without obstruction.
Once satisfied with the functionality during these tests, allow the machine to run idle for a few minutes. Maintain observation for any signs of overheating or strange sounds that could imply lingering issues. It’s advisable to monitor the pressure reading if the model is equipped with a gauge.
| Test Step | Description | Expected Result |
|---|---|---|
| Leak Test | Check for leaks on assembly | No water escapes |
| Power On | Activate without nozzle | Steady, smooth operation |
| Trigger Engagement | Engage wand trigger | Consistent flow without pulsing |
| Nozzle Functionality | Test different nozzle settings | Distinct water patterns |
| Idle Observation | Run without engagement | No overheating or strange sounds |
For best results, document the outcomes of these tests. If any unexpected behaviour occurs, refer to the troubleshooting section for guidance. Accurate logging may assist in resolving recurring issues or facilitate future maintenance efforts.


