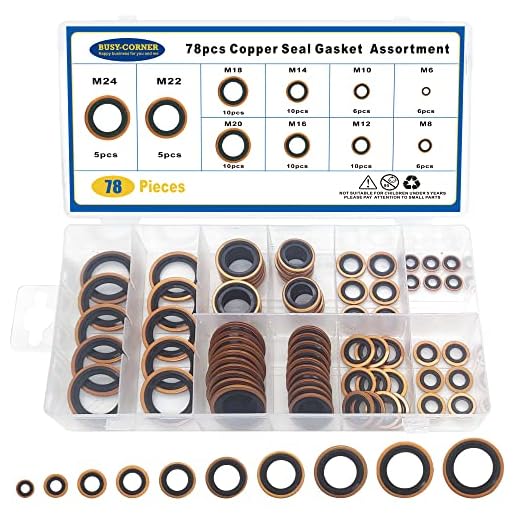


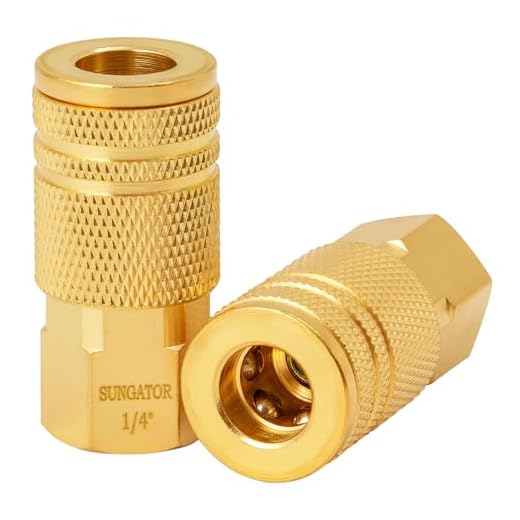
One effective step to consider is checking the intake filter for clogs. Remove the filter and ensure it’s clean, as debris can significantly hinder performance. Next, inspect the seals and O-rings for wear and tear; replacing damaged components can restore functionality.
Pay attention to any unusual noises from the motor. If you hear grinding or rattling, it may indicate a misalignment or damaged bearings. Address this by disassembling the unit carefully and checking for any worn parts that need replacement.
Don’t overlook the possibility of air leaks. Tighten all connections where hoses attach to the unit. A simple tightening can resolve issues with pressure loss that often occur due to loose fittings.
After completing these checks, run the equipment to ensure that water flows smoothly. Perform regular maintenance checks to prolong the lifespan of your cleaning apparatus. Keeping it in optimal condition can save you time and money in repairs down the line.
Repairing the High-Pressure Cleaning Apparatus
Begin with disconnecting the unit from the power source and ensuring all residual fluid has been drained. Inspect the seals and O-rings; these components often wear out, causing leaks. Replace any that appear cracked or compromised. This simple step can resolve many issues related to water loss during operation.
Check the inlet filter for clogs. Debris can prevent optimal operation, so carefully remove and clean it. Make sure to rinse thoroughly and reinstall securely. A clean filter ensures steady flow and reduces strain on the motor.
Examine the valves for any signs of damage or blockage. If you’ve noticed reduced pressure or a pulsing spray, there might be a problem here. To address this, disassemble the valve assembly. Clean the parts with a suitable solvent and replace any that show wear. Proper valve function is crucial for maintaining a consistent output.
Inspect the bypass system. A malfunction can lead to overheating or erratic performance. Ensure that the entire bypass mechanism is functioning correctly and there are no obstructions. Adjust or repair any faulty components to ensure fluid returns properly.
| Component | Common Issues | Action Required |
|---|---|---|
| Seals/O-rings | Leaks | Replace damaged parts |
| Inlet Filter | Low flow | Clean or replace |
| Valves | Pulsing spray | Clean and replace worn parts |
| Bypass System | Overheating | Check and clear obstructions |
After addressing these components, test the unit. Reconnect the power and check for any abnormal sounds or leaks during operation. If issues persist, consider consulting the manufacturer’s manual for further diagnostics or seek professional assistance.
Identifying Common Water Pump Issues
Check for a noticeable drop in pressure; this often indicates a blockage somewhere in the system. Inspect the inlet filter and hoses for debris or kinks that could impede flow.
Leaking seals are a common issue. If you notice water dripping from the unit, inspect the pump head and seals for wear. Replacing worn or damaged seals can prevent further leakage and maintain proper operation.
Unusual noises can signal internal problems. Listen for grinding or rattling sounds which may suggest loose components or worn bearings. Addressing these issues early can save you from more extensive damage.
If the motor runs but the device fails to produce water, the problem could lie in the internal check valve. This part ensures water flows in the right direction; a malfunction here can halt operation entirely.
Pay attention to overheating. If the engine becomes excessively warm, it may indicate an undersized pump for the motor, leading to increased wear. Ensure compatibility between components to avoid such issues.
Lastly, erratic spray patterns can mean a clog in the nozzle or an issue with the spray wand. Cleaning or replacing the nozzle often restores the proper spray function.
Required Tools and Materials for Repairs
Gather a reliable set of tools to tackle the task at hand. You will need a socket wrench set that accommodates various bolt sizes to access and tighten or loosen fittings. An adjustable wrench is also helpful for parts that vary in size.
Additional Hand Tools
Having a pair of pliers on hand will assist in gripping and manipulating small components. A flathead and Phillips screwdriver set ensures you can manage screws of different types. A pair of work gloves protects your hands while handling sharp or rough surfaces.
Consumables and Safety Gear
Purchase replacement seals and O-rings specific to your model; these often wear out and cause leaks. A can of lubricant will keep moving parts functioning smoothly. Consider goggles to protect your eyes from debris or fluid splashes during the process. Ensure your workspace is well-lit, as visibility is crucial when working on intricate elements.
Disassembling the Water Device Safely
Ensure the machine is disconnected from any power source. This prevents accidental activation while you work on the components.
Gather the necessary tools: a socket set, screwdrivers, and pliers. Having everything at hand helps streamline the disassembly process.
Place the unit on a clean and spacious work surface. A well-lit area is essential to locate screws and small parts easily.
Begin by removing the outer casing. Typically, this involves loosening screws or bolts situated around the body. Keep these fasteners in a container to avoid losing them.
Next, proceed with the cover removal. Check for any hidden screws, often located under stickers or rubber feet. Gently pry the cover off after all fasteners are removed; forceful actions can damage the casing.
Once the cover is off, identify the internal assembly. Document the arrangement of components with photographs for easier reassembly.
If you notice sealants or gaskets, use a plastic scraper to remove them carefully, avoiding any scratches to the surfaces. This will facilitate effective resealing during reassembly.
As you detach parts, label them systematically. Use zip ties or tape to mark connections and alignments. It’ll save time and spare you from confusion later on.
Pay special attention to any hydraulic seals and valves. Ensure that you don’t damage these components as they are critical for performance.
Finally, review the disassembled components for any visible wear or damage. This step is crucial before moving forward with any corrective actions.
Inspecting Components for Wear and Damage
Begin by visually examining all parts for signs of wear, including cracks, corrosion, and accumulated dirt. Focus on seals and gaskets; any bulging or hardening indicates they need replacement. Inspect the inlet and outlet ports for any debris that may hinder flow.
Check Bearings and Valves
Rotate the bearings to detect unevenness or noise, which often signals deterioration. For valves, operate them manually to ensure they open and close smoothly without resistance. Look for any scoring or scoring marks on the surfaces.
Evaluate Housing Integrity

Assess the housing for signs of leaks or fractures. A compromised outer casing can lead to internal issues, so any noticeable damage requires immediate action. Ensure all bolts and screws are tight; any loose components may contribute to vibrations that can cause further damage over time.
Reassembling the Water Pump Correctly
Ensure each gasket and O-ring is correctly aligned and seated in their respective grooves before bringing components together. This prevents leaks and maintains efficiency.
Step-by-Step Alignment
Begin by placing the intake and outlet fittings in position. Confirm that all screws and bolts are clear of debris and free from damage. Use a torque wrench to tighten fasteners to the manufacturer’s specifications, ensuring a secure yet not over-tightened fit. This helps maintain component integrity.
Testing for Leaks
After reassembly, reconnect all hoses and perform a leak test by running the device briefly. Check around joints and fittings for any signs of water escaping. If issues arise, re-examine the alignment of gaskets and fittings, adjusting as necessary for proper sealing.
Testing the Water Pump After Repair
Before using the equipment again, ensure proper functionality by following these steps to test the unit effectively.
Visual Inspection
- Check for any leaks around the joints and seals.
- Examine hoses for signs of wear or cracks.
- Inspect fittings to confirm they are securely attached.
Functional Test
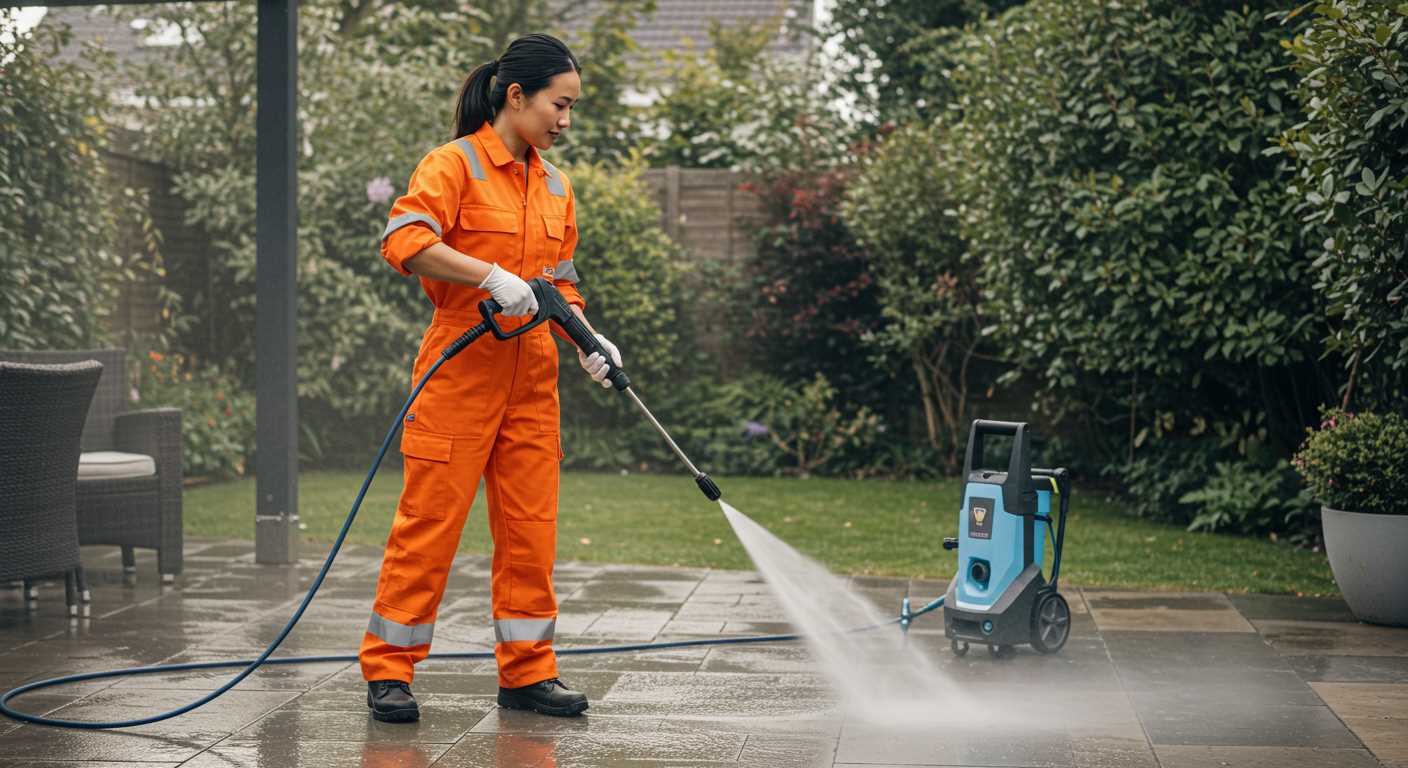
- Connect the unit to a reliable water source.
- Turn on the main switch and observe for vibrations, which indicate working internal components.
- Activate the trigger on the lance to allow water to flow.
- Monitor the pressure gauge; it should read within the expected range.
- Listen for unusual noises that might indicate problems.
After conducting these checks, if everything appears normal, proceed to run the device for a few minutes to confirm steady operation. Should any issues arise during testing, re-evaluate the disassembly and inspection steps.
Following these guidelines will help ensure that the system operates as intended after maintenance tasks. Don’t hesitate to reach out to a professional if you’re uncertain about any results from your tests.
Preventative Maintenance Tips for Longevity
Regularly flushing the system with clean water after each use prevents build-up of dirt and debris, which can lead to blockages. Always ensure that no foreign particles are present in the intake before operation.
Using the correct detergent is crucial. Always refer to the manufacturer’s guidelines regarding chemical use; inappropriate cleaners can corrode components and reduce efficiency.
Storage Practices
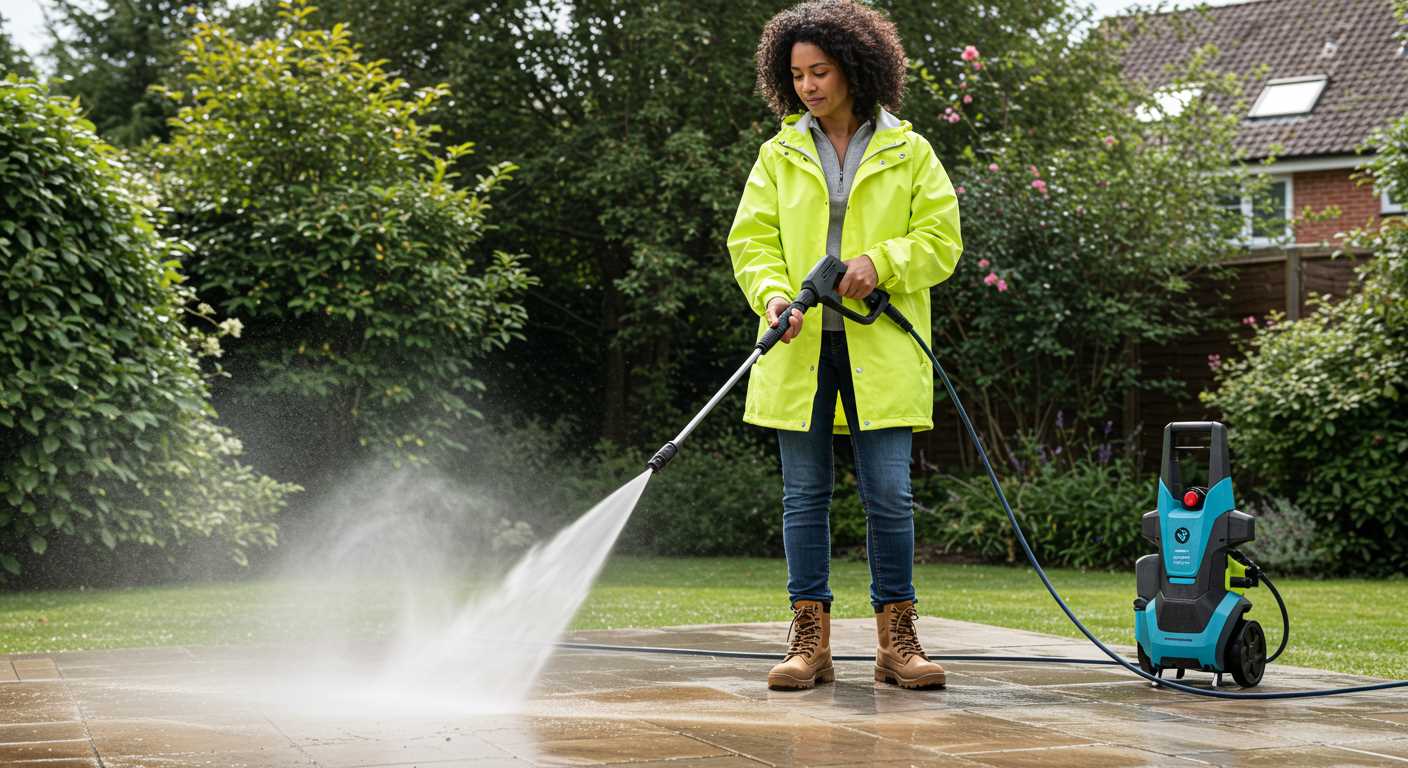
Store equipment in a dry, shaded area, preferably at room temperature. Extreme temperatures can damage seals and other critical parts.
Before long-term storage, drain any remaining liquid from the system. This reduces the risk of residual water freezing and causing cracks or leaks.
Regular Inspections

Inspect seals and gaskets for signs of wear during scheduled check-ups. Replace any damaged parts immediately to avoid more significant issues down the line.
Ensure that all connections are tight and leak-free. Tighten fittings as needed without overtightening, which can lead to further complications.
Lastly, lubricate moving parts according to the manufacturer’s recommendations, maintaining optimal operation and preventing premature wear.
FAQ:
What are the common signs that a pressure washer water pump needs repair?
Common signs that indicate a pressure washer water pump may require repair include leaking water from the pump, reduced pressure during operation, strange noises such as grinding or rattling, and overheating of the pump. If you notice any of these issues, it’s advisable to inspect the pump for damage or wear, as neglecting these signs can lead to more extensive damage.
How can I disassemble and inspect the water pump for issues?
To disassemble the water pump, start by disconnecting the power supply and water source. Remove any screws or bolts securing the pump casing and gently separate the two halves. Once open, visually inspect components like the seals, valves, and impeller for cracks, wear, or blockages. It’s important to clean any debris you find and replace any damaged parts to restore proper functioning.
What tools do I need to repair the pressure washer water pump?
You will typically need a few basic tools for repairing a pressure washer water pump. These may include a socket set or wrenches to remove bolts, a screwdriver set for screws, pliers for gripping parts, and potentially a multimeter to test electrical components. Having replacement seals or gaskets on hand is also essential, alongside cleaning materials like brushes and cloths to maintain cleanliness during the repair process.
Can I fix a pressure washer water pump myself, or should I seek professional help?
Whether you should attempt to repair the pressure washer water pump yourself depends on your comfort level with mechanical repairs. If you have basic mechanical skills and understand the components, you may successfully carry out the repairs. However, if you’re unsure or if the pump requires complex repairs, it’s wise to consult a professional. This can save you time and may prevent further damage to the equipment.


