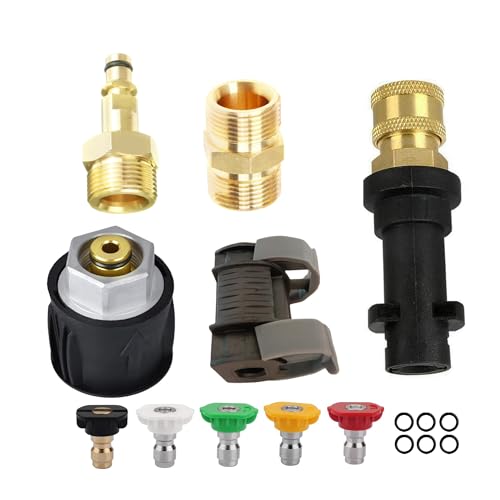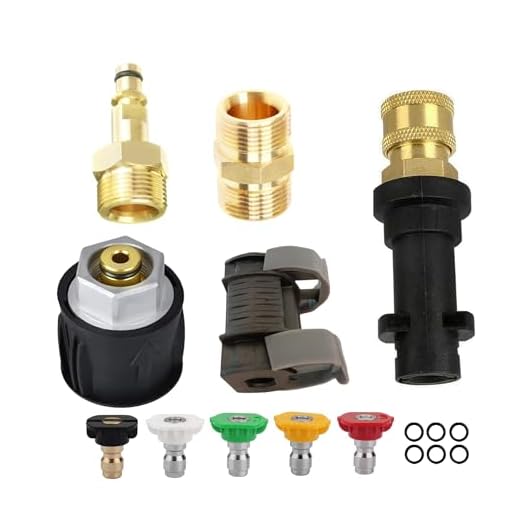


Start with gathering the necessary tools: a flathead screwdriver, pliers, a replacement seal, and some silicone grease. Ensure the cleaner is unplugged and the water supply is turned off before proceeding.
First, access the area where the old seal is located. Detach the relevant pieces, taking care to note their order for reassembly. Use the screwdriver to gently pry out the worn seal. If it’s stuck, grasp it with pliers, but avoid damaging surrounding components.
Before inserting the new seal, clean the groove thoroughly to remove any debris or residue. Apply a thin layer of silicone grease to the new seal to ensure a tight fit and to prolong its lifespan. Insert the new seal, making sure it’s properly seated. Reassemble the parts in the same order you removed them, securing each component snugly.
Finally, reconnect the water supply and power source, then test the unit to confirm that there are no leaks. Regular maintenance of these seals can prevent performance issues and extend the life of your equipment.
Identifying the Correct O Ring Size for Your Karcher Model
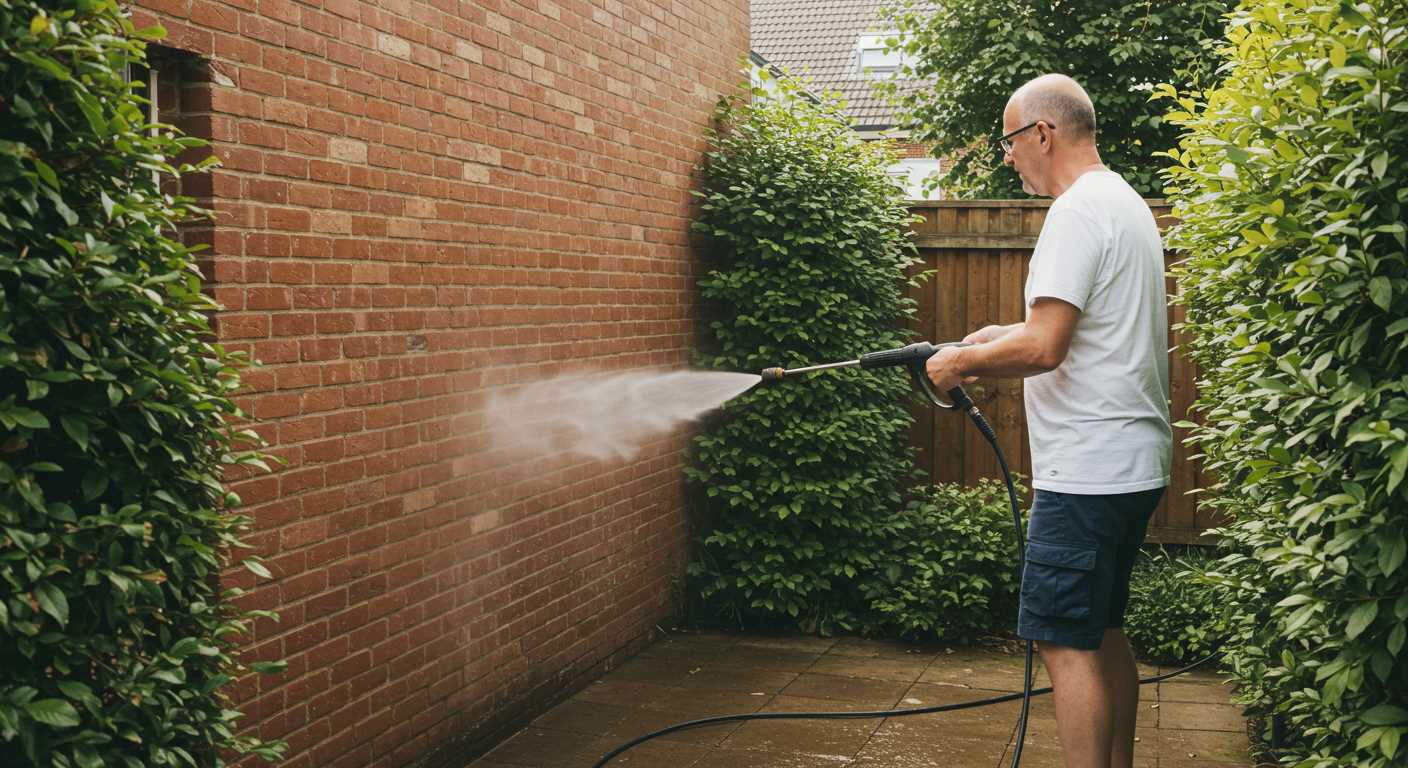
To ascertain the suitable size for the sealing component in your unit, first consult the user manual specific to your model. This document often contains detailed diagrams and dimensions for all necessary replacement parts.
If the manual is unavailable, measure the old part. Use a digital caliper for precise measurements of the inner diameter, outer diameter, and thickness. Record these dimensions carefully, as minor discrepancies can lead to improper fit and malfunctions.
Using Manufacturer Resources
Visit the official Karcher website or contact their customer service for guidance. They can provide specific part numbers related to your model, which can then be matched with the corresponding sealing components at retailers or online stores.
Cross-Referencing with Retailers
Once you have the measurements or part number, verify with local or online suppliers that stock the appropriate components. Many sellers offer sizes listed with their internal dimensions, ensuring compatibility is easy to check.
Tools Required for Replacing the O-Ring in a Pressure Cleaning Unit
The process necessitates a few specific tools to ensure a smooth operation. You will need a set of screwdrivers, particularly flathead and Phillips types, for removing covers and securing elements. Pliers are essential for gripping and pulling off the old seal without causing damage.
A torque wrench is beneficial, especially for reassembling parts that require precise tension. Measuring calipers can help confirm the size of the old seal, ensuring an exact fit for the replacement. Also, a pick tool is useful for extracting the worn component from its housing.
Having a workbench or a clean, flat surface will keep everything organised and prevent loss of small parts during the process. Disposable gloves protect both your hands and the components from oil and dirt, which could affect the performance of the new seal.
A good-quality lubricant can make the installation of the new seal easier and help prolong its lifespan. Make sure to have paper towels handy to keep the workspace clean and wipe away any excess grease.
With these tools, the task becomes straightforward, allowing for a successful update to the sealing mechanism of your cleaning device.
Step-by-step guide to removing the old o-ring
Begin by disconnecting your machine from the power source and water supply to ensure safety. Next, locate the section housing the faulty o-ring. Typically, this will be around the connection points where hoses attach.
Use a flathead screwdriver to gently pry the old seal from its groove. Take care to avoid damaging the surrounding area. If the o-ring is stubborn, applying a bit of lubricant can ease its removal.
Check for any remnants of the old o-ring in the groove, as these can hinder the new installation. A clean, dry cloth can help wipe away debris. Ensure the area is free from any dirt or grime to promote a secure fit for the new component.
Finally, inspect the groove for wear or damage which may require further attention before proceeding to install a new seal.
Proper Installation of the New O-Ring

Ensure the new seal sits correctly within its groove. Misalignment can cause significant issues. Here’s the method I recommend:
- Clean the groove thoroughly using a soft cloth or brush. Any debris or remnants from the old component can affect the fit.
- Apply a thin layer of lubrication to the new seal. Use silicone grease; this helps prevent damage during installation and ensures a proper seal.
- Gently position the new component into the prepared groove. Do this with your fingers; avoid using sharp tools that may scratch or cut the material.
- Once in place, check for evenness all around. The seal should not be twisted or pinched. If it appears uneven, remove it carefully and reposition.
- Finally, confirm that the component housing is clean and free from imperfections. This creates an optimal sealing surface. When securing the assembly, do so gradually to avoid stressing the new seal.
This careful approach will enhance the performance and longevity of your unit, ensuring reliable operation. Always double-check your work before powering the equipment back on.
Testing for Leaks After O-ring Replacement
After installing the fresh seal, it’s crucial to ensure that your device is leak-free. Begin by reconnecting the hose and turning the water supply on. Check for any signs of water seeping around the newly installed component.
Methodical Approach to Leak Testing
Use the following procedure for effective testing:
| Step | Description |
|---|---|
| 1 | Ensure the water is fully supplied and pressure is built up without operating the motor. |
| 2 | Visually inspect all areas surrounding the new component for any visible drips or moisture. |
| 3 | Activate the appliance briefly while checking for any hissing sounds or water spraying externally. |
| 4 | Inspect all joints and connections once again during operation for any leaks. |
| 5 | After testing, turn off the water and observe for about 5 minutes, looking for delayed leaks. |
Final Checks
If there are no leaks detected during the testing, it indicates a successful installation. In case of any leaks, you may need to remove the seal and ensure correct sizing, alignment, and condition. A damaged or improperly installed component may lead to issues during future use, so it’s worth revisiting this step if problems arise.
Maintenance tips to prolong the life of your o rings
Regular inspection is vital. Check for wear, cracks, or deformities that can cause leaks. This should be part of your routine maintenance schedule every couple of months.
Keep all components clean. Dirt and grime can lead to premature deterioration. Use a soft brush and mild detergent to clean areas where seals are installed, ensuring that no debris interferes with proper sealing.
Use compatible lubricants. A thin layer of silicone grease can enhance flexibility and reduce friction, preventing damage during installation and operation. Avoid petroleum-based products as they can degrade rubber materials.
Store equipment properly. Keep your devices in a dry place, away from direct sunlight. Extreme temperatures and UV light can affect the integrity of the seals over time.
Follow recommended usage guidelines. Overloading the device can lead to excessive pressure, worsening wear on seals. Always adhere to manufacturer specifications for optimal performance.
Replace seals at the first sign of failure. Delaying replacement can result in further damage to components, leading to costly repairs. Embrace a proactive approach to maintenance.
Rotate seals periodically. If your model allows, occasionally switch the positions of the seals to ensure even wear, which can extend their lifespan.

