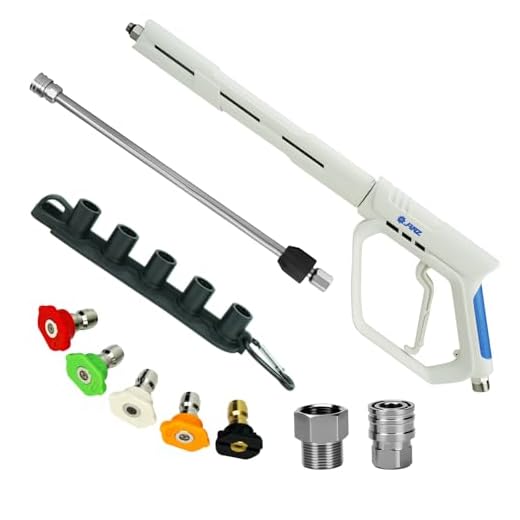


First, ensure you have the correct replacement tip that matches your device’s specifications; refer to the owner’s manual for detailed compatibility. Testing different tips can enhance performance for various tasks, from gentle washing to intense stain removal.
Begin the change by turning off the unit and disconnecting it from the power source to prevent any accidents. Allow the water to drain from the hose completely, ensuring there’s no residual pressure left. Using a wrench, loosen the fastening mechanism of the current tip; typically, this involves turning it counter-clockwise. If it’s stuck, a bit of penetrating oil can help release it.
After removing the current attachment, clean the threaded area to avoid any debris interfering with the new installation. Align the replacement tip carefully, ensuring it fits snugly, and tighten it securely without overtightening to avoid damage. Once in place, reconnect the hose and test the unit at a low pressure setting to confirm everything functions correctly.
Steps for Changing Your Washer’s Tip
Begin by ensuring the unit is disconnected from the power supply. Next, identify the adhering tip. Most models have a quick-connect feature, but some may require a wrench. If it’s threaded, carefully turn it counterclockwise until it’s loose. For quick-release versions, pull back the collar while gently pulling the tip away.
Choosing the Right Replacement
Selecting an appropriate attachment is crucial for performance. Consider the following:
- Determine the desired spray pattern: narrow, medium, or wide.
- Check compatibility with your equipment brand and model.
- Look for colour-coded tips: green for medium pressure, yellow for high pressure, and white for low pressure.
Installing the New Attachment
Align the new tip with the connection point. If it’s a threaded type, turn it clockwise until secure; if quick-connect, simply push it into place until the collar clicks. Finally, ensure it’s securely fastened before re-connecting the power supply.
After installation, conduct a brief test. Observe the spray pattern and make any necessary adjustments for optimal operation.
Identifying the Right Nozzle Size for Your Pressure Washer
For optimal performance, select a nozzle that matches your equipment’s specifications. Most devices use standard sizes measured by degrees. The common options include 0°, 15°, 25°, and 40°. Choosing the right angle affects water concentration and force, thereby influencing the cleaning outcome.
Assessing Application Needs
Consider the task at hand. A 0° nozzle is ideal for tough, concentrated jobs like removing embedded dirt on concrete, while a 15° nozzle suits heavy-duty tasks such as stripping paint or grime. For general cleaning on patios or vehicles, a 25° nozzle will provide a balance of pressure and coverage. A 40° nozzle works well for lighter cleaning tasks such as rinsing. This approach ensures you achieve the best results without damaging surfaces.
Checking Compatibility
Verify the nozzle’s compatibility with your unit. Most brands offer detailed specifications. Additionally, pay attention to the GPM (gallons per minute) and PSI (pounds per square inch) ratings of your machine. A matching nozzle enhances the efficiency of your equipment while preventing wear. If unsure, consult the user manual or the manufacturer’s website for compatibility guidance.
Tools Needed for Nozzle Replacement
To carry out an effective replacement of the discharge component, you will require specific tools that streamline the process. Having these items on hand will save time and help ensure a successful installation.
Essential Tools
| Tool | Purpose |
|---|---|
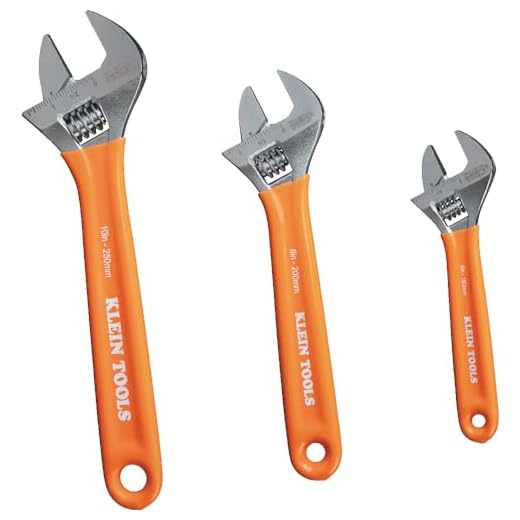
| Adjustable Wrench | To loosen or tighten fittings securely. |
| Screwdriver Set | For unscrewing or attaching any screws related to the assembly. |
| Sandpaper or File | To smooth edges of the connecting parts if necessary. |
| Gloves | To protect hands from potential debris and sharp edges. |
| Safety Goggles | To shield eyes from splashes or particles during maintenance. |
| Lubricant | To help with the installation and prevent wear over time. |
Having these tools ready not only facilitates a smoother operation but also ensures that the components fit perfectly, minimising any risk of damage. Always ensure the cleaning machine is powered off and disconnected before beginning any work to maintain safety.
Step-by-Step Guide to Removing the Old Nozzle
First, ensure you disconnect the equipment from the power source for safety.
Next, follow these precise steps:
- Locate the locking mechanism. Most attachments utilise either a twist-lock or a quick-release feature.
- For a twist-lock mechanism, grasp the nozzle firmly and rotate it counterclockwise until it untwists from the lance.
- If your unit has a quick-release option, press the release button or lever while pulling the nozzle straight off the wand.
- Inspect the connection area to identify any debris or lime scale that may hinder removal; clean it if necessary.
- Check for any signs of damage on both the lance and the old attachment before proceeding.
Once the old part is free, keep it on hand for comparison with the new fitting if needed. Avoid any forceful pulling to prevent damage to the lance or fittings.
Installing the New Nozzle Correctly

Align the new attachment with the lance, ensuring that the grooves match securely. If your model has a locking mechanism, engage it firmly to prevent any dislodgment during operation. A misaligned component can lead to ineffective cleaning or even equipment damage.
Checking for Secure Fit
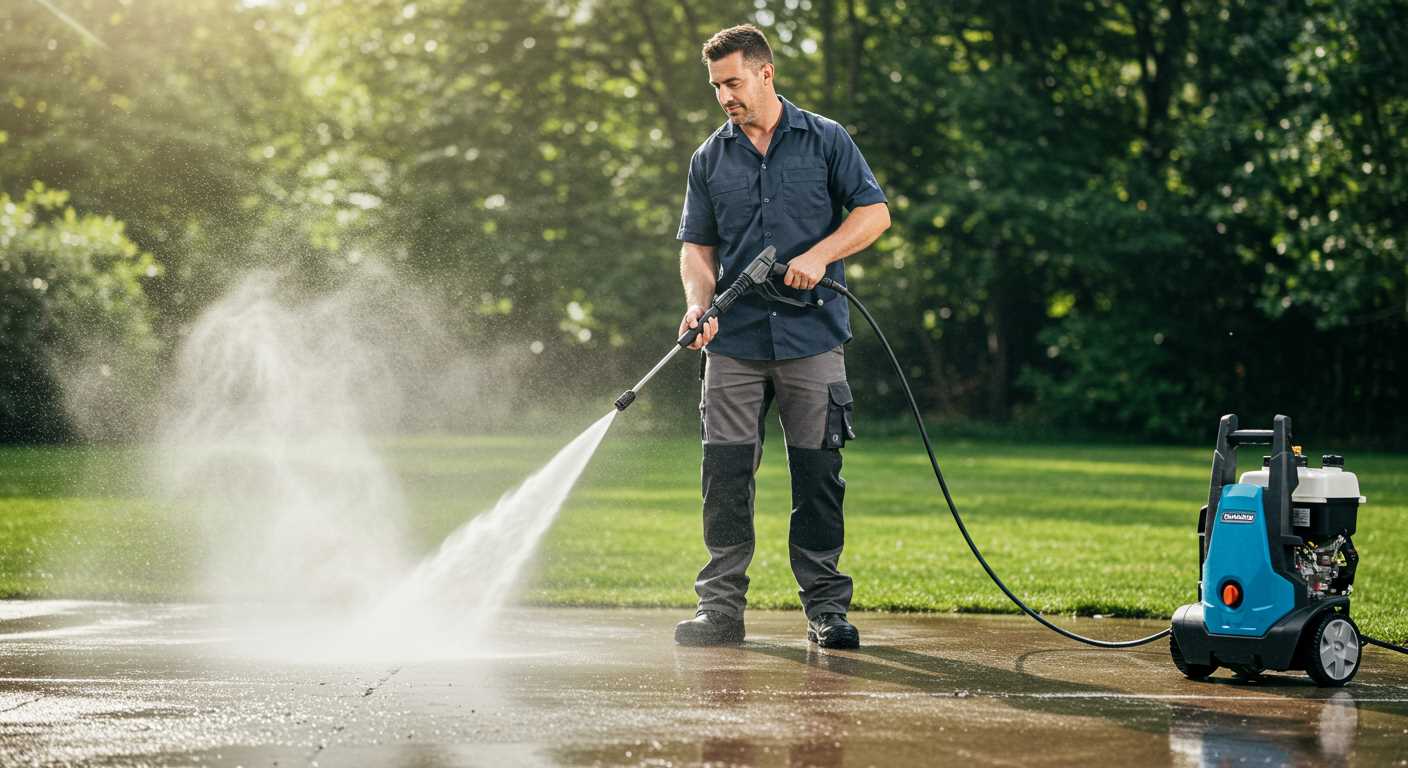
After installation, gently tug on the new part to confirm that it is firmly affixed. A loose fitting will compromise the pressure delivery and can result in wasted time and water. If it feels insecure, remove and reinstall, double-checking all components.
Testing the Installation
Before commencing a full cleaning task, activate the machine to test the new component. Start with a low-pressure setting to ensure everything is functioning as intended. Observe for leaks or unusual sounds that might indicate a problem. Adjust accordingly before proceeding with your project.
Testing the New Nozzle for Performance
After completing the installation of the new attachment, I recommend undertaking a performance evaluation to ensure it meets your cleaning needs. Begin by connecting the machine to a water source and checking for any leaks around the fitting area.
Next, select a suitable surface for testing–concrete, patio, or vehicles are ideal choices. Start with a distance of about 2-3 feet from the surface, adjusting as necessary based on the results. Observe the spray pattern: a well-functioning attachment should create a consistent and even stream without excessive splatter.
Begin with the lowest pressure setting. Gradually increase the pressure, making note of how the cleaning power improves. Ideally, the new tool should significantly reduce cleaning time while providing superior results compared to the previous one.
If you’ve switched to a different type, such as moving from a wider spray to a more concentrated one, observe how it affects stubborn stains and grime. Ensure the new attachment does not damage surfaces; a quick test on a small area can help gauge its impact.
Pay attention to the ease of use during the task. A good accessory should feel comfortable and manageable; if it causes strain or fatigue, it may indicate a design flaw or an inappropriate choice for the job.
Lastly, assessing the cleaning fluid consumption can highlight the efficiency of your current setup. A reduction in water usage, while maintaining performance, reflects a successful upgrade.
Maintaining Your Accessories for Longevity
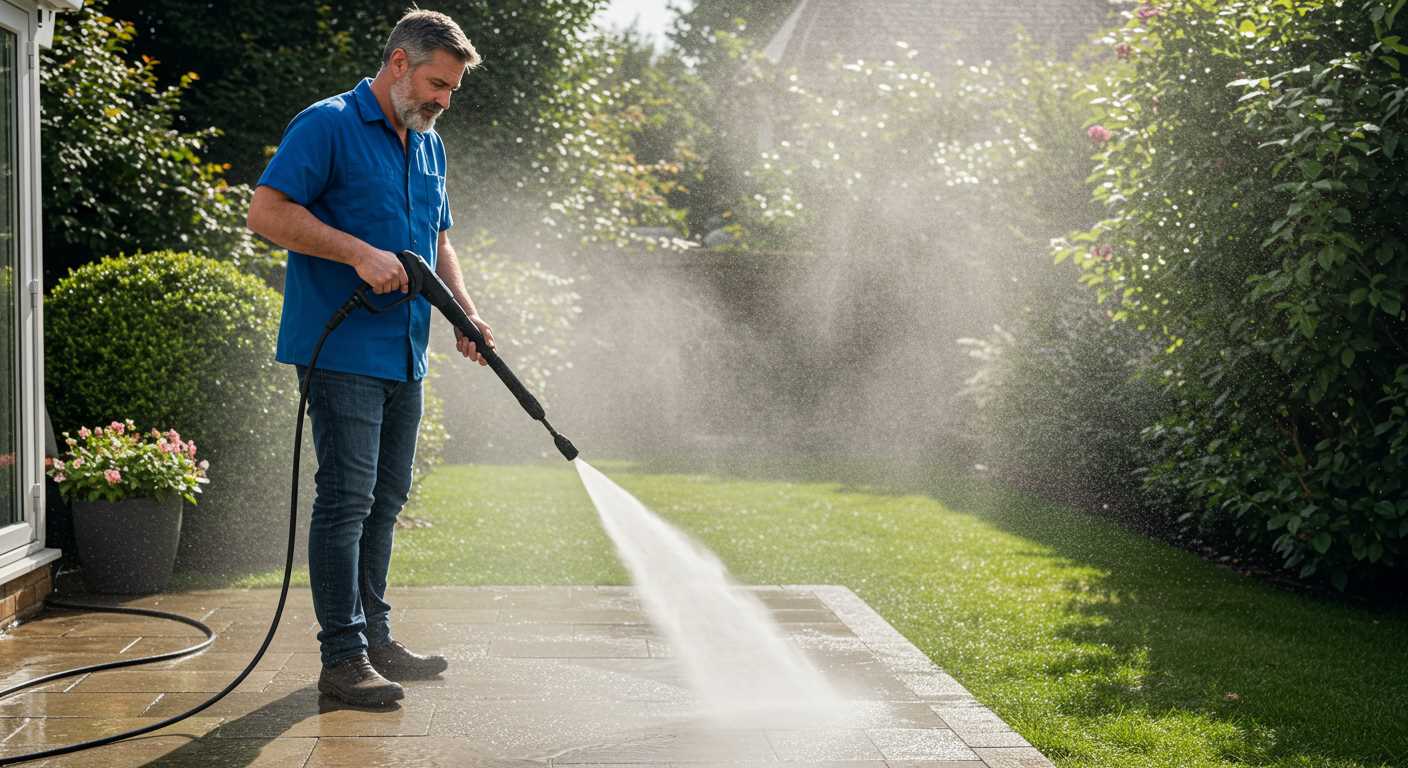
Regular cleaning is paramount. After each use, detach the attachment and rinse it thoroughly to remove dirt, debris, and other contaminants. This practice helps prevent clogs and maintains optimal performance.
Inspect frequently for wear and tear. Look for signs of damage such as cracks or chips. If you notice any, it’s advisable to replace them immediately to avoid compromising your cleaning tasks.
Storage matters. Keep these components in a dry, temperature-controlled environment. Extreme temperatures can lead to deterioration, so a closet or a dedicated storage unit is ideal.
Consider lubricating the connection points occasionally. A silicone-based spray can assist in creating a better seal, which minimizes leaks and improves handling. Avoid using oils that can attract dust and grime.
Utilise a case or container for transport. This can prevent accidental damage during storage or movement. Foam inserts can offer extra protection against impacts.
Lastly, keep a log of your component’s lifespan. Document when you acquired each part and note any maintenance performed. This will help you anticipate when to prepare for replacements, keeping your equipment in prime working condition.


