


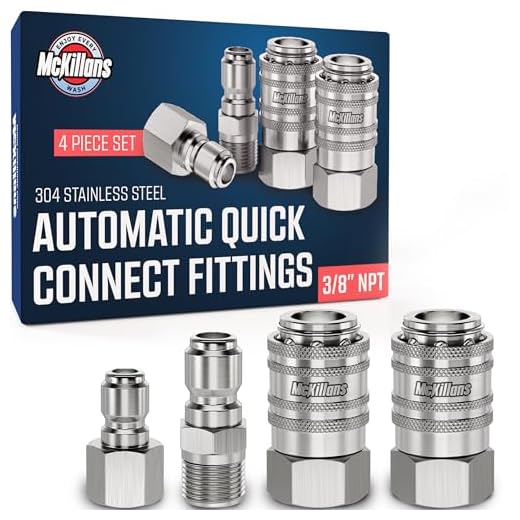
The process of removing and installing this crucial component requires precision and care. Begin by disconnecting the unit from the power source and water supply to ensure safety. Use a wrench to loosen and detach the existing mechanism from its housing. This step is vital to avoid any potential damage to surrounding parts during removal.
Ensure you have the correct replacement component on hand, as different models may require specific sizes or configurations. After securing the new component, position it exactly where the old one was situated. Tighten it firmly but avoid over-tightening, as this could lead to future leaks. Double-check that all connections are secure before proceeding.
Once replaced, reconnect the unit to its power source and water supply. Test the functionality by running the machine briefly, observing for any leaks or unusual sounds. This quick check helps to confirm that the new component is functioning correctly and has been installed properly. Should any issues arise, revisit your connections and ensure everything is fitted as intended.
This hands-on knowledge significantly impacts the longevity and performance of the cleaning equipment, allowing for efficient operation and maintaining optimal pressure levels throughout use.
Steps for Installing a New Pressure Relief Mechanism
Ensure the equipment is powered off and disconnected from any electrical sources before starting. This is crucial to prevent accidental activation during maintenance.
Locate the faulty component, usually found near the pump assembly. Use appropriate tools to loosen and remove the old part. It might require some force due to corrosion or deposits, so be prepared.
Preparation of the New Component
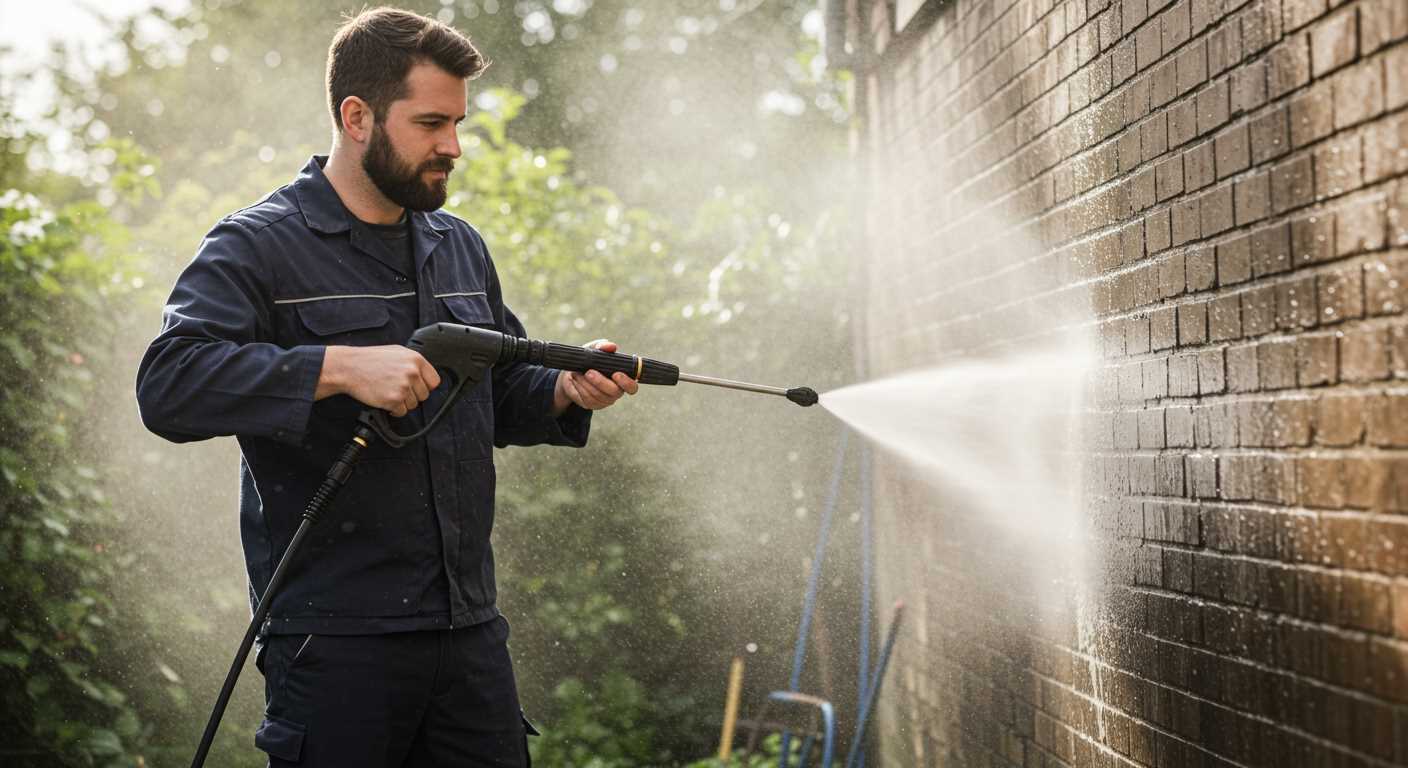
Inspect the new piece for defects. Make sure it aligns with the specifications of your model. Apply thread sealant to the threads for a secure fit, reducing the risk of leaks post-installation.
Installation Process
.jpg)
Screw the replacement firmly into position. Use a wrench to tighten it adequately, but be cautious not to overtighten, as this may cause damage.
Reconnect the hoses and ensure all fittings are secure. Run water through the system briefly to check for leaks. After confirming everything is sealed tight, reconnect to power.
Test the operation by activating the unit. Observe for any unusual sounds or performance issues. If everything functions correctly, you’ve successfully fitted the new part.
Regular inspections post-installation will help maintain optimal performance. Check for wear and tear periodically to catch issues early.
Identifying Signs of a Faulty Unloader Component

Watch for inconsistent water flow from the nozzle. If the stream appears erratic, it might indicate an issue with the component regulating pressure. This inconsistency often results in inefficient cleaning.
Examine for excessive vibrations or noise during operation. Abnormal sounds can suggest internal problems, indicating the device is struggling to manage pressure, which can lead to further damage.
Check for water leaking from the area around the component. Any signs of fluid escaping may point to a malfunctioning seal or a damaged assembly, which requires immediate attention to prevent more extensive problems.
If the electrical system or safety features are tripping frequently, it could imply an overload situation where the component fails to properly manage pressure. Observing consistent issues with circuit breakers suggests underlying malfunctions that shouldn’t be ignored.
Common Symptoms
| Symptom | Description |
|---|---|
| Inconsistent Water Flow | Erratic pressure leads to inefficient cleaning performance. |
| Unusual Noise | Excessive vibrations or unexpected sounds during use. |
| Leaks | Fluid escaping from the assembly indicates potential failure. |
| Frequent Electrical Tripping | System shutting down may signal overload issues. |
Observing any of these signs should prompt further investigation. Addressing potential issues swiftly will help maintain the efficiency and longevity of your cleaning equipment.
Gathering Necessary Tools and Replacement Parts
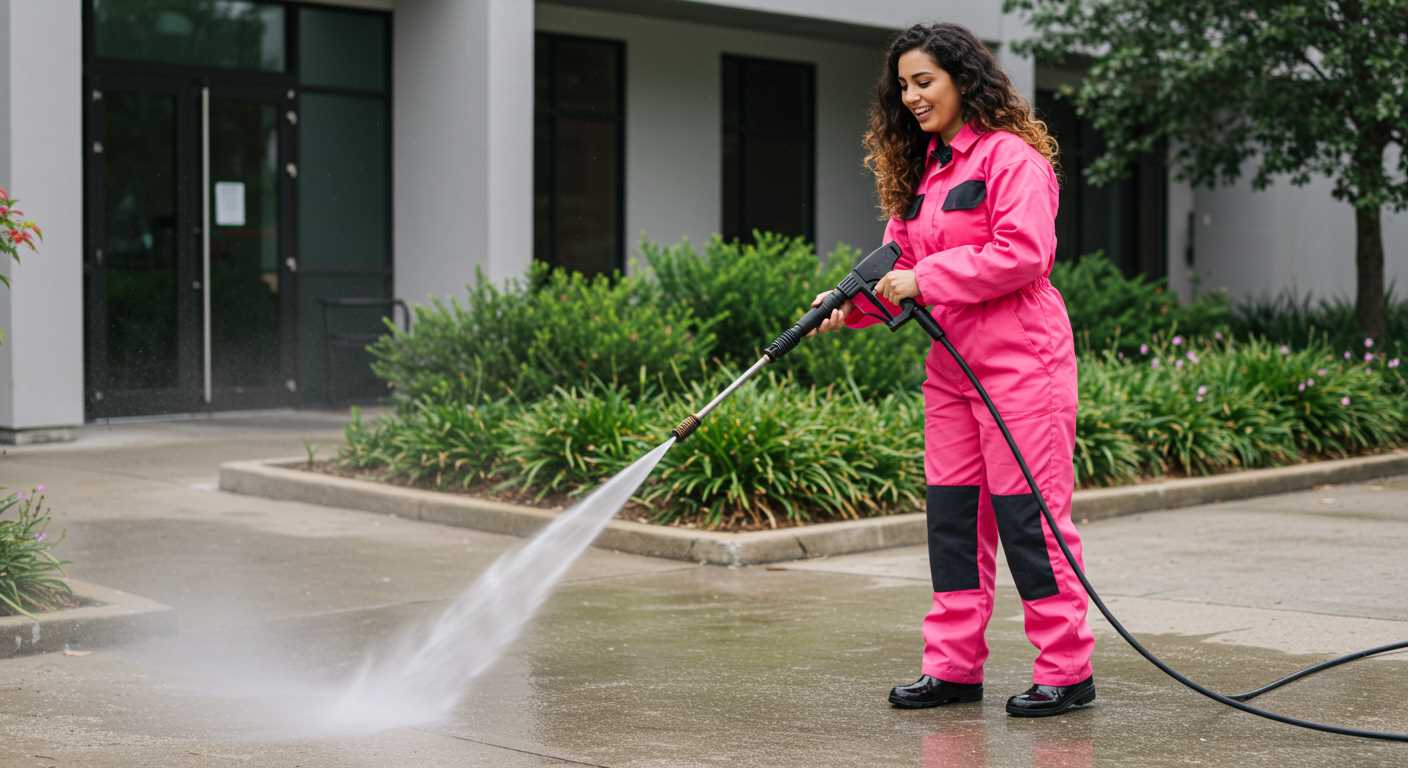
Begin by collecting each required item before starting the task. You’ll need a wrench set for loosening and tightening connections. Ensure you have a socket wrench handy, preferably with a variety of socket sizes to match may differ across models.
A screwdriver, both Phillips and flathead, will be essential for securing or removing parts. If your machine offers access to screws that require Torx, include a Torx screwdriver as well.
Next, obtain a replacement component specifically designed for your model. Verify compatibility by referencing the manufacturer’s specifications. If possible, acquire the part directly from authorised dealers or trusted suppliers to avoid discrepancies.
Don’t forget plumbing tape to ensure a proper seal when fitting the new component. This will prevent any leaks, maintaining high performance once everything is reassembled.
Additionally, have a pair of pliers available; they are useful for gripping and manoeuvring stubborn connections. An old towel or rag may also prove helpful for cleaning up any residual fluids during the process.
Lastly, ensure you have safety goggles on hand to protect your eyes from any debris or sprays that may arise during disassembly and reassembly. Having these tools and parts at arm’s reach will streamline your workflow, making this task straightforward and efficient.
Draining and Disconnecting Equipment
Before proceeding with any maintenance, ensure the water supply is completely turned off. Disconnect the intake hose to prevent further water flow. For safety, relieve any residual pressure by pulling the trigger on the gun until the water stops flowing.
Locate the drain plug, usually found near the bottom of the housing. Place a suitable container beneath to catch any remaining fluid. Carefully remove the drain plug and allow the unit to empty fully. This step is crucial, as leftover water can freeze in colder months or corrode internal components.
Once drained, disconnect all hoses and accessories. For a more thorough disassembly, remove any additional components that may obstruct the maintenance process. Keep all parts organized to ensure easy reassembly later.
After everything is disconnected, transport the device to a suitable workspace where ample room is available for inspection and repair. Taking these steps will not only protect the equipment but also streamline maintenance tasks ahead.
Removing the Old Unloader Valve
First, ensure you have your pliers and wrench ready. Locate the valve assembly; it’s typically found near the pump. Carefully disconnect any hoses connected to this component to avoid damaging them. Keep track of any bolts or washers as you remove them for reassembly later.
Next, use your wrench to loosen the valve. Turn counterclockwise, applying steady pressure until it comes free. In some cases, the fitting might be stubborn due to time and residue build-up; using penetrating oil can help loosen it. Allow the oil to soak in for a few minutes before trying again.
After detaching the valve, inspect the area for any debris or signs of wear. This will help ensure a clean installation of the new component. If any parts are corroded or damaged, make sure to replace them during the installation process.
Installing the New Unloader Valve
Align the newly acquired component with the existing fittings. Thread it into position by hand to prevent cross-threading. Once adequately aligned, use a wrench for a snug fit, ensuring secure connections without over-tightening.
Before connecting, inspect the O-ring or gasket for any damage. Replace them if necessary, as they create a vital seal that prevents leaks. Apply a modest amount of lubricant to the O-ring to ease installation.
After securing the assembly, connect any hoses or couplings previously disconnected. Ensure that each connection is tight but not excessively so, as this could lead to damage of the components.
Next, reattach water supply and power, ensuring all equipment is in proper order before testing. Double-check for any leaks during the initial startup. This quick inspection is crucial to maintaining performance.
- Inspect for leaks: Watch for any signs of water escaping at joints.
- Listen for unusual noises: A smooth operation indicates proper installation.
- Monitor pressure: Ensure it builds and stabilises as expected.
Finally, run your equipment briefly to guarantee everything functions correctly. If all operates smoothly, your task is complete, and you can enjoy the renewed efficiency of your machinery.
Testing After Installation
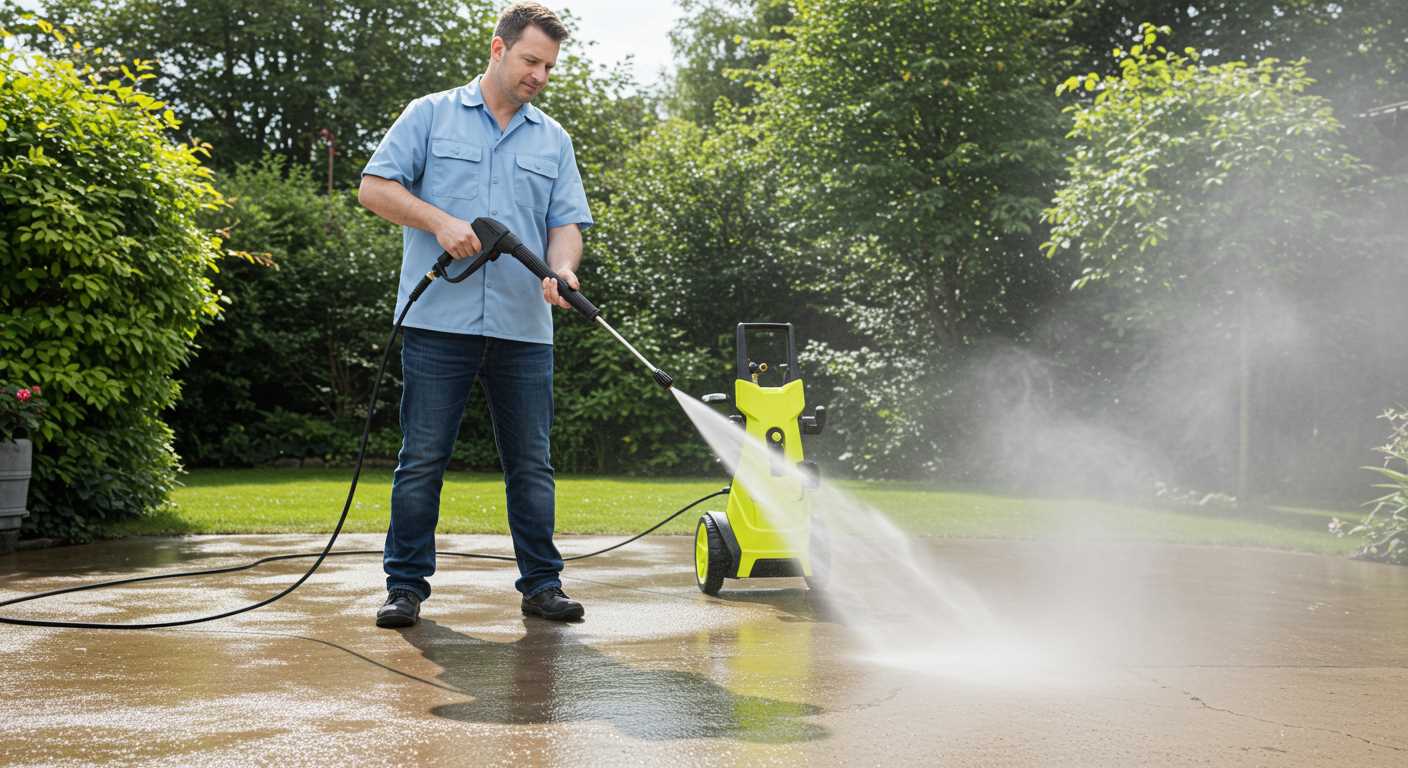
After you’ve fitted the new component, conduct a thorough test to ensure everything operates smoothly.
Follow these steps to perform an effective check:
-
Reconnect the water supply and start the machine. Observe for any leaks around the newly installed part.
-
Allow the engine to run for a few minutes. Listen for unusual noises that might indicate improper installation or a faulty part.
-
Test the functionality by engaging the trigger. Ensure a steady stream of water is produced without fluctuations or interruptions.
-
Check the pressure gauge (if available) to verify it reads within the correct range specified by the manufacturer.
If any issues arise during testing, double-check the installation. Look for misalignments or insufficient tightening of components.
Proper functioning at this stage ensures that your unit is ready for efficient use. Perform routine checks after this initial testing to maintain optimal operation.


