For optimal results, ensure to use a dedicated detergent designed specifically for high-powered cleaning devices. These products are formulated to work efficiently with such equipment, promoting effective dirt removal without damaging surfaces. I recommend selecting a biodegradable option to minimise environmental impact while maintaining cleaning performance.
Attach the detergent reservoir to the machine if available, or utilise a siphoning tube if your unit supports this feature. Always dilute the cleaning agent according to the manufacturer’s instructions to prevent potential clogging or damage to your equipment. Applying the solution at low pressure can help saturate the area before switching to a higher setting for rinsing.
Before starting, perform a test on a small, inconspicuous area to check compatibility with the surface you intend to clean. This quick step can save you from costly mistakes. After application, allow the solution to sit for the recommended time, which typically ranges between 5 to 10 minutes, but avoid letting it dry to ensure maximum effectiveness.
Optimal Method to Apply Cleaning Agent with a High-Pressure Cleaner
Utilise a dedicated detergent tank if available. This feature is standard on many units, which allows for straightforward mixing. Fill the tank with an appropriate cleaner, avoiding thinned or heavily concentrated solutions.
Alternatively, use an external attachment. Many high-pressure machines come with an optional injector that mixes the cleaner during operation. Attach the injector securely to the hose, following the manufacturer’s guidelines.
Maintain the correct pressure setting. For optimal results, set the unit to low pressure when applying the cleaning solution. This ensures even coverage and prevents excessive foaming.
| Step | Action |
|---|---|
| 1 | Fill the detergent tank or attach an injector. |
| 2 | Set the unit to low pressure. |
| 3 | Start the machine and apply the cleaner to the surface. |
| 4 | Let the solution sit for the recommended time. |
| 5 | Switch to high pressure to rinse the surface. |
Timing is critical. Allow the cleaning solution to act for the specified duration before rinsing. This increases efficacy, aiding in the removal of dirt and grime.
After application, transition to a high-pressure setting for rinsing. This ensures all residue is thoroughly washed away, leaving the surface clean and free from streaks.
Choosing the Right Soap for Your Pressure Washer
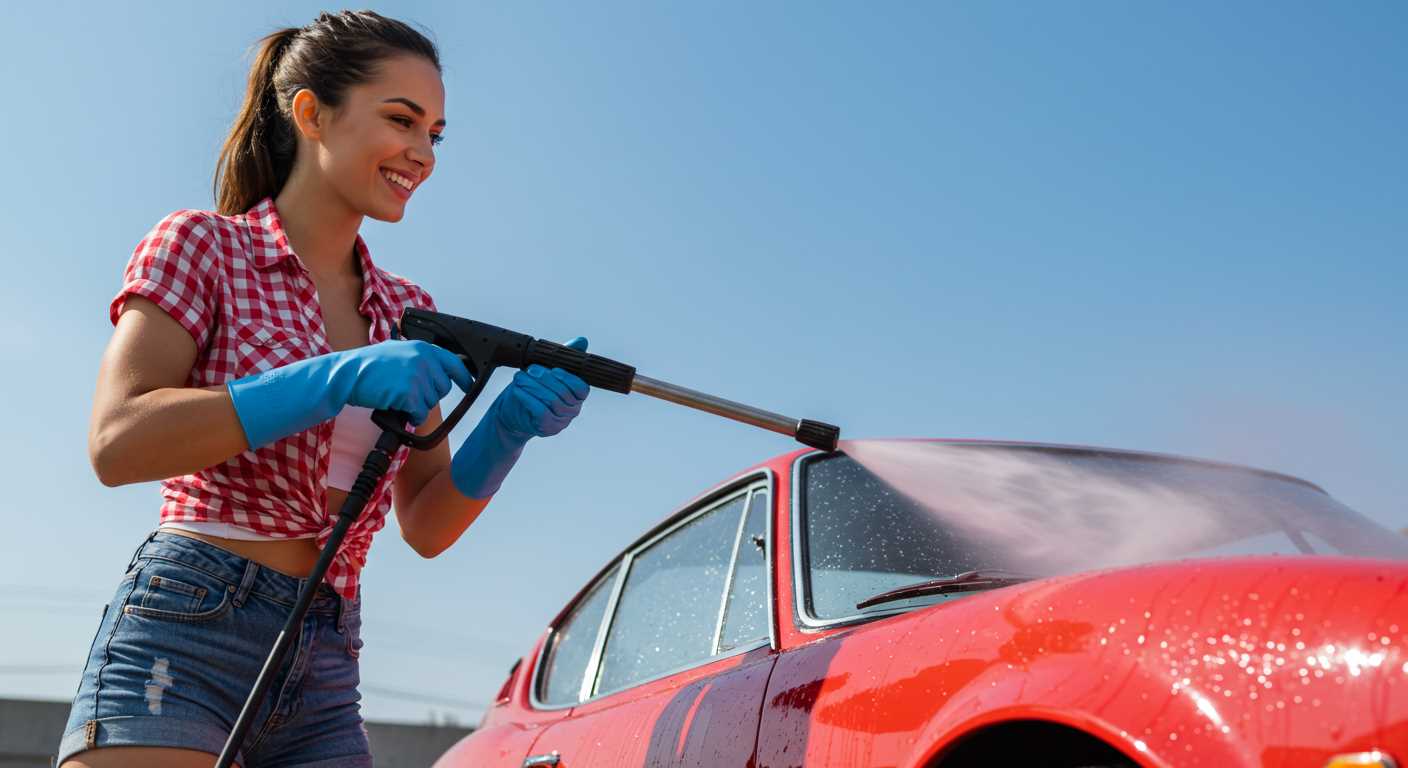
Selecting a suitable cleaning agent is pivotal for optimal performance and achieving outstanding results. Ensure compatibility with your model, as not all cleaning solutions are universal.
Types of Cleaning Agents
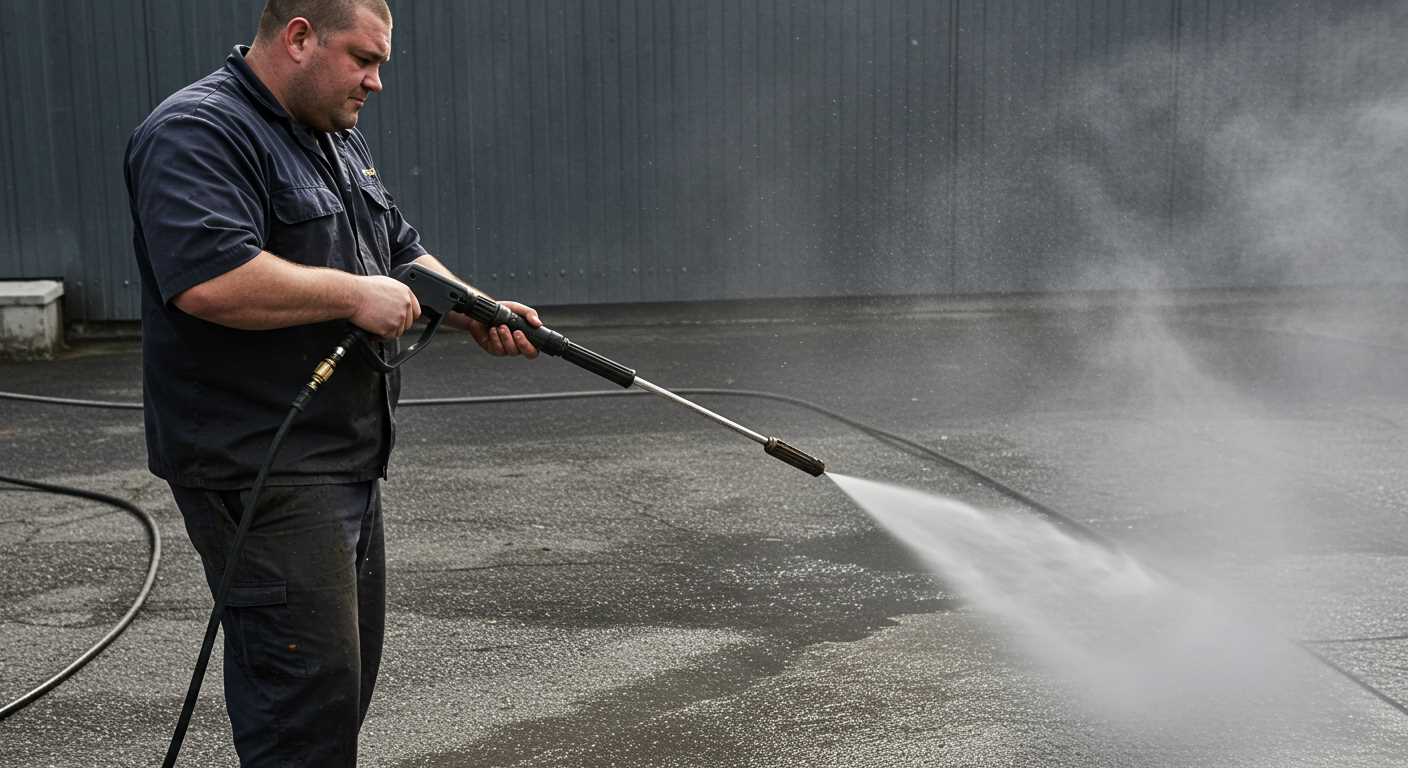
- Degreasers: Ideal for automotive tasks, these effectively cut through oil and grime.
- Bio-based Options: Environmentally friendly products that break down dirt without harmful chemicals.
- Mildew and Mould Removers: Specifically designed for roofs, decks, and patio surfaces to eliminate stubborn growth.
- Concrete Cleaners: Formulated for tough stains on driveways and walkways, ensuring deep penetration and removal.
Key Features to Consider
- Foaming Ability: A thicker foam adheres better to vertical surfaces, allowing more time to break down stubborn dirt.
- pH Level: Ensure the product has a balanced pH to prevent damage to surfaces.
- Concentration: Opt for highly concentrated formulas for more effective cleaning, while being mindful of dilution ratios.
- Manufacturer Recommendations: Always adhere to the guidelines provided by your equipment manufacturer for best results.
Test various brands to discover the most effective cleaning solution tailored to your needs. Each situation may require a different approach, so remain flexible in your choices.
Setting Up Your Equipment for Detergent Application
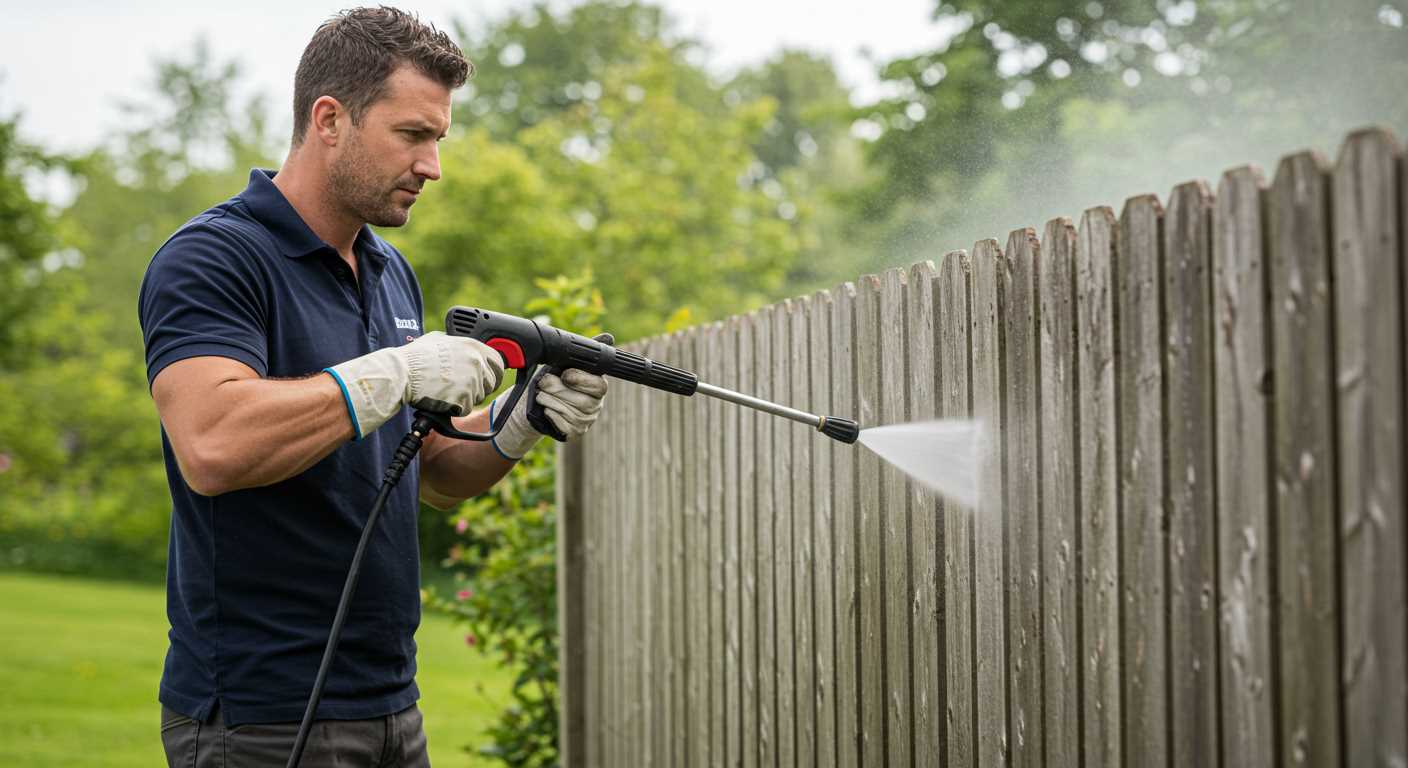
Prior to mixing cleaners with your machine, ensure the correct setup to avoid any complications. Follow these steps to prepare your device effectively:
- Read the Manual: Always consult the manufacturer’s instructions for your specific model. This guarantees that you adhere to guidelines regarding compatibility and flow rates.
- Select the Appropriate Nozzle: Choose a low-pressure nozzle, typically coloured black, to facilitate detergent application. This nozzle allows for optimal spraying of cleaning agents without damaging surfaces.
- Connect the Soap Injector: If your model has a soap injector, attach it securely. This device is crucial for introducing the cleaning mixture into the water stream. Ensure all connections are tight to prevent leaks.
- Use the Correct Mixture Ratio: Follow the recommended mixing ratios specified by the detergent manufacturer. Too strong a solution can cause harm to surfaces, while too weak may not yield effective results.
- Fill the Detergent Tank: Pour in the prepared mixture. Ensure the tank is designed for cleaning agents, as using an incompatible substance can damage the internal components.
- Check for Blockages: Inspect hoses and connectors for any obstructions. Clear any debris that might impede the flow of liquid. This ensures that everything works smoothly during operation.
After completing these preparations, you can confidently proceed to apply your cleaning solution. Monitor the performance closely during use to adjust settings as required for optimal results.
Understanding Different Soap Injection Methods
The two primary techniques for incorporating cleaning solutions with these machines are downstream and upstream injection. Each method presents unique advantages suited to various tasks.
Downstream Injection
With downstream injection, the detergent is siphoned directly from a separate container through a hose. This method is effective for applying light solutions, allowing for quick and easy transitions between rinsing and applying. Many models may have built-in siphon tubes, enabling easy connection to a soap reservoir. This setup helps prevent damage to the unit, as the cleaning agent doesn’t traverse the pump, reducing wear and tear.
Upstream Injection
Upstream injection involves introducing the detergent before it enters the pump. This method is typically used for more concentrated cleaning solutions that require a stronger application. While upstream systems can effectively tackle tough grime, they demand more careful handling, as the caustic nature of certain detergents can compromise the pump’s integrity over time. Make sure to use solutions that are compatible with your apparatus, to avoid potential malfunctions.
In determining the best option, assess the type of cleaning job at hand and choose a technique that aligns with the requirements of your equipment and the nature of the task.
Preparing the Surface for Soap Treatment
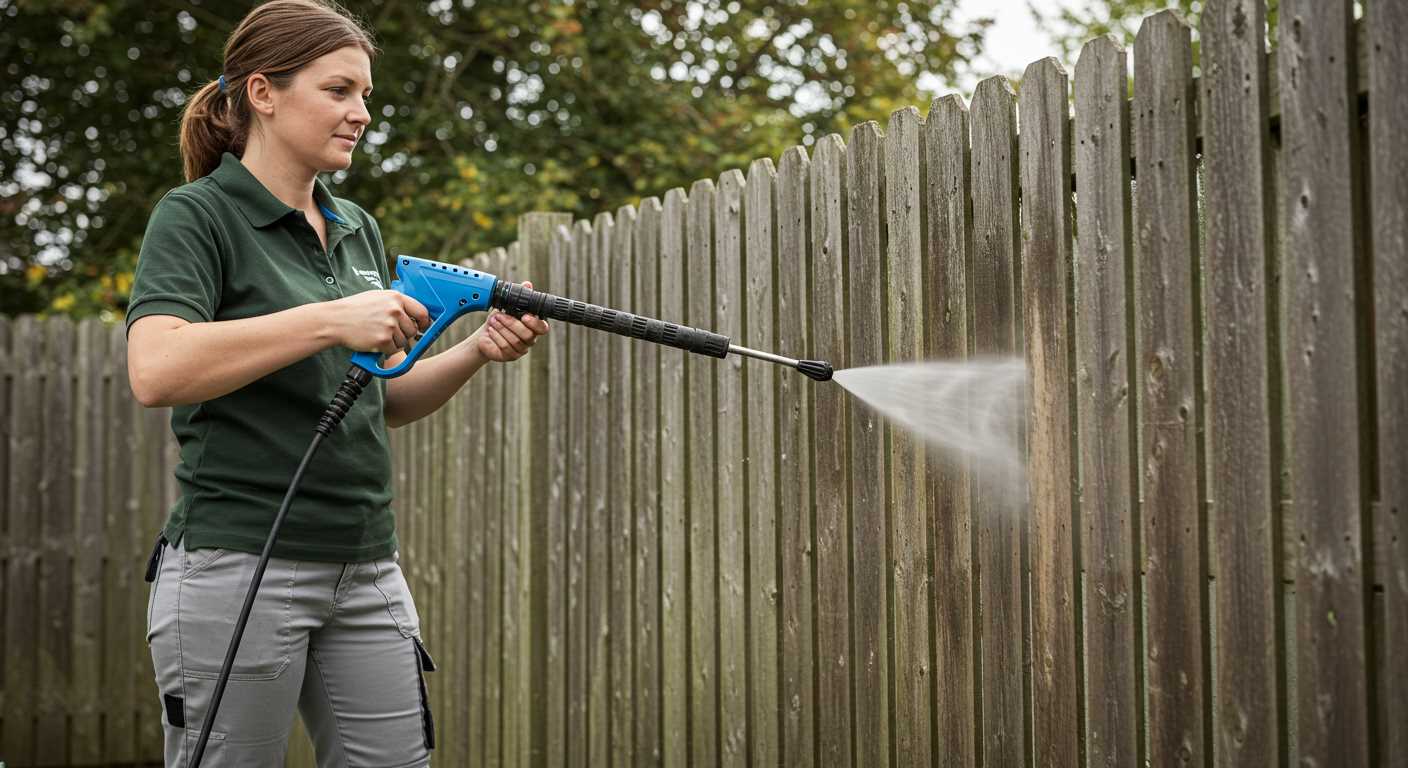
Ensure the area is clear of furniture, vehicles, and any items that might obstruct the cleaning process. This visibility allows for thorough coverage and prevents damage to belongings.
Inspect the surface for obvious debris and dirt. Sweep or rake away leaves, dirt, and other loose particles. This preparation step helps the cleaning solution adhere better, enhancing its performance.
Wet the Surface
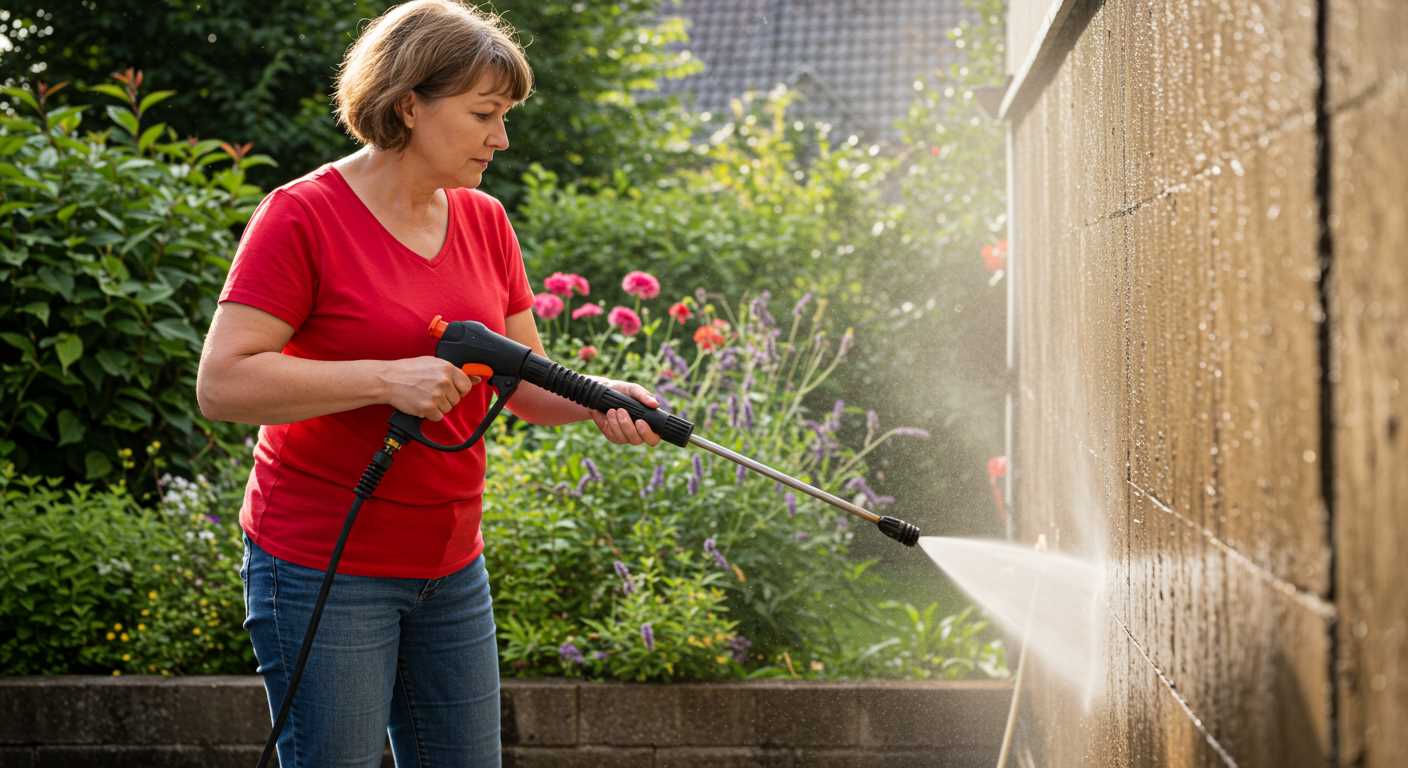
A light rinse of the surface should be performed prior to applying the cleaning agent. This practice prevents the chemical from seeping too deeply into porous materials and allows for a more effective cleaning process. Make sure to cover all areas to avoid concentrated spots where the product may sit idle.
Assess Damage or Stains
Examine any problematic areas, such as stains or mildew growth. For persistent marks, pre-treat with a suitable solution, following the manufacturer’s instructions. Allow the pre-treatment to dwell for the recommended time to encourage breakdown of tough residues.
Monitoring Soap Mixing Ratios for Optimal Results
Accurately measuring the concentration of detergent is crucial for top cleaning efficiency. Use a mixing container with clear markings for precision in blending. A general guide suggests starting with a ratio of 1 part cleaner to 5 parts water for most applications.
Regularly inspect the results on various surfaces, adjusting the mix as necessary. For heavily soiled areas, increasing the detergent concentration can enhance effectiveness–test different ratios to determine the best performance for your specific task.
Documenting Your Measurements
Keep a log of the mixtures used, including specific cleaning challenges and outcomes. This documentation helps in refining and replicating successful formulas in future projects.
Tips for Consistency
To maintain uniformity in your mixtures, shake or stir the solution thoroughly before application. Consider investing in a measuring pump that delivers precise amounts of detergent. This will simplify adjustments and maintain consistency throughout tasks.
Addressing the right mix contributes not only to immediate results but also preserves the integrity of the surfaces being treated, ensuring a longer-lasting clean without damage.
Techniques for Even Soap Distribution
To achieve optimal coverage during the cleaning process, focus on a consistent application technique. Utilise a sweeping motion while moving the nozzle in a side-to-side manner, maintaining a steady distance from the surface. This helps to ensure an uniform spread of the cleaning solution.
Adjusting Nozzle Pressure
Utilise a low-pressure nozzle to allow the liquid to adhere better to vertical surfaces. This adjustment aids in preventing drips and pooling, which can lead to uneven cleaning results. Experiment with different angles of application, typically around 45 degrees, to enhance adherence and distribution.
Utilising a Foam Cannon

Consider employing a foam cannon for thicker, more controlled applications. This method enhances coverage and mitigates the risk of overspray. Mix your cleaning agent according to the manufacturer’s guidelines to achieve the desired foam consistency, allowing for better cling on surfaces.
Cleaning the Equipment After Soap Use
Immediately after cleaning, flush the system with water to remove any leftover detergent. This step is vital to prevent residue buildup that can damage components. I recommend running clean water through the inlet for about five minutes, allowing it to circulate thoroughly. Ensure you discharge any remaining solution from both the nozzle and the hose.
Check for any clogs in the nozzle or detergent injection system. If any blockages are found, clean them using a soft brush or needle. Regular inspections will extend the life of the equipment and maintain performance.
After flushing, detach and rinse the detergent tank. This action removes residues that could harden and obstruct flow. If necessary, wipe down the exterior with a damp cloth to eliminate overspray or splatters.
Lastly, store the device in a dry area, preferably indoors, to prevent moisture-related issues. Consider using a cover to protect it from dust and debris. Proper maintenance ensures readiness for future use without complications.


