


Begin with a quality attachment designed specifically for abrasive cleaning. The effectiveness of the job hinges on this choice, as not all tools deliver the same results. Using a right nozzle can significantly enhance performance, ensuring that the powerful stream of water and abrasive medium interacts effectively for optimal cleaning.
Pay attention to the distance from the surface you’re targeting. Aim to maintain a consistent distance to prevent damage to the underlying material. Too close, and you risk etching the surface; too far, and the impact diminishes, leading to uneven results. A steady hand and controlled movements are vital for achieving a uniform finish.
Regular maintenance of your equipment cannot be overstated. Ensure that all components, especially the nozzles, are clean and free of clogs. This will guarantee that the equipment functions at its best, providing effective cleaning while minimizing wear and tear on the tool.
Lastly, consider the type of abrasive media being used. Different surfaces require different materials; for instance, softer materials work better with gentler abrasives, while tougher surfaces may need harsher options. Understanding these nuances enables me to tailor the approach for every specific task at hand.
Steps to Abrade Surfaces Using a High-Pressure Cleaning System

Attach the appropriate abrasive attachment to the cleaning unit. Ensure that it is securely fastened to prevent any accidental dislodging during operation.
Choose the right abrasive material. For most tasks, silica sand works well, but for delicate surfaces, consider using crushed glass or baking soda. The selection of the media affects both the outcome and the wear on your equipment.
Adjust the water flow and pressure settings on the equipment. A higher pressure enhances the efficacy of the abrasive media, while adequate water flow prevents clogging and assists in dust management.
Begin by testing a small, inconspicuous area of the surface you wish to treat. This allows for assessment of the effectiveness of your selected materials and methods.
Maintain a consistent distance from the surface, usually about 12 to 18 inches. This range balances effectiveness and prevents damage to the substrate.
Use a sweeping motion while working to ensure even coverage. Avoid staying in one spot for too long, as this might cause unwanted surface erosion.
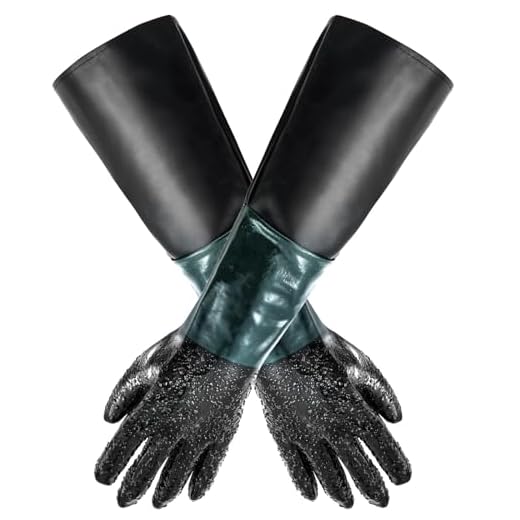
Take necessary safety precautions. Wear protective gear, including goggles, gloves, and a mask to shield against dust and debris.
After completing the task, clean the equipment thoroughly. Remove any remaining abrasive media from the attachment and flush the system to prevent build-up.
Evaluate the final result. If necessary, repeat the process for areas that might require additional attention.
Store all components properly for future use, ensuring they remain in good condition for your next cleaning session.
Selecting the Right Equipment for Abrasive Cleaning
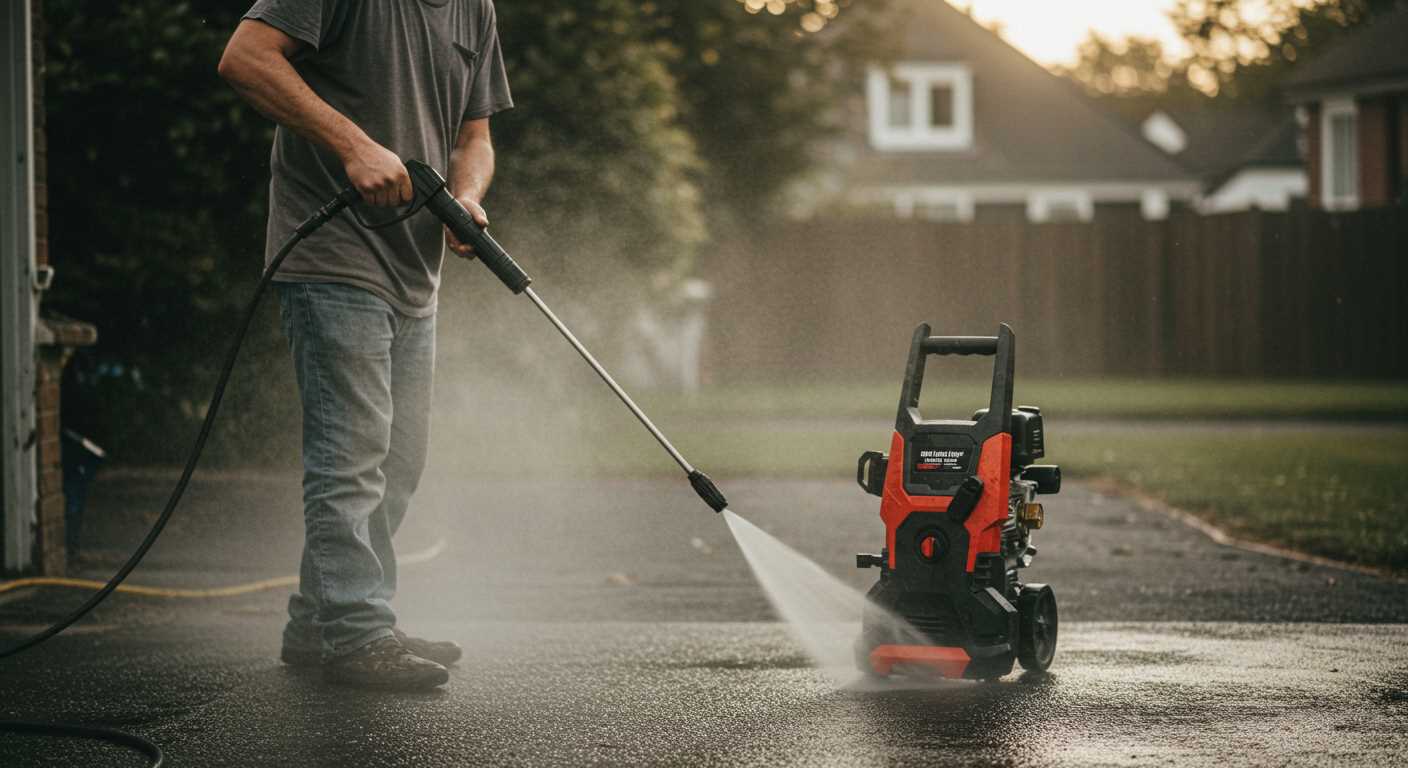
Opt for a unit that delivers at least 3,000 PSI and 2.5 GPM to tackle tough surfaces effectively. Such specifications ensure a strong enough stream to mix adequately with the abrasive material. Models with adjustable pressure control can be beneficial, providing versatility across different tasks.
Choose a gas-powered machine for maximum power, as electric variants typically lack the necessary pressure and flow rates. Generally, Honda or Briggs & Stratton engines are reliable choices due to their consistent performance and longevity.
Nozzle Compatibility
Ensure the machine is compatible with various nozzle attachments, including those designed for abrasive mixing. A standard 1/4-inch quick-connect fitting is commonly used, allowing for easy switching between different nozzles to suit specific applications.
Durability and Build Quality
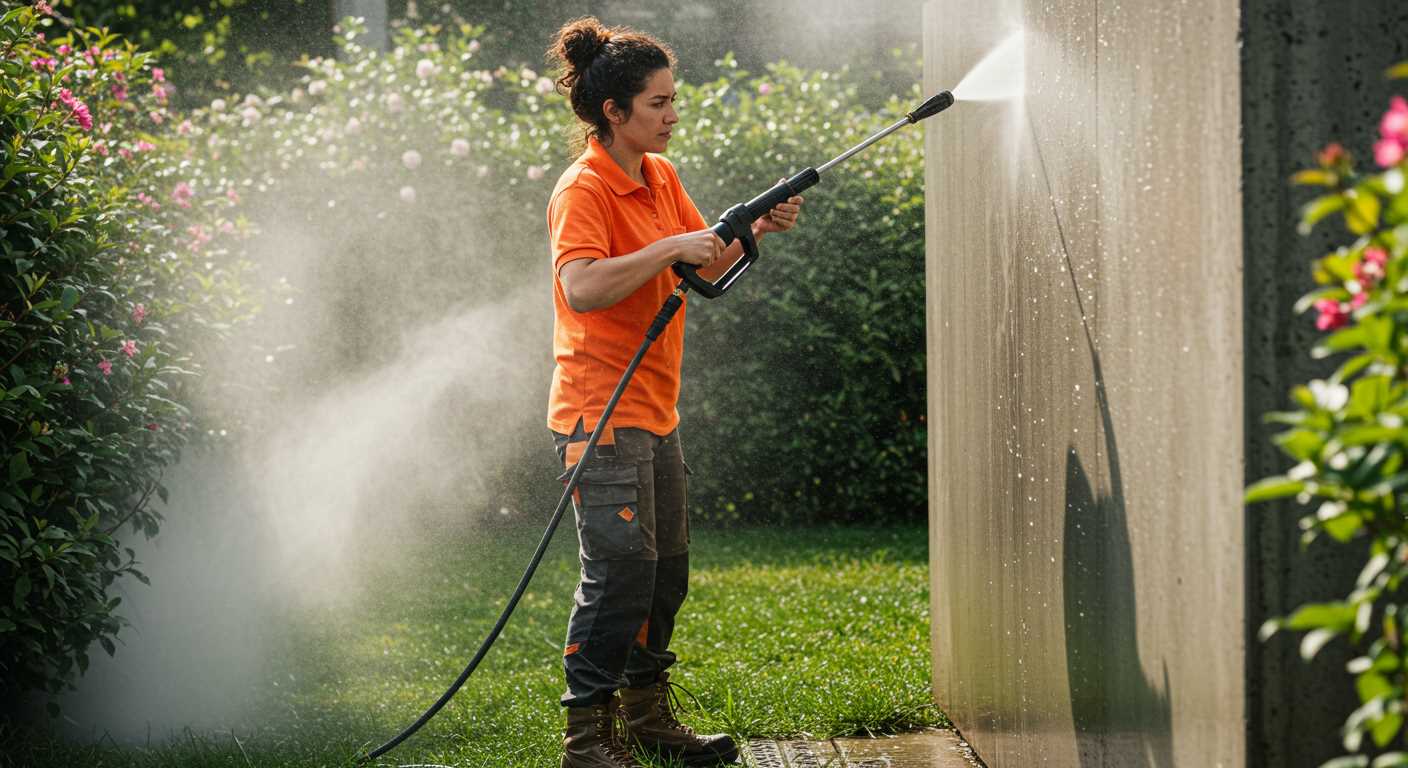
Select a unit constructed with durable materials such as stainless steel or reinforced plastic. This can withstand the rigours of abrasive use. Additionally, a robust frame or cart can facilitate mobility and stability when operating on uneven surfaces.
Choosing the Appropriate Sandblasting Media
.jpg)
For effective surface preparation, selecting the right abrasive is critical. Each type serves distinct purposes based on the material and finish desired. Common options include silica sand, glass beads, and garnet, each varying in hardness and texture.
Silica Sand
Silica sand is often the go-to for aggressive stripping and cleaning. Its affordability makes it popular, but be aware of the health risks associated with inhalation, leading to silicosis. If you choose this medium, ensure proper ventilation and personal protective equipment.
Glass Beads and Garnet
Glass beads provide a gentler alternative, ideal for delicate surfaces like aluminium and fibreglass. They create a smoother finish, perfect for applications requiring surface integrity. Garnet, meanwhile, strikes a balance between aggression and finish quality. This is suitable for tougher materials while minimising the risk of surface damage.
Evaluate the surface condition and the end result desired before making your choice. Experimenting with different media on scrap materials facilitates understanding of how each will perform on the actual job.
Preparing the Surface for Abrasive Cleaning
Clean the area thoroughly before starting the procedure. Remove all objects and debris from the surface, ensuring that the workspace is unobstructed. Pay special attention to corners and edges where dirt accumulates.
Inspect the surface for any loose paint, rust, or previous coatings. It’s crucial to scrape off any flaking materials to prevent them from contaminating the media. A wire brush or a paint scraper can effectively remove these issues.
If the surface is particularly oily or greasy, a degreaser is recommended. Apply the degreaser and allow it to sit for the manufacturer-recommended time before rinsing thoroughly with water. This step ensures that contaminants do not interfere with the cleaning process.
Conduct a moisture test on porous materials. If the surface retains water after rinsing, it’s necessary to allow adequate drying time before proceeding. Moisture can hinder the effectiveness of the abrasive action.
| Surface Type | Pre-treatment Method |
|---|---|
| Concrete | Rinse and remove debris, check for oils |
| Wood | Scrape loose paint, check for rot |
| Metal | Remove rust, degrease |
After preparing the surface, ensure you wear appropriate personal protective equipment (PPE) such as gloves, goggles, and a mask to safeguard against debris and dust. Proper preparation sets the foundation for optimal results.
Setting Up Your Equipment for Abrasive Cleaning
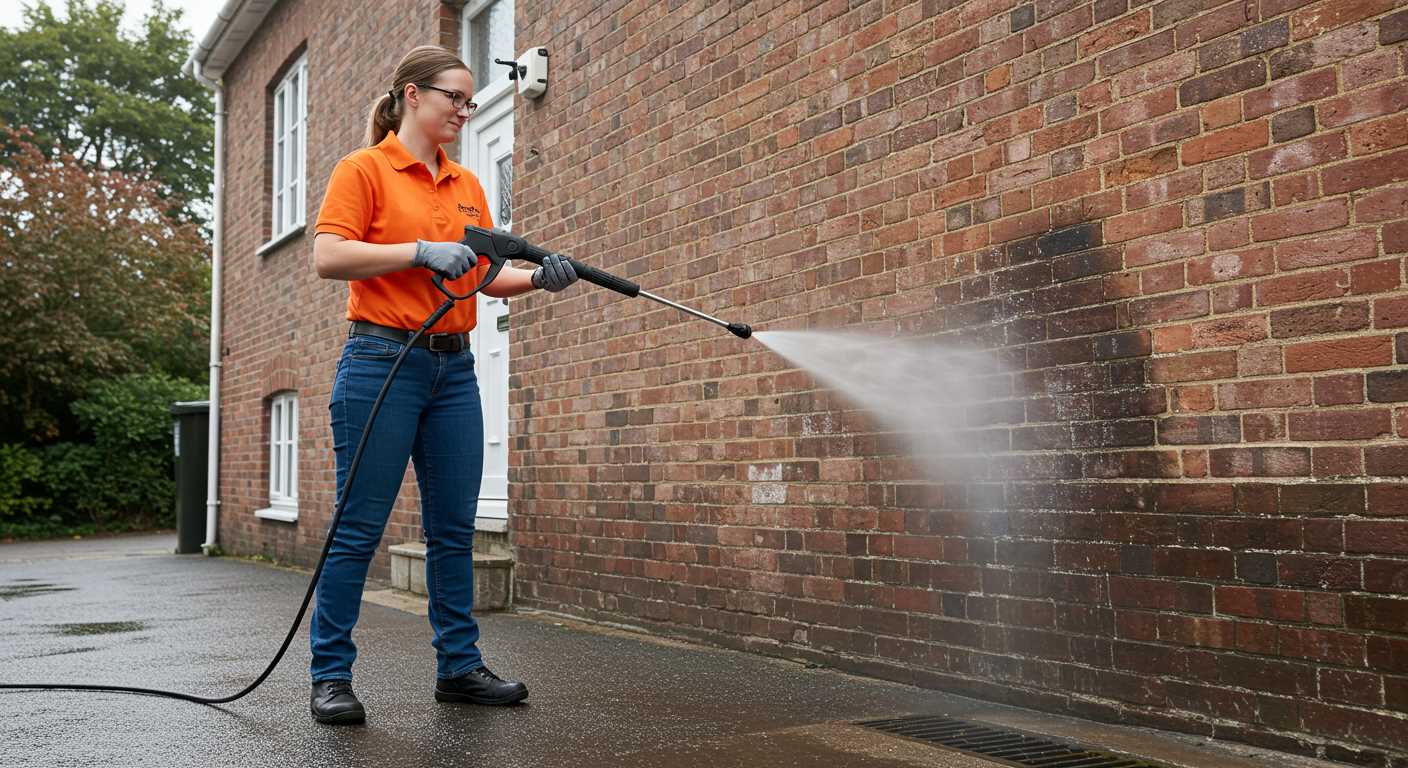
First, ensure your appliance has the correct nozzle attached; a sandblasting kit should come with a specially designed nozzle that accommodates the media flow. Replace standard nozzles with the appropriate one for this task, typically wide or adjustable to manage airflow and media application effectively.
Next, connect the siphon hose from the media tank to the nozzle. This hose should be securely attached, as any leaks can impede the process. Make sure the media tank is also adequately filled with your selected abrasive material, ensuring there are no clogs in the feed line.
Adjust the pressure settings on your device, aiming for a medium to high level, which optimally drives the media without causing damage to the surface. For most applications, starting around 2500 PSI can yield satisfactory results.
Additionally, check the water intake. Ensure a steady and unimpeded water flow, as this is critical for the mixing of water and abrasive, allowing the material to flow smoothly through the nozzle.
Before commencement, conduct a brief test on a less critical area to confirm the settings are appropriate and adjust accordingly. This will allow you to find the best combination of pressure and media flow to achieve the desired finish.
Safety Precautions During the Sandblasting Process
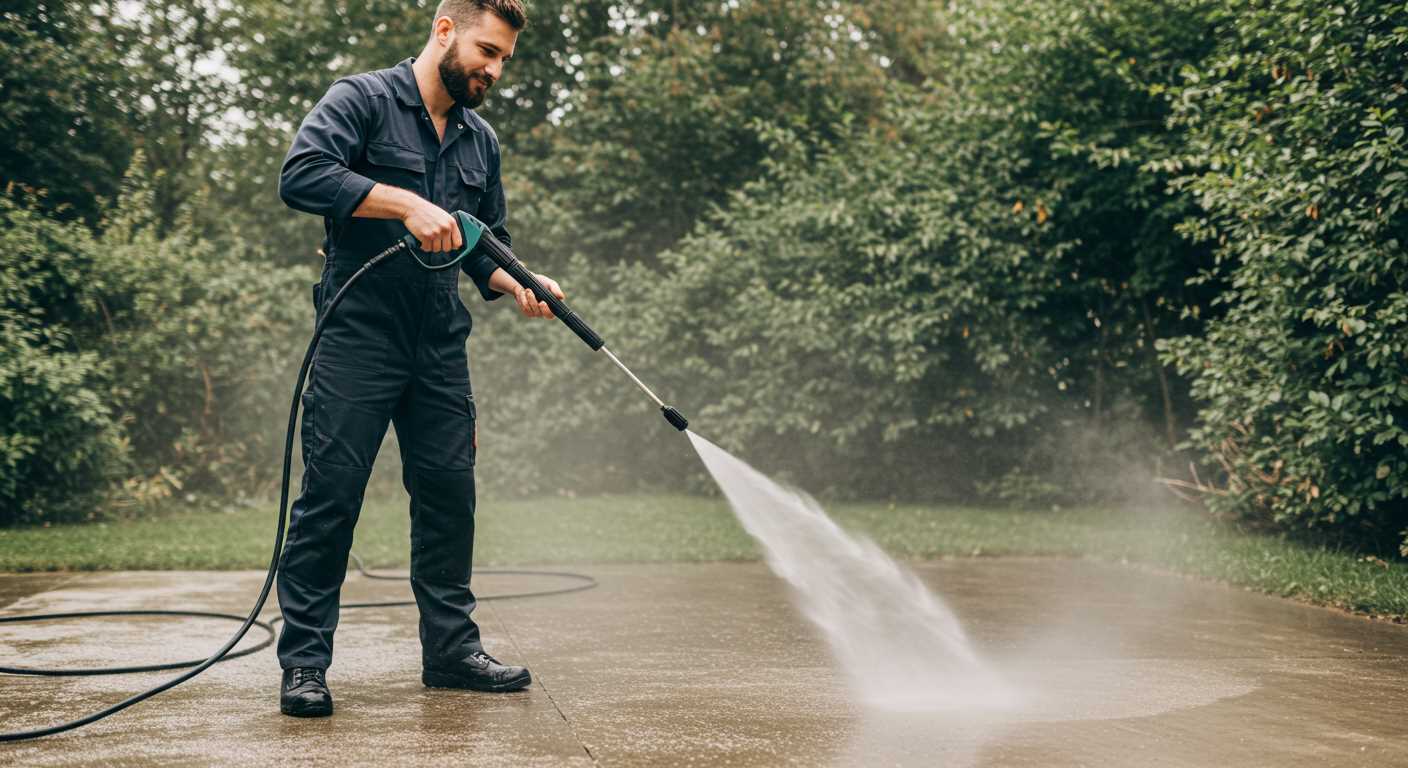
Always wear protective gear. A suitable respirator is crucial to avoid inhaling dust and contaminants. Use a full-face shield or safety goggles to protect your eyes from flying particles. Heavy-duty gloves are necessary to shield your hands from abrasives and other materials.
Ensure proper ventilation in your workspace. Working in an enclosed area can lead to the accumulation of harmful dust and inadequate airflow. If indoors, use fans or exhaust systems to maintain air quality.
Be aware of your surroundings. Clear the area from flammable materials, as the equipment can produce sparks. Establish a safety perimeter to keep bystanders away from your work zone.
Regularly check your equipment for any signs of wear or damage. Ensure all hoses and connections are secure to prevent any accidental leaks or malfunctions while operating. Conduct thorough inspections before beginning any tasks.
Follow manufacturer’s instructions for the specific abrasive material you choose. Different materials have varying safety guidelines and handling requirements. This ensures not only your safety but the effectiveness of the operation as well.
Do not wear loose clothing or accessories that might get caught in the equipment. Secure long hair and remove jewelry to prevent accidents. Proper attire contributes to a safer working environment.
In case of an emergency, have a first-aid kit readily available. Familiarise yourself with emergency procedures and know how to access help should anything go wrong during the operation.
Adhere to local regulations and guidelines related to the use of abrasive tools and materials. This will not only keep you safe but also ensure compliance with legal standards.
Aftercare: Cleaning and Maintaining Your Equipment
Immediately after using your tools, rinse them thoroughly to remove any abrasive particles. This step prevents clogging and wear in future use. Dissolve a mild detergent in warm water and use a soft brush to clean the external components, paying close attention to any fittings or hoses that may collect debris. Avoid abrasive pads which could scratch surfaces.
Check the connections and seals regularly for any signs of damage. Replace worn or cracked seals to maintain pressure and efficiency. Inspect the nozzles as well; if they are clogged or damaged, they need to be cleaned or replaced to ensure optimal performance.
Keep the media and attachments stored in a dry environment. Moisture can cause corrosion and reduces the lifespan of your accessories. Use sealable containers for any remaining media to avoid contamination.
If your machine has a protective coating, consider applying a light oil or lubricant to prevent rust and maintain its finish. Regularly lubricate pivot points and any moving parts according to the manufacturer’s guidelines.
Always consult the manufacturer’s manual for specific maintenance schedules and required servicing. Following recommended practices not only prolongs the life of your devices but also ensures they perform at their best during each use.


