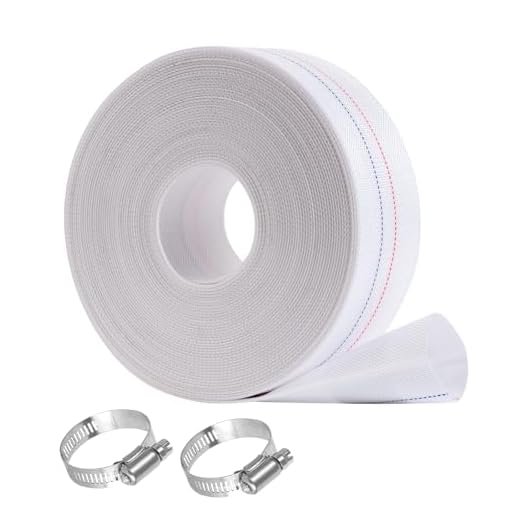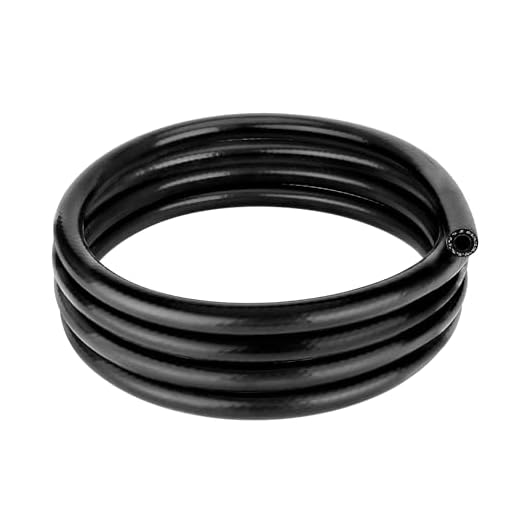
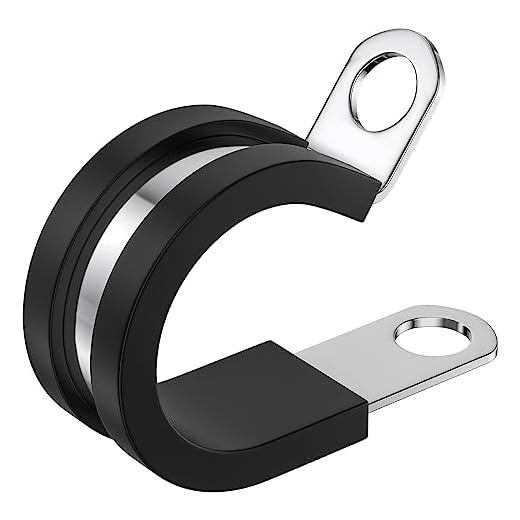

To connect high-pressure hoses securely, I recommend using hose clamps or quick-connect fittings designed specifically for high-pressure applications. These components allow for a tight, reliable connection without the risk of leaks or disconnections during operation.
Begin by ensuring that the ends of both hoses are clean and free from debris. Any dirt or residue can compromise the integrity of the connection. Next, if you’re opting for hose clamps, slide one over the end of each hose before pushing the hoses together. Position the clamp approximately an inch from the end of the hose for optimal sealing.
If quick-connect fittings are your choice, insert the end of the first hose into the fitting until you hear a click, indicating a secure lock. Repeat the process with the second hose and the corresponding fitting. Always test the connection by applying pressure gradually, watching for any signs of leaks.
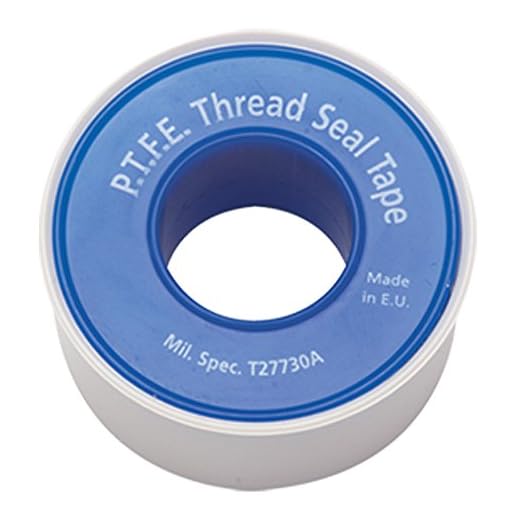
For an added layer of security, consider using thread seal tape on the threaded connections, ensuring a watertight fit. This additional step can prevent any unwanted spraying and improves the longevity of your setup.
Joining High-Pressure Equipment Tubing
Choose the right connectors based on your tubing specifications. Adapters made from durable materials such as brass or stainless steel provide long-lasting performance. Ensure these fittings swivel easily to prevent twisting during setup.
Proper Alignment
Before attaching any components, align the ends of the tubing accurately. This prevents stress on the connection points and mitigates leaks. A straight alignment can be achieved by laying the tubes on a flat surface, verifying that they meet at a consistent angle.
Using PTFE Tape
- Wrap a layer of PTFE tape around the threaded sections of the fittings. Ensure it covers the threads fully but avoid overlapping excessively.
- Apply moderate pressure while tightening the connections to maintain a firm but gentle grip on the tape.
- Inspect the connection after tightening to confirm no gaps or loose fittings remain.
Before testing, make sure to run water through the system to check for any leaks. Regularly inspecting connections can prevent major failures during operation. Keep a roll of sealant tape on hand for quick fixes and periodic maintenance.
Choosing the Right Hose Connection Method
Consider using quick-connect fittings for a user-friendly approach. These allow for fast and effortless attachment and detachment, enhancing workflow efficiency during tasks.
Another reliable option is threaded connections, which provide a secure and durable bond. Make sure to select fittings made from brass or stainless steel for longevity and resistance against rust.
Include rubber gaskets or O-rings in your configurations. These components help prevent leaks, ensuring a robust joint while maintaining pressure integrity.
Finally, crimped connections can offer exceptional strength, particularly in high-pressure applications. This method involves using specialised tools for a permanent fit, making it ideal for heavy-duty requirements.
Gathering Necessary Tools and Materials
Start by collecting the following items to ensure a smooth task:
- Quality connector fittings suitable for the diameter of your tubing.
- Thread seal tape to prevent leaks at the joints.
- Pipe wrenches or adjustable pliers for secure tightening.
- Utility knife to trim the ends of the pipe if necessary.
- Soft cloth to clean the connector surfaces before assembly.
- Protective gloves for safety while handling tools and materials.
Check that all components match in compatibility. It’s important to ensure all fittings are correctly rated for the pressure demands of your current setup to avoid any issues during use.
Assess your workspace to guarantee a clear and safe environment, making the process more manageable. Having everything organised prevents delays and helps maintain focus on the task.
Preparing Hose Ends for a Secure Fit
For optimal connection, trim the ends of each tube at a straight angle. This ensures a flat surface that aligns perfectly during assembly. Use a sharp utility knife for a clean cut, removing any fraying or debris. Following this, take a few moments to inspect the diameter of the ends. If they’re slightly out of shape, gently expand them with a fitting tool or by hand to achieve the correct size.
Cleaning the Ends
Next, clean each end with a cloth or degreaser to eliminate any dust, grime, or residual oils. This is critical as contaminants can prevent a tight bond and lead to leaks. Allow the ends to dry fully after cleaning before proceeding.
Using a Hose Insert
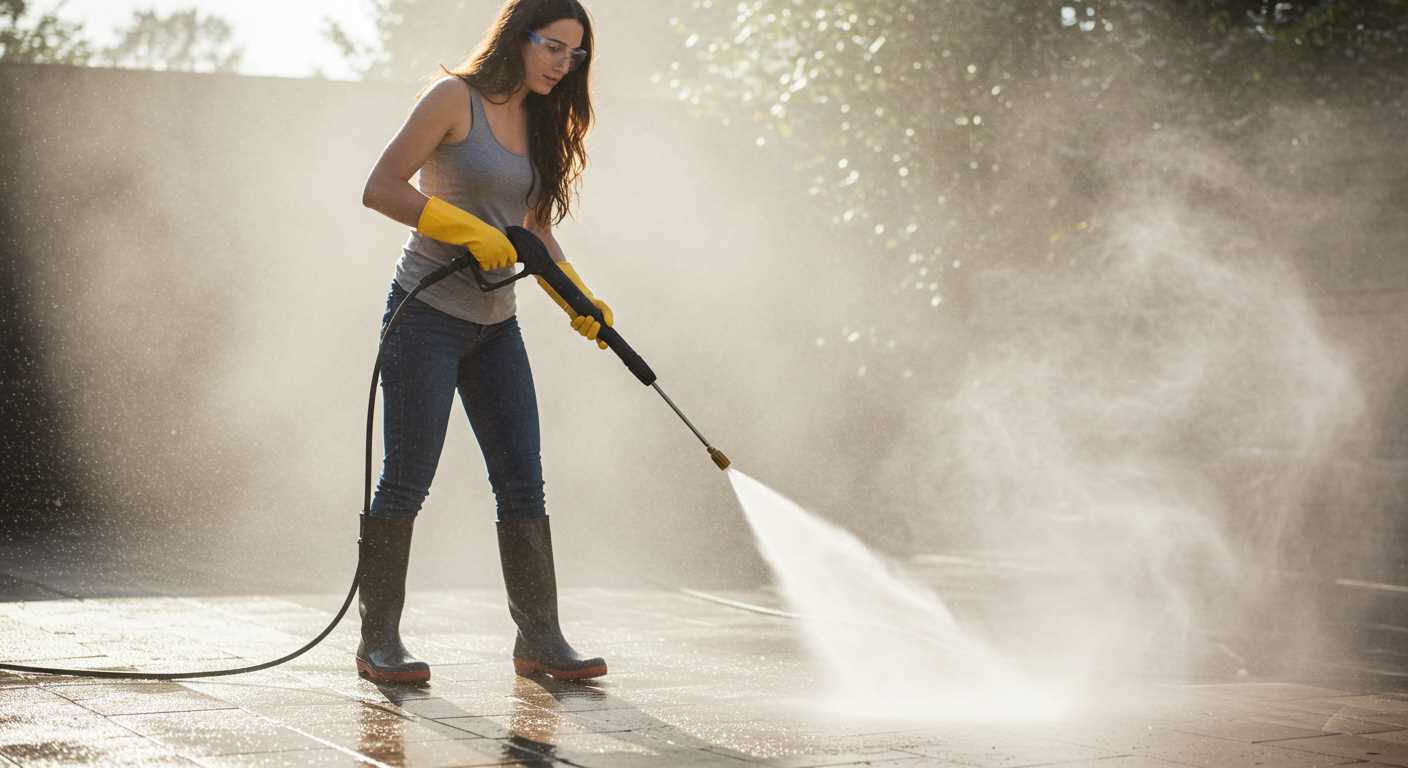
If necessary, consider using hose inserts for added stability. These inserts help maintain the integrity of the connection and can significantly enhance durability. Ensure that the inserts fit snugly within the tubing, leaving no gaps.
Applying Hose Clamps for Maximum Tightness
For optimal connection integrity, using hose clamps is a highly recommended strategy. These devices create a strong grip around the attachment points, preventing leaks and ensuring a secure bond. Here’s the process I follow for proper application.
Choosing the Right Clamps
Select clamps that fit the diameter of your tubing. Common options include worm drive, band clamps, and ratchet clamps. Worm drive clamps offer adjustability and are suitable for various hose sizes, while band clamps provide uniform pressure, ideal for high-pressure applications. Ratchet clamps can be used for thicker materials. Always verify the material compatibility with the hose’s composition, particularly with synthetic rubbers and plastics.
Installation Steps
| Step | Action |
|---|---|
| 1 | Position the clamp around the hose connection, ensuring it’s centred. |
| 2 | Using a screwdriver or wrench, tighten the clamp steadily. Apply pressure evenly to avoid distorting the hose. |
| 3 | Check for leaks after the connection is completed. If necessary, adjust the clamp for a better fit. |
After installation, keep an eye on the connection during use. Regular inspections help identify any wear or loosening that could lead to issues over time. Ensuring proper tightness significantly reduces the risk of failure during operation, granting peace of mind while working.
Using Thread Seal Tape for Leak Prevention
For optimal longevity and leak resistance of your connections, using thread seal tape is ideal. Wrap the tape around the male threads only, ensuring complete coverage without overdoing it; two to three times is sufficient. This will create a tighter fit once the fittings are threaded together.
Application Tips
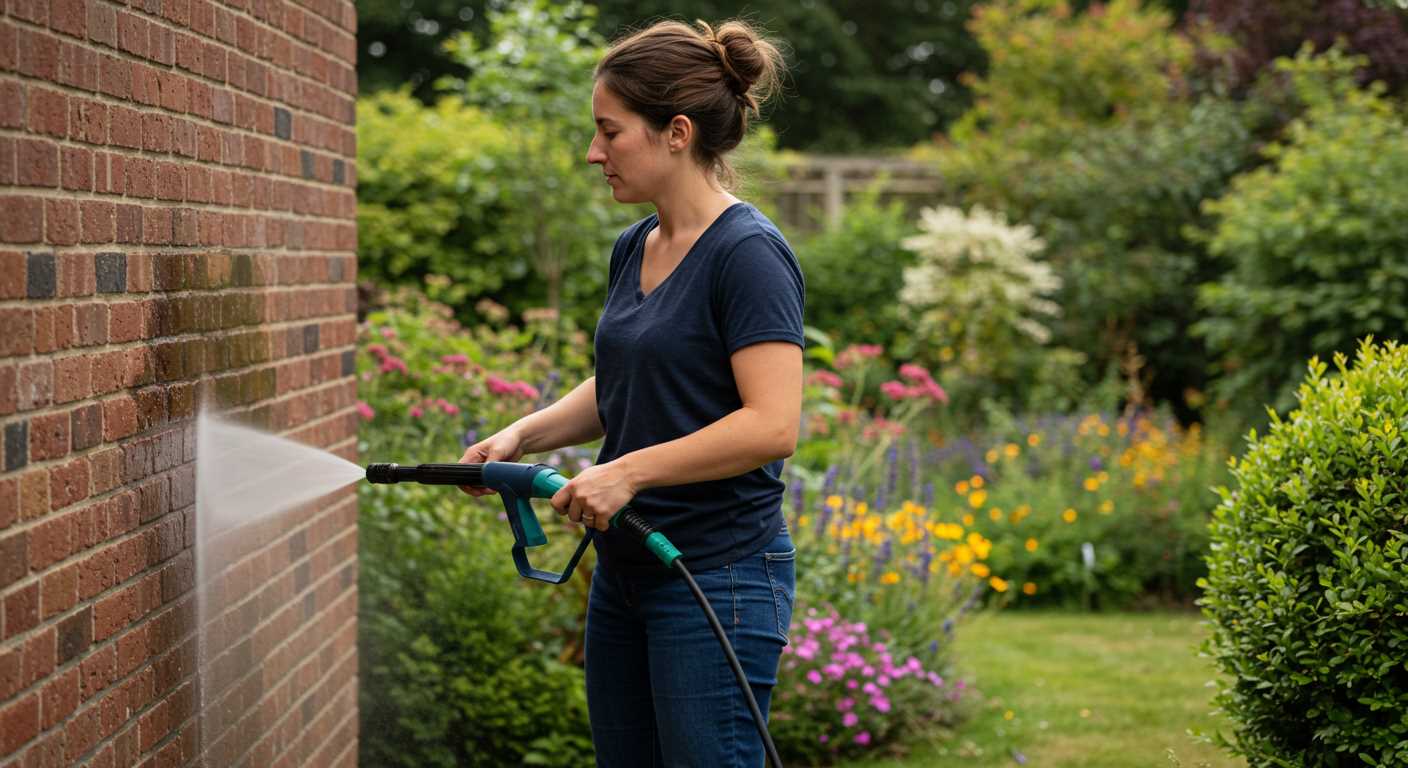
Before applying the tape, clean the threads thoroughly, removing any dirt or debris. Apply the tape in the direction that the fitting will be turned to make installation easier and more effective. Avoid using excessive force while tightening to prevent damaging the threads.
Benefits of Thread Seal Tape
Utilising this tape not only prevents leaks but also allows for easy disassembly of the fittings later on. It’s a versatile option for various types of fittings, ensuring secure connections each time. Additionally, tape is readily available and cost-effective, making it a practical choice for anyone working with high-pressure connections.
Testing the Connection for Leaks
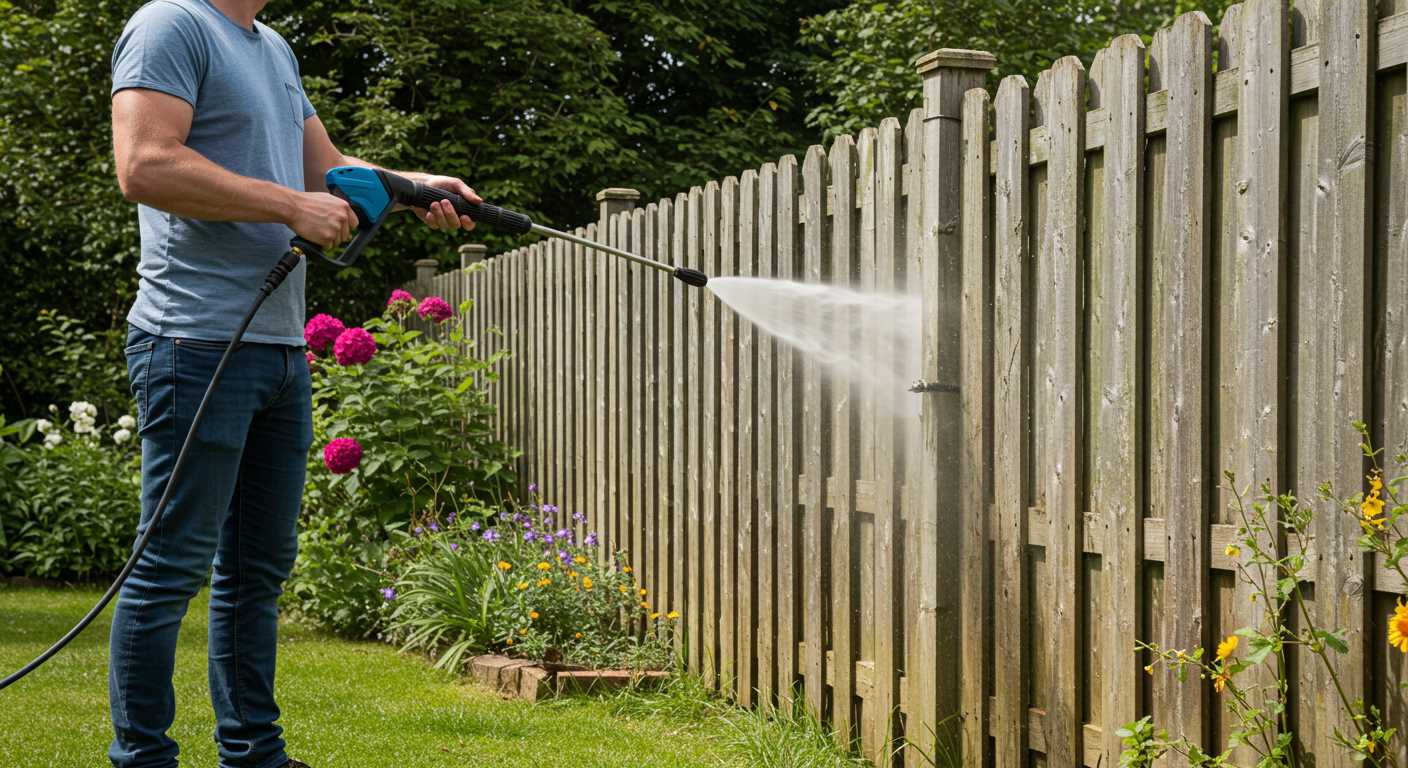
Perform a thorough inspection for leaks immediately after establishing a connection. Begin by turning on the water supply and observing the fitting areas for any signs of dripping or hissing. It’s crucial to check all joints and connections since even a small leak can escalate into a significant issue during operation.
For a more comprehensive evaluation, I recommend using a towel or cloth to gently wipe around the connection points. This will help highlight any moisture that may accumulate. If you notice wetness, it indicates that adjustments to the fittings may be necessary.
Next, apply a gentle increase in pressure while the unit is running. This can help identify weak spots in your connection that may not reveal themselves under lower pressure conditions. Be attentive to any changes in sound as well; a sudden drop in pressure often signifies a leak.
If available, utilise a leak detection solution or soapy water. Spray it onto the connection areas and watch for bubbles; this method can effectively reveal leaks that are otherwise difficult to spot. Be careful not to use too much pressure when applying, as this may damage the fittings.
After any necessary adjustments, repeat the test to ensure that you have resolved any issues. Taking the time to effectively evaluate the entire assembly guarantees a robust and leak-free experience during use.
Maintaining Sealed Covers for Longevity
Regular inspection of connections and fittings is necessary for durability. Look for signs of wear or damage, as these can lead to premature failure. Replace any worn or frayed parts immediately to prevent leaks and ensure optimal performance.
Keep your couplings clean from debris and residue, as build-up can compromise the integrity of attachments. A simple wipe down with a damp cloth after use can prevent grime accumulation.
Using protective covers when the equipment is stored can protect connections from environmental factors, reducing the risk of rust or degradation. Store in a place that avoids extreme temperatures and moisture whenever possible.
Periodically apply lubrication to threaded connections to ensure smooth operation during attachment and detachment. A silicone-based lubricant works best for this purpose, helping to prevent seizing and making it easier to maintain tight fittings over time.
Be mindful of how you handle and store your gear. Avoid kinks and sharp bends that stress joints; instead, coil the lines gently and use straps or ties to keep them organized. Proper handling extends the lifespan of all components significantly.
Lastly, consider inspecting and replacing any internal components of your equipment that are exposed to wear and tear regularly. Keeping an eye on parts, such as seals and washers, ensures they function correctly and mitigates any risks of sudden failures in the field.
FAQ:
What materials do I need to seal pressure washer hoses together effectively?
To seal pressure washer hoses, you’ll typically need a few key materials: strong plumbing tape (also known as Teflon tape), hose clamps, and possibly some silicone sealant. The plumbing tape helps create a watertight seal between the hose connections, while the hose clamps secure the connection and prevent leaks. Silicone sealant can also be used for added protection against moisture ingress.
Can I use any type of tape to seal pressure washer hoses, or is there a specific kind that works best?
While it might be tempting to use any tape you have on hand, it’s advisable to use plumber’s tape, or Teflon tape, specifically designed for this purpose. This type of tape is made to handle water pressure and creates a better seal than regular adhesive tape. Additionally, it is resistant to both heat and cold, making it suitable for outdoor use.
How do I know if my pressure washer hose connections are properly sealed?
To check if your connections are sealed correctly, follow these simple steps: First, visually inspect the connections for any gaps or loose fittings. Next, turn on your pressure washer and check for any signs of leaking water around the hose connections. If you see water dripping or feel moisture at the joints, it indicates that the seal is not effective. You may need to reapply tape or tighten the hose clamps to fix the issue.
What should I do if my pressure washer hoses continue to leak even after sealing?
If your pressure washer hoses are still leaking after attempting to seal them, consider these steps: First, double-check that the tape was applied correctly and that the hose clamps are tightened adequately. If the problem persists, inspect the hoses for any wear or damage that might require replacement. Sometimes, the connector fittings themselves can be damaged and may need to be replaced as well. If necessary, consult the manufacturer’s guidelines for further advice on hose maintenance.


