

Begin by carefully reviewing the user manual that accompanies your cleaning device. This document contains crucial information specific to your model, ensuring a hassle-free installation process.
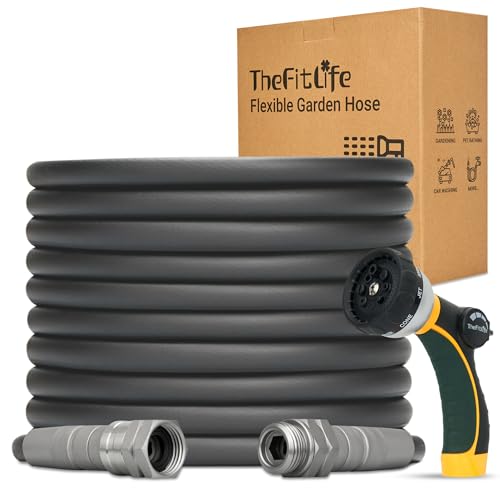
Attach the high-pressure hose to the outlet on the main unit. Make sure it is securely fastened to prevent any leaks during operation. Engage the quick-connect feature to ensure an airtight seal.
Connect the other end of the hose to the spray gun, following similar steps for a snug fit. Test the connection by gently tugging on the hose; it should remain firmly in place.
Fill the detergent tank if your model has one. Use a compatible cleaning solution that aligns with your cleaning tasks. Avoid using abrasive or harsh chemicals that might damage the machine.
Next, direct the nozzle of the spray gun away from your body and activate the power switch. Allow the machine to build up pressure, and once it signals readiness, you’re set to start tackling your cleaning projects efficiently.
How to Organise a Bosch High-Pressure Cleaner
Begin by ensuring all components are nearby: the machine, hose, lance, and detergent bottle. Connect the hose securely to the water inlet at the bottom of the unit. Make sure it clicks into place to prevent leaks. Then, take the end of the hose, attach it to your water source, ensuring a tight fit to avoid any unnecessary water loss.
Next, insert the lance into the front of the device. It should fit snugly, and you might hear a sound confirming it’s properly in place. If a detergent application is required, pour the recommended cleaner into the designated bottle, following the instructions for proportions precisely to avoid damaging the equipment.
Now, plug the machine into a power outlet, ensuring that the extension cord, if used, is rated for outdoor use and is in good condition. Activate the unit and let it run for a minute. This allows air to escape from the system, ensuring optimal performance without surging water pressure.
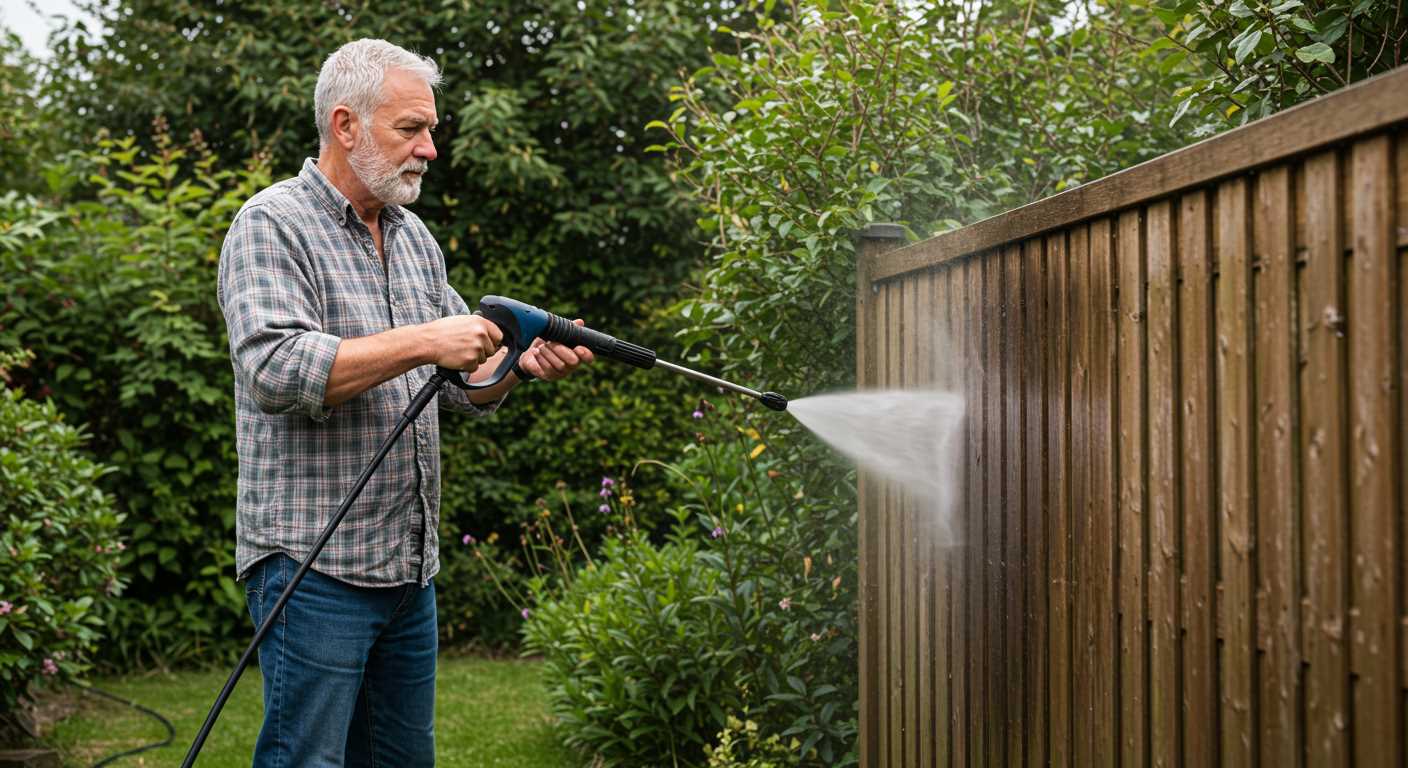
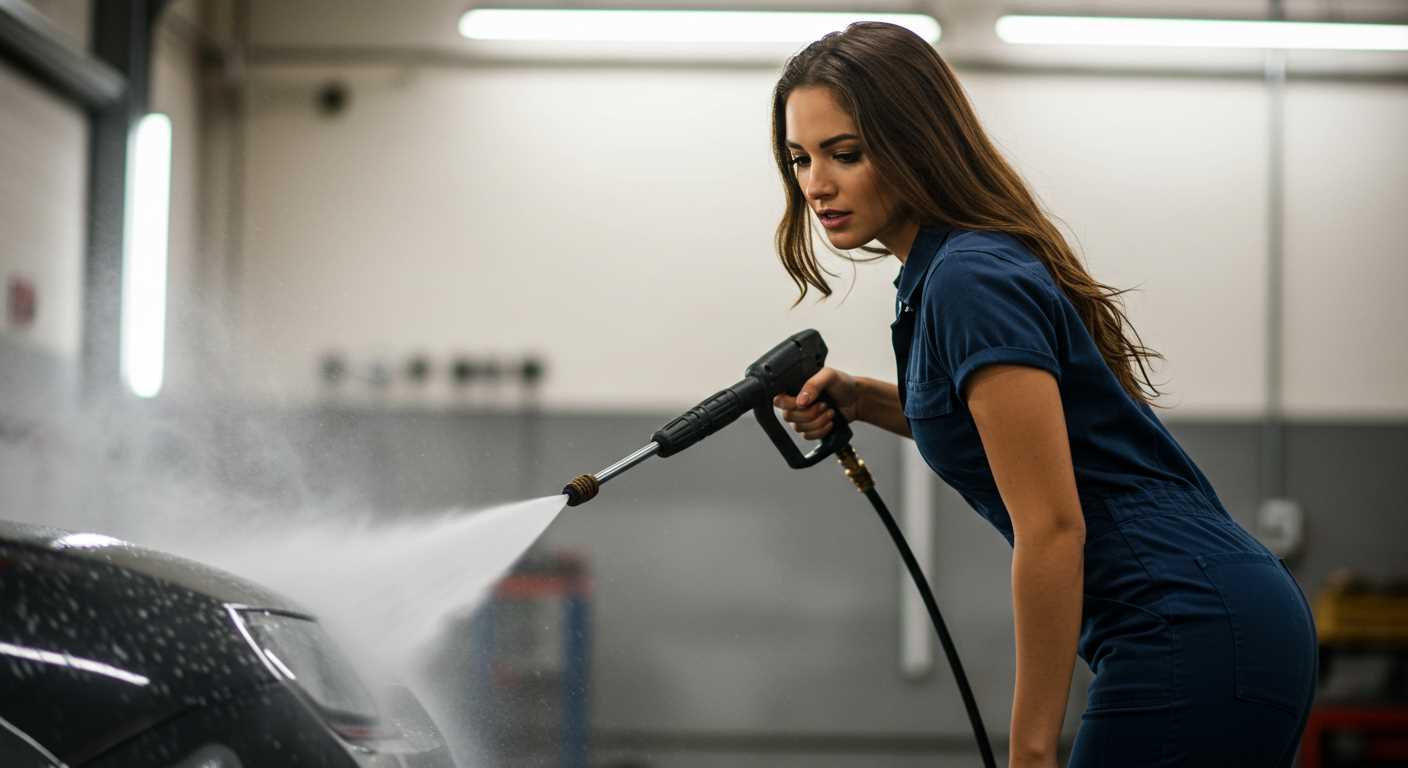
Adjust the nozzle to the desired spray pattern based on your cleaning task, ensuring a firm grip. Always hold the lance with both hands, and stand at a safe distance from the surface being cleaned to maintain control and prevent recoil. Be ready to adjust the distance if the dirt is stubborn.
Finally, once the cleaning is completed, turn off the power. Disconnect the water supply and release the pressure from the system by pulling the trigger on the lance until no more water exits. Store the device, coiling the hose neatly and placing it indoors when not in use to prolong its lifespan.
Selecting the Right Nozzle for Your Task
For specific tasks, I recommend choosing the correct nozzle to maximise results. Each nozzle type serves a distinct purpose, influencing the effectiveness of your cleaning efforts.
Types of Nozzles
- Turbo Nozzle: This option creates a rotating jet, ideal for tough stains on surfaces like driveways and patios.
- 25-Degree Nozzle: A versatile choice for wider cleaning tasks, suitable for decks, fences, and vehicles.
- 15-Degree Nozzle: This provides a more concentrated spray for removing grime in heavy areas, perfect for concrete and brick.
- Soap Nozzle: Utilised for applying detergent, it allows for effective dirt loosening before rinsing.
Choosing the Right Nozzle

Consider the task at hand. For cleaning vehicles, a 25-degree option works well without damaging paint. For intricate areas like vents, choose a nozzle with a narrow spray pattern, such as a 15-degree. Turbo varieties suit larger areas with stubborn dirt.
Test the nozzle at a distance first to gauge its effectiveness; adjusting distance improves control and prevents damage. Remember that maintaining the optimal angle enhances cleaning efficiency.
Finally, always consult the manufacturer’s guidelines for compatibility, ensuring both performance and safety during your cleaning tasks.
Assembling the Pressure Cleaner Components
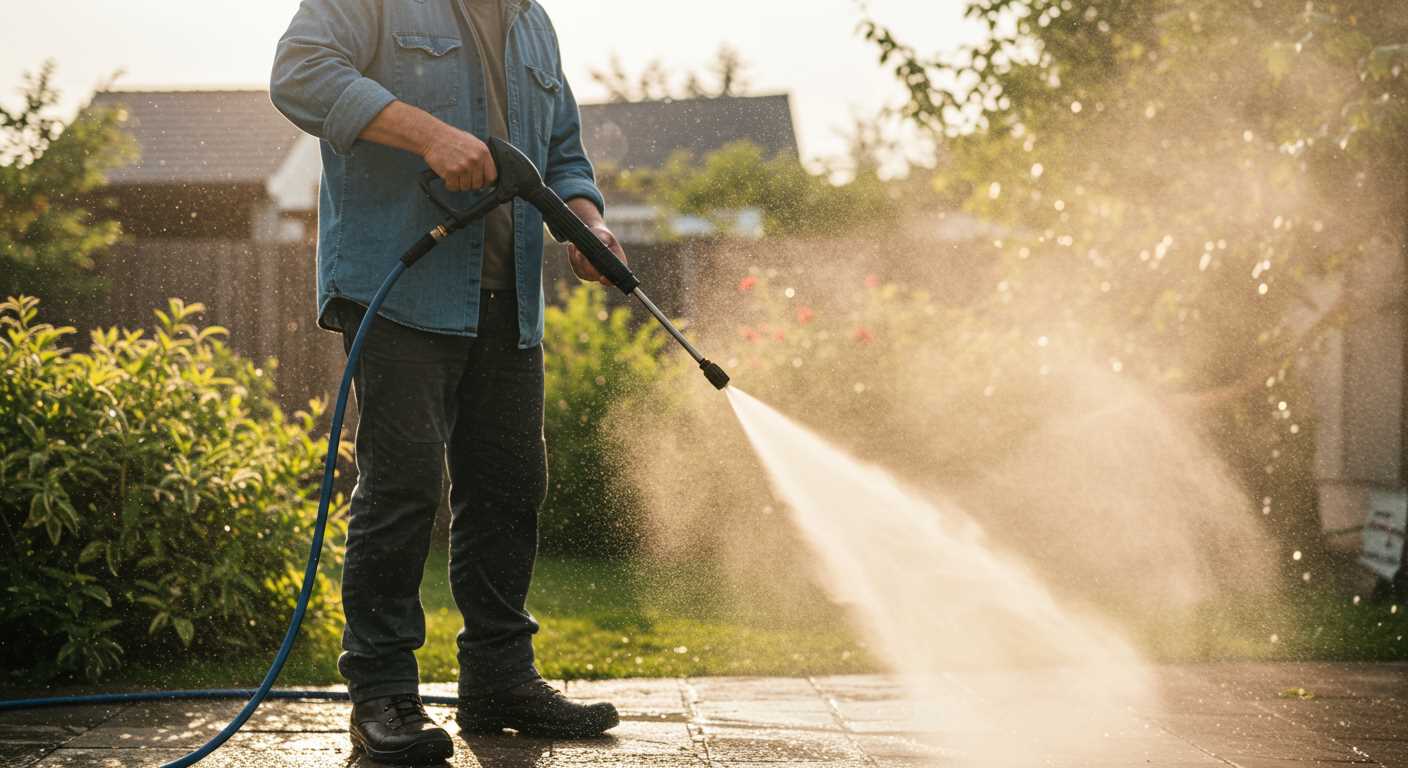
Begin with the assembly of the trolley. Align the two rear wheels with the corresponding slots on the base and press firmly until you hear a click. Ensure the wheels rotate freely.
Attach the handle by aligning it with the designated holes on the main unit. Insert the screws provided and use a screwdriver to secure them tightly. Confirm that the handle is stable and does not wobble.
Next, connect the high-pressure hose to the outlet. Push the hose into the coupler until it locks in place. A gentle tug will confirm that it is secure.
Proceed to fix the detergent tank to the designated section, ensuring it clicks properly into position. This component should not move once secured.
For the nozzle, twist it onto the gun until it is firmly tightened. Select the appropriate nozzle for your intended task by consulting the indicated guidelines on the unit.
Finally, check all connections and fittings. A thorough inspection will help prevent leaks or detachment during use. Ensure everything is locked in position, eliminating any loose parts.
Here’s a quick reference table for assembly components:
| Component | Action Required |
|---|---|
| Wheels | Align and click into base |
| Handle | Align, insert screws, tighten |
| High-Pressure Hose | Push into outlet until secure |
| Detergent Tank | Click into place |
| Nozzle | Twist to connect |
Connecting the Water Supply Correctly
Ensure the water inlet hose is securely attached to the water source before connecting to the machine. Use a high-quality garden hose, preferably 1/2 inch in diameter, and avoid hoses longer than 10 metres to prevent pressure drop.
Attaching the Hose
First, take the end of the water hose and attach it to the water supply tap. If the tap has a threaded connection, use a hose connector for a firm fit. Ensure there are no kinks or bends in the hose, as these can impede water flow.
Check Water Quality
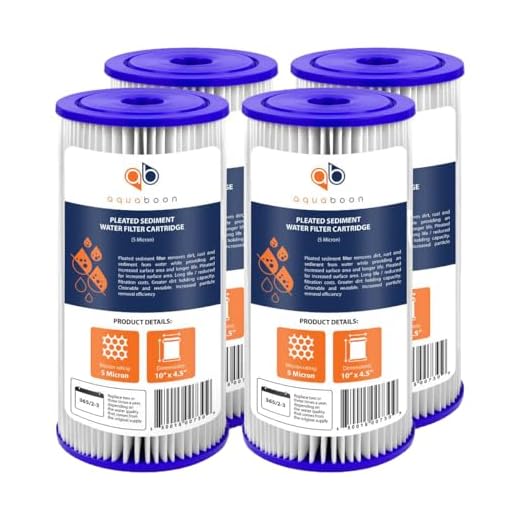
Before you proceed, inspect the water source for debris or sediment. Clean water is necessary to avoid clogging the internal filters of your unit. If your water contains high sediment levels, consider using a sediment filter.
The machine functions best with fresh, potable water. Using water directly from a rainwater system is not recommended unless it has been properly filtered.
After connecting the water supply, turn on the tap to allow water to flow through the hose and fill the system. This will help eliminate air pockets before starting the unit.
Verify there are no leaks at the connections to ensure an uninterrupted water supply during operation. If leaks are present, tighten the fittings as needed.
This meticulous approach will lead to optimal performance and prolong the life of your cleaning equipment.
Setting Up the Power Supply Safely
Always ensure that the electric source is appropriate for your model’s voltage requirements. Consult the user manual for specifications, typically varying between 110V and 240V.
Using Extension Leads
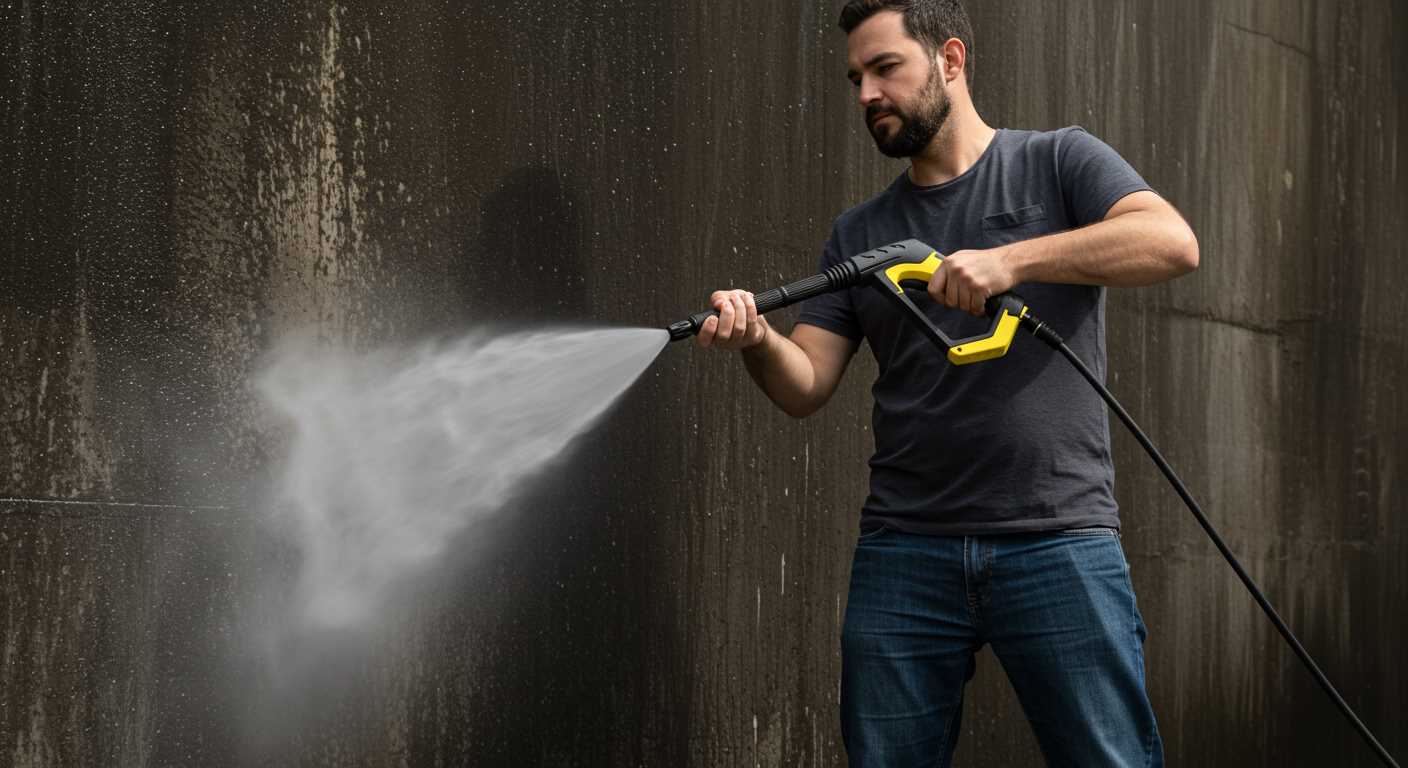
If an extension lead is necessary, choose one rated for outdoor use with sufficient ampacity. Here are my recommendations:
- Look for heavy-duty cables, ideally 3-core and with an appropriate gauge rating (minimum 1.5 mm² for lengths up to 25 meters).
- Check for damage or wear before use; frayed or worn leads can pose serious risks.
- Ensure connections are secure and waterproofed if used outdoors.
Placement Guidelines
Position the device on a flat, stable surface, ensuring it is at least a metre away from any walls or obstructions to allow for proper airflow. Avoid areas with damp conditions or potential hazards, such as water pools, to prevent electrical shocks. Follow these steps:
- Find a dry, sheltered location to minimise weather exposure.
- Keep cords out of walkways to prevent tripping hazards.
- Verify that the power outlet is grounded and protected by a circuit breaker or RCD.
After setting the electric supply, ensure the machine is powered down and unplugged while connecting hoses or nozzles. This practice reduces the risk of accidental activation and enhances safety during setup.
Priming the Machine Before Use
To ensure optimal performance, it is crucial to prime the unit properly before operation. Start by filling the detergent tank with the appropriate cleaning solution. It’s advisable to use a product recommended by the manufacturer, as this guarantees compatibility and effectiveness.
Preparing the Water Intake
Next, connect the water supply to the intake port. Make sure to flush the hose thoroughly before attaching it to eliminate any debris that could obstruct the flow. It’s essential that the water source provides adequate pressure; low pressure can prevent the machinery from functioning correctly.
Activating the System
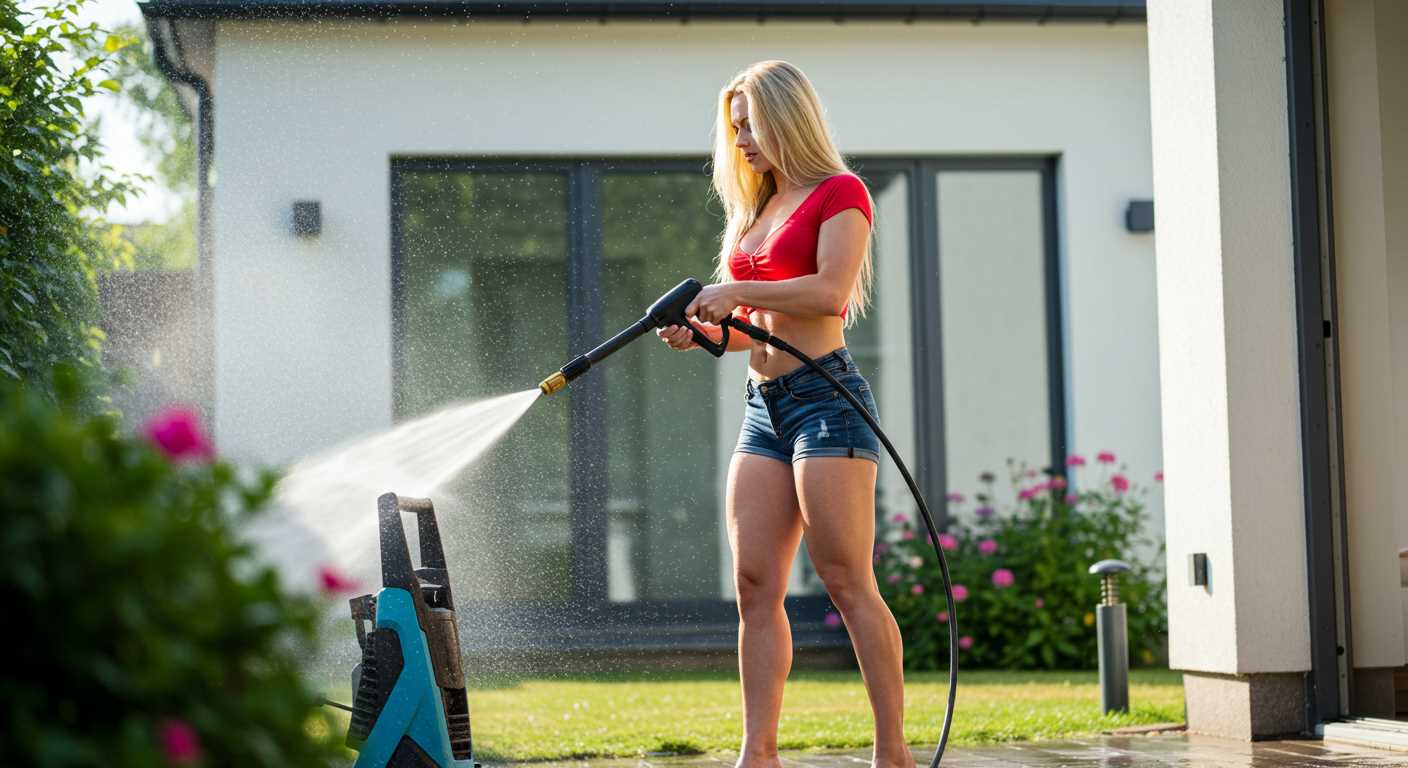
With the water supply connected, switch on the appliance to circulate water through the system. Allow it to run for a minute or two, ensuring that there are no air pockets. You may notice a steady stream of water exiting from the nozzle–this indicates the priming process is complete. Always check for leaks before commencing your cleaning task.
Performing a Test Run for Proper Operation
Before using the equipment extensively, it’s mandatory to conduct a test run. Begin by connecting the machine to your water source and ensuring all components are securely attached. With the power supply linked, turn the unit on without pulling the trigger. This action allows water to circulate and confirms there are no leaks or blockages in the system.
Next, engage the trigger momentarily until a steady stream flows. This verifies proper priming and ensures any air trapped in the lines is expelled. If water flows smoothly without interruptions, the setup is likely correct.
During the test, watch for any unusual sounds or vibrations. These can indicate underlying issues that need addressing. If you notice erratic operation or hear strange noises, disconnect the power and water supply and inspect all connections and hoses.
After these checks, select an appropriate nozzle and engage the trigger again. Test at various distances to assess spray pattern and pressure effectiveness. This helps confirm that the device operates according to specifications.
After the initial run, conduct a final inspection, checking that the unit is functioning optimally. Make note of any inconsistencies, as this can assist in troubleshooting potential future problems.

