


Ensure your high-pressure cleaner is equipped for optimal performance by securely attaching it to a suitable supply source. Begin by selecting a clean and accessible tap fitting, which allows for an adequate flow rate. A standalone garden tap or outdoor hose bib is often ideal for this purpose, providing an uninterrupted supply.
Next, assess the hose and fittings for compatibility. I recommend using a high-quality garden hose that can withstand the required pressure without kinking or leaking. The hose should ideally be no longer than necessary to maintain efficient flow, as longer lengths can reduce pressure markedly. If using adapters, ensure they are completely sealed to prevent any water loss.
Once everything is in place, turn on the water supply slowly to avoid bursts and check for leaks at all connection points. Perform these checks before powering on the cleaner to prevent any potential damage or disruptions during use. This approach guarantees a reliable setup, ensuring your tasks can be completed effectively with minimal hassle.
Establishing a Connection with Your Cleaning Machine
Attach the suction hose to the inlet on the unit, ensuring a secure fit. Then, position the other end of the hose into your water source, whether it’s a garden tap or a tank. If utilising a tank, check for adequate fluid levels before proceeding.
Inspect the hose for any cracks or blockages. Clear any debris that could impede the flow. It’s important to use a proper adapter if the tap threads and your hose do not match. This will create a leak-proof seal.
Pressure Regulator Settings
Set the pressure regulator to the lowest setting initially. This safeguards the machine from overworking and allows for gradual adjustment to higher pressures as required.
Final Checks Before Operation
- Verify all connections are tight and free from leaks.
- Ensure the machine is on a flat, stable surface.
- Check the power supply cord for wear and tear.
With everything in place, you can now power on the machine. Observe for any irregular sounds or leakage during the first run. If everything functions smoothly, adjust the pressure accordingly and begin cleaning.
Selecting the Right Hose for Your Pressure Washer
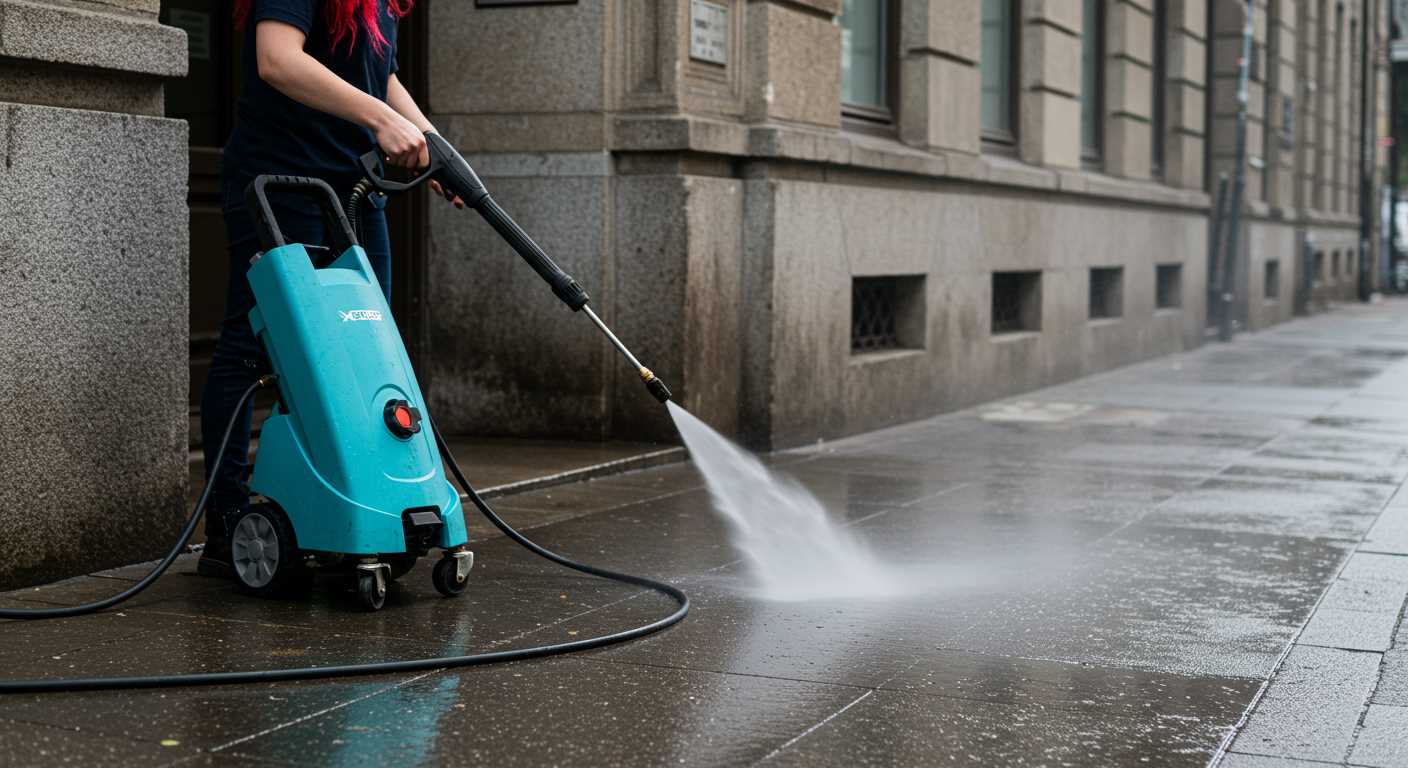
For optimal performance, it’s paramount to choose a hose that complements your cleaning equipment. Ensure the hose’s diameter matches the unit’s specifications. Generally, a 1/4-inch diameter is standard, but some high-powered models may require a 3/8-inch option for enhanced flow.
Consider Hose Length
A shorter hose reduces pressure loss, while a longer one offers flexibility. Typically, hoses ranging from 25 to 50 feet are adequate for most tasks. Assess your workspace to determine the ideal length.
Material Matters
Hoses come in various materials, each with its advantages:
- Rubber: Durable and resistant to kinks, but can be heavier.
- Polyurethane: Lightweight and flexible, making it easier to handle.
- Reinforced: Provides added strength against pressure and wear.
Opt for materials that withstand the conditions you’ll encounter. A reinforced option is particularly beneficial if debris is common in your work area.
Another aspect is the fittings. Ensure they are compatible with your machine. Quick-connect fittings simplify the setup process and enhance versatility.
Investing time in selecting the right hose pays off by maintaining efficiency and prolonging the lifespan of your cleaning equipment.
Connecting the Hose to the Water Supply
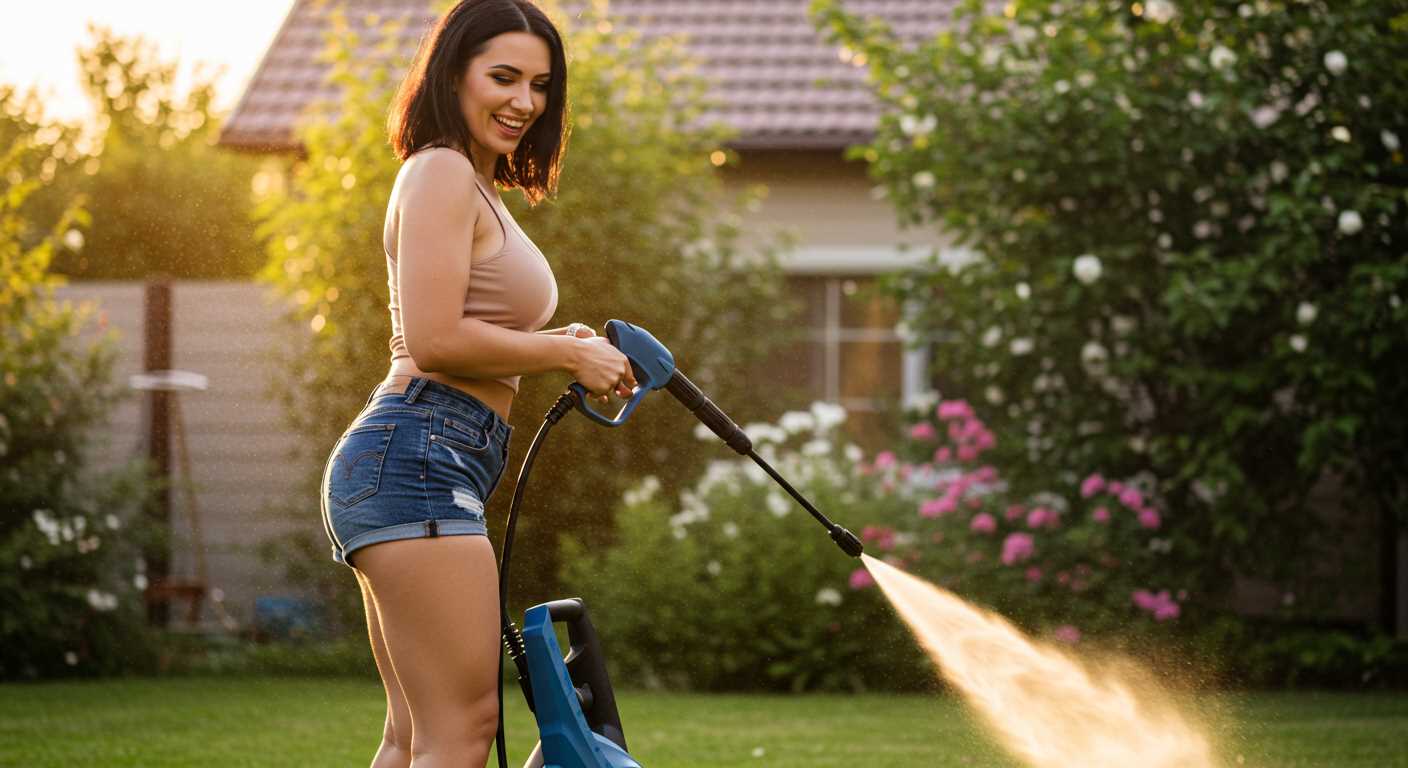
Secure the garden hose to the water inlet on the device. Ensure that the fitting is tightened properly to prevent leaks. Use pliers if necessary, but avoid overtightening which may damage the threads.
Before turning on the supply, check that the hose is free of kinks or blockages. Any obstruction can reduce flow and impair operation. If the hose is in good condition, turn on the supply slowly to allow air to escape.
Monitor connections for any leaks while the water is flowing. If you notice any, re-tighten the fittings or inspect the hose for damage. Always use a hose rated for your needs, as not all hoses can handle high pressures or temperatures.
Consider adding a filter at the water source. This will help catch debris, ensuring a clean supply and prolonging the life of the internal components.
Regularly clean or replace your hose based on wear and tear, and store it in a cool, dry place when not in use to prevent deterioration. Following these guidelines will lead to optimal performance and longevity of your equipment.
Checking for Leaks in Hose Connections
The first step is to inspect each connection point between the hose and its fittings. Look for signs of water seepage or dampness around the joints. If you notice any moisture, it indicates a potential leak that requires attention.
Next, tighten the connections to ensure they are secure. Use an appropriate wrench if necessary, but avoid overtightening, as this can damage the fittings. Once tightened, run the equipment and observe for any new leaks. A quick way to identify leaks is to listen for hissing sounds while the system is operating.
If a leak persists, consider applying thread sealant tape to the threaded connections. This tape can help fill minor gaps and prevent water from escaping. After applying the tape, reattach the fittings and test the system again.
Another useful technique is to conduct a pressure test. Close off the outlet of the hose and run the machine to full pressure. Monitor for any drops in pressure or water escaping at any connections. If you find leaks, inspect the hoses for damage, wear, or kinks that may affect performance.
| Signs of Leaks | Recommended Action |
|---|---|
| Dampness or moisture around joints | Tighten connections |
| Hissing sounds | Inspect and tighten fittings |
| Pressure drop during test | Check for hose damage |
Regular checks for leaks will ensure optimal performance and longevity of your cleaning equipment. Always address leaks immediately to prevent further issues down the line.
Adjusting Water Pressure Settings on the Machine
To optimise your cleaning tasks, accurately calibrating the water flow is essential. Begin by locating the adjustment knob or dial, typically situated on the control panel or at the front of the unit. Ensure it is set to the recommended level indicated in the manual; this provides a solid starting point.
For tougher stains or surfaces, gradually increase the flow by turning the knob clockwise. Monitor the performance; you should notice a significant difference in cleaning efficacy. If you observe excessive splatter or loss of control, dial it back slightly to find a more manageable setting.
Conversely, if you’re working on delicate surfaces, such as wooden decks or painted areas, reduce the output by turning the knob counterclockwise. This adjustment helps prevent damage while still allowing for effective cleaning.
Always remember to allow the machine to reach the desired setting before starting your cleaning process. This ensures that the output is consistent and prevents unnecessary wear on the equipment.
Before each use, verify that the chosen flow level aligns with the task at hand. Some models may have different nozzle attachments that correlate with specific flow settings. Utilize these features to enhance your efficiency and achieve the best results.
Finally, after making any adjustments, conduct a quick test on an inconspicuous area. This practice ensures the output is appropriate for the surface you’re about to clean and minimises the risk of unwanted damage.
Preparing the Water Source for Operation
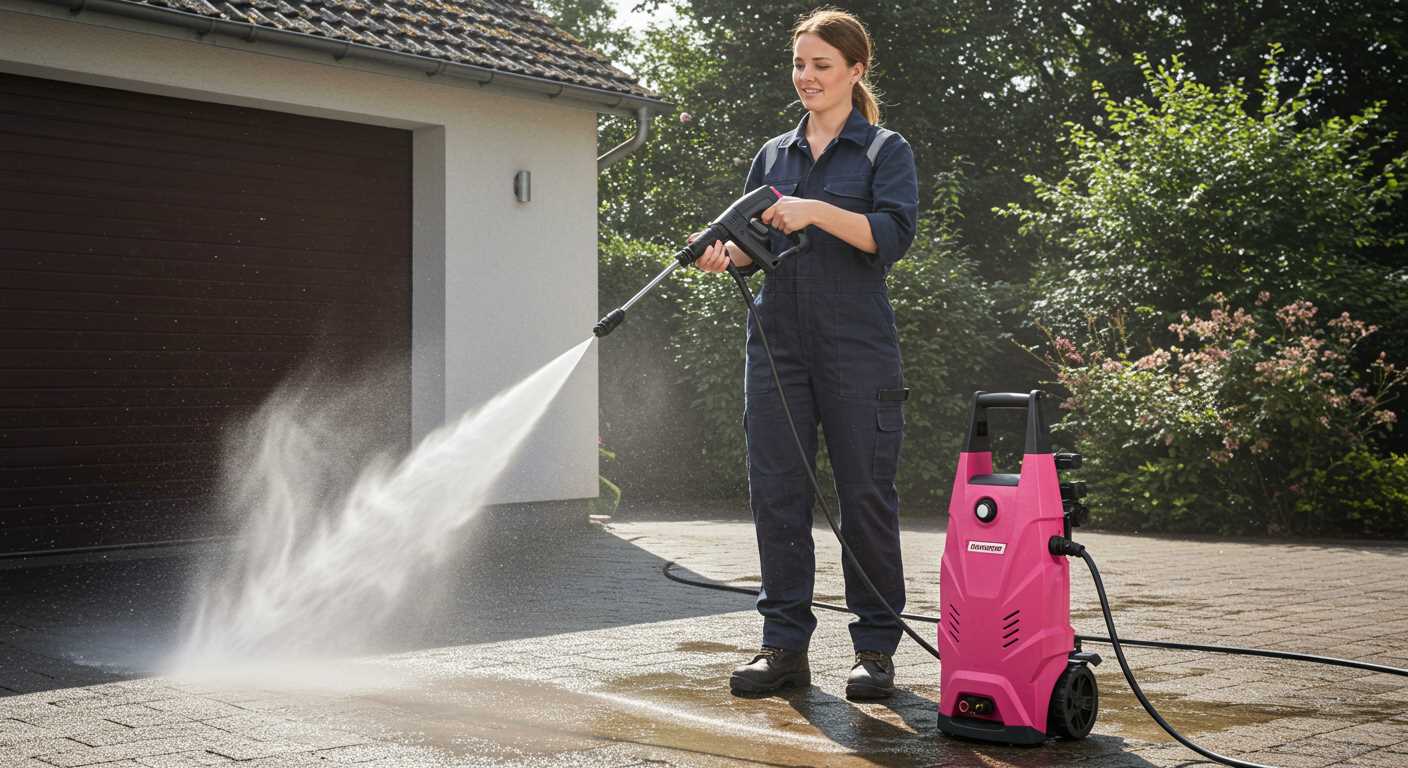
Ensure that the supply is readily accessible and primed for use. Turn on the tap to check the flow rate; it should be strong and steady without obstruction. If necessary, clear any debris from the inlet screen to prevent clogs.
Temperature Check
Verify the temperature of the liquid. Ideally, it should not exceed 30°C to avoid damage to components. If the flow is from a hot water source, adjust accordingly or consider using cool water instead.
Supply Connection
Use a garden hose that’s both compatible and reliable for the connector on the machine. Make sure the fittings are secure to prevent leaks. Tighten the connections by hand, avoiding the use of tools that may damage the threads.
Understanding Water Temperature Requirements
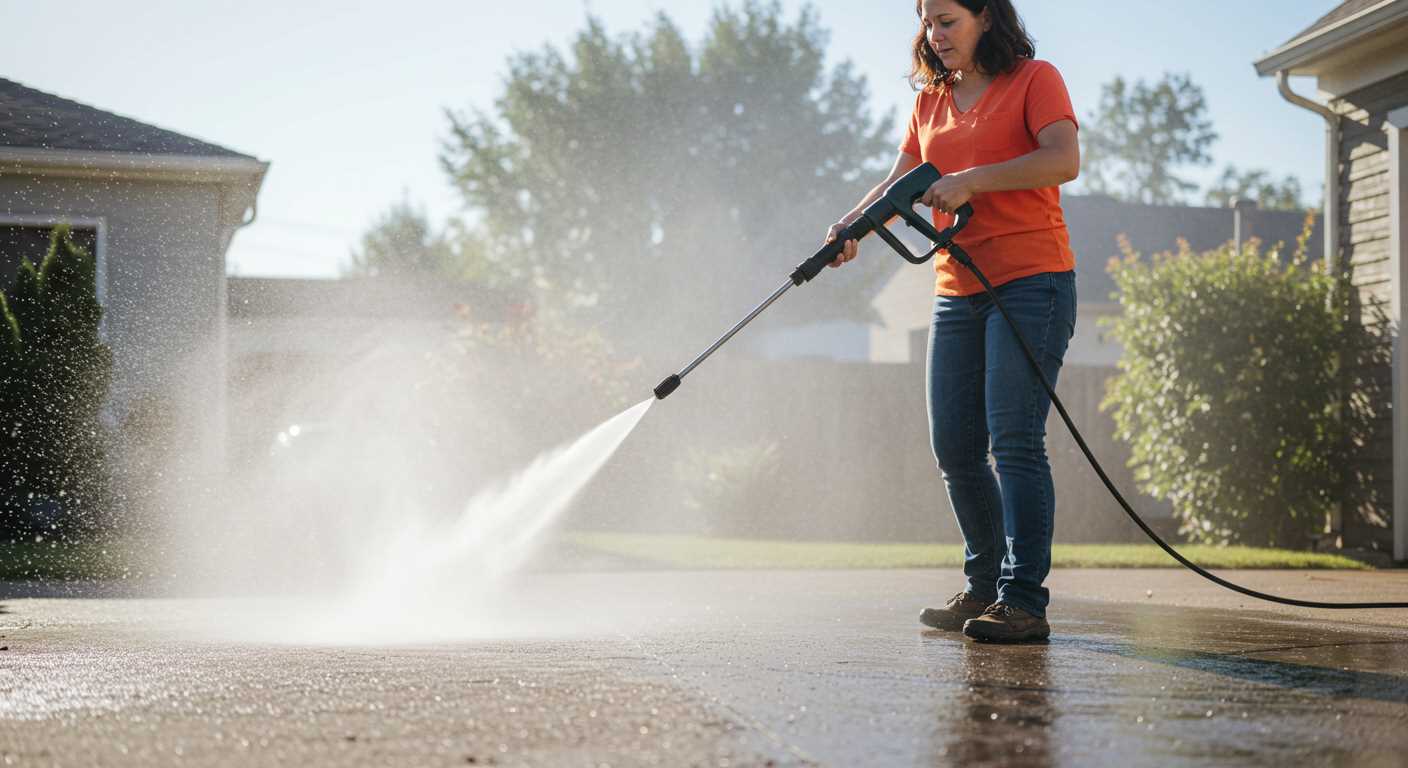
For optimal cleaning performance, using the right thermal levels is crucial. Typically, the ideal temperature for cold cleaning systems ranges between 10°C and 20°C. However, for more stubborn grime, hotter sources can be utilised, extending up to 60°C.
It’s essential to be cautious with elevated thermal levels. Too high temperatures may damage sensitive surfaces or coatings, such as paint or vinyl siding. Always verify the manufacturer’s guidelines for the equipment to ensure compatibility with hotter inputs.
In terms of efficiency, warmer fluids enhance the effectiveness of detergents, accelerating the breakdown of contaminants. If your task involves heavy oils or grease, consider incorporating heated cleaning options if your gear permits.
Before commencing, assess the inlet temperature to avoid equipment damage. Many cleaning devices are designed to manage cold to moderate temps, but exceeding these limits can lead to malfunction or decreased longevity.
In summary, understanding the temperature parameters of your equipment is a foundational aspect for achieving maximum cleaning results. Make sure to adjust your approach according to the specific demands of the job at hand.
Testing the System Before Full Operation
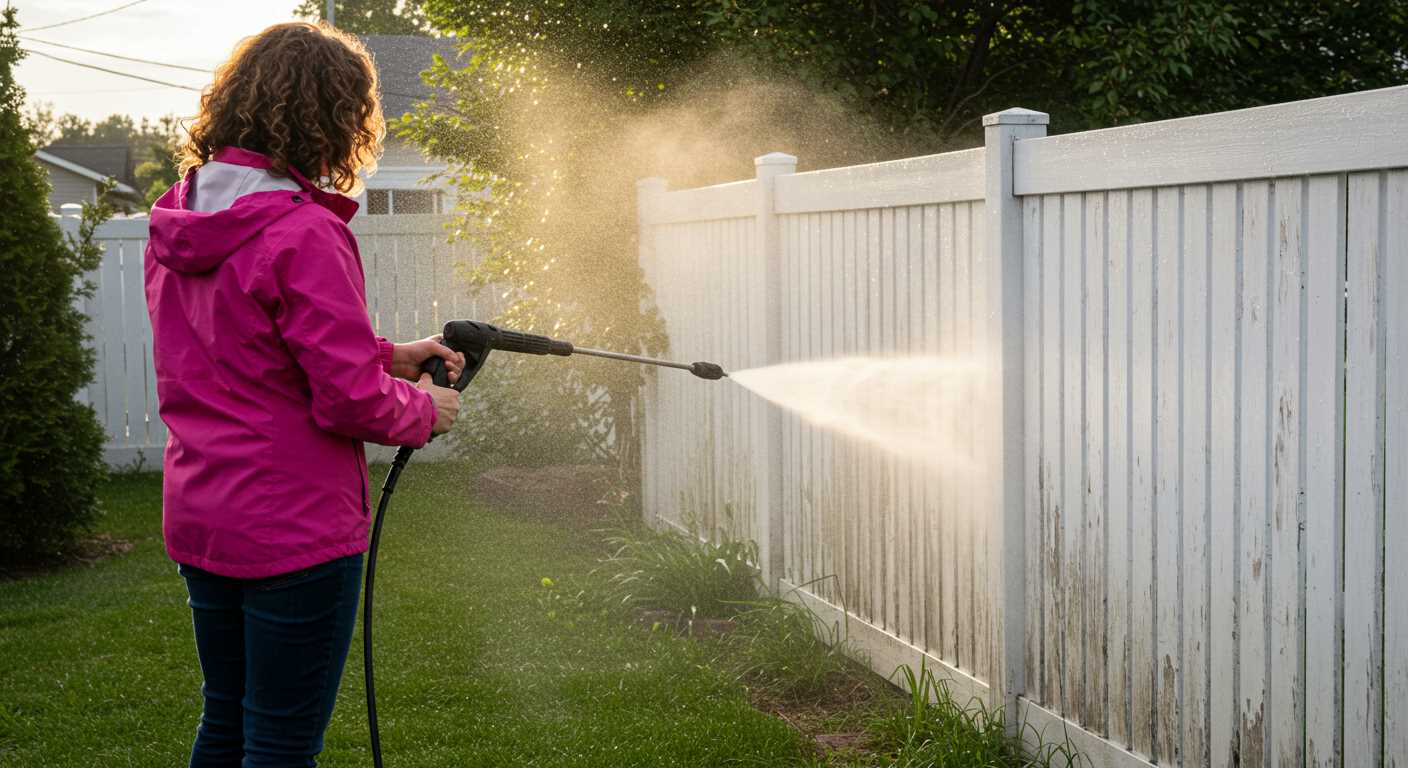
Ensure all connections are secure before starting your cleaning equipment. Begin with a quick visual inspection of the hoses and fittings for any damage or obstructions. With the unit unplugged, check the water inlet for debris that might hinder water flow.
Conducting a Pressure Test
After inspecting, attach the water line to the inlet. Turn on the water supply fully and examine the unit for any signs of leaks. It’s advisable to run the machine briefly without any nozzle attached; this allows you to monitor the water flow and pressure easily. Listen for unusual sounds that may indicate internal issues.
Final Adjustments and Observations
Adjust the dial for flow based on your immediate requirements. Take note of how the unit responds to these changes. If everything looks in order, proceed to test with different nozzles to ensure compatibility and performance across the spectrum. This step is crucial to confirm the functionality of various accessories you might employ during your tasks.
Record any irregularities to address them before using the equipment extensively. Following these procedures maximizes performance and ensures safe operation.


