


The first step involves positioning the unit on a flat surface, ensuring stability and allowing access to a nearby power outlet. Connect the water supply hose, ensuring it fits snugly to prevent leaks. Use a garden hose that can withstand high pressure and is rated for outdoor use. Make certain to flush the hose before connecting it to prevent debris from clogging the inlet.
Next, attach the spray wand securely to the gun. This is crucial for safety; a poorly connected wand can detach under pressure, leading to accidents. Select the appropriate nozzle based on your cleaning task. For instance, a narrow nozzle is ideal for tough stains, while a wider nozzle is perfect for rinsing large areas quickly.
After assembly, plug the machine into an outlet and switch it on. Allow it to prime for a moment before squeezing the trigger to activate the water flow. Keep a close eye on the connection points for any signs of leaks, and ensure you have a firm grip on the wand while operating.
Always wear protective gear, including gloves and goggles, to safeguard yourself against any debris or chemical spray. With these steps followed meticulously, you’re ready to tackle any cleaning project with efficiency.
Setting Up Your Power Cleaner
Begin by locating a suitable site for your equipment. Ensure it’s stable, dry, and has easy access to an acceptable power source. This prevents damage and reduces the risk of accidents.
Next, connect the water supply. Utilize a garden hose that is clean and free of kinks. Ensure a tight fit at both the faucet and unit inlet to avoid leaks. Turn on the water before beginning your next steps to purge air from the system.
Proceed to attach the high-pressure hose. Ensure it clicks securely into place; failure to do so may result in detachment during operation. Regularly inspect the hose for wear and tear to maintain optimal performance.
Focus on the nozzle. Select the appropriate tip based on the task at hand. A wider tip works best for larger surfaces, while a narrow one is suitable for tough stains. Most models come with interchangeable tips for added versatility.
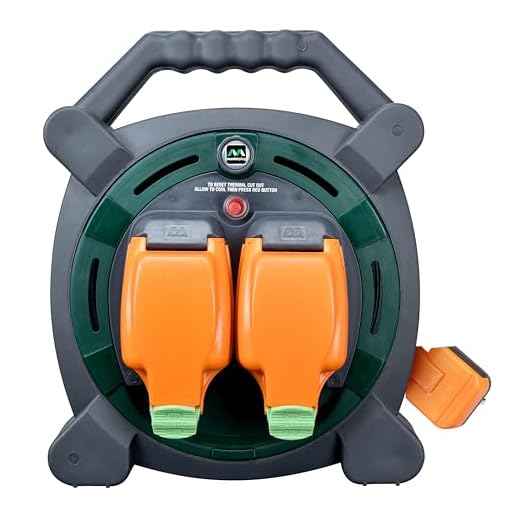
After ensuring all connections are tight, plug in the unit to a grounded outlet. Avoid using extension cords if possible, as they may compromise performance due to voltage drop. If an extension must be used, ensure it’s rated for high wattage.
Before starting, familiarise yourself with the controls. This includes the power switch and any additional features your model may have, such as detergent injection settings. This prepares you for effective usage.
Lastly, always wear appropriate safety gear, including goggles and gloves. This protects against any debris or cleaning agents that may become airborne during operation.
Choosing the Right Location for Your Washer
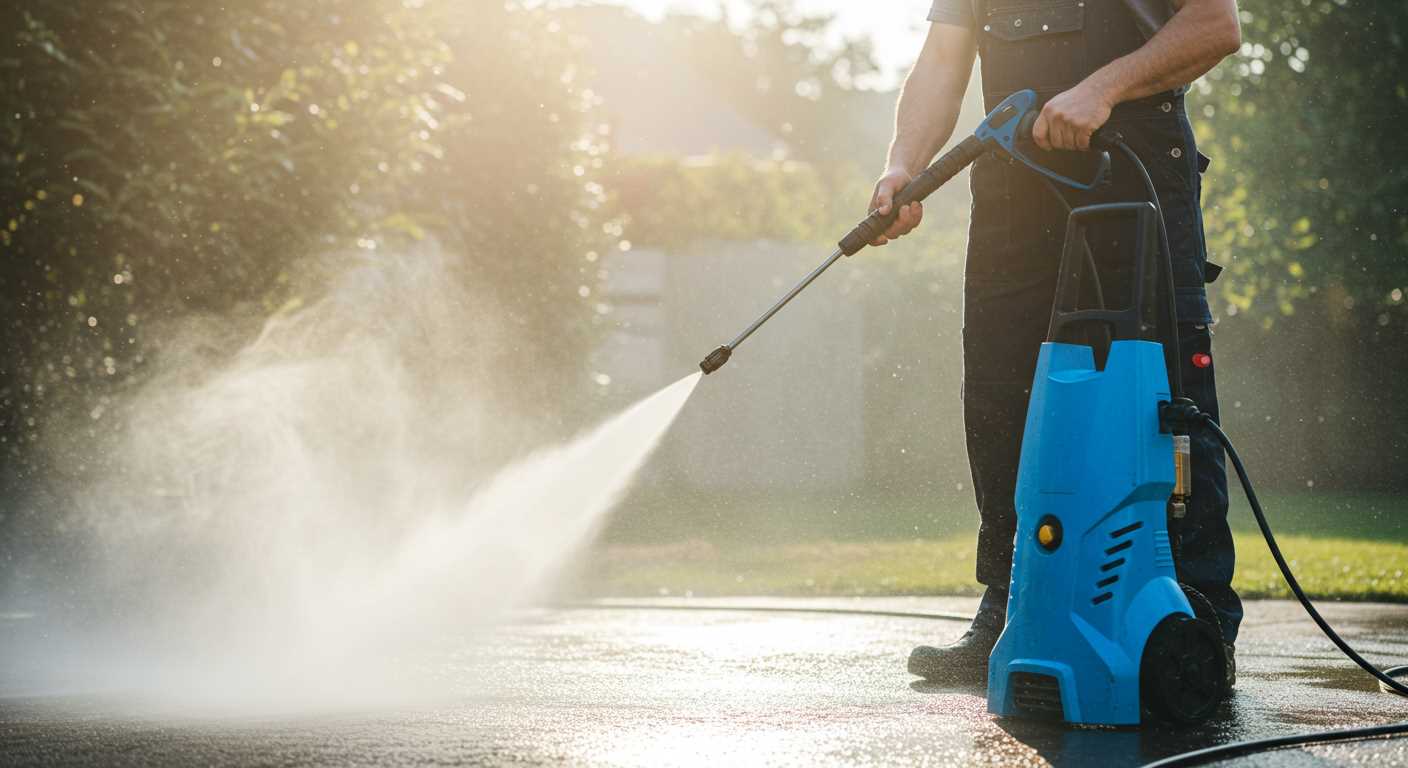
Select an outdoor space with good drainage to avoid water accumulation. It’s best to avoid positioning the machine in a confined area where moisture can build up.
Ensure a flat surface that can support the unit’s weight during operation. An uneven base may lead to instability and potential tipping.
Consider proximity to power outlets and water sources. A shorter distance reduces the risk of tangling cords and hoses while ensuring a steady supply of energy and water for operation.
Keep the environment clear of debris and flammable materials. This precaution minimizes hazards and enables you to operate safely without obstacles.
Avoid direct sunlight for prolonged periods. Excessive heat can lead to overheating and may affect performance. Opt for a shaded area, if possible.
Here are specific factors to assess:
- Accessibility for maintenance and storage.
- Space to move around the equipment while in use.
- Nearby surfaces that may be cleaned, like driveways, patios, or vehicles.
Regularly check that your chosen spot remains free from clutter and potential hazards, ensuring each task proceeds without complications.
Connecting the Water Supply Properly
Ensure the water supply is clean and free of debris. I recommend using a filter or a strainer at the hose’s entry point to prevent clogging.
Use a quality garden hose, ideally at least 3/4 inch in diameter, to facilitate the optimal flow rate. Measure the length required, taking care to avoid excessive bends or kinks that can restrict water flow.
Attach the Hose Securely

Firmly attach the hose to the inlet of your unit using the appropriate adapter if necessary. Ensure it’s fastened tightly to prevent leaks. Regularly check the connections during use to maintain proper pressure.
Check Water Source Availability
Verify you have an adequate water source. The unit typically requires a minimum flow rate, often around 2-3 gallons per minute. Test the source before commencing. Fill a bucket using the supply to estimate the flow and check for any interruptions.
Assembling the Components of the Cleaning Device
Begin by gathering all the parts from the box, ensuring nothing is missing. Check the user manual against the contents to confirm you have everything required for assembly.
| Component | Description |
|---|---|
| Main Unit | The core machine, typically with a motor and pump integrated. |
| Hose | A high-pressure line connecting the unit to the spray gun. |
| Spray Gun | Used for directing water at the surface needing cleaning. |
| Nozzles | Interchangeable tips that adjust the spray pattern. |
| Water Inlet Filter | Prevents debris from entering the pump. |
| Detergent Bottle | Holds cleaning solutions if applicable. |
Attach the hose securely to the main unit. Look for connections marked ‘high pressure’ and ensure the hose is tightened, avoiding leaks during operation. Afterward, connect the spray gun to the opposite end of the hose, ensuring a snug fit.
Install any nozzles according to your cleaning needs. This adjustment allows you to switch from a narrow stream for tough stains to a wider spray for less stubborn areas. Make sure each nozzle is locked into place to prevent dislodgement during use.
If your model includes a detergent bottle, fit it according to instructions. Check the alignment; if it’s not secure, you’ll risk creating a mess or damaging the device.
Double-check all connections and ensure that the water inlet filter is in position to protect your equipment from debris. Once confirmed, the assembly should be solid and ready for use, optimizing your experience with this cleaning tool.
Setting Up the Electrical Connections Safely
Always ensure the power source is compatible with your equipment’s voltage specifications. Check the manufacturer’s guidelines before plugging in any devices.
Use an RCD (Residual Current Device) to protect against electrical faults. This device cuts off the power supply if it detects issues, enhancing safety during operation.
Choose an extension cord rated for outdoor use if additional length is necessary. Ensure it has a sufficient amperage rating to handle the load of your machine, and avoid daisy-chaining multiple cords together.
Inspect the power cord for damage. If you find any frays or cuts, replace it immediately to prevent electric shock.
Connect the unit to a protected outlet, preferably one with a cover to guard against moisture. If the weather is wet, avoid using the equipment outdoors.
- Secure any loose cables to prevent tripping hazards.
- Avoid using damaged sockets or outlets; opt for reliable sources only.
- Regularly check your connections and power supply for signs of wear.
Lastly, never operate your machine in wet conditions or with wet hands to avoid electrical shock. Always follow safety protocols to protect yourself while working with high-pressure cleaning equipment.
Testing the Washer Before Use
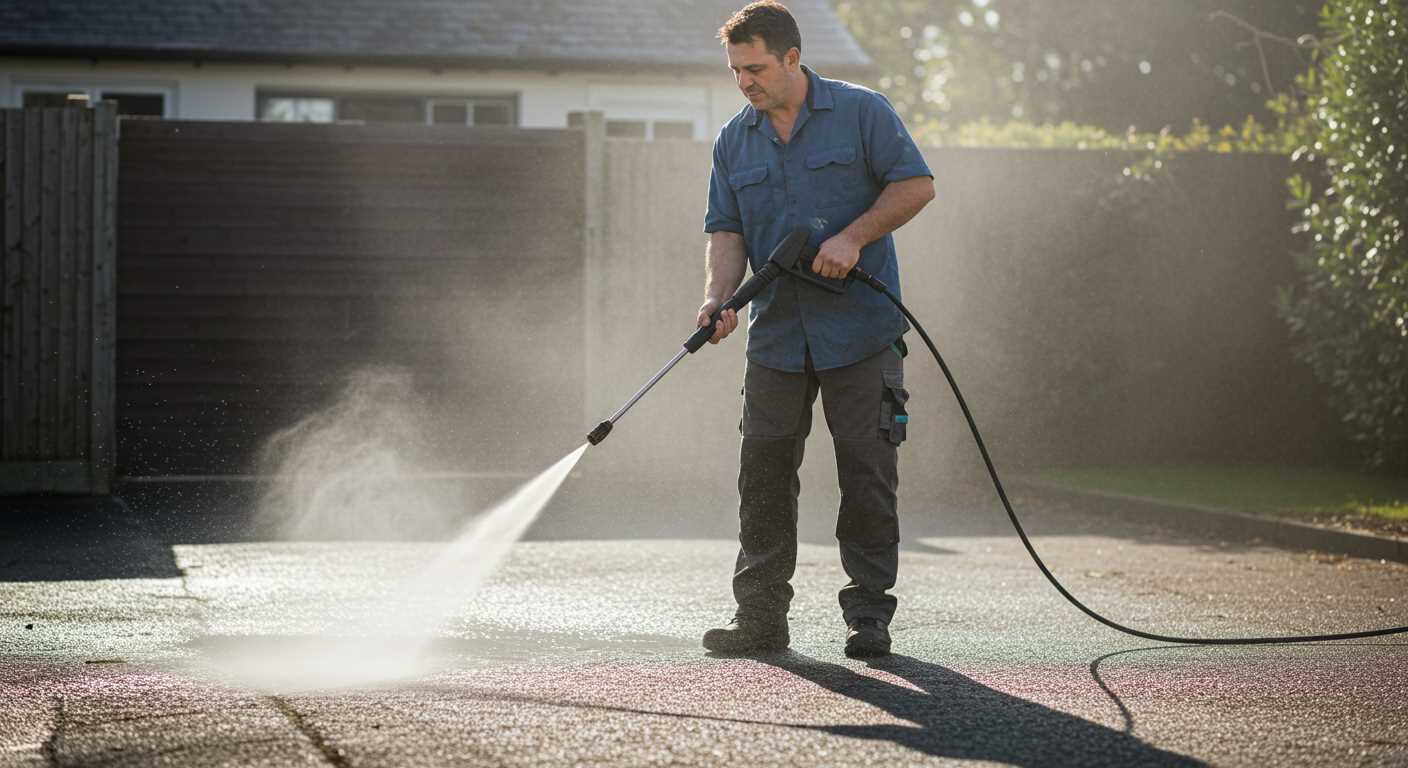
Confirm the unit is functioning correctly by conducting a pre-use evaluation. Begin by connecting the water supply and then energising the system without adding any cleaning solutions. Inspect for leaks at all connection points, including hoses and fittings. Any visible moisture indicates a leak that needs rectifying before proceeding.
Once the water is flowing, activate the motor for a brief interval to examine the performance. Ensure that the water pressure remains consistent and adjust settings as necessary to achieve optimal operation. Listen for odd sounds, as they can signal an internal issue that requires attention.
Run the nozzle through various pressure settings to evaluate the effectiveness. Each nozzle should deliver a different spray pattern and force; check its functionality to tailor the cleaning experience to different surfaces. This ensures you’re prepared for various tasks around the home or workspace.
Finally, verify all safety features, such as the trigger lock and automatic shut-off. These are designed to protect against accidental operation and should operate smoothly. With everything checked and functioning well, you’re ready to tackle your cleaning tasks effectively and safely.
Selecting the Appropriate Nozzle for Your Task
The nozzle influences the spray pattern and water pressure, determining the outcome of your cleaning project. Opt for different types based on the surface and grime you’re dealing with.
Choices range from a wide fan to a concentrated jet. Here’s a breakdown of common nozzles and their specific uses:
| Nozzle Type | Angle | Use Case |
|---|---|---|
| 0° Red | 0° | Targets tough stains on hard surfaces; not for delicate materials. |
| 15° Yellow | 15° | Great for removing grease or oil on concrete and brick. |
| 25° Green | 25° | Ideal for cleaning decks, patios, and vehicles; versatile option. |
| 40° White | 40° | Perfect for rinsing away soap and debris; gentle on surfaces. |
| Soap Nozzle | N/A | Designed for applying soap or detergent during cleaning. |
Choosing the right nozzle maximises cleaning efficiency while preventing damage. Always start with the broadest nozzle when unsure, and narrow down as needed. Adjusting the spray pattern can save time and effort, making the entire task more enjoyable.
Maintaining Your Pressure Cleaner for Longevity
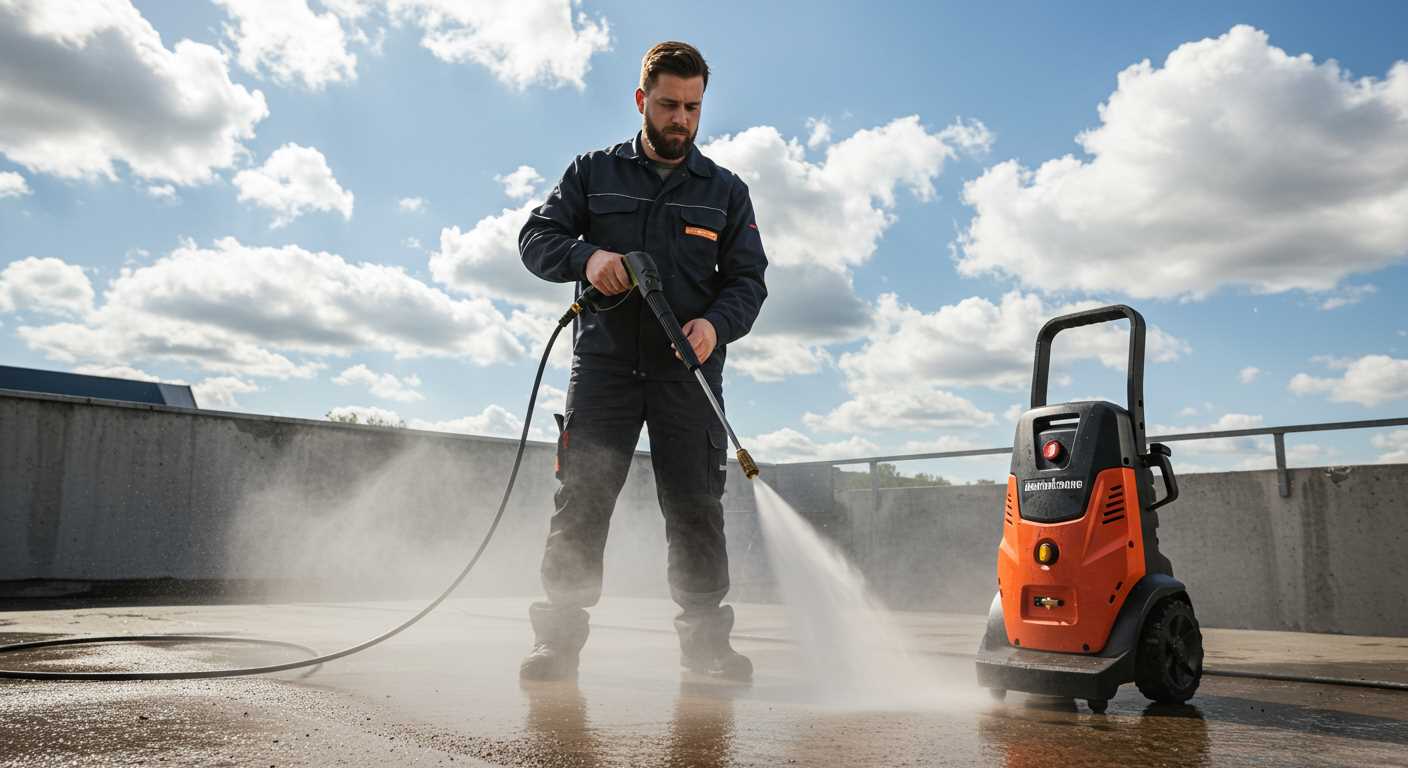
Regular maintenance significantly extends the lifespan of your cleaning device. Begin with a thorough inspection after each use. Check for any leaks, worn hoses, or damaged components. Address these issues immediately to prevent further damage.
Proper Cleaning and Storage
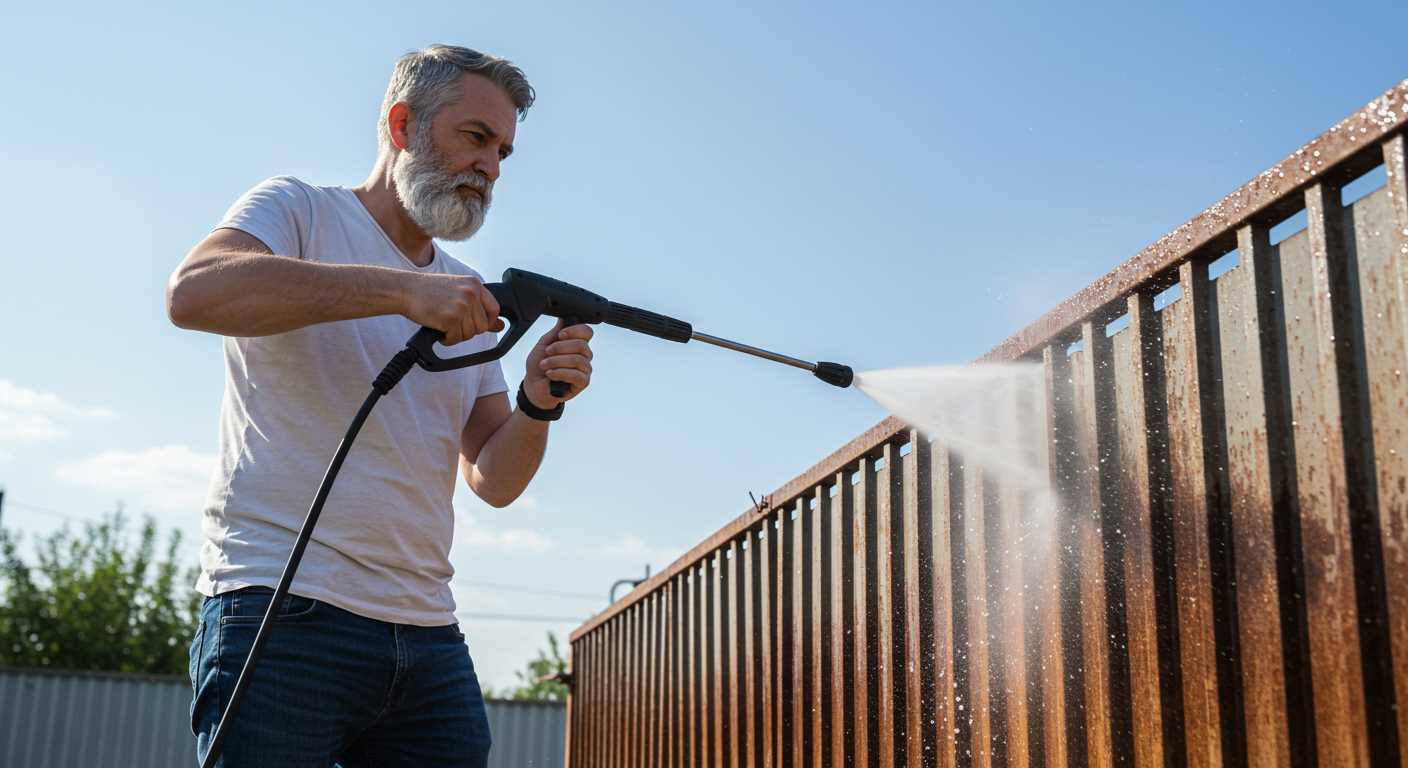
Ensure the equipment is clean after every use. Rinse the nozzle and body to remove debris or detergent residues. Store the unit in a dry place, preferably indoors, to protect it from harsh weather conditions. If storing for an extended period, drain the water and any remaining soap solution from the system to avoid mould growth.
Annual Professional Servicing
Consider professional servicing at least once a year. Trained technicians can perform a comprehensive check-up, including inspecting the motor, electrical components, and pressure system. They can also replace worn parts, ensuring optimal performance. This investment will pay off in the long run, keeping your equipment in top condition for years.


