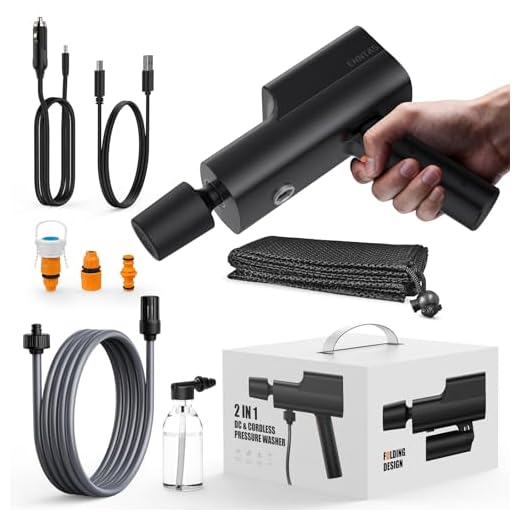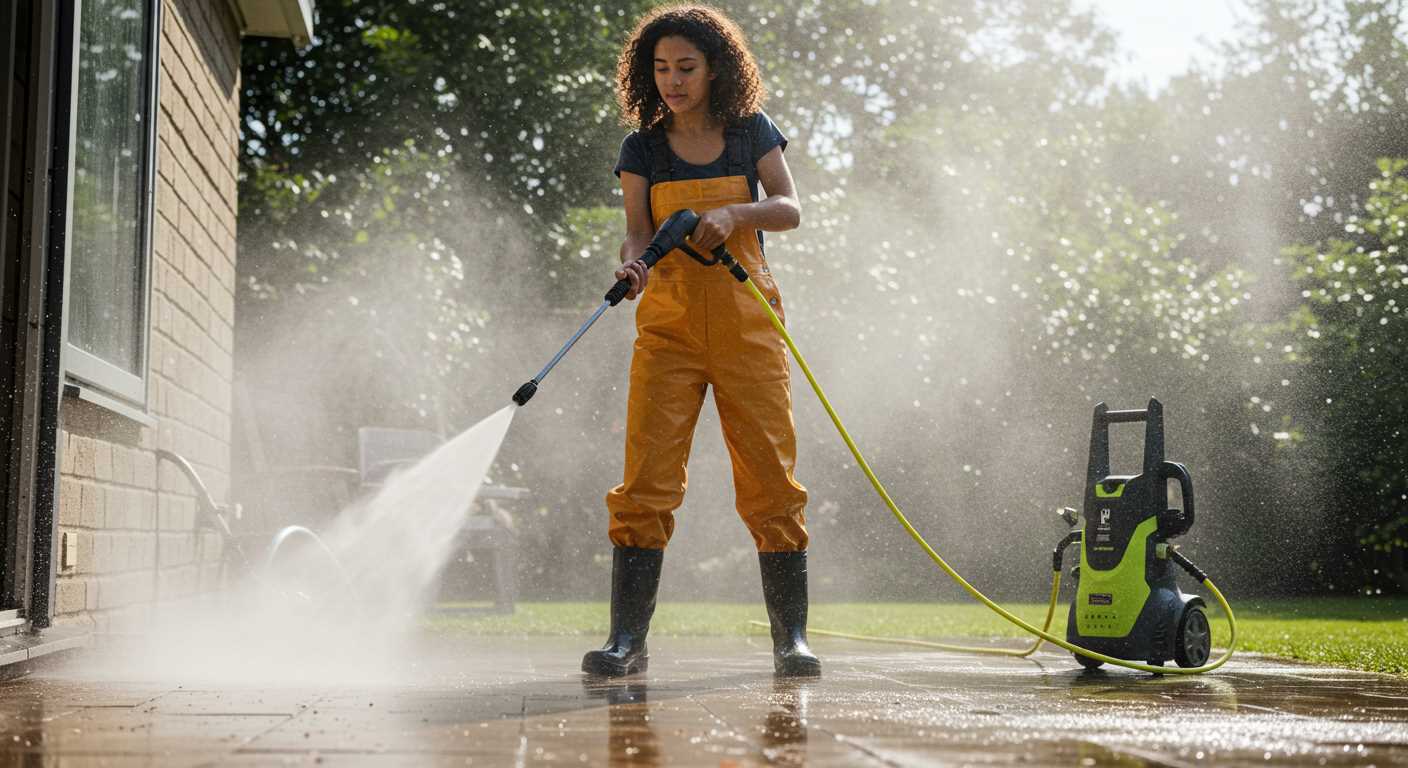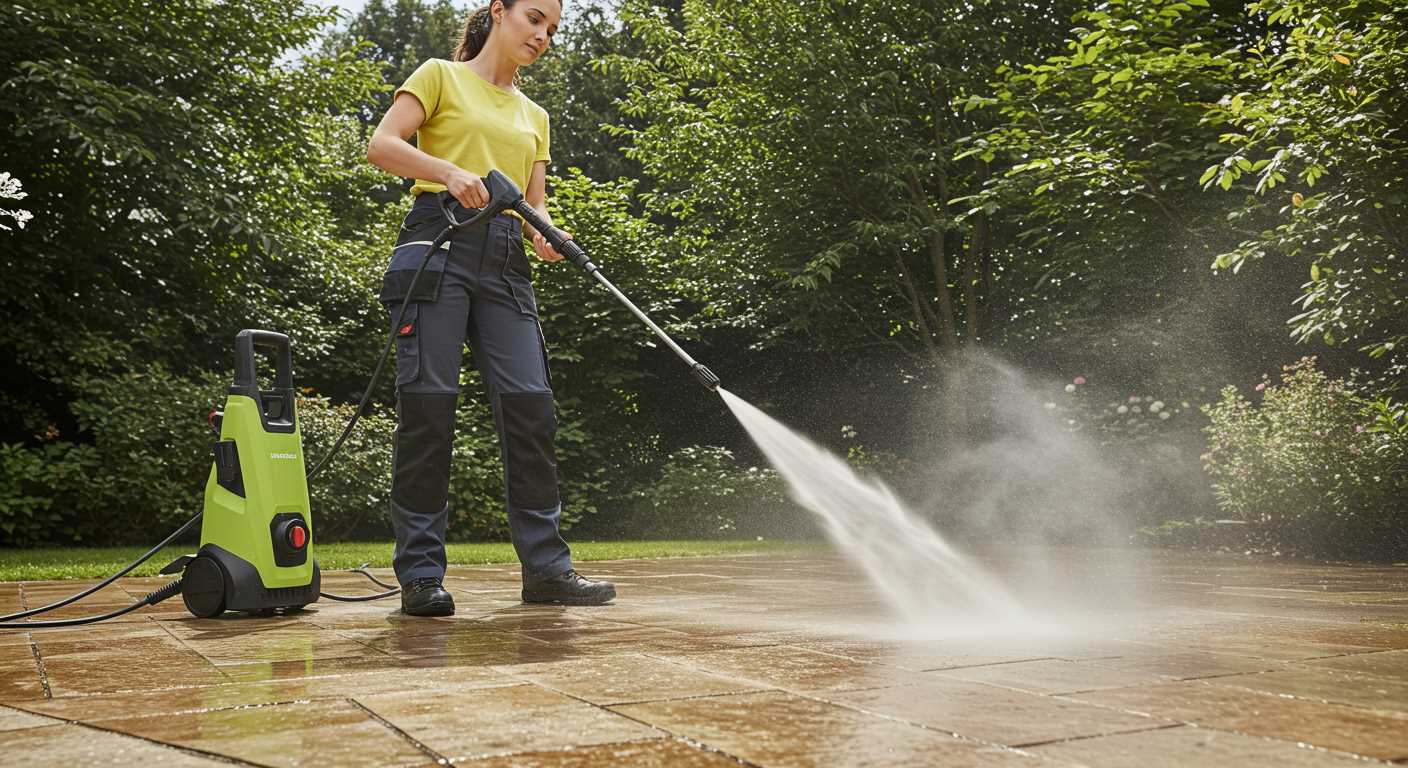

First, ensure you’ve gathered all components from the packaging: the machine itself, the hose, the gun, and any attachments. This preparation guarantees a smooth assembly process.
Begin by securely attaching the hose to the water inlet on the unit. It’s vital to ensure a tight connection to prevent leaks during operation. Next, connect the other end of the hose to a water source, making certain that it’s firmly in place.
Once the water connections are complete, fit the lance or spray gun onto the designated nozzle port. You may need to twist or push firmly, depending on the design of your equipment. Double-check that it’s securely fastened before proceeding.
Next, plug in the power cord, ensuring that you are near a grounded electrical outlet. If the model operates on a different power source, refer to the user manual for specific instructions.
Before activating the machine, turn on the water supply. This step fills the system with water and prevents the pump from running dry, which could cause damage. After ensuring everything is correctly connected, switch on the device and allow it to build pressure before using the spray gun.
It’s prudent to test the device on a small, inconspicuous area to confirm pressure settings and nozzle choice before tackling larger surfaces. Happy cleaning!
Unboxing the Ferrex Pressure Washer
Open the box with care. Inside, you’ll find components securely packed to prevent damage during transit. Ensure all parts are present before proceeding. A checklist of included items typically comprises:
| Item | Quantity |
|---|---|
| Main unit | 1 |
| High-pressure hose | 1 |
| Trigger gun | 1 |
| Nozzle attachments | Multiple |
| Soap dispenser | 1 |
| Instruction manual | 1 |
| Wheels | 2 |
| Handle | 1 |
Remove each item from the box and inspect for any signs of damage. Pay particular attention to the hoses and gun, as these are crucial in performing your tasks. Refer to the instruction manual for detailed information on parts and their functions.
Once inspected, assemble any loose components, such as the handle and wheels, following the diagram in the manual. This step ensures mobility during use. Take time to familiarise yourself with the nozzles; they are designed for various cleaning tasks and can significantly enhance efficiency.
Finally, ensuring a safe and efficient installation starts with confirming the location where you will be using the machine is clear of obstructions. By meticulously following these steps during unboxing, you guarantee a seamless transition into the setup phase, fully equipped for a successful operation.
Assembling the Components

Begin by connecting the main body unit with the gun assembly. Align the gun’s connector with the outlet on the machine. Ensure a firm push until you hear a click, indicating a secure attachment.
Next, attach the high-pressure hose. Locate the inlet at the base of the unit. Twist the hose connection clockwise until it’s snugly fit, preventing any leaks during operation.
Now, it’s time to install the water filter. This component protects the internals from debris. Slide the filter into the designated slot, ensuring it clicks into place. A clean filter is key for optimal performance.
Proceed to fix the nozzle onto the gun. Select the desired nozzle tip for your task, and insert it into the gun’s opening. Twist it gently until it locks securely.
Finally, connect the power cable to a suitable outlet. Verify that all connections are tight and secure before proceeding to the next step of operation.
Here’s a checklist to ensure everything is assembled correctly:
- Main unit connected to gun assembly
- High-pressure hose securely attached
- Water filter installed
- Nozzle fitted properly
- Power cable connected
Completing these steps guarantees readiness for the next phase of use. Check all components for stability to prevent any operational issues in the field.
Connecting the Hose and Nozzles
Attach the high-pressure hose to the unit securely. Align the connector with the designated inlet, push it in firmly, and twist to lock it in place. Ensure there are no gaps as leaks can lead to performance issues.
Next, connect the other end of the hose to your water supply. Use an appropriate adapter for a garden tap if necessary. Make sure the connection is tight to prevent any sprays or dribbles while operating.
Now, it’s time to fit the nozzle. Select the desired nozzle based on your cleaning task: a narrow jet for tough spots or a wider spray for larger areas. Push the nozzle onto the lance until it clicks into position. This ensures it is secured while in use.
To release the nozzle, press the button or lever (if equipped) and pull it off the lance gently. Switch to different nozzles as required for various cleaning applications.
Before starting, check all connections again. Look for signs of wear and tear and replace components if needed. Proper setup leads to optimal functionality and longevity of the equipment.
- High-pressure hose to unit: Push, twist and lock.
- Water supply connection: Ensure tightness.
- Nozzle selection: Match with cleaning task.
- Regular checks: Look for leaks and wear.
Filling the Detergent Tank
To effectively utilise the cleaning solution feature, locate the detergent tank, which is usually positioned on the front or side of the machine. Ensure the unit is switched off before proceeding.
Preparing the Solution
Select a suitable cleaning detergent formulated for use with these machines. Avoid using household products, as they can cause damage. Typically, diluted detergent is recommended; read the label for specific mixing instructions. Use a funnel for easier pouring if needed.
Filling the Tank

Open the detergent tank cap and pour the prepared solution gently until it reaches the maximum fill line. Take care not to overfill, as this can lead to spillage during operation. Once filled, securely close the cap to prevent leakage, and check for any signs of residue or drips before starting your task.
Adjusting the Pressure Settings

Begin with locating the pressure control dial, typically situated near the handle or the main unit. This dial allows for easy modification of output force to suit various tasks.
To lower the intensity, rotate the dial clockwise. This is ideal for delicate surfaces such as wooden decks or vehicles, where excessive force may cause damage. Conversely, to increase the pressure for tougher jobs, such as removing grime from concrete, turn the dial counterclockwise.
Understanding Different Applications
Utilise lower settings when washing cars, spraying garden furniture, or cleaning windows. Higher settings can be applied for driveways, patios, and equipment that requires significant power. Experiment with different levels temporarily to find the best fit for specific surfaces.
Safety Precautions
Always test the adjusted pressure on a small, inconspicuous area before proceeding with larger surfaces. This ensures that the settings are compatible with the material being cleaned and prevents any unintended harm.
Powering Up the Pressure Washer
To activate the cleaning machine, ensure it is positioned on a stable surface. Insert the power cord into a grounded electrical outlet that meets the specified voltage requirements outlined in the manufacturer’s guide. Before doing so, inspect the cord for damage–frayed cables can pose safety hazards.
Once connected, double-check that all connections, such as the hose and accessories, are secure. Turn on the electric supply by switching the unit’s power button, typically located on the handle or main body. Some models may include an indicator light; it should illuminate once the device is powered.
Next, pull the trigger on the spray gun to release any air trapped in the system. This action ensures that water flows smoothly without interruptions. Maintain a firm grip and ensure your stance is steady. Be mindful of potential recoil when water starts spraying.
Allow the machine a moment to achieve optimal pressure. You may notice a sound change, indicating the motor has stabilised at the right operating level. Always follow specific guidance regarding warm-up times as indicated in your user manual.
With these steps completed, your equipment is ready for action. For enhanced performance, monitor for any unusual sounds during operation, as they may signal a need for immediate attention.
Safety Tips for Using the Pressure Cleaner
Always wear appropriate personal protective equipment (PPE). Safety goggles, gloves, and sturdy footwear will shield you from debris and chemical exposure. It’s crucial to keep your skin covered to prevent irritation from detergents or high-pressure water.
Position the unit on stable ground. Ensure that the surface is even and capable of supporting the weight of the equipment. This will prevent any accidental tipping during operation.
Perform a thorough inspection of all components before use. Check the electrical cord, hoses, and fittings for any signs of wear or damage. Replace any defective parts to maintain safety while you work. Regular maintenance extends the life of your machine.
Avoid Electrical Hazards
Connect only to outdoor-rated extension cords and avoid using the device in wet conditions to mitigate electrical shock risks. Always unplug the unit when switching nozzles or making adjustments to the hose.
Start the equipment only after confirming that everything is properly connected. Keep your hands and any foreign objects clear of the nozzle when powering it up. This reduces the chance of unintentional injuries.
Mind Your Surroundings
Be aware of your environment. Clear the area of obstacles and potential hazards, such as pets or bystanders. Maintain a safe distance from windows, plants, and vehicles to avoid causing damage. Do not point the nozzle at anyone or any surface you do not intend to clean.
Utilise the correct nozzle for your task, as high-pressure settings can cause injury or damage to surfaces. Modulate pressure according to the job, ensuring the safety of both yourself and the items you are cleaning.
FAQ:
What are the initial steps to set up a Ferrex pressure washer?
To set up a Ferrex pressure washer, begin by unpacking all the components from the box. Make sure to take inventory of all the parts, including the pressure washer unit, hose, spray gun, and any nozzles included. Next, position the pressure washer on a flat and stable surface near a water source. Ensure the water inlet is securely connected to a hose or a tap. Following this, attach the high-pressure hose to the unit and the spray gun. Lastly, check that all connections are firm and leak-free before proceeding to connect the power supply.
How do I connect the water supply to my pressure washer?
Connecting the water supply to your Ferrex pressure washer is straightforward. First, identify the water inlet on the pressure washer. Attach one end of your garden hose to the tap or water source, ensuring it is watertight. Secure the other end to the water inlet of the pressure washer. Before turning on the water, it is good practice to check for any kinks or blockages in the hose. Once the hose is properly connected, turn on the water supply slowly, allowing it to fill the system before using the pressure washer.
What safety precautions should I take when setting up the Ferrex pressure washer?
Before using the Ferrex pressure washer, several safety precautions should be observed. Firstly, ensure you wear appropriate personal protective equipment, such as safety goggles and gloves, to protect against debris and high-pressure water spray. Check all electrical connections to prevent any risk of shock. Make sure the area is clear of children and pets to avoid accidents. Always consult the user manual for specific safety guidelines related to your model, including proper handling of the machine and recommended maintenance procedures.
Can I adjust the pressure settings on my Ferrex pressure washer? If so, how?
Yes, you can adjust the pressure settings on your Ferrex pressure washer, depending on the model. Typically, there is a pressure adjustment feature either on the spray gun or the machine itself. If your model has a variable nozzle attachment, you can change the spray pattern, which indirectly affects pressure. For models with a pressure dial, simply turn the dial to the desired pressure level. Always check the manufacturer’s instructions before adjusting settings, as different tasks may require specific pressure levels for optimal results.


