

Before connecting your new unit to the water supply, ensure that you have the correct fittings available. It’s advisable to use a garden hose that meets the necessary diameter requirements to prevent any water flow issues.
Next, assemble the lance and nozzles according to the user manual specific to your model. Each nozzle type serves a distinct purpose, so it’s critical to choose the right one for the surface you aim to clean. For instance, a narrow nozzle is ideal for tough stains, while a wider spray is more suitable for delicate surfaces.
Once everything is in place, turn on the water source and check for any leaks in the connections. After confirming a secure setup, power on your device. Start with a low-pressure setting to gauge the performance and gradually adjust to a higher pressure if needed, always keeping an eye on the condition of the surface being treated.
Finally, after completing the cleaning tasks, don’t forget to disconnect the water supply and relieve any remaining pressure within the system. This maintenance step is vital for ensuring a longer lifespan of your cleaning unit and optimal performance during future use.
Connecting and Preparing Equipment
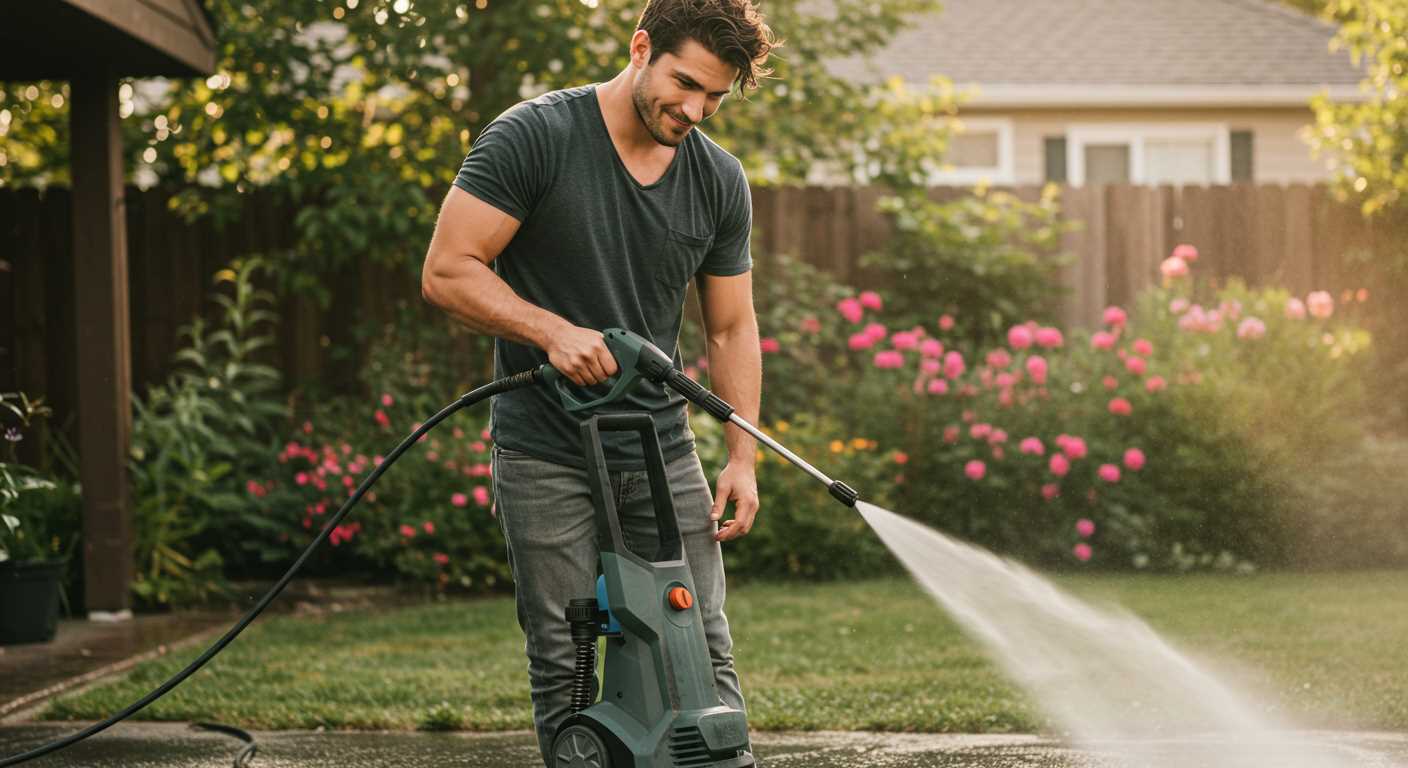
Begin by placing the unit on a stable surface, ensuring it’s within reach of a power source and water supply. Attach the garden hose to the water inlet using the correct connector, ensuring a tight fit to prevent leaks.
Next, check the filter inside the water inlet for any debris that could obstruct water flow. Clean it if necessary. Direct the opposite end of the hose to a water source, ensuring it’s secured and free from kinks or bends.
Fasten the high-pressure hose to the outlet firmly. Double-check all connections, including the nozzle attachment, which should be compatible with the high-pressure hose. Select the appropriate nozzle for your cleaning task based on the surface type.
Once everything is connected, prime the system by turning on the water and allowing it to flow for a few moments until there are no air bubbles. This process ensures maximum efficiency during operation.
Finally, plug the appliance into a grounded outlet, and you’re ready to initiate your cleaning tasks. Checking for any leaks or unexpected noise during this initial phase is advisable to ensure proper functionality.
Unboxing and Inspection of the Cleaning Equipment
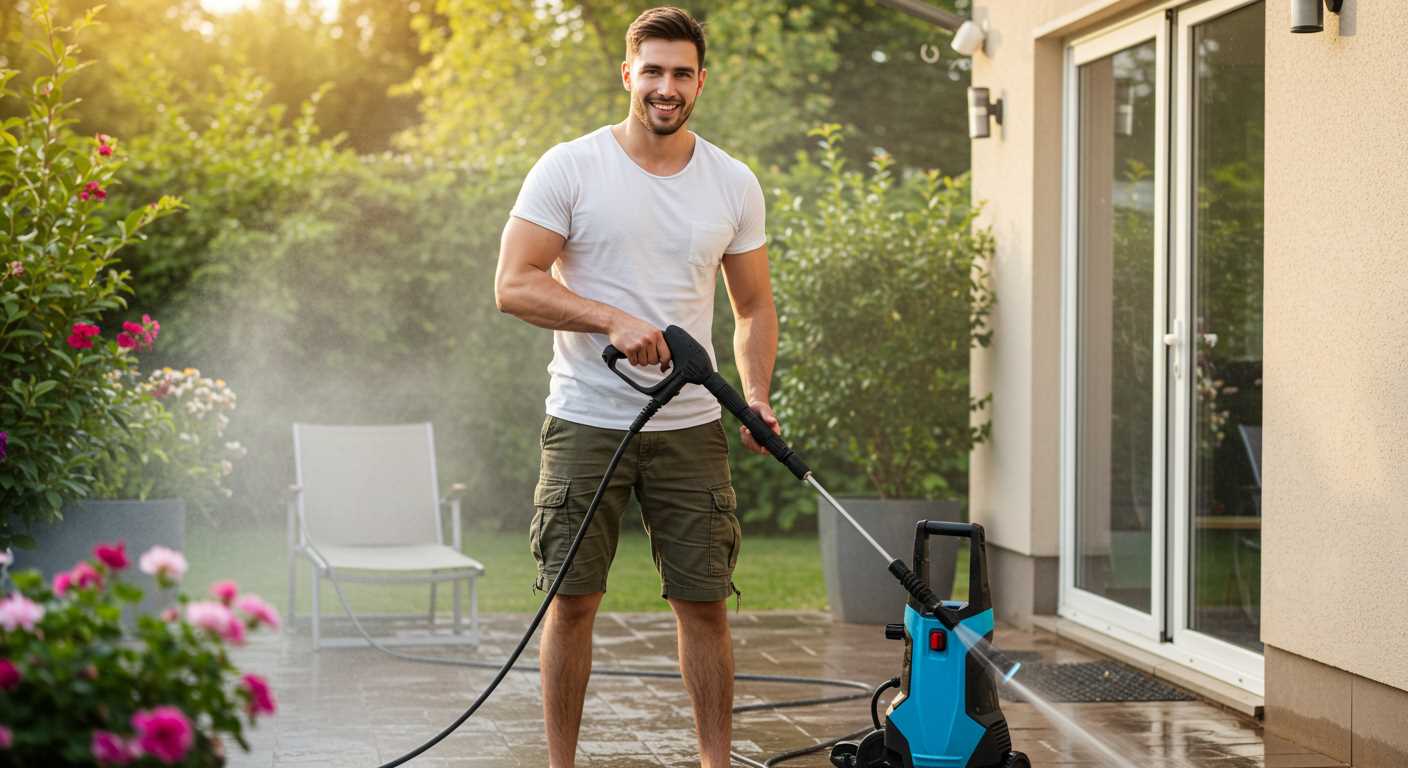
After removing the packaging, inspect the box thoroughly for all included components. Check for:
- Main unit
- Hose assembly
- Nozzle attachments
- Pistol grip
- Power cord
- User manual
- Accessory kit (if applicable)
Ensure that there are no visible damages on the main unit or accessories. Look for scratches, dents, or any signs of wear. If any part is missing or damaged, contact the supplier immediately for resolution.
Next, examine the hose for kinks or leaks. Extend it fully to check for flexibility and signs of deterioration. Attachments should fit snugly without excessive force. Verify the nozzle choices; different shapes and spray patterns will affect performance.
Check the user manual for specific instructions regarding the components. Familiarising yourself with the pieces will streamline the setup process. Look for diagrams or images that illustrate each part’s function and attachment points. This can save time during the initial assembly.
Finally, verify that all safety features are intact. These may include pressure release valves or safety locks on the trigger. Confirm that the power requirement matches your available outlets to prevent electrical issues.
Connecting the Hose and Nozzle Options
Begin by firmly attaching the garden hose to the inlet on the unit. Ensure the coupling is tightened securely to prevent leaks. Use a washer if necessary to create a better seal.
The next step involves the connection of the high-pressure hose. Align the quick-connect fitting with the outlet of the cleaner, pushing it in until you hear a click. This indicates a secure attachment. Always check for any visible damage or debris on the fittings before connecting.
Now, consider the nozzle options. Most models come equipped with multiple nozzles, differentiated by colour and spray pattern. Here’s a quick guide to the common nozzle types:
| Nozzle Colour | Angle | Use Case |
|---|---|---|
| Red | 0° | Direct, narrow spray for tough stains. |
| Yellow | 15° | High-pressure cleaning for heavy dirt. |
| Green | 25° | General cleaning for vehicles and patios. |
| White | 40° | Gentle wash for delicate surfaces. |
| Black | Soap | For applying detergent to surfaces. |
To attach a nozzle, simply pull back the collar on the high-pressure gun and insert the desired nozzle until it locks into place. For optimal performance, change nozzles according to the cleaning task at hand. If using a detergent, switch to the black nozzle to avoid clogging other types.
Always disconnect the nozzle after use and store it in a dry place. Regular maintenance of both the hose and nozzles will prolong their life and ensure effective cleaning. Following these instructions guarantees an efficient setup and a thorough cleaning experience.
Setting Up the Water Supply Properly
Ensure that you have access to a clean water source with adequate pressure, typically between 20 to 100 psi. A garden hose with a diameter of at least 5/8 inch will facilitate a steady water flow, minimizing the risk of pressure loss during operation.
Before connecting your hose, check for kinks or blockages that could affect water delivery. If you notice any issues, address them prior to proceeding. Next, securely attach the hose to the water inlet of your cleaning unit. A tight fit prevents leakage and maintains optimal performance.
After connecting, turn on the water supply before starting the machine. This action purges air from the system and ensures a steady flow when you ignite the motor. Always check for leaks around the connection point while the water is running; if any are found, reconnect the hose more tightly.
If you’re operating outdoors, ensure that the water source is frost-free to avoid freezing issues in cooler climates. Using a standard garden tap is ideal, but in cases where pressure may be lower than recommended, consider using a water pump to enhance flow.
Regularly inspect your water supply system. A blocked or dirty filter could impact performance. Clean or replace the filter periodically for uninterrupted operation. This proactive maintenance will keep your cleaning unit running smoothly and enhance its longevity.
Adding Cleaning Solutions and Detergents
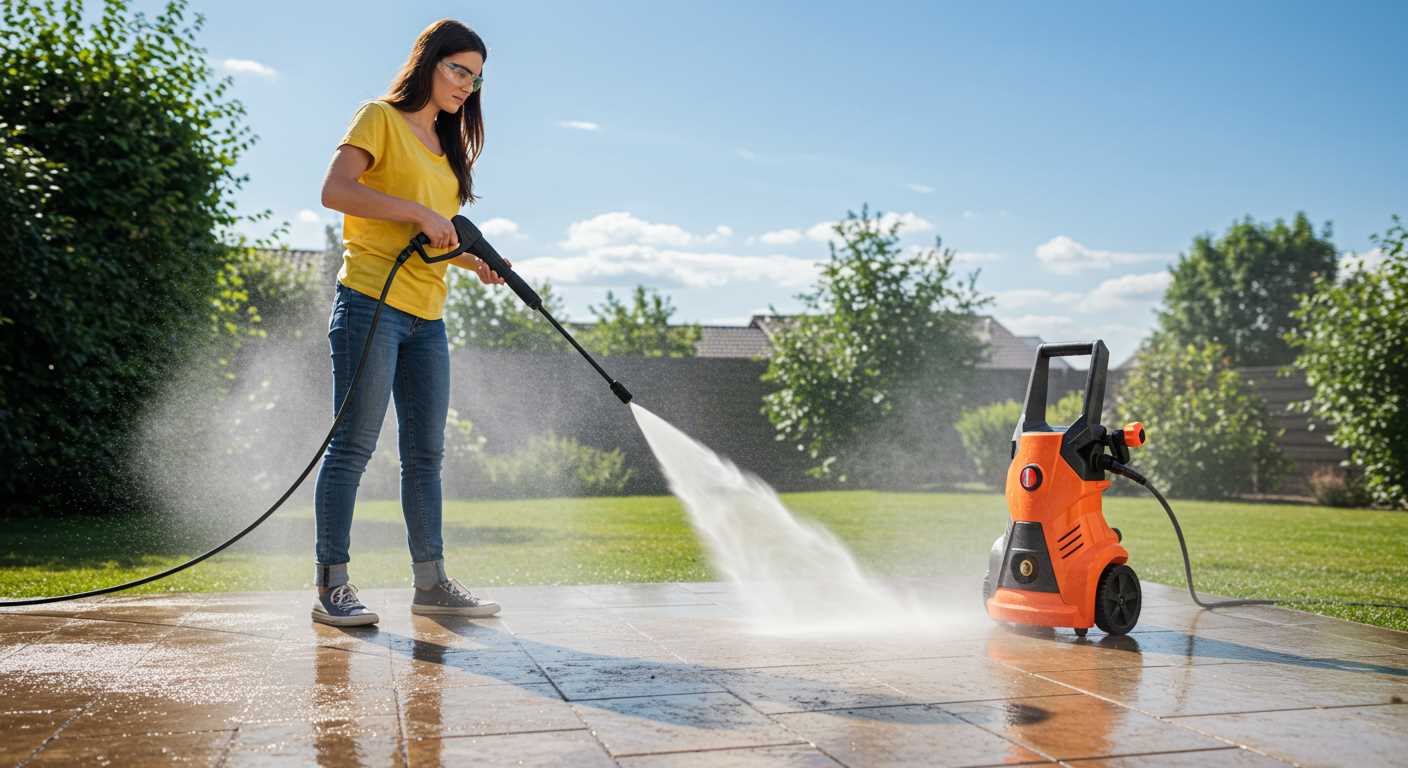
Choose appropriate detergents specifically designed for use with high-pressure units. Ensure compatibility with surfaces to avoid damage. Concentrate on eco-friendly options to minimise environmental impact.
Preparation Steps
Before pouring any solution into the tank, read the instructions on the detergent label. Dilute concentrated cleaners as directed, using the correct ratio of water to solution. This can enhance cleaning efficacy and help prevent clogging within the machine.
Application Techniques
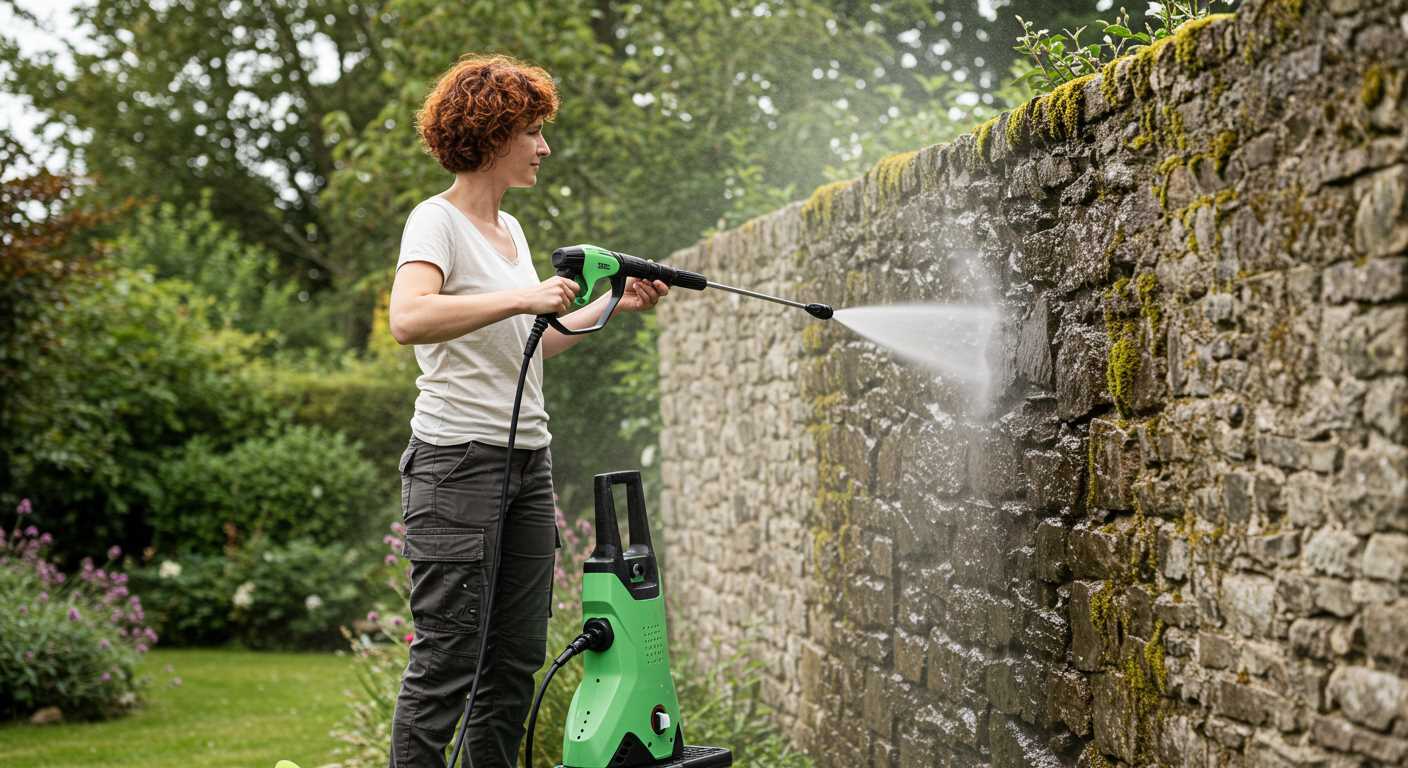
Utilise the suction tube for applying detergent effectively. Insert the tube directly into the cleaning solution container, ensuring a snug fit to maximise flow. Adjust the nozzle to a low-pressure setting to apply the detergent evenly across surfaces. Allow the cleaner to sit for several minutes to break down dirt and grime before rinsing with water at high pressure.
Starting the Equipment for the First Time
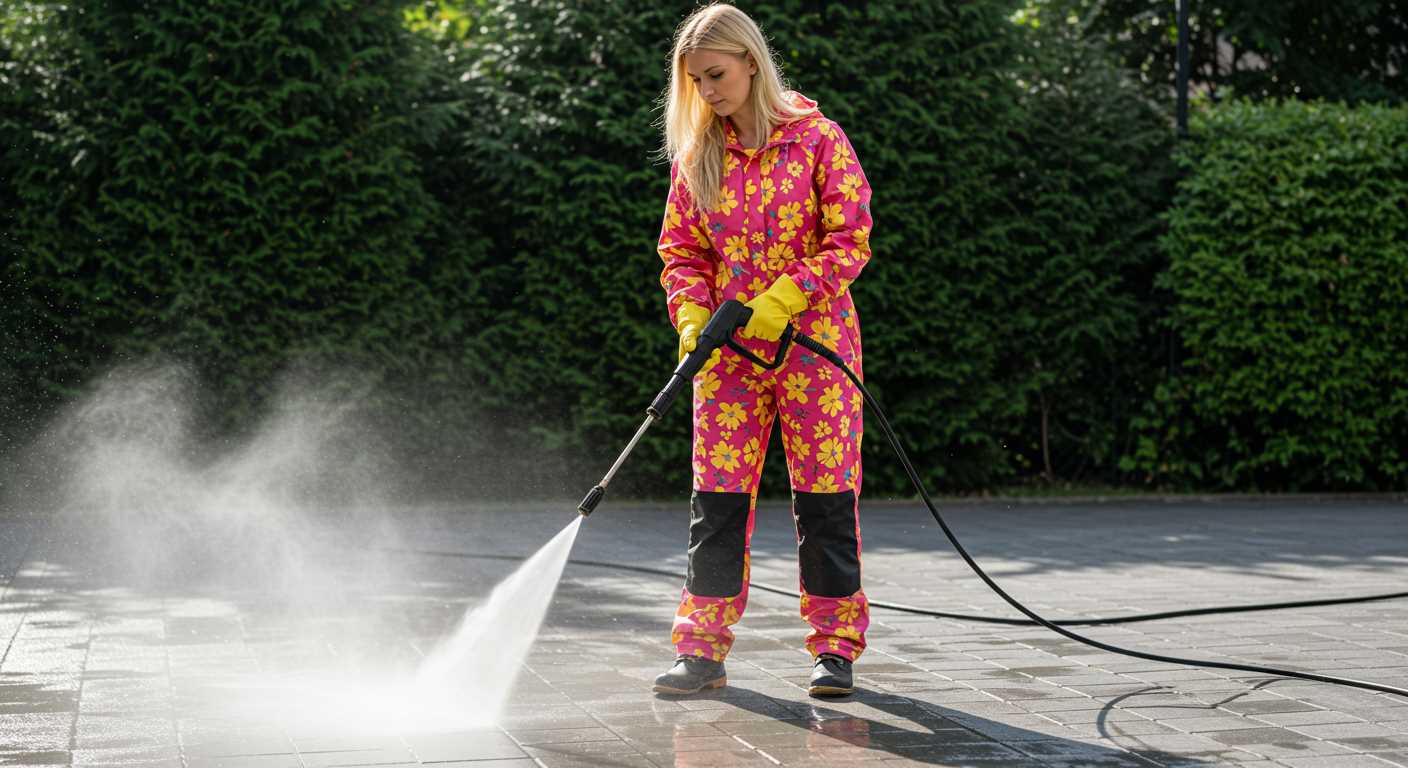
Ensure the fuel and oil reservoirs are filled according to the manufacturer’s specifications before proceeding. Check the ignition switch; it should be in the ‘Off’ position before starting.
Engage the choke if the engine is cold. Grip the recoil starter firmly and pull the cord with a steady motion until the engine fires up. Once it starts, disengage the choke by adjusting it to the ‘Run’ position.
Allow the unit to idle for a short period. This enables the motor to stabilise and the fluids to circulate adequately throughout the system.
While the machine is running, test the trigger on the cleaning gun briefly to release any air trapped in the hoses. Hold the trigger down for a few seconds to ensure water flows smoothly.
After confirming proper functionality, adjust the nozzle according to the required task. Begin with a wider spray pattern for larger areas, switching to a narrower one for detailed cleaning.
Monitor the equipment for any unusual noises or leaks during initial operation. If any issues arise, turn off the engine immediately and perform a thorough inspection before using it further.
Once fully operational, proceed according to the intended application. Maintain control over the trigger at all times to ensure safe handling during use.
Maintenance Tips for Longevity of Your Cleaning Device
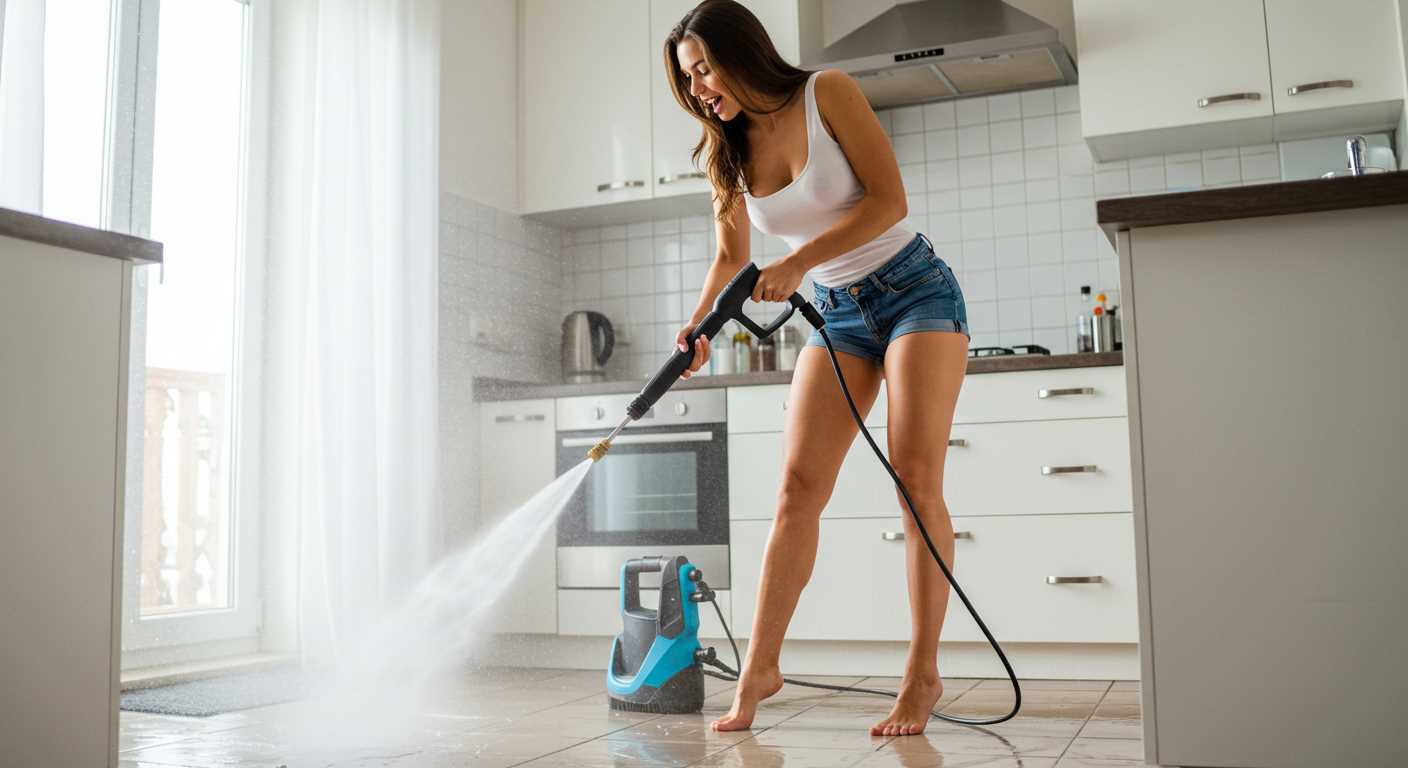
Regularly inspecting and maintaining various components will enhance the life of your cleaning equipment. Start by checking the oil level if your model has an engine. Replace it according to the manufacturer’s instructions, typically every 50 hours of operation, using the recommended type for optimal performance.
Keep the water inlet filter clean. Debris can obstruct water flow, leading to inefficiency and potential damage. Disconnect the water supply, remove the filter, and rinse it with fresh water. Allow it to dry completely before reassembling.
Store the machine in a dry environment to prevent rust and corrosion. If you live in an area with freezing temperatures, drain all water from the pump, hoses, and nozzles. Consider using antifreeze specifically designed for power washers to protect the internals during winter.
Check the high-pressure hose for cracks or wear. Replace any damaged sections immediately to avoid leaks. Use a hose reel to prevent kinks and abrasions when storing your equipment.
Inspect the nozzle regularly. Clogged nozzles can reduce efficiency and increase the risk of damage. Clean with a small needle or pin if necessary. Ensure you are using the correct nozzle for different surfaces to achieve the best results and prevent unnecessary wear.
Run a pump protector through the system periodically, particularly if the unit is not used for extended periods. This lubricates internal parts and prevents seal deterioration.
Finally, read the manual for any specific maintenance recommendations from the manufacturer. Following these tips diligently will keep your cleaning apparatus in excellent working condition for years to come.


