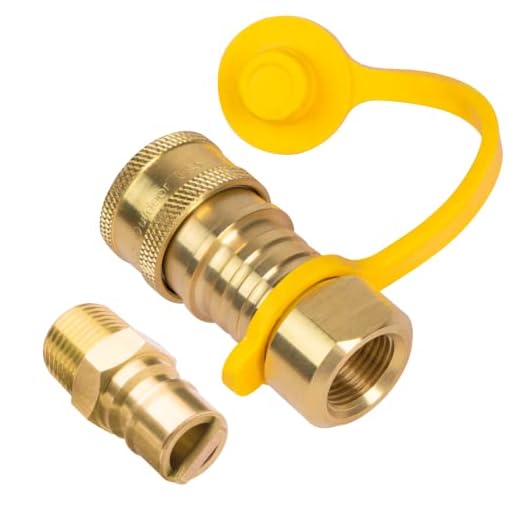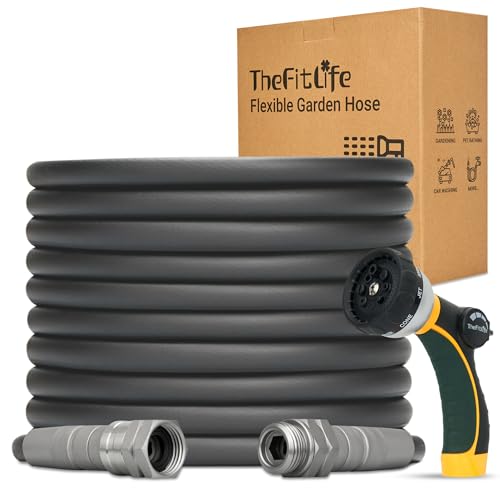

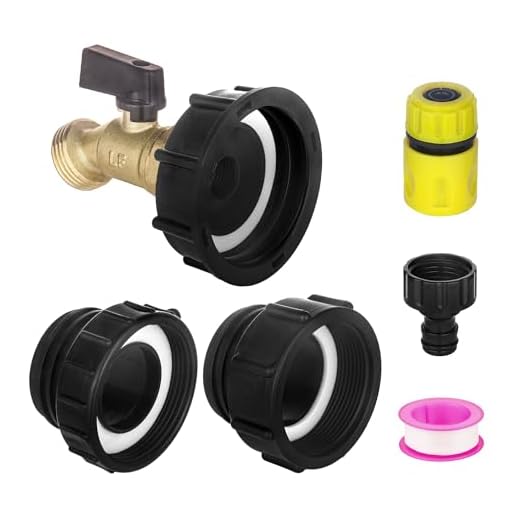

Begin with a reliable connection to a clean supply. Use a dedicated hose, ensuring that it meets the specifications of your unit. This will prevent any pressure loss and maintain optimal performance during operation.
Next, ensure your chosen source has adequate flow. You’ll want at least 4 to 5 litres per minute for most models to function efficiently without risking damage. Consider installing a sediment filter to catch debris that could clog your machine.
Incorporate a shut-off valve near the plug to easily manage the water flow. This feature is often overlooked but can significantly enhance convenience and control during cleaning tasks.
It’s wise to examine the environment prior to setup. Watch for any potential kinks in the hose and avoid sharp bends; maintaining a smooth flow is crucial for effective cleaning. Always check for leaks before starting your project, as any drip could lead to a loss of pressure and a frustrating experience.
Taking these steps ensures your cleaning equipment operates at its best, leading to superior results and prolonged equipment life.
Connecting a Water Source to Your Cleaning Equipment
First, ensure the correct fitting for your machine. Various models may require different adapters, so refer to the manual for specifics. If an adapter is needed, secure it tightly to prevent leaks.
Next, use a quality hose made for high-pressure applications. Measure the distance from your source to the unit and select a length that accommodates your setup without unnecessary slack.
Establish a direct link between the source and the equipment’s inlet. Ensure that all connections are tightened adequately. A rubber washer within the fittings can assist in creating a watertight seal and help avoid potential leaks.
To facilitate optimal performance:
- Check for kinks in the hose that may hinder water flow.
- Elevate the source if possible, as gravity can aid in maintaining consistent pressure.
- Utilise a filter to prevent debris from entering the machinery, protecting the pump from damage.
Before commencing operation, test the system by turning on the water supply. Check for any leaks and ensure that the equipment is receiving adequate flow. Address any issues immediately to maintain efficiency.
Finally, review the operation manual for any specific maintenance tips related to the connection, to ensure longevity and reliability of your cleaning equipment.
Selecting the Right Water Container Size
I recommend choosing a reservoir with a capacity of at least 50 to 100 litres for most tasks. This volume ensures you have sufficient liquid without constant refilling, especially during demanding projects.
For smaller jobs, a 30-litre model may suffice, allowing for easy mobility and transport. However, be cautious; a too-small container can lead to interruptions, affecting your workflow.
Consider the machine’s consumption rate, typically between 5 to 12 litres per minute, depending on the model. Multiply this rate by the duration of your task to determine the necessary size. For example, if you plan to operate for 20 minutes at 8 litres per minute, a minimum of 160 litres is ideal.
Additionally, think about the frequency of your projects. If you’ll be using the equipment frequently, investing in a larger reservoir may be beneficial in the long run, offering ease of use and reducing downtime.
For commercial applications, where maximum efficiency is paramount, opting for a 200-litre or larger container will provide the needed capacity to handle extensive jobs without interruptions.
Evaluate your workspace as well; ensure the container fits comfortably while allowing for safe handling and connection to your equipment. Consider purchasing a container with a built-in filtration system to maintain the water quality, prolonging your equipment’s life.
Connecting the Water Storage to the Cleaning Equipment
Position the receptacle close to the equipment, ensuring it’s stable and secure to avoid any accidental spills. I recommend using a clear, reinforced hose of appropriate diameter for seamless flow. A ¾-inch hose typically works well for most models.
Attach the intake side of the hose to the outlet on the receptacle, tightening it firmly yet without overtightening, as this could damage the fittings. Utilize hose clamps for an additional layer of security, especially if the setup will be stationary for an extended period.
Establishing the Connection
Next, connect the other end of the hose to the intake of the cleaning unit. Again, ensure that this connection is watertight. Following that, open the receptacle valve to allow water flow and check for any leaks at the connections made. If leaks occur, re-tighten the fittings and inspect the hose for any signs of wear.
Optimising Functionality
Before turning on the machine, confirm that the receptacle is filled adequately to prevent air from being drawn into the pump during operation. Running the unit without sufficient fluid can lead to serious damage. Once everything is connected properly and no leaks exist, power on the equipment and test it on a small surface to ensure optimal performance.
Ensuring Proper Water Flow and Pressure
To maintain an optimal flow rate for your cleaning apparatus, the inlet needs to be appropriately sized and free of obstructions. Begin by ensuring all hoses and connections are secure and leak-free. Any kinks or damage will significantly impair performance.
Utilising a suction system requires careful attention to the water source’s elevation in relation to the device. A lower position can create challenges with drawing water effectively, leading to insufficient flow. If the reservoir is placed higher, gravity will aid the flow, enhancing efficiency.
Verify that the intake strainer is clean and unobstructed. A dirty strainer can hinder the amount of liquid entering the machine, decreasing power. Regular maintenance, including periodic cleaning or replacement, is essential.
Monitor the performance of the pump during operation. If you notice fluctuations in pressure or unexpected noises, it may indicate issues with water supply or pump wear. Address these concerns promptly to avoid further complications.
For equipment using a float valve mechanism, check that it is functioning correctly, as this regulates the flow and prevents overflow. Any faults can disrupt operation and create undesirable results.
Remember to test everything after setup. Run the system and observe for any irregularities in flow or pressure. Adjustments to hose lengths or tightness of fittings may be needed for optimal performance.
Installing Appropriate Hoses and Fittings
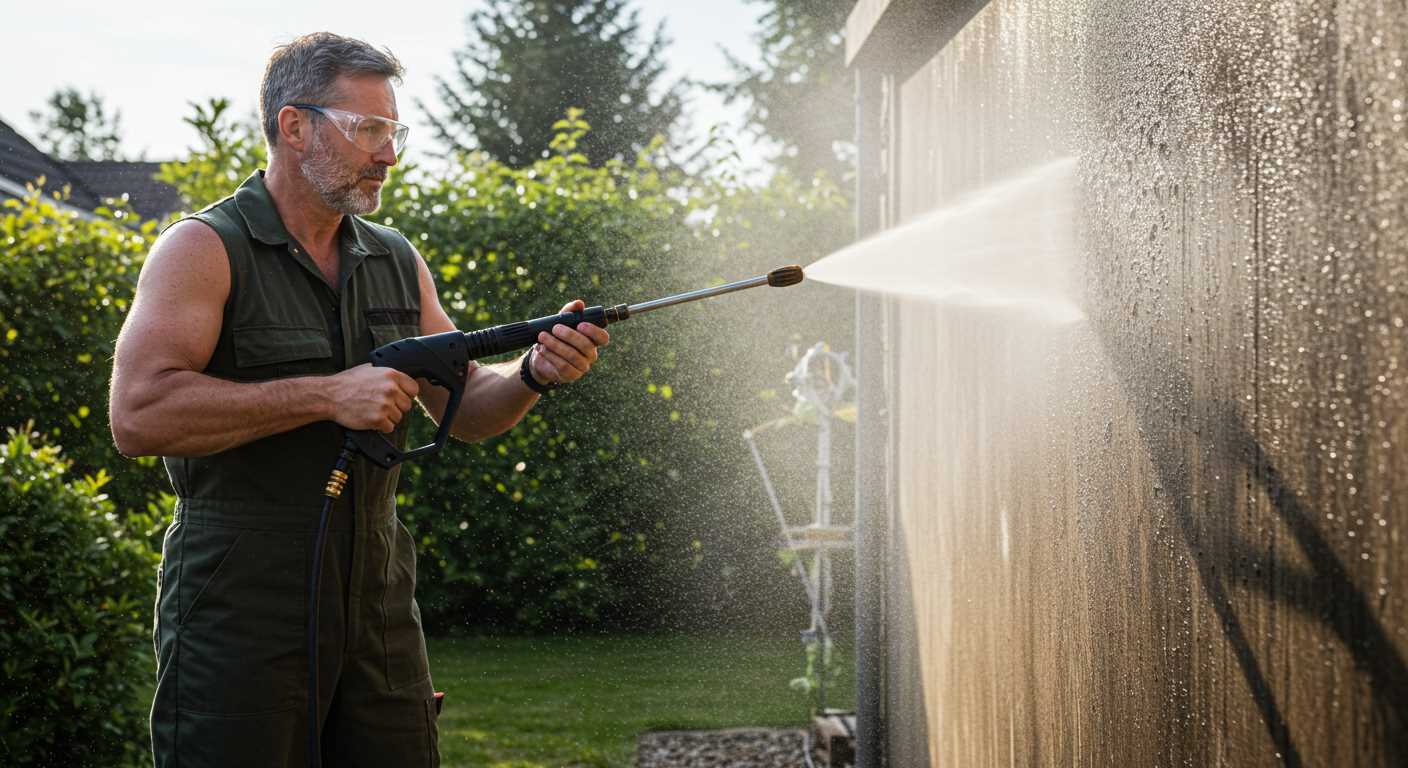
Select hoses that match your equipment specifications and local regulations. A high-quality reinforced hose with a diameter of at least 3/4 inch ensures optimal flow rate, reducing the risk of pressure drops. Length matters too; choose a length that meets your reach needs while avoiding excessive coiling that can constrict water flow.
For fittings, use brass or stainless steel connectors to prevent corrosion. Ensure they are compatible with both the chosen hoses and your current system. A threaded male-to-female adapter may be required for connecting hoses to the inlet of the cleaning unit. Use PTFE tape for sealing threaded connections, which prevents leaks and maintains pressure.
Consider using quick-connect fittings for convenience. They allow for easy disassembly, especially useful when switching between different cleaning applications. Always inspect for wear and tear before each use to avoid failures during operation.
Lay out your setup clearly, ensuring all connections are tight and secure. Test the system with clean water first to check for leaks before adding cleaning solutions. Proper assembly not only enhances the performance of your unit but also extends its lifespan.
Finally, maintain a slightly elevated position for the hoses to facilitate drainage after use, preventing algae growth and ensuring longevity. Regularly check for kinks and abrasions that can hinder flow.
Testing the Setup for Leaks and Performance
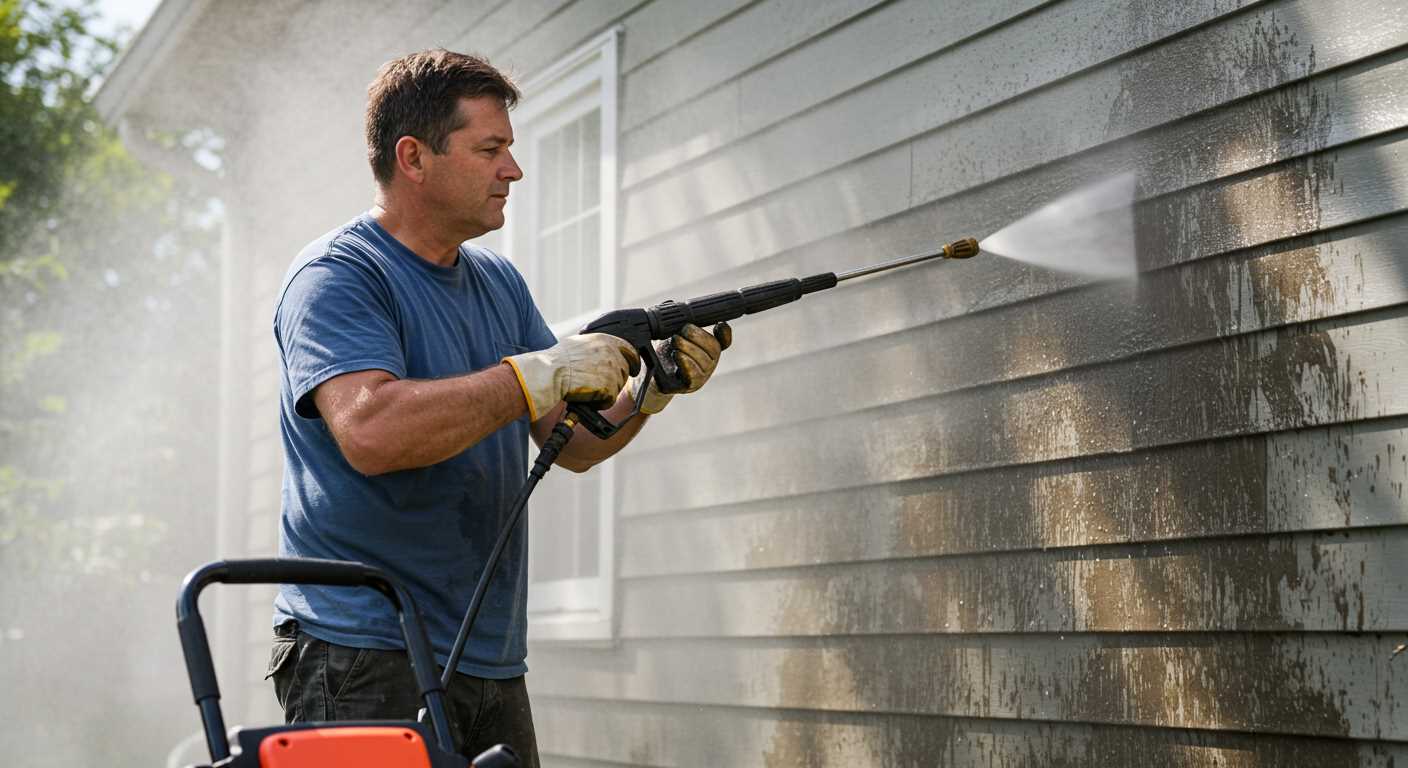
Begin with a thorough inspection of all connections and fittings for any visible signs of damage or loose components. Tighten hoses and fittings as needed. After securing the connections, fill the storage unit and gently turn on the machine
As the system pressurises, monitor for any leaks from joints or hoses. Small drips may indicate a need for additional tightening, while significant leaks might require replacing the offending component.
Performance Verification
Once you confirm that there are no leaks, it’s time to evaluate the flow rate and pressure consistency. Connect a flow meter to the output, if available, to measure the litres per minute (LPM) output. Compare it with the specifications of your equipment. A drop in expected performance signals potential issues.
Testing Under Load
Run the unit while performing a cleaning task. Monitor the water flow and pressure output while observing the machine’s response. Adjust settings as necessary to achieve optimal performance while ensuring that the supply remains steady.
| Test Aspect | Procedure | Expected Outcome |
|---|---|---|
| Leak Check | Tighten connections and observe | No visible leaks |
| Flow Rate | Use flow meter during operation | Matches specs, consistent output |
| Performance Under Load | Clean surface while monitoring | Steady pressure, effective cleaning |
Addressing any discrepancies promptly can prevent further complications. Regular maintenance checks can ensure that all components function properly over time.
Maintaining the Water Storage and High-Pressure Unit
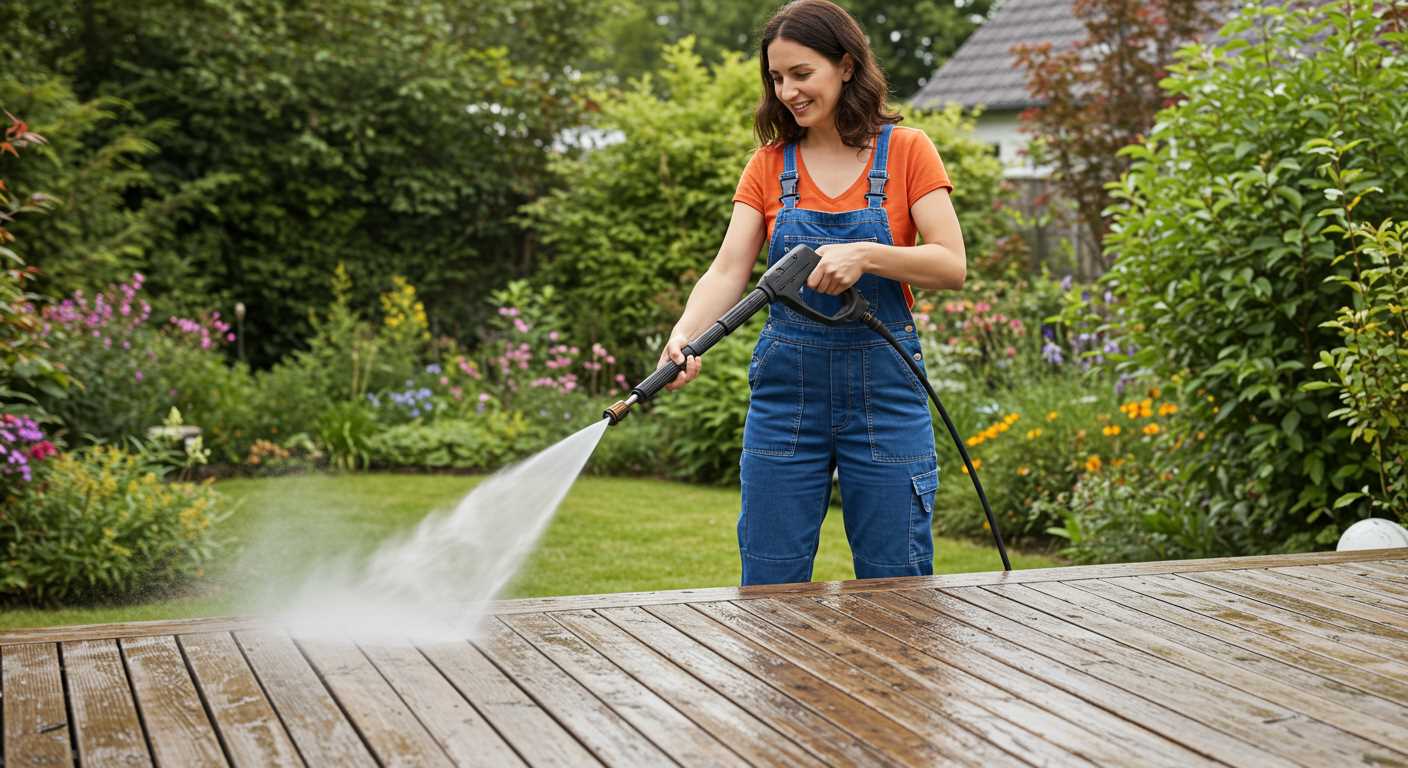
Regular inspection of the storage container is crucial. Ensure there are no cracks, leaks, or signs of wear that could compromise integrity. Clean the interior periodically to prevent algae or sediment build-up, which can impair flow.
Inspect seals and connections to ensure they remain intact. Replace damaged fittings promptly to avoid unwanted leakage. Using quality fittings can prevent many common issues associated with pressure loss.
Monitor the clarity of the fluid in the reservoir. If it appears murky or discoloured, it may be necessary to drain and scrub the interior of the holding unit thoroughly. Keeping this area clean not only improves performance but also prolongs the life of your cleaning equipment.
Sustain the high-pressure apparatus by checking the inlet filter regularly. Clogged filters can lead to decreased performance. Clear any debris or replace the filter as needed to maintain optimal operation.
Conduct routine checks on hoses for signs of wear or blistering. Damaged hoses can lead to decreased water delivery and may present a risk of bursts. It’s advisable to have spare hoses on hand to ensure minimal downtime.
Test the system’s pressure setting regularly. Fluctuations might suggest issues that require troubleshooting. By maintaining proper pressure, one can optimise the cleaning capability while conserving resources.
Follow manufacturer guidelines for maintenance routines. Adhering to the recommended service schedules helps mitigate potential problems and prolongs equipment lifespan, ensuring effective performance year after year.


