
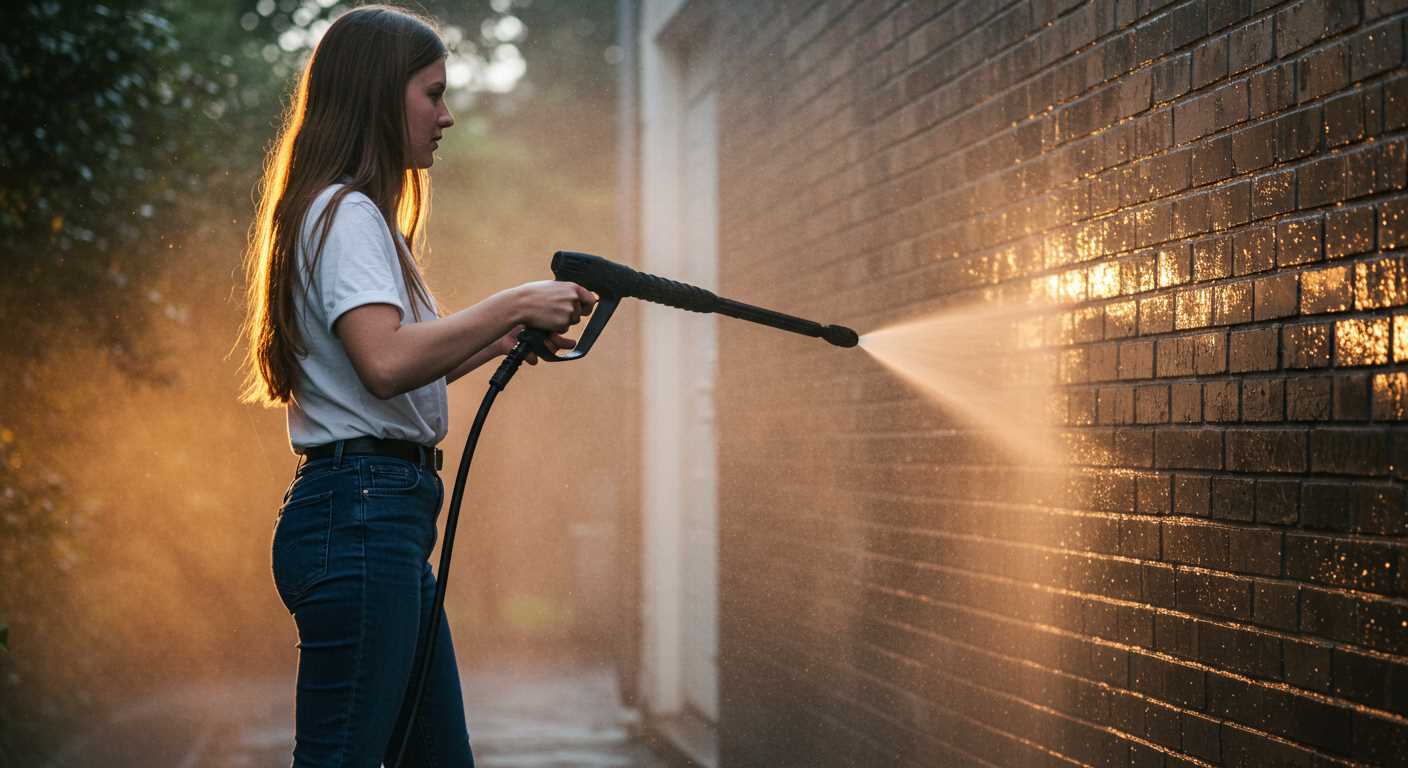
A successful application of cleaning solutions in high-pressure equipment requires a well-thought-out strategy. Begin by ensuring your machine is properly set up; check all connections, and make certain the nozzle is attuned to the job at hand. Choose the right dilution ratio for your selected agent, as this influences the cleaning efficacy. It’s crucial to follow the manufacturer’s recommendations regarding mixing and usage to avoid damaging surfaces or the equipment itself.
Before proceeding, conduct a small patch test on an inconspicuous area. This will help gauge the compatibility of the agent with the surface and prevent any unwanted damage. Once you’re confident in the choice of chemicals, fill your tank according to the specifications provided in the user manual. Make adjustments to the pressure settings if necessary, as this can impact both the application and overall results.
Maintain a consistent distance while applying the solution to ensure thorough coverage without causing harm. Pay attention to the technique – sweeping motions work best for even distribution. After application, allow sufficient dwell time for the cleaning agent to act, enhancing its effectiveness. Rinse thoroughly to remove any residues, ensuring the area is left clean and revitalised.
Chemical Application Techniques
Select a compatible attachment, such as a chemical injector or dedicated foam cannon. Ensure it’s designed to handle the specific solution for optimal results. Rinse the tank thoroughly before adding any substance to prevent unwanted reactions.
<p.Fill the chosen reservoir with the appropriate diluent as per the manufacturer’s instructions. Use high-quality solutions for effectiveness and safety. Mix carefully to achieve the right concentration; inaccurate blending can jeopardise performance.
Adjust the nozzle to a low-pressure setting to prevent excess force, which may cause splattering or damage to surfaces. Start at a distance of around 3 to 4 feet from the target, gradually moving closer if necessary. This distance aids in even distribution without excessive force.
Cover the area methodically, ensuring all surfaces receive consistent coverage. Allow the application to sit for the recommended dwell time to ensure the active ingredients work effectively. Avoid exposing the area to direct sunlight during this phase; it can diminish the solution’s efficacy.
After the appropriate contact time, follow up with a thorough rinse using clean water. Adjust the nozzle accordingly; a wide fan pattern often works best for rinsing, ensuring all residues are washed away. Check surfaces post-rinse to confirm cleanliness and repeat if necessary.
Always wear appropriate protective gear including gloves and goggles to safeguard against any splashes. Having a safety data sheet on hand for each substance offers critical information should an accident occur. Lastly, store any residual mixture securely, following local regulations for hazardous materials.
Selecting the Right Pressure Washer for Chemical Application
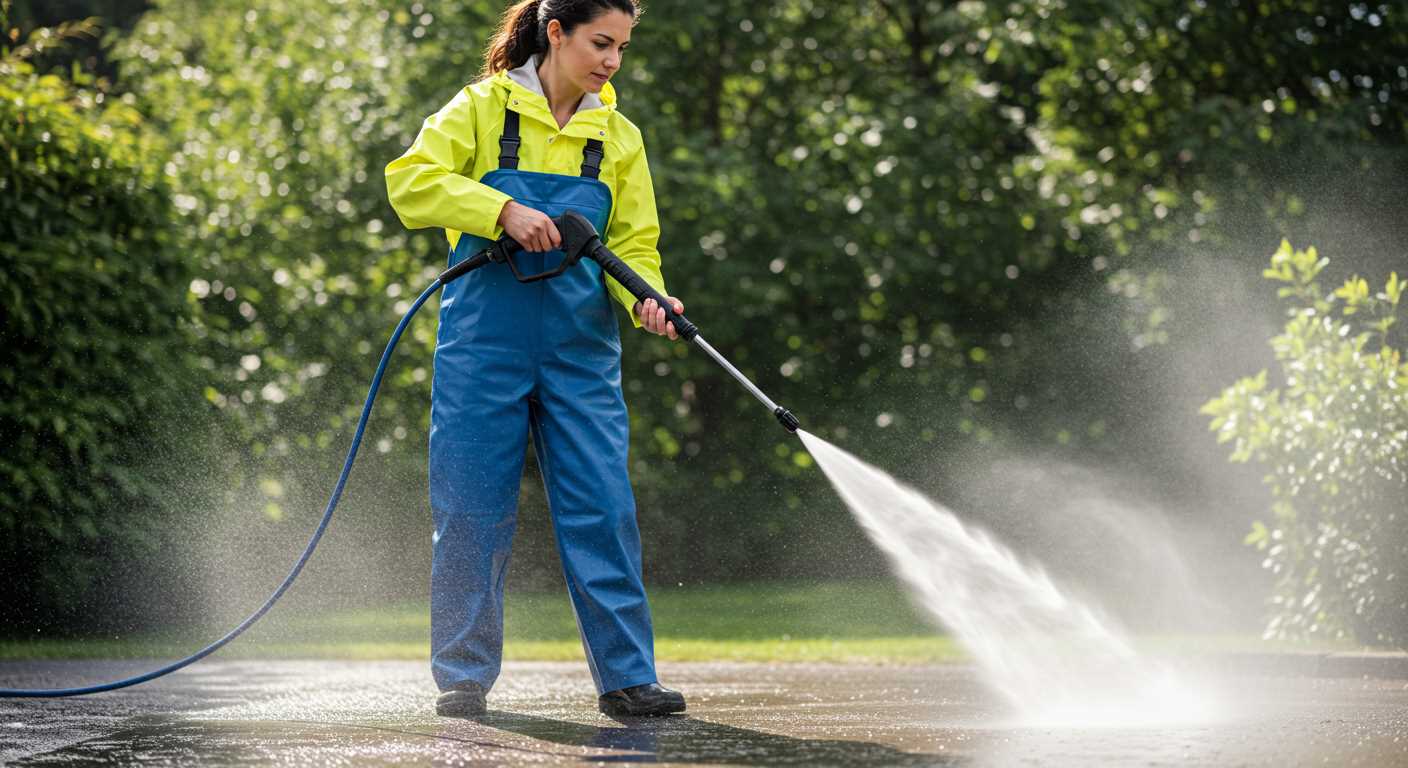
Choosing the proper machine is vital for applying solutions effectively. Opt for a model with adjustable pressure settings to handle various substances without causing damage. A minimum of 2000 PSI is suitable for most cleaning tasks, while a lower PSI can suffice for delicate surfaces.
Look for units designed with compatibility in mind. Some models include built-in tanks or attachment options for mixing detergents, which streamline the process. Ensure the materials of the machine are resistant to corrosion since many solutions can be harsh.
I recommend electric units for indoor or light-duty outdoor work, as they tend to be quieter and more environmentally friendly. For heavier projects, consider gas-powered alternatives for increased power and performance.
Pay attention to the type of nozzle that comes with the machine. Different spray patterns can alter the effectiveness of the solution application. A nozzle that produces a wider fan spray can help cover larger areas quickly, while a concentrated spray is ideal for tackling stubborn stains.
Lastly, consult user reviews and expert recommendations. They provide insight into real-world performance and reliability, ensuring you make an informed decision. A well-suited machine will enhance your cleaning efficiency significantly.
Choosing Appropriate Chemicals for Pressure Washing
.jpg)
Start with identifying the surfaces you will clean. Different materials, such as wood, concrete, or vinyl, require specific solutions to avoid damage. Here’s a quick guide to help you choose:
- For Concrete: Use an alkaline-based cleaner to break down grease and grime effectively.
- For Wood: Opt for a biodegradable solution to prevent harm to the natural finish and vegetation nearby.
- For Vehicles: Select a pH-balanced detergent to safely clean without harming paintwork.
- Mould and Mildew Removal: Look for a sodium hypochlorite-based cleaner, ideal for homes and outdoor furniture.
Always check compatibility. When mixing solutions, reference the manufacturer’s guidelines to prevent adverse reactions. Conduct a spot test on an inconspicuous area to confirm the cleaner’s safety and effectiveness.
Concentration levels matter. Read labels to determine the correct dilution ratios. Too little may not yield desired results, while too much can lead to surface damage.
Consider environmental factors. Opt for eco-friendly options when cleaning around plants or in public spaces. This minimizes the impact on local flora and fauna.
- Concentrated Products: More cleaning power requires lower volumes of solution, which is cost-effective and efficient.
- Ready-to-Use Formulas: Convenient but may result in higher costs over time.
Finally, always wear protective gear. Ensure that gloves, goggles, and masks are part of your cleaning routine, particularly when handling potent solutions. This keeps safety a top priority while maintaining cleanliness.
Preparing Your Machine for Chemical Application
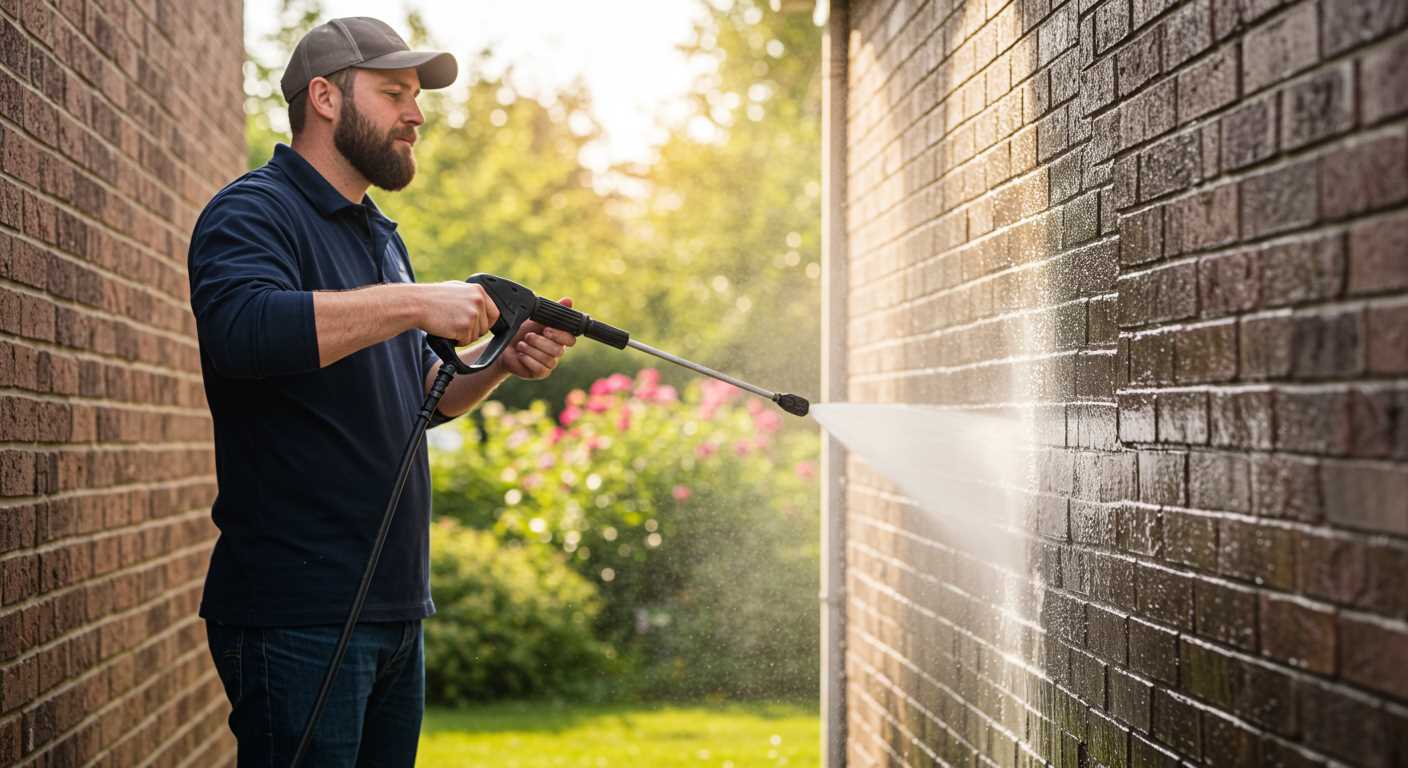
Begin by disconnecting the water supply and unplugging the device for safety. Next, inspect the equipment for any wear or damage, focusing on the hoses, nozzles, and connectors. Damaged components can lead to leaks when using liquids.
Check Compatibility
Ensure that your machine is compatible with the cleaning solutions chosen. Consult the manufacturer’s guidelines regarding permitted substances to avoid corrosion or damage. Using inappropriate products can void warranties or shorten service life.
Set Up Proper Dilution
Follow the manufacturer’s recommendations for dilution ratios. Mix cleaning agents in a separate container according to instructions before pouring them into the solution tank or injector system. This prevents residue buildup in the equipment.
- Use a clean container to avoid cross-contamination.
- Always measure the chemicals accurately.
- Stir gently to achieve a uniform mixture.
Attach the right nozzle for the job. A wider spray pattern is typically suitable for broader coverage and applies solutions evenly. Check for clogs in the nozzle or strainer that might disrupt the flow.
- Prepare the user manual for reference during the process.
- Set the machine to a low-pressure setting initially.
- Conduct a test on a small area to ensure desired results.
Once everything is ready, prime the system by running water through it briefly. This action ensures the solution reaches the nozzle effectively without interruptions. Be prepared for the first flow, as it can be more concentrated.
Correctly Mixing Solutions for Use in a High-Pressure Cleaner
Begin by adhering to the manufacturer’s guidelines for the specific mixture ratios for each solution. If this information is absent, a typical ratio used is one part concentrate to four parts water for general cleaning purposes. Adjusting for stubborn stains or heavy build-up may call for a stronger blend, such as one part concentrate to two parts water.
Utilising the Right Measurement Tools
Employ precise measuring tools like graduated cylinders or measuring cups to ensure accurate ratios. This reduces the risk of ineffective solutions or damaging surfaces due to overly aggressive concentrations. Always refer to the recommended proportions on the chemical packaging and use them strictly.
Mixing Technique
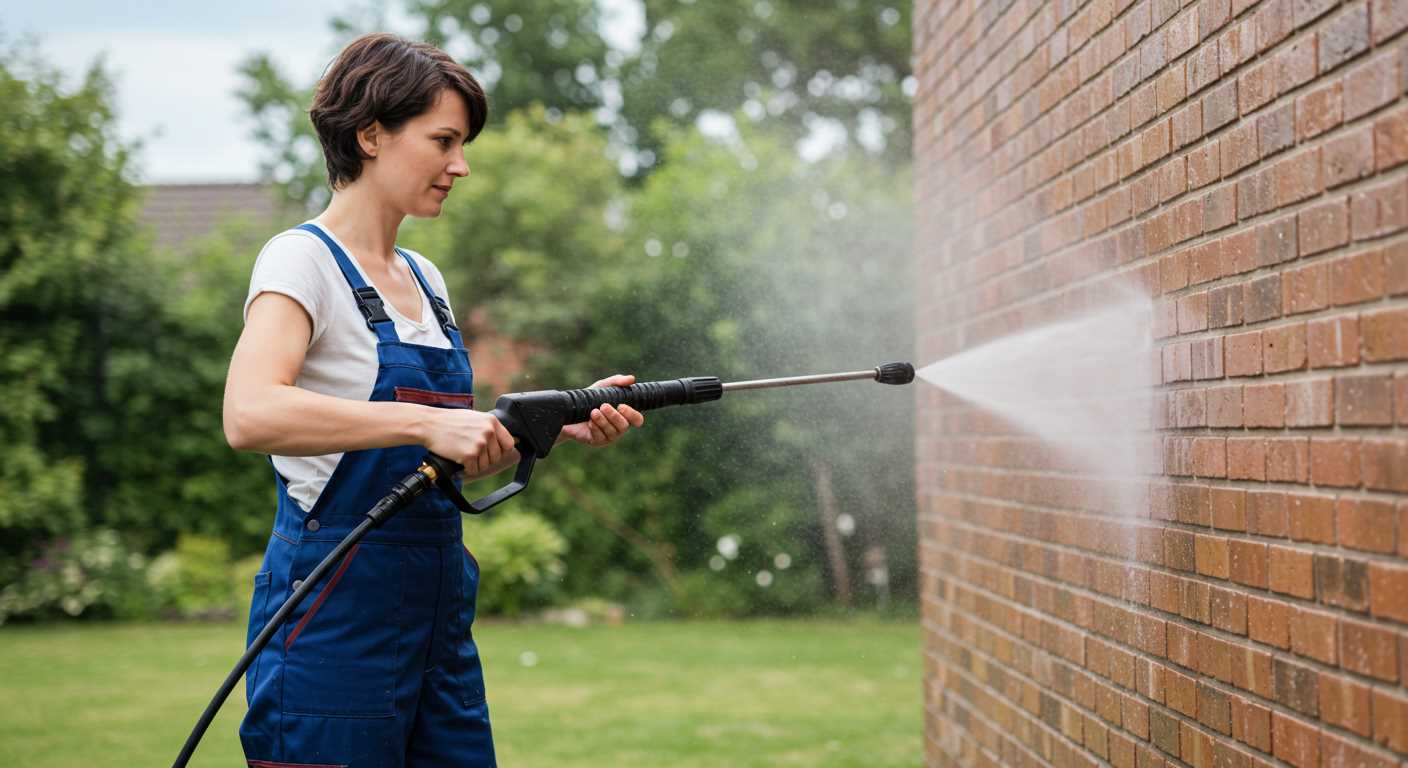
When combining solutions and water, add the concentrate to the water gradually, not the other way around. This helps to prevent splashes and ensures a more thorough mix. Stir the mixture gently until it appears uniform. Additionally, always mix solutions in a well-ventilated area while wearing appropriate personal protective equipment, such as gloves and goggles, to safeguard against splashes.
Adjusting Pressure and Nozzle Settings for Chemical Application
Set the pressure to a lower setting, typically between 1000 to 1500 PSI, to ensure safe and effective application of the solution. This prevents blasting away delicate surfaces while maintaining optimal coverage.
Choose a suitable nozzle, preferably a wider angle option, such as a 25-degree or 40-degree nozzle. This allows for a broader dispersion of the product without concentrating too much force in one spot, reducing the risk of damage.
For applications that require more precise targeting, use a turbo nozzle or adjustable nozzle that can be fine-tuned for stronger output. Adjust the nozzle distance from the surface for various tasks – closer for stubborn stains and farther for overall surface application.
To maximise efficiency, experiment with various combinations during initial applications. Starting with a test area can help determine the optimal settings for different surfaces and solutions used.
Keep in mind that some mixtures may require a different nozzle type or pressure setting depending on their viscosity. Regularly check the results and be prepared to modify both pressure and nozzle angle for best performance.
Ensure to flush the system after each chemical application; this protects internal components and maintains longevity. Adhering to these guidelines allows for effective cleaning results while safeguarding surfaces and equipment.
Applying Chemicals Safely and Effectively
Always wear appropriate personal protective equipment, such as gloves, goggles, and masks, before beginning any task. Safety should be a priority, especially when handling hazardous substances. Ensure the area is well-ventilated, and keep pets and children away during application.
Select a time for application when weather conditions are optimal. Avoid high winds and direct sunlight, as they can cause rapid evaporation and uneven application. A mild day is preferable for better adhesion and effectiveness.
Proper Equipment Usage
Maintain the equipment rigorously before use. Check hoses and fittings for leaks or damage that may hinder performance. Clean the nozzle to ensure an even flow of product. Use a dedicated chemical injector compatible with your machine to ensure the correct amount of solution is mixed according to the manufacturer’s guidelines.
Technique and Application
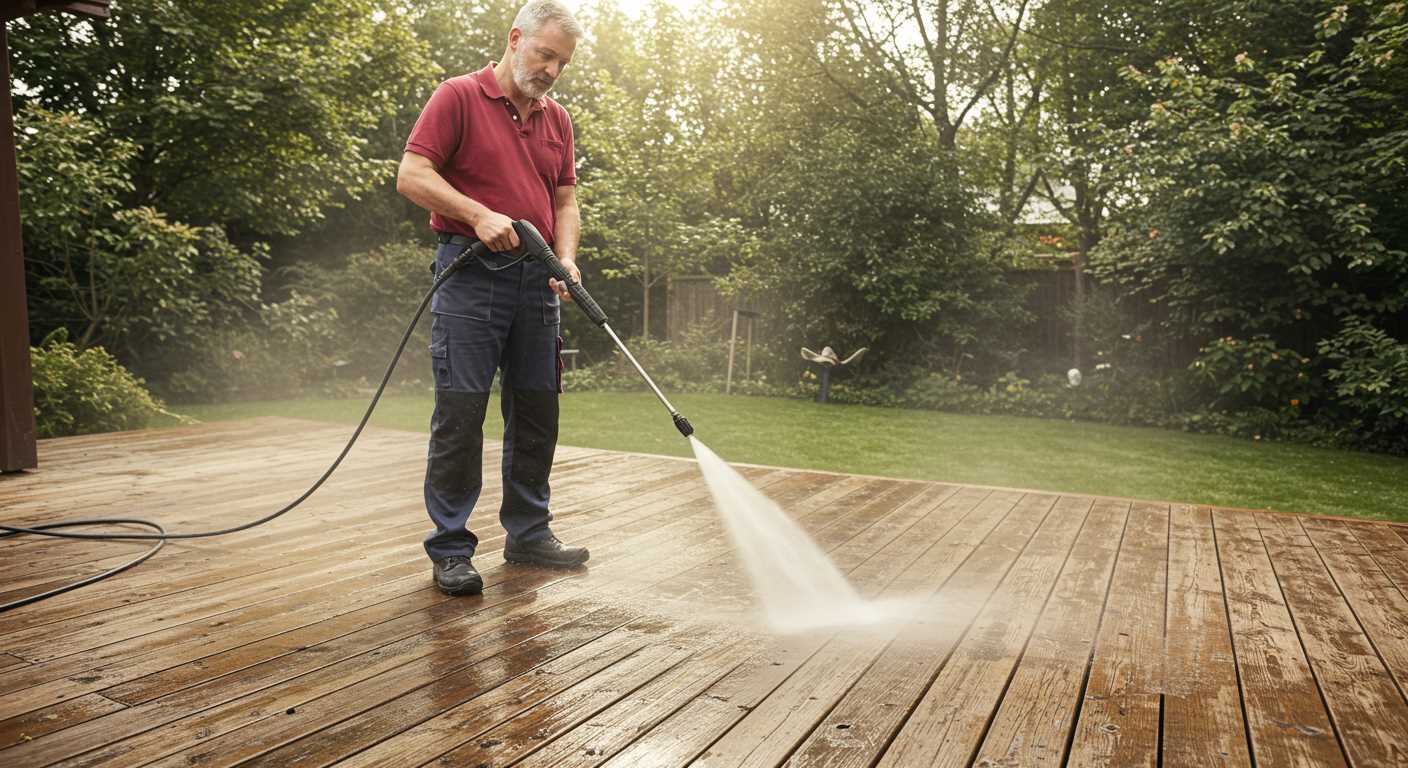
Employ a consistent pattern while applying the solution. Start at the bottom and work upwards to avoid streaks. Allow the solution to sit for the recommended duration for optimal results, and gently rinse from top to bottom to ensure thorough removal of any residue.
| Step | Recommendation |
|---|---|
| 1 | Wear gloves, mask, and goggles. |
| 2 | Check equipment for leaks and blockages. |
| 3 | Apply on a calm, mild day. |
| 4 | Follow a top-to-bottom application technique. |
| 5 | Allow adequate dwell time before rinsing. |
Follow these practices to improve application outcomes and maintain an environment free from chemical residues. This systematic approach ensures not only effectiveness but safety throughout the cleaning process.
Cleaning and Maintaining Equipment After Chemical Use
Thoroughly rinse all components that came into contact with the solution immediately after finishing. Use clean water to flush the system, including the hose and nozzle, ensuring no residue remains. Pay special attention to filters, as they can easily clog if not cleaned regularly.
Disassembling and Inspecting Components
Once the flushing is complete, carefully disassemble any removable parts for a detailed clean. Examine the pump and other internal components for signs of corrosion or damage. If any parts show wear, replace them to extend the lifespan of the equipment.
Storing Equipment Properly
Store the machine in a dry, sheltered location. Avoid exposing it to extreme temperatures or moisture, as this can cause damage over time. Covering the unit helps protect it from dust and debris while not in use. Regular maintenance checks will help keep the equipment in optimal condition.


