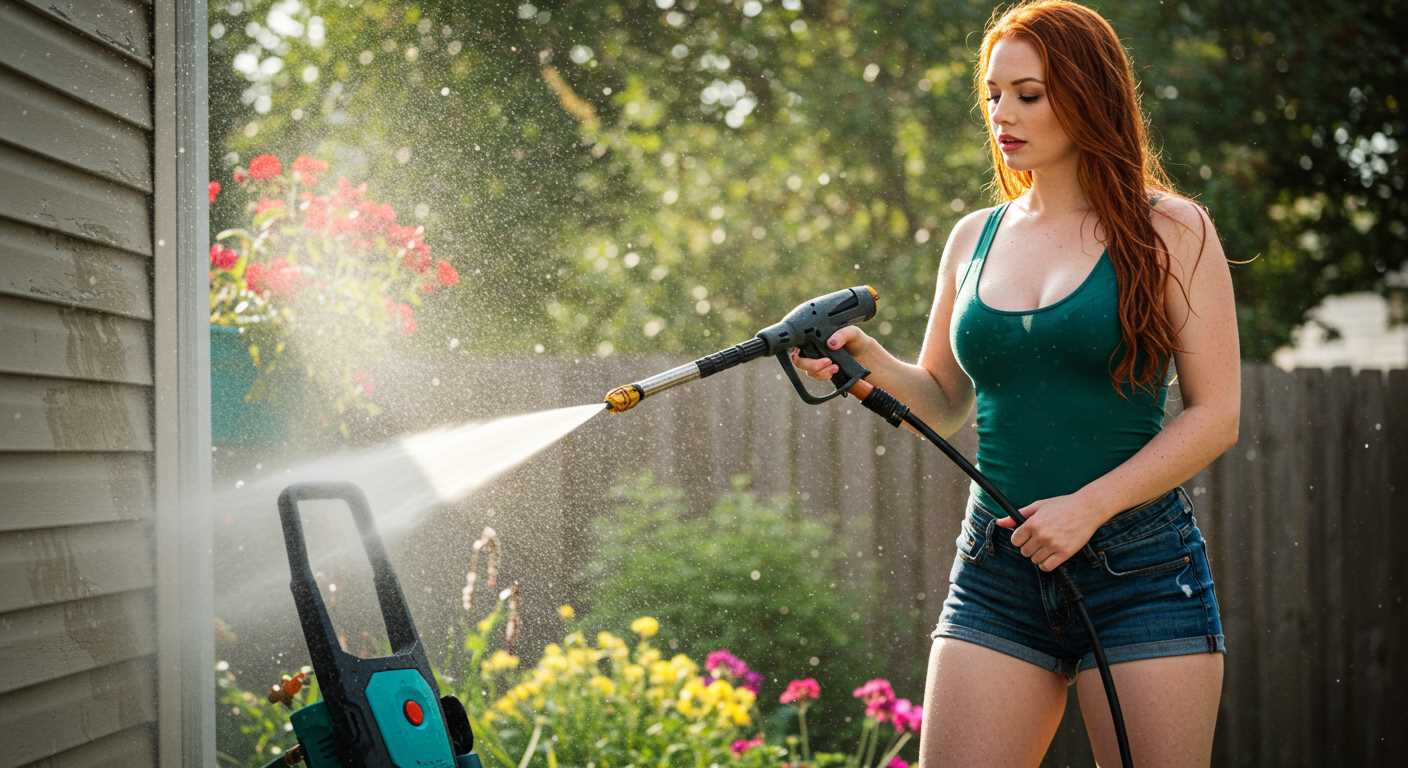


Begin by adjusting the nozzle of your high-pressure apparatus to a wide spray pattern before aiming it at the foliage. A wide angle ensures that you cover more area while reducing the likelihood of damage to the plants. Maintain a distance of about 2-3 feet from the surface to prevent any potential harm while effectively dislodging dirt, mould, or pests.
Next, a thorough examination of the terrain is crucial. Identify any delicate structures such as gardens or flower beds in proximity. When operating, direct the spray at an angle rather than straight on to minimise soil erosion and safeguard nearby plants. Checking the pressure settings of your machine is another critical step. A lower setting often suffices to eliminate dirt without compromising the integrity of the vegetation.
To enhance cleaning results, consider incorporating eco-friendly cleaning solutions. Dilute these in water, and apply the mixture before using your high-pressure device. This method boosts the efficacy of the wash without introducing harmful chemicals to the environment. Rinse thoroughly with fresh water to ensure all residues are eliminated.
Lastly, be mindful of the weather conditions during the cleaning task. Avoid working under direct sunlight or during high winds, as these factors can affect the cleaning process and lead to uneven results. Taking these practical measures will lead to an outstanding outcome, revitalising your greenery effectively.
Effective Methodology for Treating Foliage
For optimal results, maintain a distance of 3 to 4 feet from the bark while executing the task. Focus on a sweeping motion, utilising a wide-angle nozzle to distribute the water evenly. Adjust the pressure settings to a lower level to avoid damaging the surface of the plant.
Before starting, ensure that the attachments are compatible with the equipment. An adjustable nozzle will allow you to switch from a narrow jet for stubborn dirt to a broader fan for lighter cleaning. This flexibility is vital in addressing varying types of debris present on the surface.
Engage in downward movement, beginning from the topmost branches and working your way down. This technique ensures that debris is washed away rather than pushed further into the foliage. Always supervise for potential wind that may redirect the stream.
After cleansing, examine the area for any remaining particles or residue. You may need a soft brush to tackle stubborn spots. This follow-up will ensure that the treatment is thorough and enhances the overall health of the plants.
Consider scheduling this procedure in the early morning or late afternoon to prevent rapid drying and allow the water to penetrate effectively. Additionally, using a garden sprayer beforehand can enhance results, especially with applications of any horticultural solutions aimed at pest or disease management.
Choosing the Right Pressure Washer for Tree Spraying

Select a unit with a minimum pressure of 2000 PSI to ensure effective cleaning of foliage and bark. A medium-range washer provides sufficient force without damaging delicate branches.
Opt for electric models for convenience and quieter operation, especially in residential areas. Gas-powered options deliver more power but require more maintenance and are noisier.
Investigate flow rate, ideally around 1.8 – 2.5 GPM. This balance of pressure and water volume efficiently rinses away dirt and pests while conserving water.
Select adjustable nozzles for versatility. A wide fan spray works well for broader coverage, while a pinpoint jet is ideal for tackling stubborn patches.
Prioritise portability. A washer with wheels enhances manoeuvrability, allowing for easier movement around larger properties or tight spaces.
Evaluate built-in safety features such as automatic shut-off and thermal relief systems. These ensure safe operation and prolong the life of the equipment.
Consider compatibility with various detergents. Non-toxic, biodegradable solutions are preferable for plant safety. Ensure the pressure cleaner’s chemical injection system can handle these products.
Examine customer reviews and expert ratings. Genuine feedback and evaluations can provide insight into the reliability and performance of different brands.
Always test the selected model on a small, inconspicuous area of the plant. This ensures it operates safely without causing damage before proceeding with larger sections.
Preparing the Area Before Tree Spraying

Ensure the ground around the plants is free of any obstructions. Clear away rocks, branches, and debris to create an unencumbered workspace.
Protect Surrounding Areas

- Cover nearby flowers, shrubs, and soil with tarps or plastic sheeting.
- Use cardboard to shield pathways or patios if fine mist could reach them.
- Consider placing a temporary fence or barrier around the immediate area for added protection.
Check Weather Conditions

Prioritise checking the weather forecast. Optimal conditions include calm and dry days to prevent chemicals from drifting onto undesired areas. Avoid windy weather or imminent rain to ensure effective treatment.
Organise equipment and cleaning agents within reach while keeping them safely stored away from pets and children. This preparation will promote a smooth workflow and enhance safety protocols throughout the process.
Selecting the Appropriate Nozzle for Your Pressure Washer
Choose a nozzle based on the surface you intend to treat. For delicate bark, a 15-degree nozzle is ideal, delivering a narrow fan spray to effectively remove debris without causing damage.
If you require a gentler application, opt for a 25-degree nozzle. This option broadens the spray pattern, making it suitable for more sensitive areas or softer foliage.
Pay attention to the pressure settings of your device. A lower PSI can complement a wider nozzle, ensuring a safe and thorough cleanse without the risk of injury to the plant structure.
For reaching higher branches or wider spans, consider a turbo nozzle. It combines the efficiency of a narrow jet with the coverage of a wider pattern, ideal for targeting stubborn dirt at elevation.
Always test your selected nozzle on a small, inconspicuous area before proceeding fully. This precaution helps assess the impact and adjust if necessary to prevent any unintended harm.”
Ensure you maintain a consistent distance from the surface while operating. Adjusting your distance based on the nozzle type allows for better control and optimal results.
Finally, keep your nozzles clean and free of clogs. Regular maintenance extends their lifespan and maintains the performance of your equipment.
Mixing Cleaning Solutions for Tree Spraying
I recommend preparing a suitable cleaning mixture tailored to the type of debris on your vegetation. For light dirt, a standard mix of water and biodegradable soap works well–typically a 10:1 ratio. For tougher stains like mould or mildew, use a mixture of water and vinegar in equal parts. This combo effectively neutralises biofilm without harming your plants.
If pests are a concern, consider using a solution that includes horticultural soap or neem oil. Combine one to two tablespoons of neem oil per litre of water. Such mixtures help manage insects while being kind to the environment.
Always conduct a spot test on a small, inconspicuous area of the foliage before applying any solution broadly. This ensures there’s no adverse reaction. Otherwise, dilute or modify the mixture if you notice any signs of distress on the tested area.
It is crucial to mix the cleaning solutions in a separate container before transferring them to the reservoir of your spraying device. Ensure your container is clean and free from residues of previous chemicals to prevent unwanted reactions.
After mixing, always label your cleaning containers clearly. This prevents confusion in the future and keeps your work area safe. Remember to wear appropriate protective gear, including gloves and goggles, when handling cleaning products.
Mixing the right solutions enhances your cleaning efficiency, leading to healthier foliage and improved aesthetics. Careful preparation plays a significant role in achieving the desired results.
Safely Operating a Pressure Washer Around Trees
Before commencing any cleaning activity near vegetation, securing the surrounding area is fundamental. Start by ensuring all nearby plants are well protected with tarps or plastic sheets. This provides a barrier against potential damage from the forceful stream of water and any cleaning agents used.
Adjust the working distance to avoid undue stress on branches and leaves. Stand at least 6 to 8 feet away from the vegetation when cleaning. This reduces the risk of harming delicate foliage. A steady, sweeping motion is advisable; it helps distribute the force more evenly and avoids concentrated blasts that can cause injury.
While operating the equipment, avoid aiming directly at the trunk or limbs. Instead, angle the nozzle slightly away from the vegetation to prevent stripping bark or dislodging small branches. If targeting specific areas, utilise a low-pressure setting and maintain the nozzle at a safe distance.
Always remain vigilant for signs of stress in the plant, such as wilting or browning leaves. If any adverse reactions occur, halt operations immediately and reassess the approach. Regularly inspect hoses and connections, ensuring they are free of leaks or damage that could create hazards.
Utilise eye protection at all times during the operation. Debris can be dislodged unexpectedly, making goggles a necessary precaution. Furthermore, appropriate footwear is advisable to prevent slips or falls, especially in damp conditions.
Concluding after cleaning, ensure that any chemical residues are thoroughly rinsed away from the immediate area to prevent soil contamination or harming nearby plants. This final step promotes the long-term health of your garden and enhances the effectiveness of the task. Properly storing equipment afterward keeps it in excellent working condition for future projects, ensuring a safe and efficient operation next time.
Avoiding Damage to Foliage and Bark
Always maintain a safe distance of at least 2-3 feet from the bark while operating the apparatus. This distance helps prevent injury to the outer layer, which is crucial for the tree’s health.
Utilising a lower pressure setting is essential. I recommend adjusting the machine to below 1500 PSI. Higher pressures can strip the bark and damage delicate leaves.
In choosing an appropriate nozzle, I suggest using a fan spray or a wide-angle tip. This technique disperses the water more evenly, reducing the risk of concentration on a single spot that could cause harm.
Timing plays a critical role. Spraying during cooler parts of the day–early morning or late afternoon–reduces stress on the plant, minimising potential damage from the sun.
Inspect your target carefully before cleaning. Look for signs of disease or weakness in the plant. Only proceed if the foliage and bark appear healthy to ensure they can withstand the procedure.
It’s beneficial to apply biodegradable cleaning solutions. This approach lessens the environmental impact and decreases the likelihood of harming beneficial insects that may inhabit the area.
I advise against using this method on young or newly planted specimens. Their sensitivity makes them more susceptible to damage under high-pressure conditions.
Lastly, staying aware of surrounding vegetation is crucial. Ensure that nearby plants are not in the line of the spray, as they can also be affected by the pressure and cleaning agents used.
Timing Your Tree Spraying During the Year
For optimal results, select early spring or late autumn for cleaning operations. During these times, the absence of foliage allows for easier access to the trunk and branches, enhancing effectiveness.
Seasonal Considerations
Spring is ideal as it clears off winter residues, preparing the bark for new growth. This period also helps to eliminate pests that survived the colder months. Schedule cleaning before new leaves fully develop to avoid hindrance.
Late autumn is another prime time. As leaves fall, it facilitates the removal of debris and prepares the trees for winter. Additionally, this approach can deter fungal issues caused by residual moisture.
Climate Factors
Temperature is critical. Avoid operating when temperatures are extreme, as this can affect both the cleaning solution’s efficacy and the equipment’s performance. Aim for moderate weather–ideally between 10°C and 20°C. Rain can dilute cleaning agents; perform tasks during dry spells for best results.
| Season | Advantages | Disadvantages |
|---|---|---|
| Early Spring | Clear debris, target pests | Possible attachment of sap to equipment |
| Late Autumn | Remove waste, prevent fungal issues | Cooler temperatures may impede drying |
Adapting your schedule according to these guidelines enhances efficiency and preserves the health of the trees. Make the most of timing for a fruitful cleaning season.
Post-Spraying Care for Trees and Surrounding Soil
Immediately after cleaning treatments, ensure thorough hydration of the soil around the roots. This aids in re-establishing moisture levels disrupted during the cleaning process. Apply water generously to encourage healthy absorption by the plant.
Check for any residual cleaning agents that may have settled in the soil. If applicable, mulch can be a practical addition. It retains moisture, protects against sudden temperature shifts, and gradually adds nutrients back into the soil as it breaks down.
Inspect the foliage and branches for any signs of stress or damage. If any leaves exhibit wilting, consider applying a gentle nutrient solution or tree tonic designed for recovery. It can help mitigate the effects of the strong stream.
Take care to monitor the area for any potential erosion or displacement of the topsoil. Reinforcing the soil, especially on sloped terrains, may be necessary to prevent runoff. Adding a layer of compost can also enhance soil structure and fertility.
Regularly evaluate the health of the plant in the following weeks, watching for abnormal growth patterns or signs of disease. Early detection of issues can significantly improve recovery outcomes.
During drought conditions, establish a consistent watering routine until the plant displays clear signs of recovery. This practice supports overall vitality and resilience against pests or diseases.


