

For an effortless operation, ensure the fuel tank is filled with high-quality gasoline, positioned securely to prevent spills. Engage the choke lever to its closed position if the engine is cold; once the unit starts running smoothly, return it to the open position.
Connect your garden hose to the designated inlet on the machine, using a washer to prevent leaks. Turn on the water supply and check for any kinks in the hose; proper flow is crucial to avoid damage. Next, insert the desired nozzle–consider starting with a wider spray for gentler cleaning and switch to narrower options for tougher grime.
Before pulling the trigger, locate the safety switch, which should be in the “on” position. Stand firmly and depress the trigger while holding the wand comfortably. Allow the motor to reach its optimal power before you begin cleaning; this improves both performance and efficiency. Regular maintenance, such as cleaning the filter and checking fluid levels, will prolong the lifespan of your equipment.
Check Fuel and Oil Levels Before Use
Inspect the fuel and oil before operating the machine. Insufficient levels can lead to performance issues or engine damage. Begin by checking the fuel tank.
Fuel Check

Ensure the fuel tank is filled with fresh petrol. Older fuel can cause starting difficulties. If the fuel has been stored for over 30 days, consider replacing it. Use the proper fuel octane rating as specified in the user manual.
Oil Check
Next, examine the oil reservoir. Remove the dipstick, wipe it clean, and reinsert to gauge the oil level. The oil should be between the minimum and maximum marks. If low, add the recommended oil type. Regular oil changes enhance engine longevity.
| Task | Recommended Action |
|---|---|
| Fuel Level | Fill with fresh petrol |
| Oil Level | Check with dipstick; add oil if necessary |
| Old Fuel | Replace if over 30 days old |
| Oil Type | Use type specified in the manual |
Following these steps ensures optimal performance for your equipment. Regular checks prevent costly repairs and maintain operational efficiency.
Inspect and clean the air filter

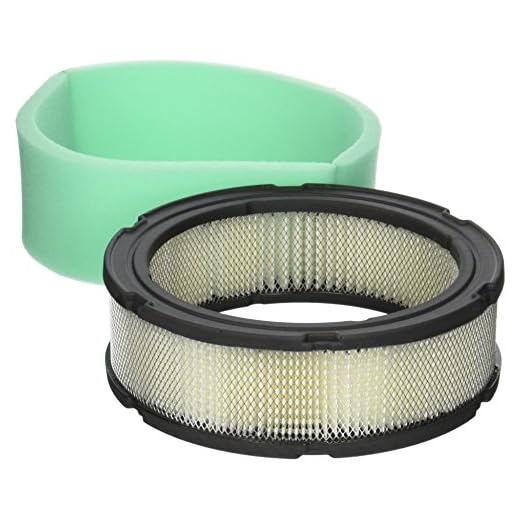
Check the air filter regularly to ensure optimal performance. A clogged filter restricts airflow, affecting engine efficiency and overall operation. Start by removing the filter cover, usually secured with screws or clips. Carefully take out the air filter for inspection.
Cleaning the Filter
If the filter appears dusty or dirty, clean it with compressed air. Blow from the inside out to dislodge dirt particles without damaging the filter material. If the filter is excessively soiled or damaged, replace it with a new one. Regular cleaning extends the filter’s lifespan and ensures proper airflow.
Reassemble Properly
After cleaning or replacing, reinsert the air filter and secure the cover. Make sure it’s fitted tightly to prevent unfiltered air from entering the engine. This simple step will contribute significantly to the longevity and efficiency of your equipment.
Connect the hoses and nozzles correctly
Begin with securely attaching the high-pressure hose to the outlet on the machine. Ensure the connection is tight to prevent leaks during operation. Next, connect the other end of the hose to the spray gun, ensuring it clicks into place firmly.
For the nozzle attachment, choose the appropriate nozzle for your cleaning task. Align the nozzle with the spray gun and push until it locks in place. Verify that it’s secure by gently pulling on it. For versatility, consider having a range of nozzles available, including those for wider sprays and concentrated jets.
Once hoses and nozzles are connected, check for any visible damage or wear. Cracks or bulges could lead to malfunctions or safety hazards. After confirming the integrity of the connections, turn on the water supply and briefly test the system without starting the motor. This allows you to confirm there are no leaks before engaging the machine.
When handling connections, always wear appropriate safety gear, including gloves and goggles, as water pressure can be significant and carry debris. Proper setup ensures a smooth cleaning process without unexpected interruptions.
Set up the water supply properly
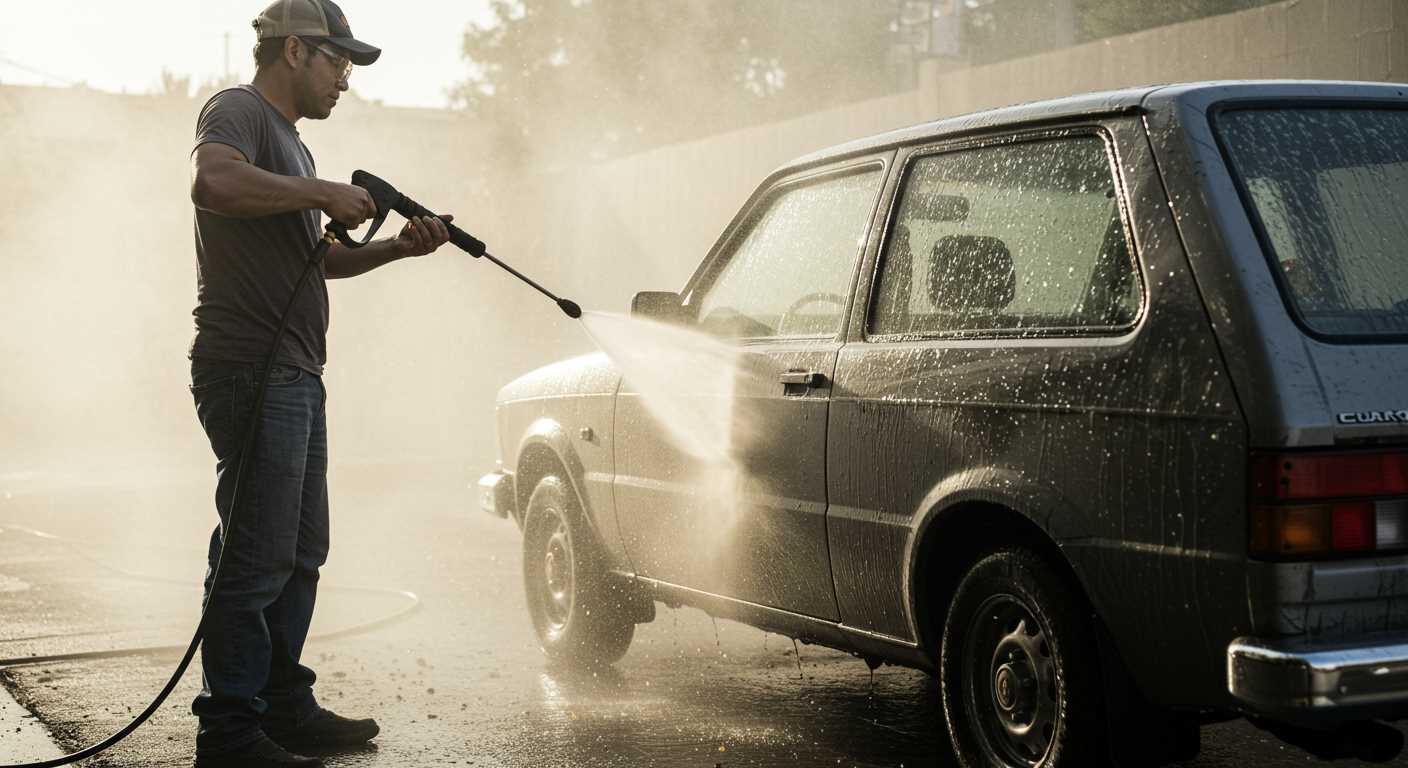
Ensure that the water source is clean and debris-free. Attach a quality hose that is at least 5/8 inch in diameter to maintain adequate flow. The hose should not be damaged or kinked, as this will restrict water flow and lead to performance issues.
Before connecting the water supply to the unit, turn on the tap to flush out any sediment or particles that may have collected in the line. Once clear, securely connect the input hose to the machine, making certain it is watertight.
Check the water temperature; the ideal range is typically between 4°C and 30°C. Water that’s too hot can cause seals to deteriorate or lead to equipment failure.
Maintain the water supply pressure at approximately 20 psi for optimal performance. Low pressure may impede the cleaning effectiveness of the equipment. To test the pressure, you can measure it using a water pressure gauge attached to an external tap.
Please be aware of regulatory requirements concerning water discharge in your area. Proper disposal prevents environmental damage and possible fines.
Prime the carburettor if needed
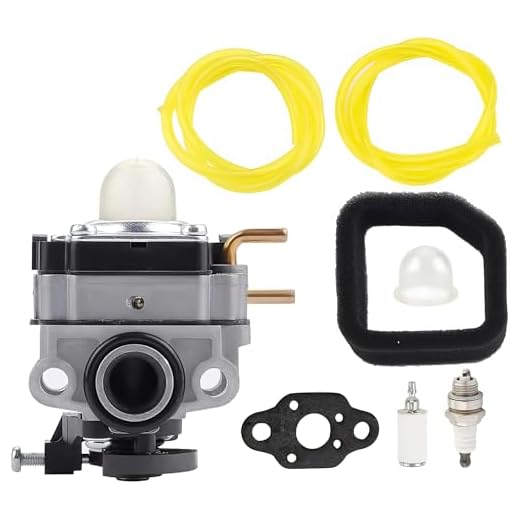
Locate the primer bulb, typically situated near the carburettor. Press it several times–about 3 to 5–to expel any air and draw fuel into the carburettor. Watch for a slight change in resistance; this indicates that fuel is moving correctly.
If the engine has been sitting for an extended period, priming becomes crucial. Insufficient fuel flow can lead to starting difficulties.
In instances of cold weather or initial use after a long break, apply additional primer strokes to ensure optimal fuel delivery.
After priming, proceed to engage the choke if applicable, which aids in cold starts by enriching the fuel mixture.
Lastly, avoid over-priming; this can flood the engine and cause complications in starting.
Procedure for Engine Ignition
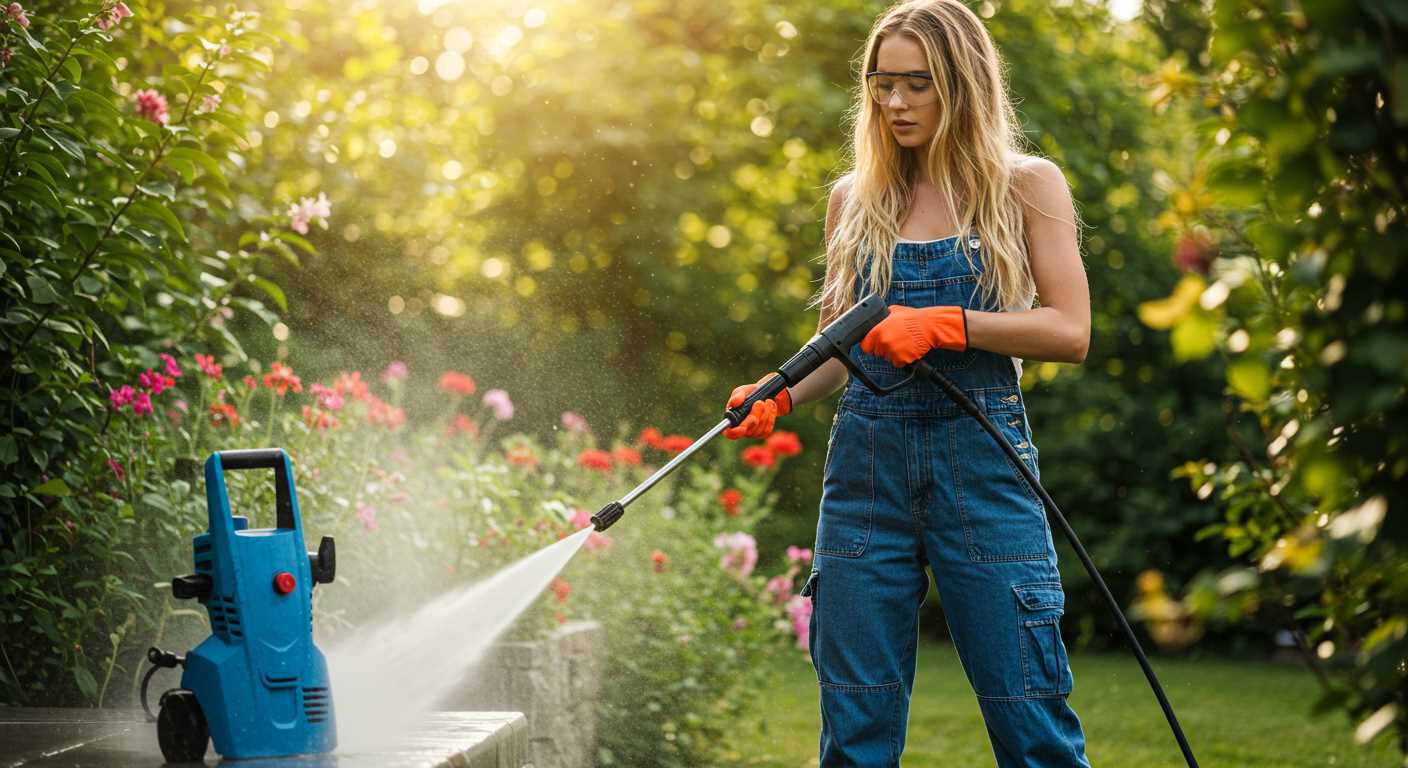
Ensure the choke lever is closed for optimal operation, then locate the fuel shut-off valve and set it to the “open” position.
Engage the ignition switch to activate the electrical system. With one hand grasping the recoil starter grip, pull the starter cord firmly and evenly until you feel resistance. Follow up with a sharp, swift pull to ignite the engine. Repeat this if necessary.
Once the engine fires up, gradually open the choke by moving the lever to the “run” position.
Monitor the engine for a stable RPM. If it stalls, re-check the choke setting and repeat the pulling procedure as needed.
Upon successful ignition and stabilization, allow the engine about 30 seconds to warm up before commencing operation. This step ensures adequate lubrication and efficient fuel combustion. Keep a watchful eye for any unusual sounds or vibrations during this phase.
Adjust the Pressure Settings for Your Task
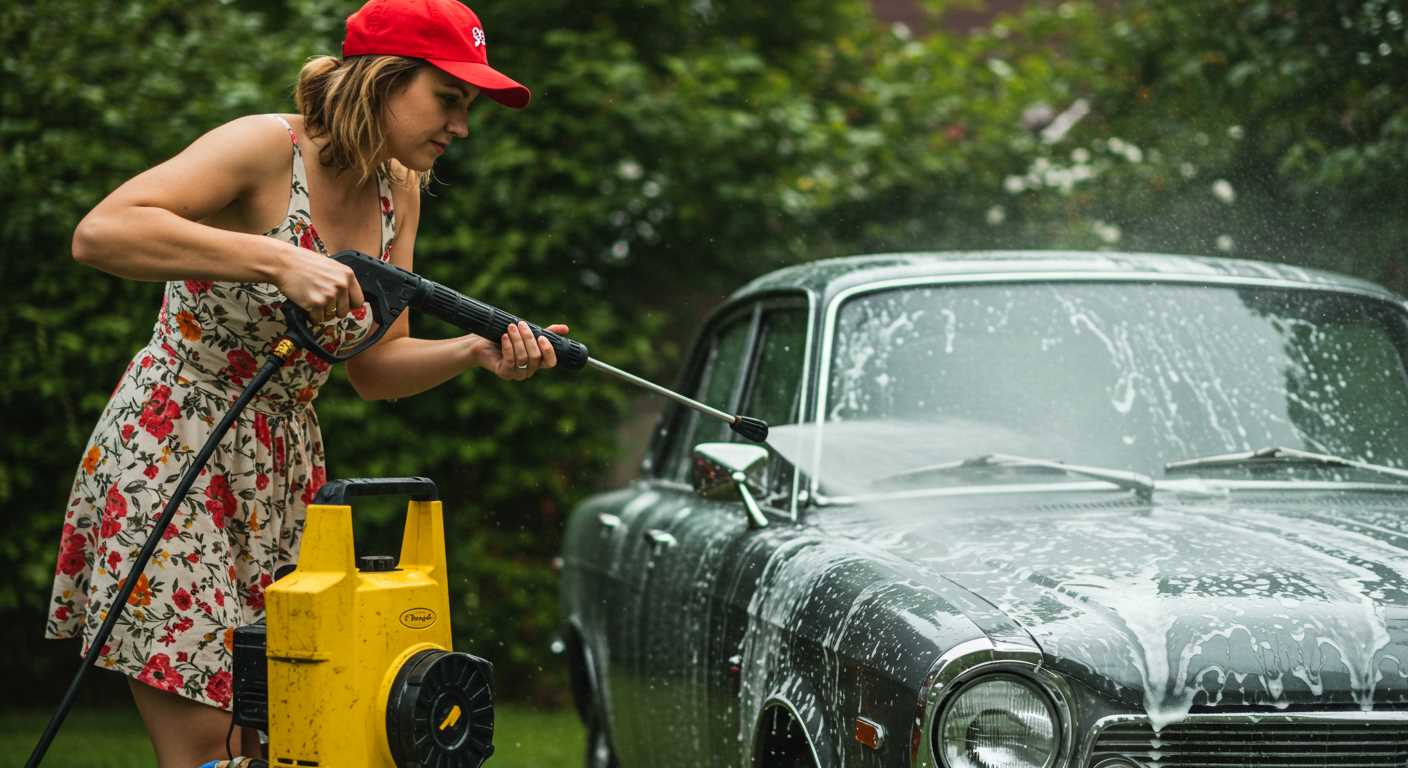
Identify the specific cleaning task before beginning. For heavier jobs like removing oil stains from concrete, set the unit to a higher pressure, typically between 2500 to 3000 PSI. For lighter tasks, such as washing vehicles or outdoor furniture, a lower setting around 1500 to 2000 PSI is more suitable.
To adjust pressure, check for a dial or lever on the machine. Turn the dial or switch the lever to the desired setting, ensuring it locks into place. Before starting, test the output on a small, inconspicuous area to avoid potential damage to surfaces.
Selecting the Right Nozzle
The nozzle selection greatly impacts performance. For widespread cleaning, a 25-degree or 40-degree nozzle delivers a gentle spray, ideal for delicate surfaces. For targeted cleaning or stubborn grime, consider a 15-degree nozzle for a more concentrated jet. Ensure the nozzle clicks securely into the wand before use.
Final Considerations
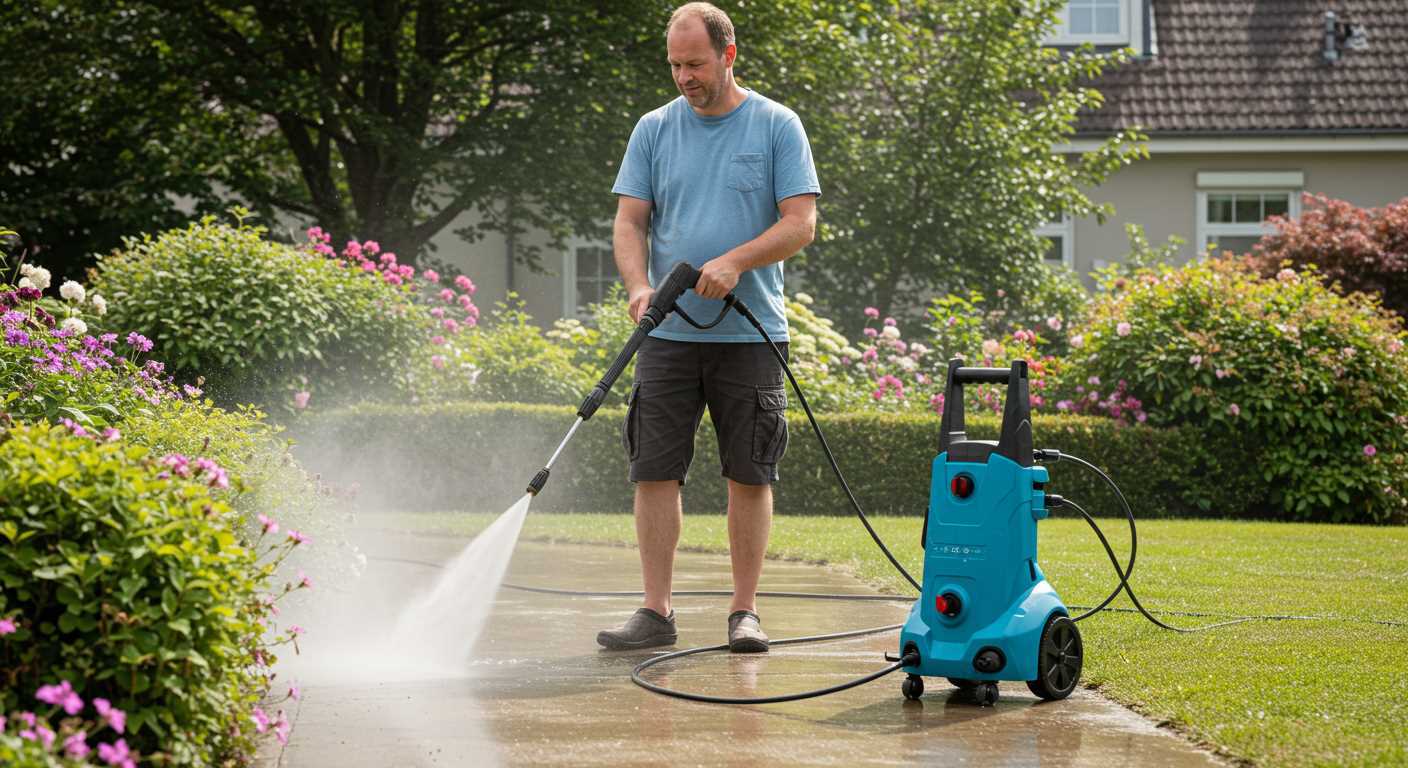
Adjusting the pressure may involve some trial and error. Once the optimal setting is found, work in gentle, sweeping motions for the best results. Always refer to the manufacturer’s guidelines for further specifics on pressure adjustments based on the equipment used.


