


Ensure safety gear is in place: goggles, gloves, and sturdy footwear. Read the user manual thoroughly. Make sure to identify and understand all controls and safety features before proceeding.
Locate a suitable water source. Ensure the hose is securely attached to both the water supply and the machine inlet. Avoid kinks in the hose to maintain optimal water flow.
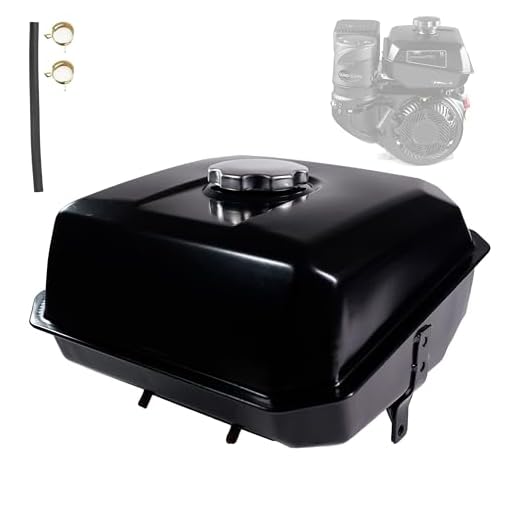
Next, check the fuel tank if the unit operates on petrol. Fill it with the recommended fuel type, avoiding overfilling. For electric models, ensure they are plugged into an appropriate outlet with adequate power ratings.
Attach the desired nozzle to the spray gun based on the task ahead. A wider angle is suitable for delicate surfaces, while a narrower setting provides concentrated power for tougher stains. Engage the safety lock before proceeding.
Turn on the water supply and pull the trigger on the gun to release air from the system. With air cleared, fire up the machine according to the manufacturer’s guidelines. Begin cleaning by gradually applying pressure and maintaining a consistent distance from surfaces.
After completion, turn off the machine and disconnect from the power source or fuel supply. Release any remaining pressure in the system by pulling the trigger until no water remains. Store the equipment properly for longevity.
Understanding the Components of Your Machine
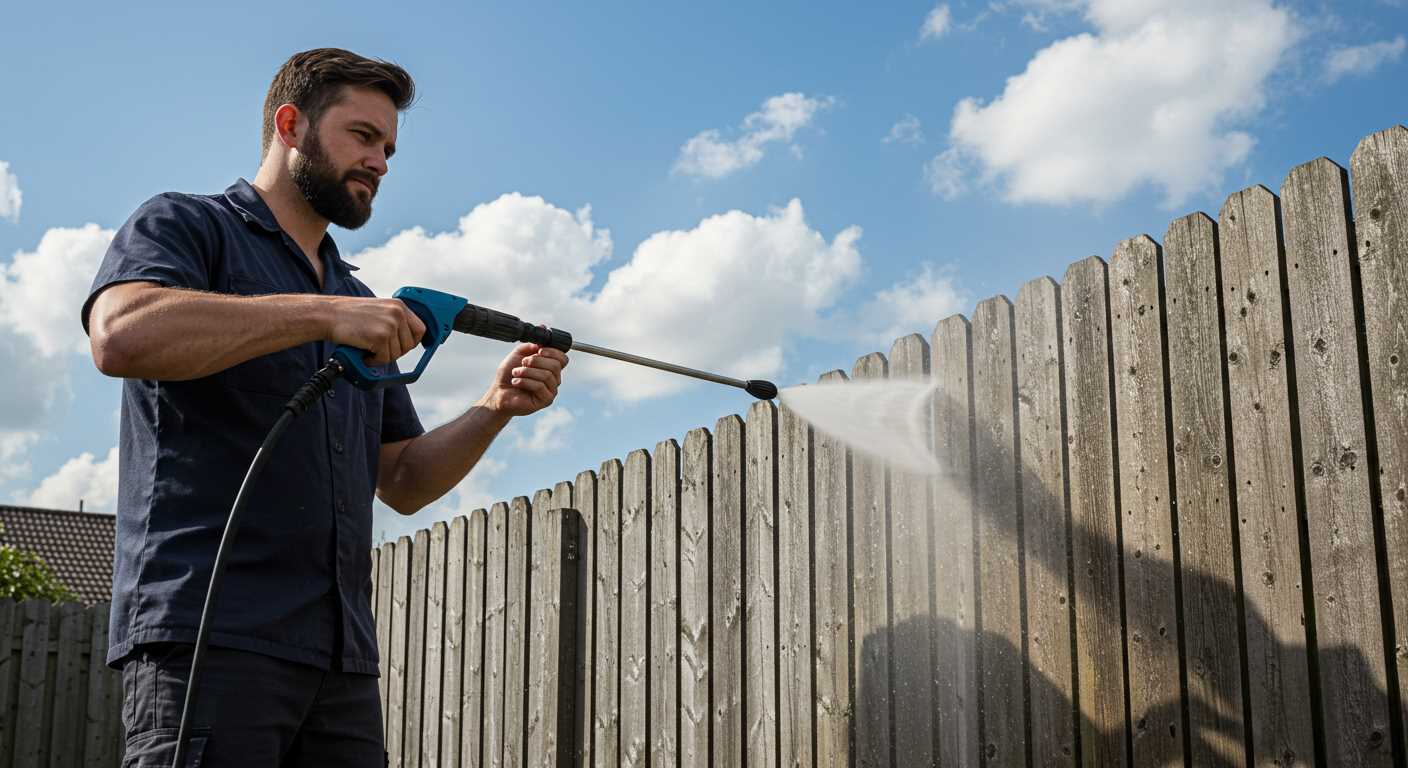
Familiarise yourself with the main elements: the motor, pump, nozzle, hose, and detergent tank. Knowing their functions enhances operation efficiency.
Motor and Pump
The motor powers the unit, while the pump pressurises the water. Look for a robust motor to ensure durability. A triplex pump generally offers greater longevity and performance, making it a preferred choice.
Nozzle and Hose
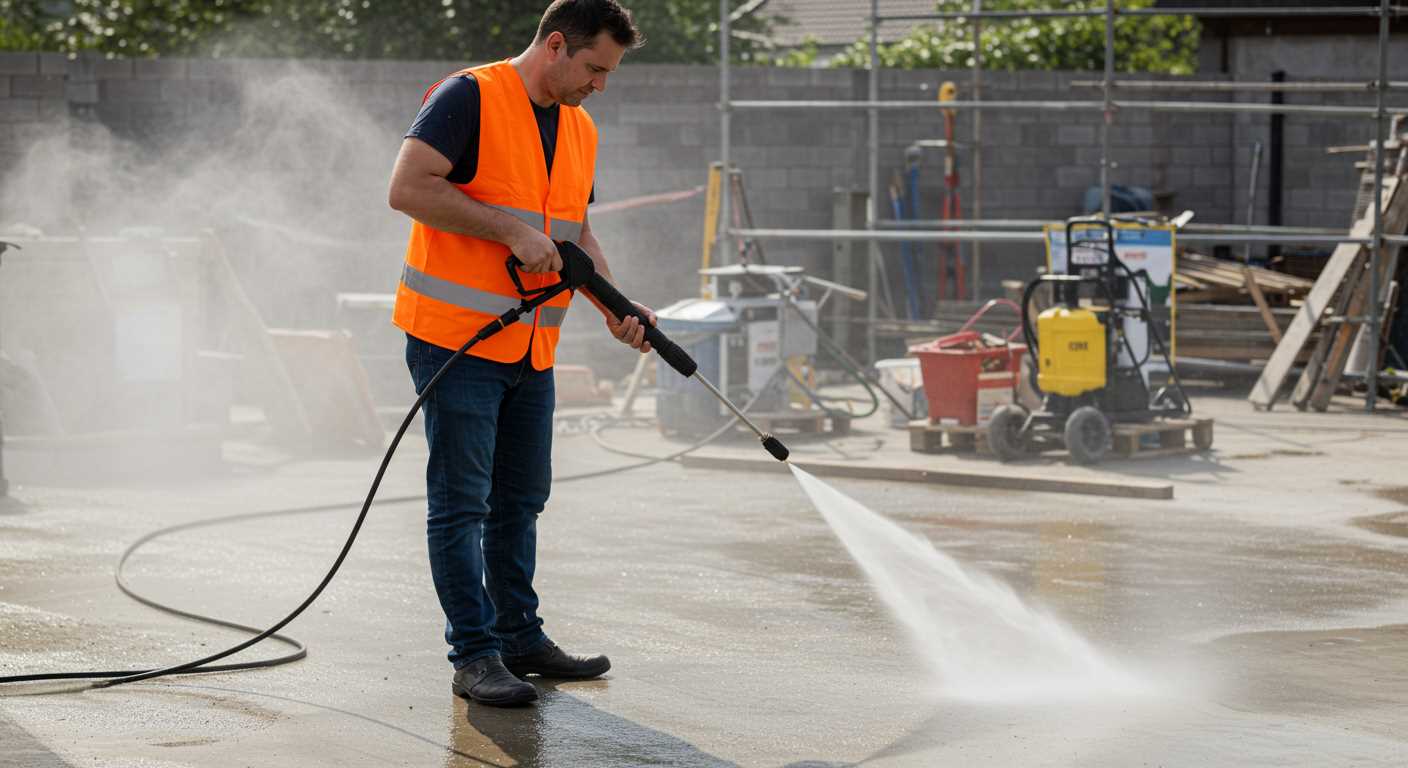
Different nozzles deliver varying spray patterns; adjust according to your task. A 15-degree nozzle is suitable for tougher grime, while a 40-degree nozzle works for delicate surfaces. Check the hose for any signs of wear; a high-quality, long hose reduces strain while in use.
Lastly, the detergent tank allows for ease in adding cleaning solutions. Ensure it’s compatible with your chosen cleaner and always follow manufacturer guidelines for optimal results.
Grasping these components paves the way for successful usage, making your cleaning tasks simpler and more effective.
Preparing the Workspace for Safe Operation
Clear the area of any obstacles. Ensure the ground is stable and free from debris, as this prevents slipping and tripping hazards. A smooth surface is crucial for the equipment’s stability.
Set Up a Safe Zone
Establish a safe zone around the cleaning device. Mark boundaries at least 10 feet away from any bystanders, pets, or fragile items. This distance reduces the risk of accidents and protects sensitive surfaces from damage caused by water pressure.
Check Electrical and Water Sources
Ensure the power outlet is dry and grounded to avoid electrical hazards. Verify that hoses and connections are secure. Inspect hoses for any wear or damage to prevent leaks and ensure a steady flow. Always use an outdoor extension cord rated for the equipment’s wattage.
| Safety Task | Details |
|---|---|
| Obstacle Removal | Clear area of debris and hazards. |
| Safe Distance | Maintain 10-foot distance from people and pets. |
| Electrical Check | Inspect power outlets for dryness and grounding. |
| Hose Inspection | Ensure hoses are free from wear or leaks. |
Adjust the workspace layout as necessary. Create a designated area for tools and equipment to avoid distractions. This approach enhances focus and ensures that everything needed is within reach, promoting an efficient operation.
Connecting the Water Supply Correctly
To ensure proper function and prevent damage, connect the water supply with precision. Begin by sourcing a clean water line; avoid using water with high mineral content. If the source is a garden hose, check for any kinks or blockages that might impede flow.
Steps to Connect

- Attach the hose securely to the inlet valve of the unit, ensuring a tight fit to prevent leaks.
- Use the appropriate hose length–typically between 6 to 10 metres is suitable. Longer hoses may reduce water pressure.
- Ensure the water is turned on fully before engaging the equipment. Insufficient flow can lead to overheating and damage the internal components.
Water Quality Considerations
- Check for debris in the water source; filtering may be necessary to avoid clogging.
- Regularly inspect hoses and connections for wear and tear to maintain optimal operation.
- If using a pressure tank, confirm it is filled to the recommended level to support consistent water supply.
After completing the connections, it’s advisable to run a brief test before engaging in any significant tasks. This helps to verify flow and ensure that all fittings are secure. Properly connecting the water supply not only enhances performance but also extends the longevity of the equipment.
Filling the Fuel Tank if Applicable
Ensure the engine is off and cool before adding fuel. Locate the fuel fill cap, usually marked and positioned conveniently. Use a clean, approved fuel container to prevent contamination. Fill the tank slowly to avoid spillage, stopping just below the maximum fill line to allow for fuel expansion. Always opt for fresh fuel; stale or contaminated petrol can damage the engine components.
Check for any leaks around the fuel cap once filled. Wipe away any spills with an absorbent cloth immediately to reduce fire risk. It is advisable to use a funnel if you’re uncertain about pouring accurately. Store fuel in a proper container that meets safety standards, keeping it sealed and away from direct sunlight.
Always adhere to the manufacturer’s guidelines regarding fuel type and mixture if using a two-stroke engine. For best results, choose a high-quality fuel to ensure a longer lifespan and optimal performance of your machine. Regular maintenance of the fuel system is recommended to avoid clogs and ensure smooth operation every time you use the equipment.
Setting Up for Ignition
Ensure all safety features are properly engaged. Inspect the safety lock on the trigger; it should be set to prevent accidental pulling. Familiarise yourself with the ignition method, typically either a pull-start cord or an electric button.
Checklist for Setup
- Verify all connections are secure; this includes the water supply and any electrical cords if applicable.
- Confirm that the fuel tank is filled, if necessary, with the appropriate type.
- Check the oil level if your model requires lubrication; add oil if it’s low.
- Examine the high-pressure hose for any signs of damage or leaks before connecting it.
Stand clear of the nozzle when readying the machine. For pull-start engines, ensure you have a firm grip on the handle and engage the choke if applicable. Pull the cord firmly until the engine fires. For electric variants, press the start button and listen for the motor to engage.
Final Checks Before Ignition
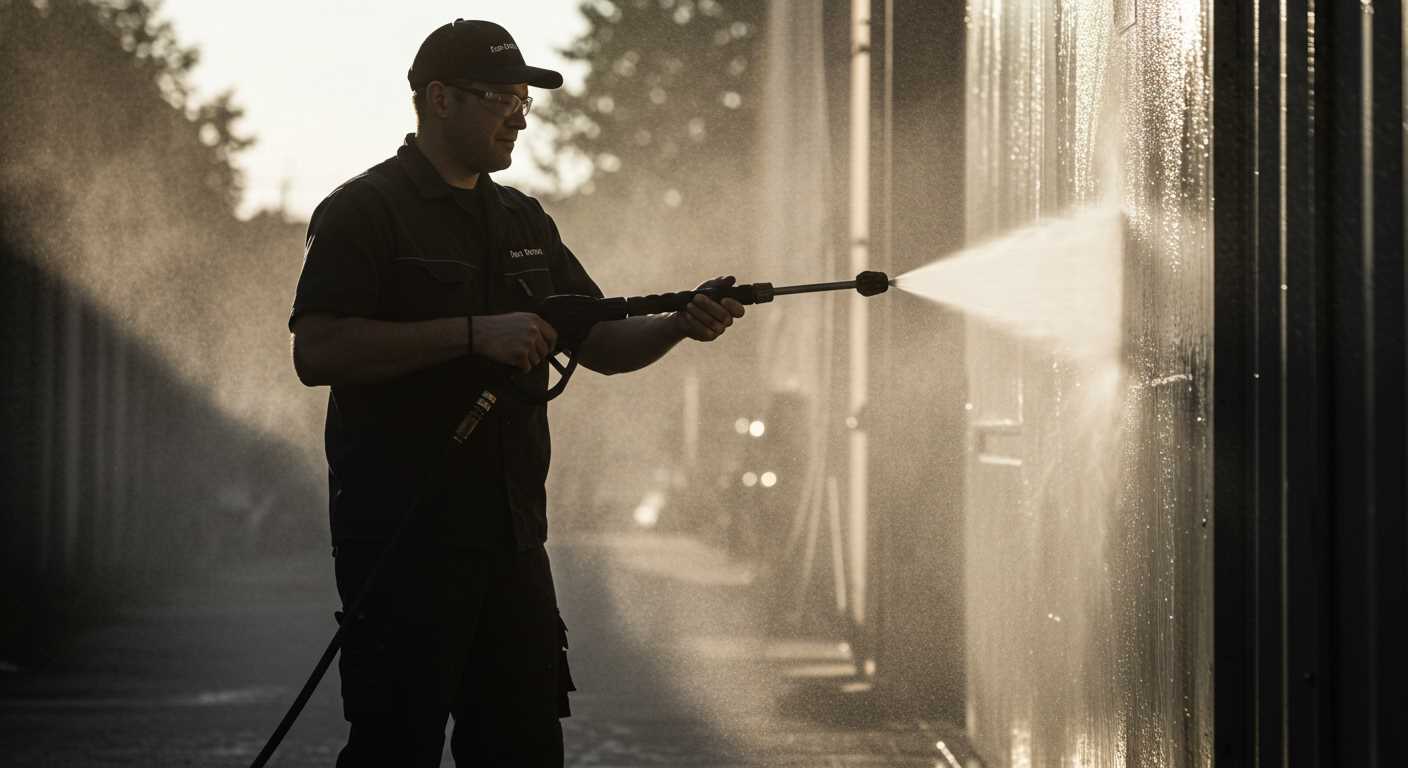
- Inspect the spray pattern by gently squeezing the trigger while pointing the nozzle away from yourself and any surfaces.
- Adjust the nozzle to the desired spray setting for specific tasks; wide fan for larger areas, narrow for tougher grime.
- Always have your protective gear on, including eye protection and appropriate footwear.
Only proceed with operation once you confirm everything is in place and functioning correctly. Safety and readiness are key for an optimal experience.
Starting the Engine and Adjusting the Settings
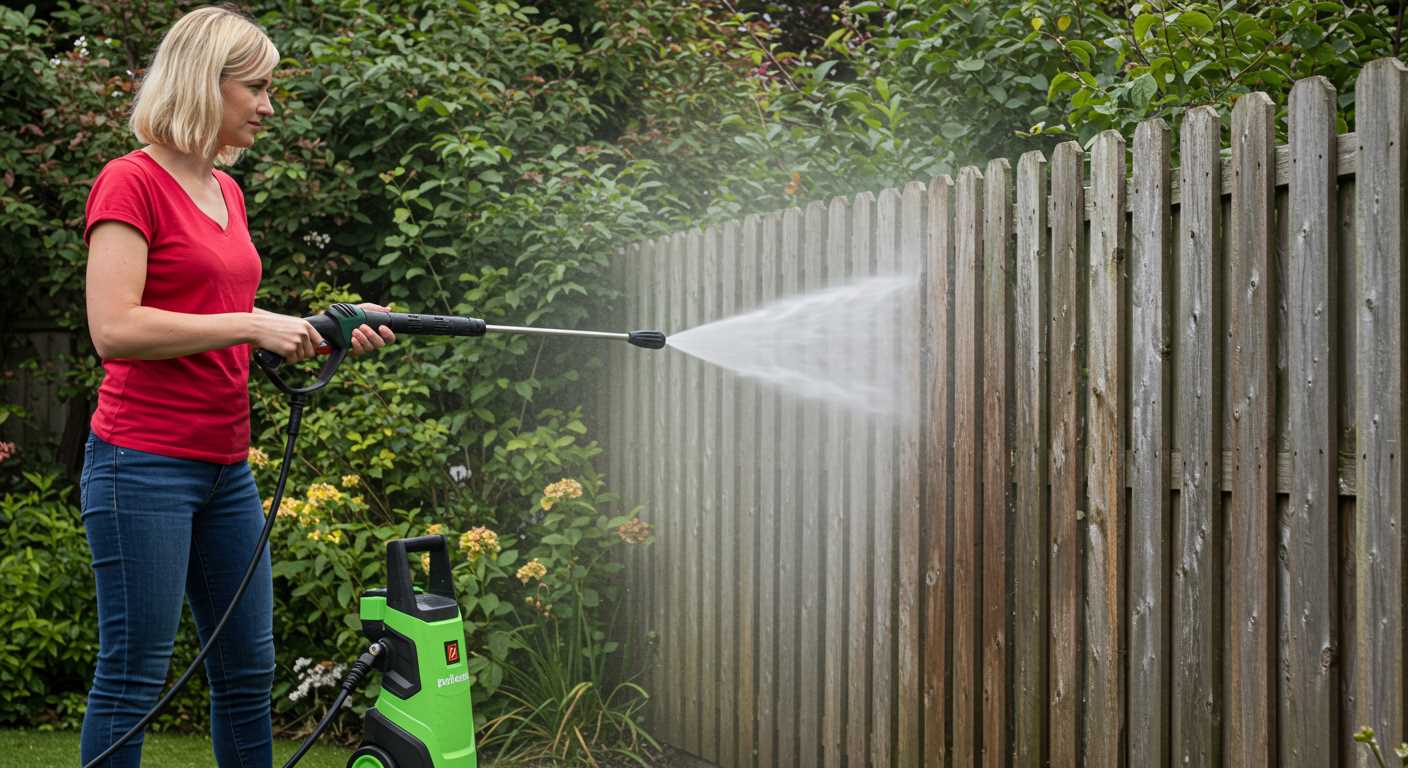
Ensure the ignition switch is in the ‘on’ position. Pull the recoil starter gently until you feel resistance, then give a firm, swift pull to engage the engine. If the unit has an electric ignition, press the start button instead.
Adjusting the Pressure and Nozzle Settings
After activating the engine, slowly adjust the pressure settings according to the cleaning task at hand. Most models have a pressure gauge; ensure it’s within the recommended range for the surface you’ll be working on. Select the appropriate nozzle–typically, a wider spray pattern is ideal for delicate surfaces, while a narrow spray is better for tough dirt. Attach the chosen nozzle securely before proceeding.
Final Checks Before Operation
Before applying water, double-check that all connections are secure, including the hose and wand. Listen for any unusual sounds from the engine and monitor the pressure gauge. If everything is functioning correctly, you can begin using the equipment safely and effectively.
Testing the pressure device for proper functionality
After ensuring all preceding steps are correctly implemented, proceed to verify operational integrity. Begin by connecting the water supply and examining for any leaks at the connection points. Should you detect moisture, tighten the fittings as needed. During this phase, keeping the unit off is crucial.
Engaging the system
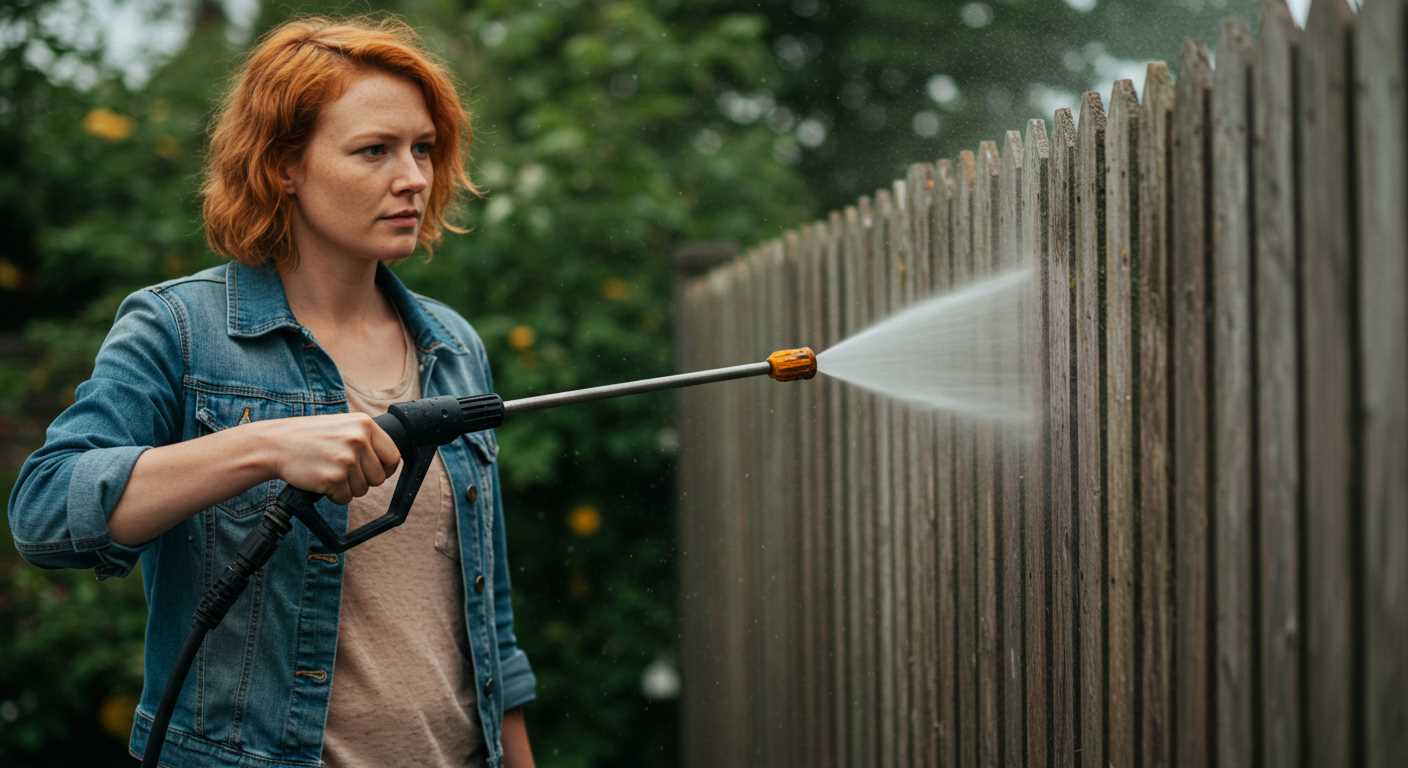
Next, activate the machine briefly without engaging the nozzle. This allows the water to fill the system, eliminating any air pockets that may cause erratic performance. Observe the flow through the hose; it should appear steady and uninterrupted. If there are any visible signs of pulsing, power down immediately and check for clogs or blockages.
Operation check
Once water flow stabilises, proceed to engage the nozzle at a safe distance. Adjust any settings as recommended in the manual for various cleaning tasks. Observe the spray pattern and pressure; it should be consistent with what is specified by the manufacturer. Test different modes, if available, to familiarise yourself with the varying capabilities. Pay attention to any unusual sounds or vibrations during this phase as they may indicate underlying issues. If everything operates smoothly, the device is ready for your cleaning tasks.


