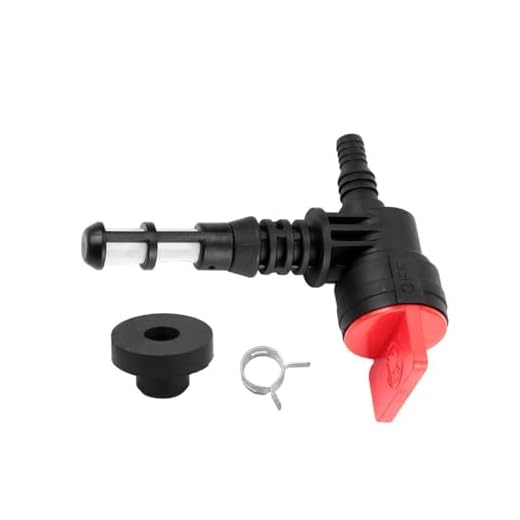
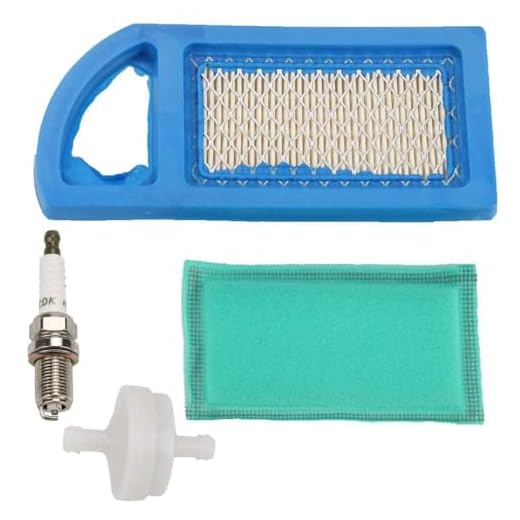


Inspect the fuel. If it’s stale, replace it with fresh petrol to ensure optimal combustion. Stale fuel can lead to starting difficulties and potential damage to the engine. In cases of prolonged inactivity, adding a fuel stabiliser can also prove beneficial in preventing further degradation.
Check the oil level and quality. If it’s dark and gritty, it’s time for an oil change. Using contaminated oil can severely impact performance and longevity. Always adhere to the recommended specifications for the lubricating fluid.
Examine the spark plug. Look for signs of wear or carbon buildup. If necessary, remove it for cleaning or replacement. A clean, functional spark plug is essential for initiating the combustion process. Consider using a spark plug wrench for a tight fit when reassembling.
Inspect the hose and connections for any leaks or damage. A compromised hose can significantly reduce pressure and efficiency, so consider replacing it if necessary. Ensure all attachments are securely fitted to prevent any loss of power during operation.
Once all checks are completed, crank the engine. Engage the trigger on the spray gun to relieve pressure in the system. This helps to engage the pump mechanism effectively. After a few attempts, the engine should come to life, ready to tackle any cleaning tasks ahead.
Reviving an Inactive Cleaning Machine
Examine the fuel tank and replace any stale petrol with fresh fuel. After sitting for a prolonged period, old fuel can lead to starting issues due to its degradation.
Next, inspect and clean the air filter. Dust and debris can clog the filter, impeding airflow. If it appears excessively dirty, replace it for optimal performance.
Check the oil level using the dipstick. If necessary, change the oil entirely, as old oil can thicken and hinder the engine operation.
Connect a suitable garden hose to the water inlet, ensuring there are no kinks or leaks. Turn the water supply on before attempting to energise the machine; this protects the pump from damage.
For electric systems, ensure the power cord is intact and free from wear. Verify the electrical outlet is functioning properly. For fuel-powered models, engage the choke lever to enrich the fuel mix for easier ignition.
After all checks, give the recoil starter a few pulls or press the start button for electric units. If there’s resistance, it might be due to a seized engine – further assessment will then be required.
Once engaged, allow it to idle for a few minutes. This step helps warm up the engine and ensures that the system is primed and ready to go.
Inspect the Equipment for Damage
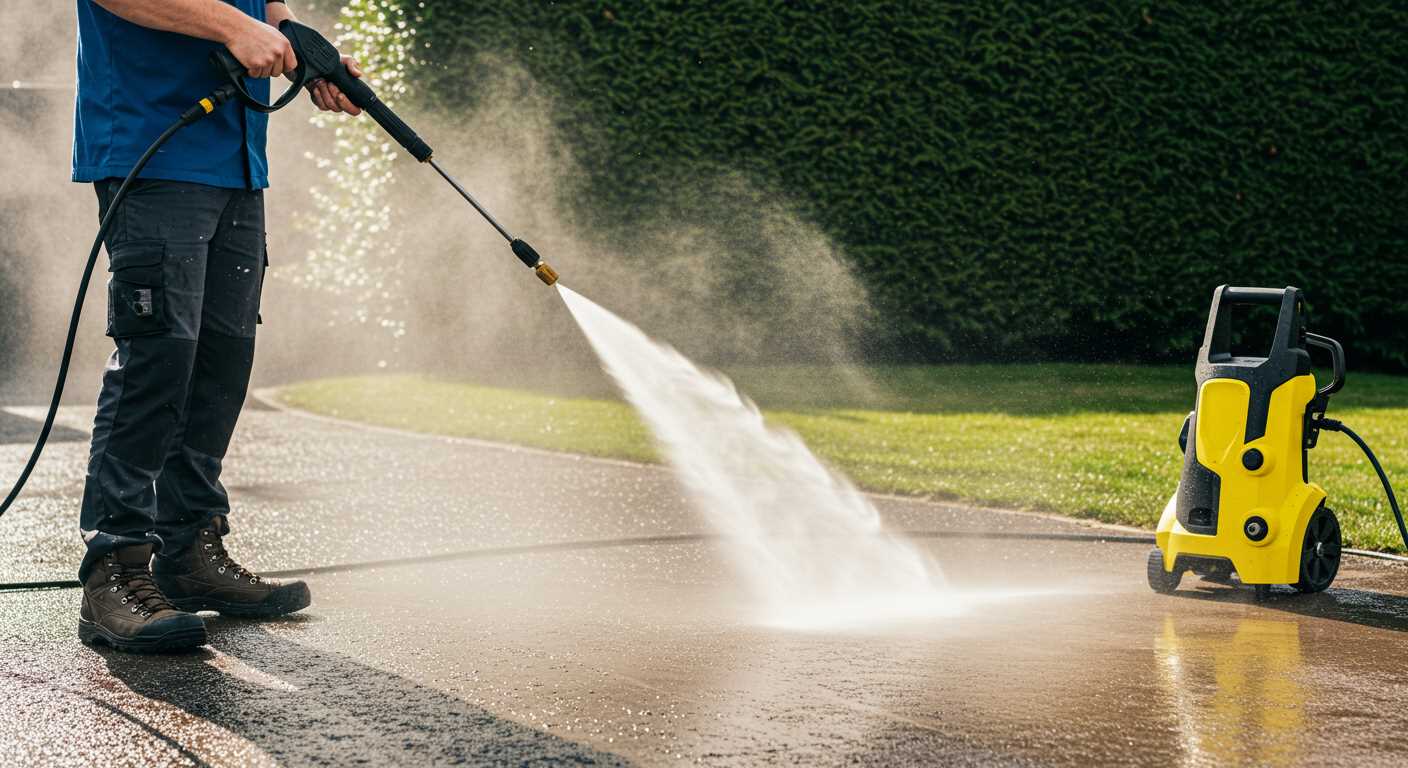
Check for cracks, dents, or deformities on the housing and components. Pay close attention to the water inlet and outlet valves, as well as the hoses, for any signs of wear or leaks. If there’s visible corrosion, especially on metal parts, that’s a clear indicator of potential issues.
Examine the fuel tank for residues or impurities, which can clog the system. Ensure the spark plug isn’t corroded; replacing it might be necessary if it’s damaged. Also, look at the pressure fittings for any signs of deterioration, as they can severely affect performance.
Inspect the electrical wires for fraying or damage. Damaged wiring can pose safety hazards or lead to malfunctioning. Make sure to check all connectors to ensure they are secure and free of rust.
Finally, take a close look at the wheels or base. If they’re unstable or damaged, mobility issues may arise during use. Address any problems before attempting to operate the machine; neglecting to do so can result in unsafe conditions or poor performance.
Check the Fuel Tank and Fuel Quality
Inspect the fuel tank for any old or stale petrol. If the equipment has been unused for an extended period, the fuel may have degraded, causing starting issues. Drain any stale fuel completely before filling the tank with fresh petrol. Use fuel that includes a stabiliser if you anticipate prolonged storage in the future.
Assessing Fuel Quality
When checking fuel, look for any signs of sediment or water contamination. Old petrol can separate and form layers, which could lead to performance problems. If you notice any unusual colours or textures in the fuel, replace it. Regularly filling the tank with high-quality petrol is key to maintaining optimal performance.
Fueling Tips

Consider using a fuel filter to keep impurities out of the engine. Always ensure the fuel cap is secured after refuelling to prevent moisture from entering. This simple practice can prolong the life of the internal components and enhance overall functionality.
Examine the Oil Level and Condition
Check the oil level before attempting to operate your cleaning machine. Unscrew the dipstick, wipe it clean, and reinsert it to gauge the oil level accurately. If the oil appears low, top it up with the manufacturer-recommended type. Fresh oil is generally a light honey colour, whereas degraded oil may look dark and gritty.
If the oil resembles sludge or has particles floating within it, a complete oil change is necessary. Operating the device with contaminated oil can lead to significant damage and impair its functionality. Follow these steps for an oil change:
| Step | Action |
|---|---|
| 1 | Warm up the engine slightly to aid in oil drainage. |
| 2 | Place a container beneath the oil drain plug. |
| 3 | Unscrew the drain plug and allow the oil to flow out completely. |
| 4 | Replace the drain plug once all oil is drained. |
| 5 | Refill with fresh oil as specified in the user manual. |
Conducting regular oil examinations and changes enhances performance and prolongs the lifespan of the machinery. This preventative measure is fundamental for ensuring optimal operation during tasks ahead.
Clean or Replace the Spark Plug
The spark plug is often the culprit when ignition issues arise with your equipment. Begin by removing the spark plug using a socket wrench. Inspect it thoroughly for signs of wear, carbon buildup, or damage.
If the ceramic insulator is cracked or the metal electrode is worn down, replacement is necessary. A new spark plug can enhance ignition efficiency significantly. On the other hand, if the plug shows only minor fouling, cleaning it with a wire brush or spray cleaner can suffice.
After cleaning or replacing, ensure the gap is set to the manufacturer’s specifications, usually between 0.028 and 0.030 inches for most brands. Reinstall the spark plug, ensuring it is tightened but not overtightened, as over-torquing can lead to damage.
- Check the manufacturer’s guidelines for the correct spark plug type and specifications.
- Consider using spark plug grease on the threads to facilitate future removal.
- Regular checks on the spark plug should form part of routine maintenance.
By ensuring the spark plug is in optimal condition, you increase the chances of successful ignition and smoother operation of your machine.
Inspect the Hoses for Cracks or Leaks

Examine the hoses closely for any signs of wear, such as cracks, fraying, or bulges. Damaged hoses can lead to poor performance and safety hazards. Run your fingers along the surface to feel for abnormalities; visual inspection alone might not reveal all issues.
Assessing the Connections

Check the connections where hoses attach to the motor and the nozzle. Loose or corroded fittings can cause leaks. Ensure that all connections are tight and free from debris, which can help maintain pressure and improve efficiency during operation.
Testing for Leaks
If you suspect a leak, conduct a simple test by attaching the hoses and turning on the water supply without power. Look for any leaks at the joints or along the length. If water sprays out, it’s time for repairs or replacements. Addressing hose issues early can prevent further damage to other components.
Test the Battery and Electrical Connections
First, check the battery voltage using a multimeter. A healthy battery should read between 12.4 and 12.7 volts. If the voltage is below this range, consider charging or replacing the battery.
Inspect the battery terminals for corrosion or loose connections. Clean any corrosion with a mixture of baking soda and water, and ensure connections are tight. Corrosion can impede electrical flow and hinder ignition.
Next, examine the wiring for frays or breaks. Look for signs of wear that could lead to short circuits or failures. Replace any damaged wires immediately.
- Ensure all connectors are securely attached.
- Check for any exposed wires that may cause arcing.
- Inspect the fuse and replace it if blown.
If equipped with a starter motor, confirm its functionality by listening for unusual sounds when attempting to activate. A grinding noise may indicate an issue requiring professional servicing.
After ensuring the battery and connections are in optimal condition, proceed to test if the unit powers up correctly. An efficient electrical system is key to ensuring everything else functions smoothly. Regular maintenance of these components can prevent problematic starts in the future.
Flush the Water System Before Starting
.jpg)
Before energising the machine, ensure the water system is clear of any stagnant water or impurities. Connect a garden hose to the inlet and direct the other end into a drain or bucket. Turn on the water supply to flush out remaining water, sediment, or contaminants that may have accumulated. Run the water for approximately two minutes until it flows freely and clear.
While flushing, inspect the hose connections and fittings for any signs of wear or leaks. Once completed, disconnect the hose from the equipment and reattach it securely. This step is crucial to prevent debris from clogging the internal components of the unit, which could lead to malfunctions or reduced performance.
Next, check for any leaks from the hose or fittings, which can compromise the system’s efficiency. If any issues are found, replace or repair the parts before proceeding. A thorough flush guarantees a smooth operation, protecting the integrity of your equipment.
Follow the Correct Starting Procedure
Ensure the device is placed on a stable and flat surface. Engage the safety lock. Connect the water supply securely to the inlet, making sure there are no leaks. Activate the water flow and ensure it runs freely through the system before turning on the motor.
Next, ensure the choke is in the correct position. For a cold engine, use the choke; for a warm engine, it should remain open. With fuel already checked and the oil level correct, it’s time to engage the ignition. If the model has a recoil starter, pull the cord briskly until the engine fires up. For electric models, ensure the power switch is on, then press the start button.
Once the engine is running, allow it to idle for a short moment. This stabilises the performance and ensures adequate oil circulation. As you prepare for using the equipment, gently squeeze the trigger to release any air trapped in the system until a steady stream of water emerges.
| Model Type | Choke Position (Cold/Warm) | Starting Method |
|---|---|---|
| Gasoline | Closed/Open | Recoil Starter |
| Electric | N/A | Start Button |
Monitor the engine’s behaviour for unusual sounds or performance. If everything sounds normal, it’s ready for use. Keep a close eye on the water flow and adjust the nozzle as needed for different tasks.


