
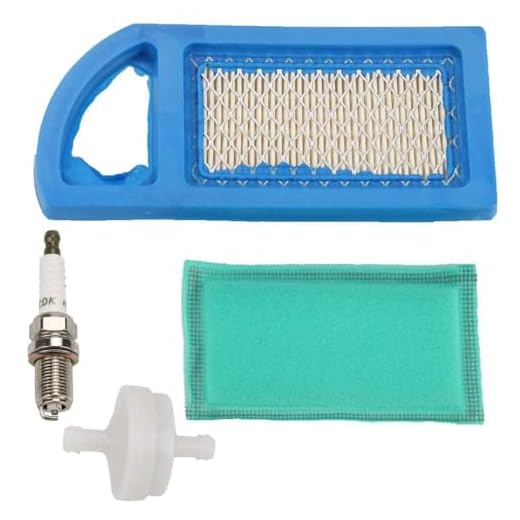


If your cleaning unit lacks the motivation to operate, there are specific checks to ensure functionality. Begin with a thorough inspection of the power supply; ensure the cord is in excellent condition and firmly connected. If you’re utilising a gas-powered model, verify that there’s adequate fuel and that it meets the manufacturer’s specifications.
Examine the on/off switch and any safety features. Some models are designed with dual safety mechanisms, which could prevent operation unless certain criteria are met. Always ensure the unit is in the correct position for activation. A misplaced lever or incorrectly adjusted nozzle can inhibit function.
Next, inspect the air filter. Clogged filters restrict airflow, leading to operational difficulties. Clean or replace the filter as needed. Additionally, examine the spark plug in gas models. It should be clean and in good condition; replace it if it shows signs of wear or damage.
Also, check for any blockages in the hose or nozzle. A simple obstruction can impede water flow, resulting in performance issues. Clear any debris and flush the system to ensure smooth operation. If these steps do not resolve the problem, consulting the user manual for model-specific guidance may provide further insights.
Resolving Issues with Your Cleaning Device
Check the fuel level; insufficient fuel is a common culprit. If the tank is empty, refuel with fresh gasoline. Ensure the fuel is appropriate and hasn’t turned stale.
Inspect the spark plug. Remove it and check for wear or damage. A clean or new spark plug often resolves ignition problems. Make sure the connection to the plug is secure.
Assess the Electrical Components
If your model operates via electrical power, ensure the power cord is intact and plugged into a functioning outlet. Look for tripped breakers or blown fuses. Test the outlet with another device to confirm its functionality.
Examine the switch for any signs of damage; it may require replacement if malfunctioning.
Evaluate the Water Supply
Verify if there’s a sufficient water supply. Check hoses for kinks or leaks that may obstruct flow. Remove the inlet filter to clear any debris blocking the water intake.
Look for clogs in the nozzle or wand. Clearing these may restore proper function and pressure. After addressing these issues, attempt a fresh run.
Check the Power Supply and Connection
Verify the outlet where the unit is plugged in. A quick test using another device can confirm whether electricity is reaching that point. Inspect the power cord for any signs of wear or damage. If frayed or cut, replace it immediately to prevent further complications.
Inspect Extensions and Connections

If using an extension cord, ensure it meets the amperage requirements specified in the user manual. Check all connections for dirt, corrosion, or loose fittings which may obstruct the flow of electricity. Cleaning connections with a soft brush or cloth can enhance contact quality.
Reset Circuit Breakers
If the unit still doesn’t react, locate the circuit breaker or fuse box and check for tripped breakers or blown fuses. Resetting a tripped breaker can quickly restore power. If you encounter persistent issues, consider contacting an electrician to assess the electrical system.
Inspect the Fuel and Oil Levels
Check the fuel tank for sufficient petrol. If the container is empty or the liquid looks deteriorated, refill it with fresh fuel to ensure optimal engine function. Remember, using old or contaminated petrol can prevent the unit from firing up.
Fuel Tips
- Always use fuel that has been formulated for small engines, as this helps in proper performance.
- Inspect for any leaks in the fuel lines, which might suggest deterioration or damage.
- Consider employing a fuel stabiliser if the equipment is stored for extended periods.
Now, turn your attention to the oil in the crankcase. Low or contaminated oil levels can lead to engine failure. Make certain to check the oil dipstick to assess the level accurately.
Oil Recommendations
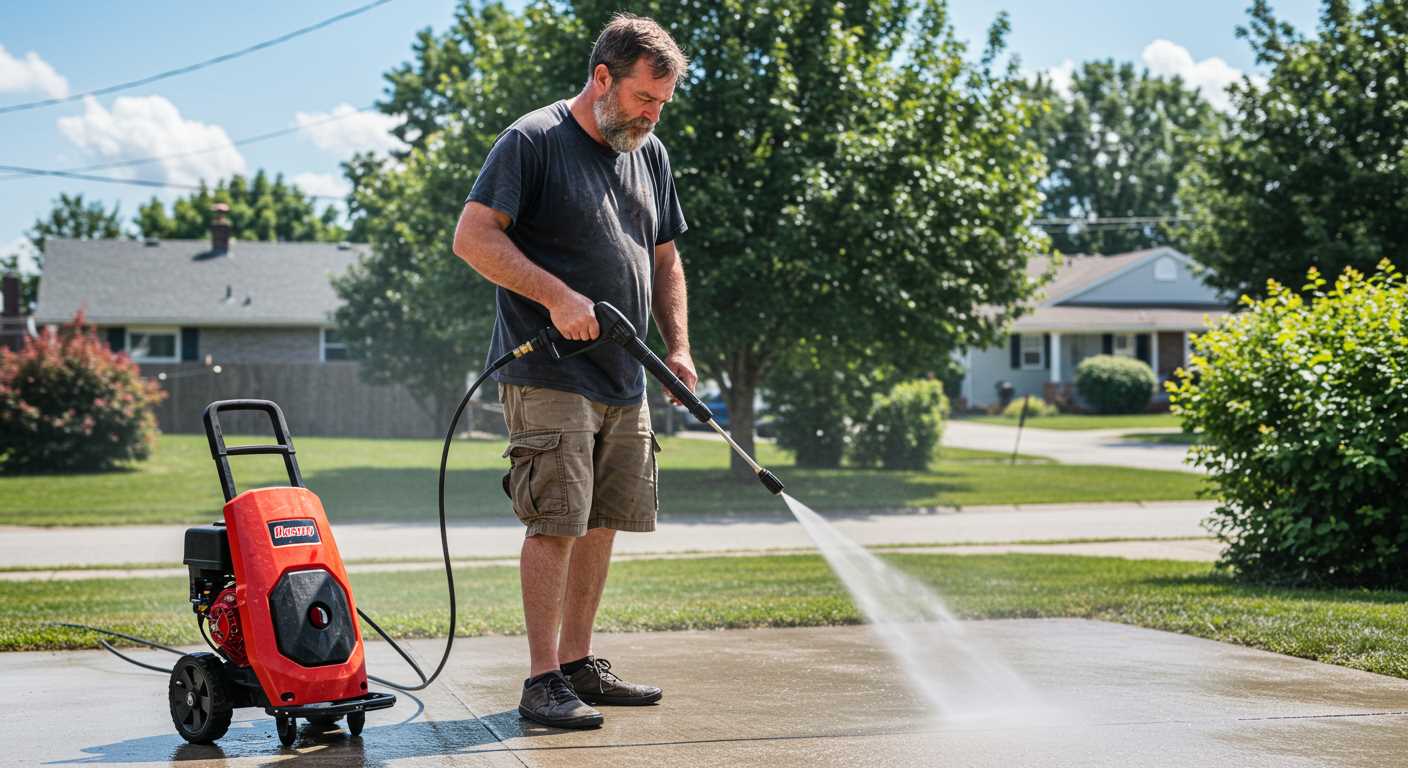
- If the oil appears dirty or has a milky consistency, it’s wise to drain and replace it with fresh oil.
- Always utilise oil specified in the manufacturer’s guidelines for optimum results.
- Routine oil checks should be part of standard maintenance to avoid performance issues down the line.
Taking these steps will eliminate fuel and oil-related issues that could hinder ignition, paving the way for smoother operation. If these levels are satisfactory and the unit still does not engage, further investigation may be necessary.
Examine the Spark Plug for Damage
Inspect the spark plug first. Remove it from its socket using the appropriate socket wrench. Look for any signs of wear, such as cracks, corrosion, or excessive carbon build-up. A damaged spark plug can result in poor ignition or failure entirely.
Cleaning and Replacement
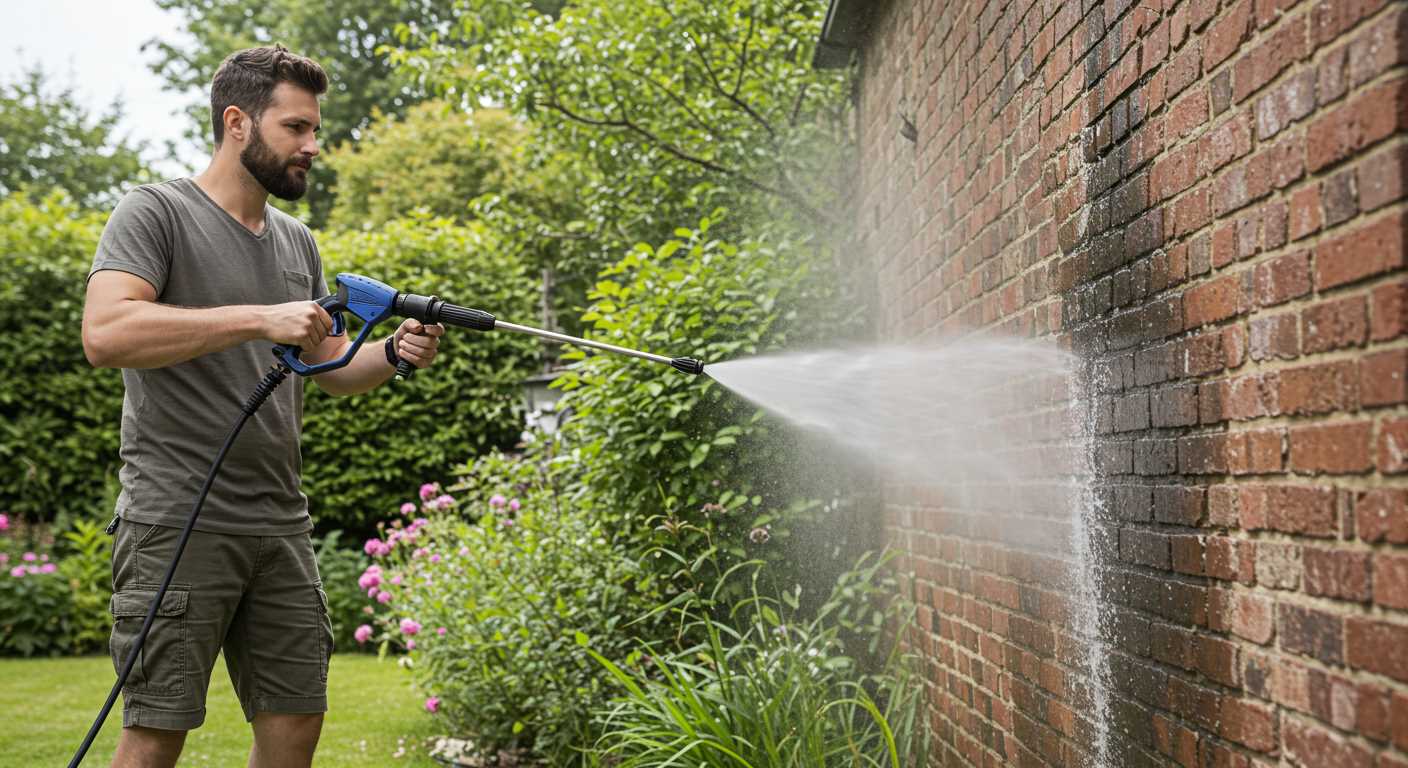
If the spark plug appears dirty, clean it with a wire brush. Ensure the electrode is intact and not worn down. If the plug is severely degraded, replace it with a new one. Make sure to install it according to the manufacturer’s specifications, ensuring the gap between electrodes is correctly set.
Reinstallation
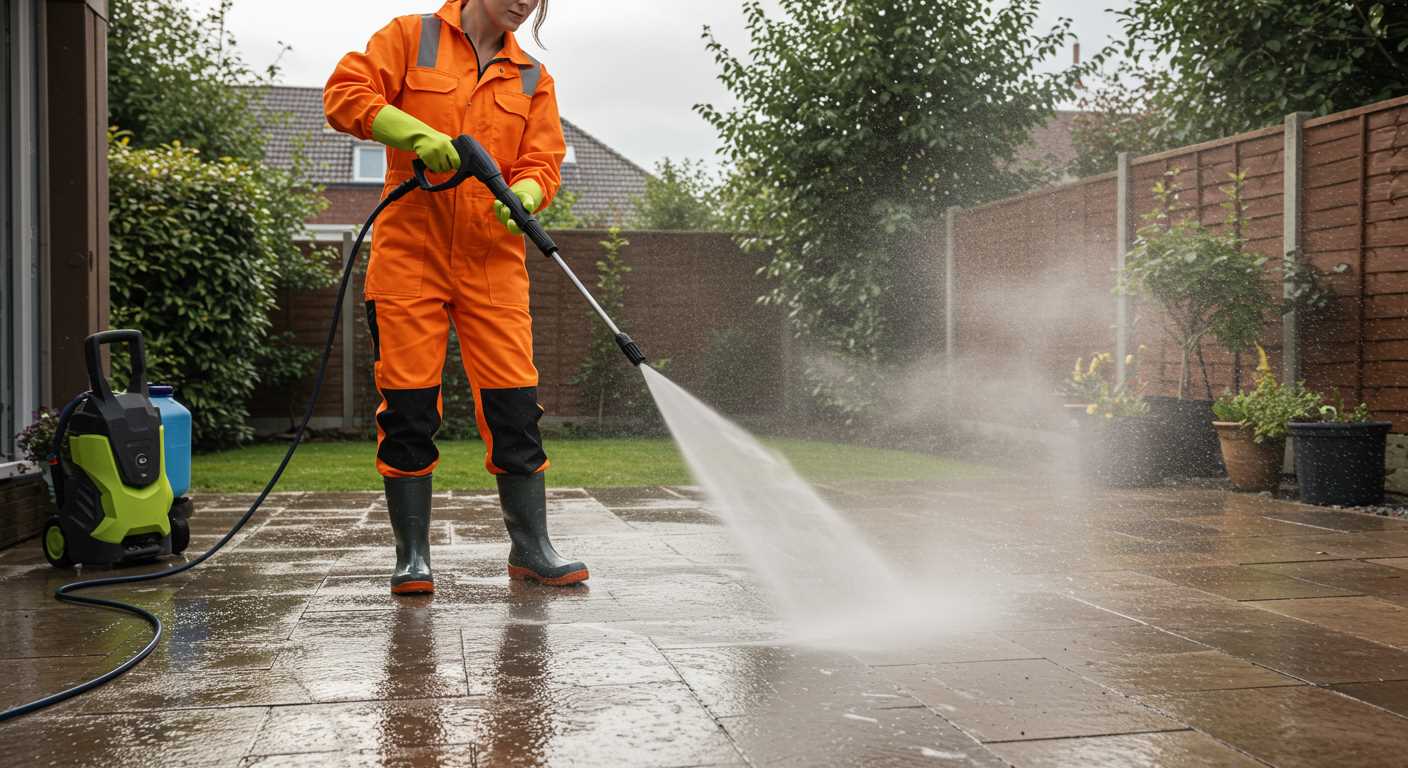
After cleaning or replacing, reinsert the spark plug into its socket securely. Avoid over-tightening, as it can damage the threads. Reconnect the ignition wire, ensuring a solid connection. This simple check can often resolve ignition issues.
Assess the Fuel Filter and Hose Conditions
Examine the fuel filter and hoses, as blockages or damages can hinder the fuel flow. First, inspect the filter for dirt or clogs; replacing a contaminated filter can significantly improve functionality. Ensure you use the right type that is compatible with your specific model.
Check Fuel Hoses
Next, inspect the hoses. Look for cracks, wear, or kinks that could impede the flow. Any damaged hoses should be replaced immediately. Ensure all connections are secure; loose fittings can lead to leaks or diminished pressure.
Ensure Proper Fluid Flow
After confirming the hoses and filter are in good condition, check for proper fluid flow. Disconnect the fuel line from the engine (have a container ready to catch spills) and crank the engine. If fuel does not flow freely, further investigate for additional blockages in the lines.
Maintaining these elements is key to achieving a reliable operational state. Regular checks can prevent more significant issues in the long run.
Look for Blockages in the Water Supply
Inspect the entire water supply path for any clogs. Start at the source and trace the hose to the inlet of your unit. Check for kinks, bends, or any visible obstructions. Clear any debris from the inlet screen or filter, which often captures dirt and particles that can affect water flow.
Steps to Identify and Resolve Blockages
1. Disconnect the hose: Ensure that the water source is turned off and disconnect the hose from both the supply and your equipment.
2. Flush the hose: Direct water through the hose to remove any blockages. This can sometimes dislodge stubborn debris.
3. Check connectors: Review both ends of the hose for any buildup or grime in the connectors that could impede flow.
4. Inspect filters: Many models contain filters or strainers at the inlet. Remove them and clean thoroughly to prevent flow restrictions.
| Component | Common Issues | Resolution |
|---|---|---|
| Hose | Kinks, leaks | Straighten out kinks or replace damaged sections |
| Inlet Screen | Clogs from debris | Remove and clean under running water |
| Water Supply | Low pressure, interruptions | Check for valve obstructions or improper connection |
Ensure your supply line is free-flowing and unobstructed. Maintaining a clear pathway for water flow is fundamental for optimal performance.
Test the Safety Features of the Equipment
Check the trigger lock mechanism. Ensure it engages and disengages smoothly. A malfunctioning lock can prevent the machine from operating correctly. If the lock is stuck or doesn’t function properly, I recommend consulting the manual for troubleshooting or replacement instructions.
Investigate the pressure relief valve. This component should release any built-up pressure when the unit is turned off. If it appears to be stuck or shows any signs of damage, this can create a safety hazard. Act promptly; if you’re unsure, it’s best to seek professional assistance.
Examine the thermal relief system. This feature protects the pump from overheating by allowing water to bypass when temperatures exceed safe levels. If the system is malfunctioning, it can lead to serious damage and inefficiency. Be attentive to any unusual noises or leaks, as they could indicate an issue.
Evaluate the electrical components as well. Check that there are no frayed wires, burnt connections, or corrosion on terminals. Address any discrepancies immediately; a faulty electrical system poses significant risks. Consider using a multimeter to test connections for continuity.
Finally, ensure that all safety guards are intact. These shields are designed to protect you from moving parts and high-pressure water blasts. If any guard is cracked or missing, replace it before using the unit again. Your safety depends on these features functioning correctly.
FAQ:
What should I check if my pressure washer won’t start?
If your pressure washer won’t start, the first thing to do is ensure it is plugged in and that the power outlet is functioning. Check the power cord for any visible damage or wear. If it’s a gas-powered model, ensure there is enough fuel in the tank and that the fuel is fresh, as old fuel can cause starting issues. Inspect the oil level, as low oil can prevent the engine from starting. Finally, examine the spark plug for signs of wear or damage; replacing it may be necessary if it appears faulty.
Can a clogged filter prevent my pressure washer from starting?
Yes, a clogged filter can definitely be a reason why your pressure washer might not start. The filter’s job is to ensure a clean flow of water to the pump, and if it is blocked, it can restrict water flow and cause the engine to stall or fail to ignite. To troubleshoot, you should remove the filter and inspect it for debris and clogs. Clean it thoroughly or replace it if cleaning doesn’t improve the situation. Regular maintenance of the filter can help prevent this problem from occurring in the future.


