

Ensure your cleaning device is properly connected to a water source. A consistent flow is vital; check for any kinks or obstructions in the hose to avoid disruptions during operation.
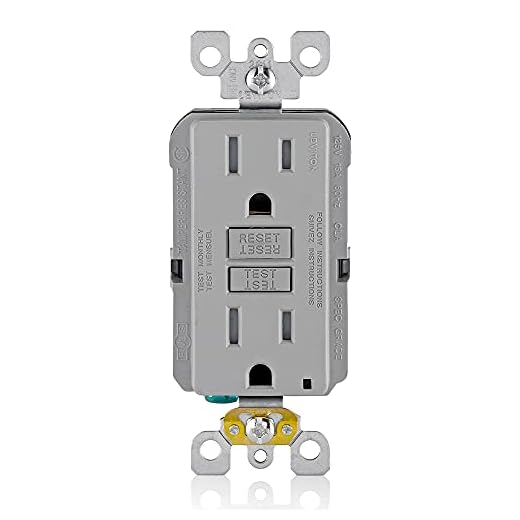
Connect the device to a power outlet that matches the specifications stated in the manual. Always verify that the voltage corresponds with your local supply. Safety should not be overlooked; use a grounded socket to mitigate any risks.
Before engaging the machine, switch on the water supply and allow it to fill the system. A few pulls on the trigger will help purge air from the system, ensuring optimal performance right from the start. This step is critical for effective operation, as trapped air can impact pressure delivery.
Once primed, you can control the nozzle and adjust the pressure according to your cleaning needs. Different tasks may require various settings; start with lower pressure for delicate surfaces and increase as necessary for tougher stains.
Lastly, always wear appropriate protective gear. This includes goggles and gloves to safeguard against any debris or chemicals that may be dislodged during the cleaning process.
Choosing the Right Location for Operation
Select a flat, stable surface to operate your cleaning machine. This ensures safety and optimal performance. Avoid slopes or uneven ground to prevent tipping or accidents.
Proximity to Power Supply
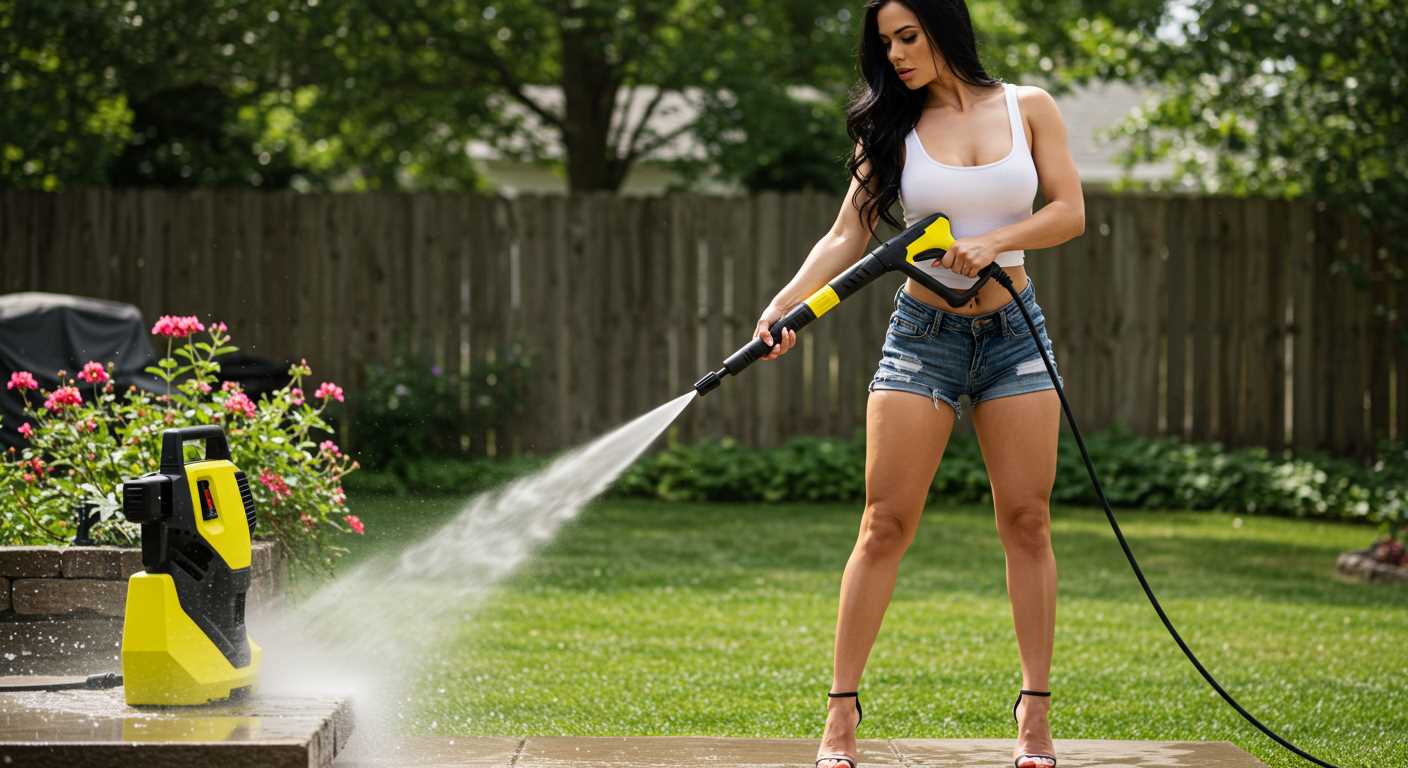
Position the unit near a suitable power outlet. Ensure the cord can reach without excessive tension or risk of tripping. Using an extension cord can create limitations in performance; if necessary, choose one that meets specifications for the required power.
Water Source Accessibility
Locate a nearby water supply to facilitate continuous operation. Ensure the hose is long enough to reach without kinks or stress. Check that there are no leaks in the water line and that connections are secure.
- Avoid areas with high foot traffic to minimise distractions and hazards.
- Protect electrical connections from moisture and avoid operating in wet conditions.
- Keep the area clear of obstacles, such as furniture or vehicles, to maximise workspace.
For outdoor tasks, find a sheltered spot that shields the equipment from direct sunlight or rain. This can prolong the life of the machine and maintain efficiency during use.
Check the surrounding environment for potential hazards, including overhead branches or power lines, which may interfere with operation. Always aim for a clean, organised workspace to enhance safety and effectiveness.
Assembling the Components of the Cleaning Unit
Prior to any operation, it is crucial to accurately assemble all parts of the cleaning device. Begin with attaching the handle. Ensure it clicks firmly into place on the main unit. This is essential for effective handling during use.
Connecting the Hose and Nozzle
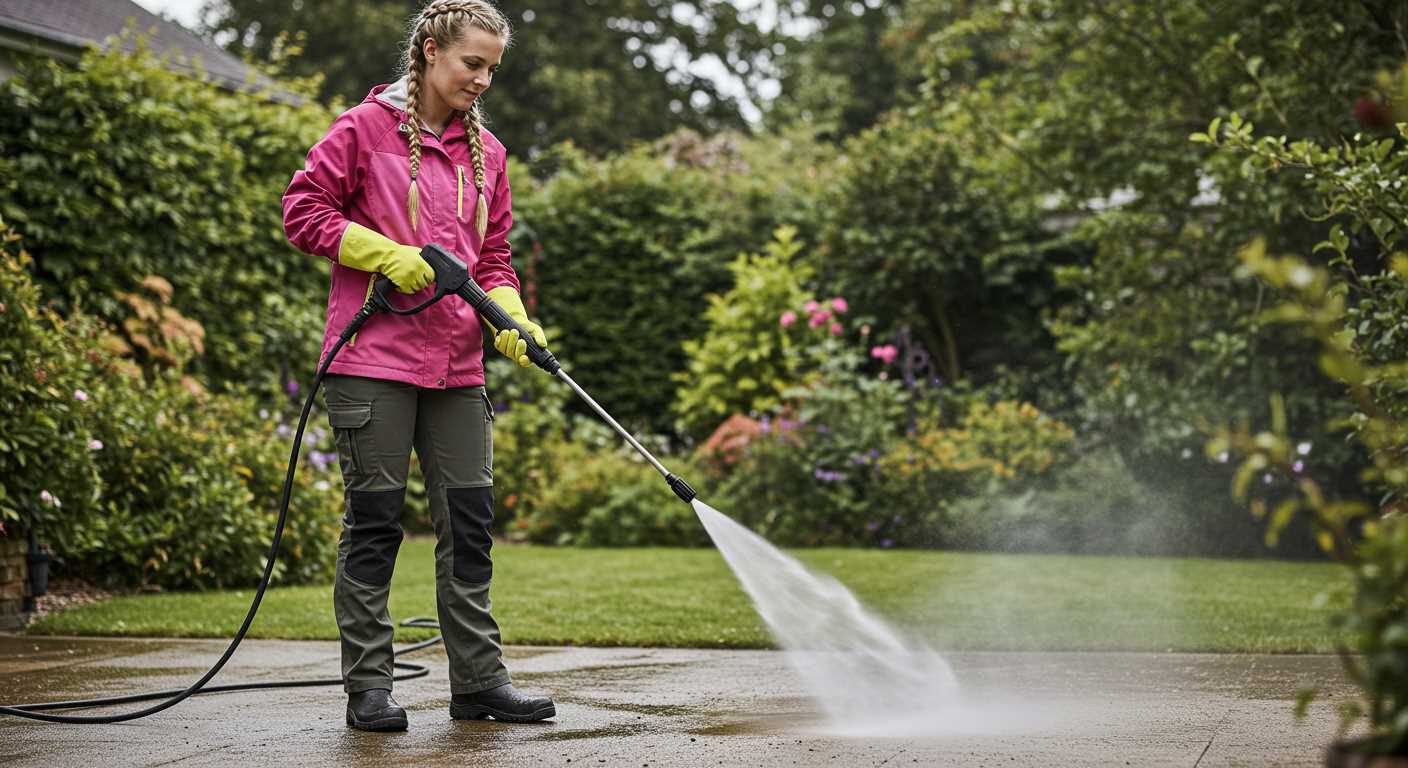
Next, secure the high-pressure hose. Insert one end into the appliance’s designated outlet until you hear a click, indicating a secure fit. Attach the nozzle on the other end by twisting it until tightly secured. Different nozzle configurations allow for various spray patterns; select one that suits your task.
Power and Water Supply
Afterward, connect the water supply hose to the inlet. Ensure it is fastened correctly to prevent leaks. Then, plug the unit into a suitable power outlet, ensuring the cord is not frayed or damaged. Confirm that the area is free from obstructions, allowing ample space around the equipment.
Connecting to a water source
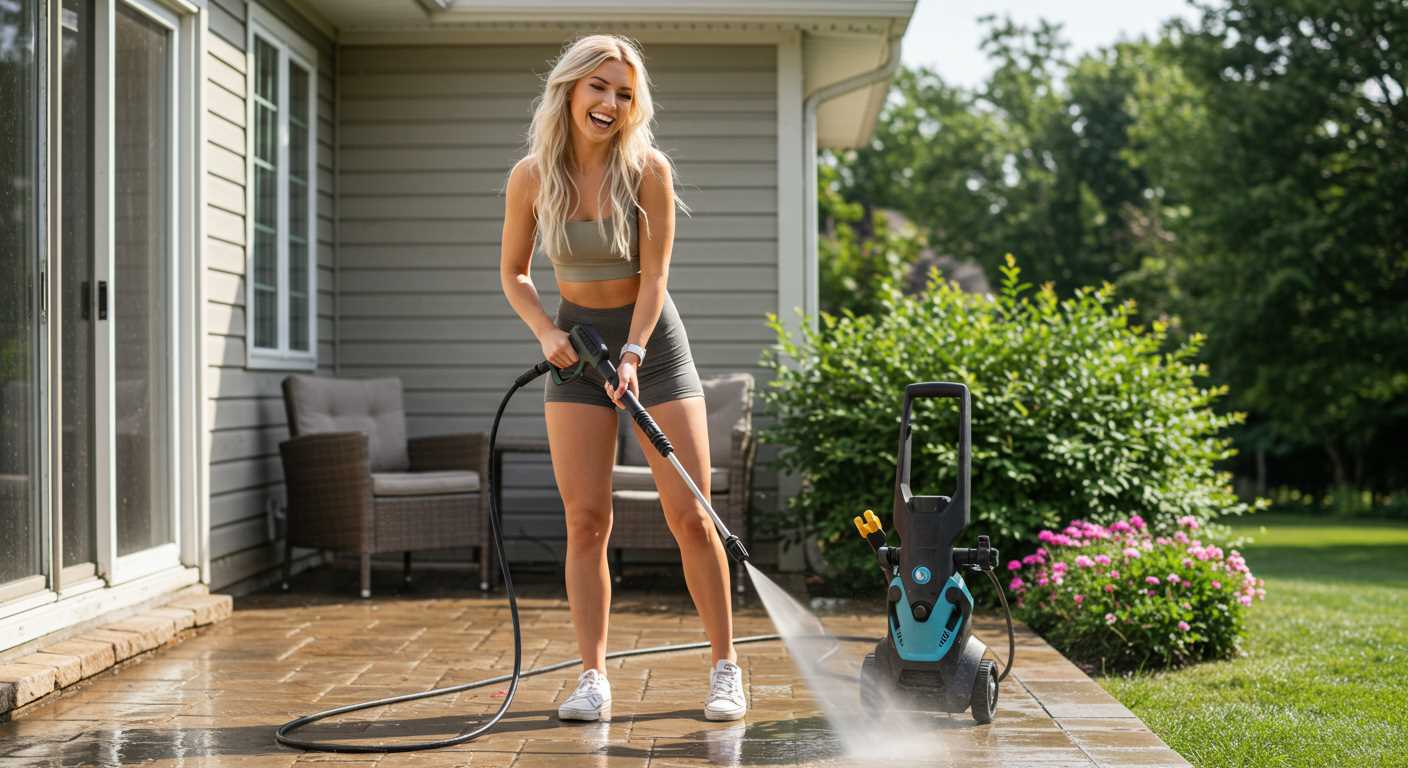
Attach the garden hose to the inlet connector of your cleaning device. Ensure a snug fit to prevent leaks. A standard hose with a minimum diameter of 5/8 inches works best for optimal flow rate.
Before connecting, check for any debris or kinks in the hose. Clear them to maintain smooth water delivery. If your hose is equipped with a filter, it’s advisable to clean or replace it regularly for uninterrupted performance.
Next, turn on the water supply. Make certain that the water is flowing freely before proceeding to the next step. Test the connection by running the water for a few seconds; this checks for any leaks at the connector joint.
Here’s a quick checklist for connecting:
| Step | Action |
|---|---|
| 1 | Attach garden hose to inlet connector |
| 2 | Check for debris, kinks, or leaks |
| 3 | Turn on water supply and check flow |
| 4 | Test for leaks at the connection |
After confirming everything is secure, proceed to operate your device efficiently. A steady water flow is essential for achieving optimal results during your cleaning tasks.
Setting up the power supply safely
Ensure the outlet you plan to use is grounded and rated for the correct voltage. Using an extension cord can lead to power loss and increase the risk of overheating; if necessary, use a heavy-duty cord rated for outdoor use.
Next, check the power ratings of your unit, typically indicated on the label. Do not overload the circuit by running multiple high-draw appliances at the same time.
Follow these steps to secure the power supply:
- Inspect the power cord for any damage or fraying before connecting.
- Keep the power cable clear from water or damp areas to prevent electrical shock.
- Utilise a Ground Fault Circuit Interrupter (GFCI) outlet or portable GFCI device to enhance safety.
- Always unplug from the outlet when making adjustments or during breaks.
It’s wise to keep the area around the power supply dry and free of debris. This ensures stable operation and reduces hazards related to both moisture and potential trip hazards.
Selecting the Appropriate Nozzle for Your Task
Choose the right nozzle based on the surface you need to clean. A fan spray nozzle is ideal for gentle cleaning jobs like washing cars or patios, providing a wide coverage while being less aggressive. Conversely, a pinpoint nozzle generates a concentrated jet that excels at removing tough stains from concrete or brick.
Different nozzle colours indicate their pressure ratings. Generally, a red nozzle produces the highest pressure, suited for extreme grime, while a green nozzle is versatile for most surfaces. A white nozzle works well for delicate areas, and a black nozzle offers a low-pressure wash suitable for applying soap.
For vehicles, use a foam nozzle with detergent to achieve better cleaning results. This attachment helps in applying soap evenly, enhancing the overall effectiveness of the wash. Switch to a fan nozzle after letting the soap sit for the recommended time to rinse away dirt and grime.
Always assess the material and condition of the surface beforehand. If uncertain, begin with a wider spray and gradually narrow it to prevent damage. Performing a test spray on a less visible area helps determine the best setting.
Changing nozzles is straightforward. Ensure the machine is turned off, disconnect from the power supply, and switch the nozzles as needed. Keeping your nozzles clean and in good condition prolongs their life and maintains performance.
Priming the Pressure Cleaner
To prime the high-powered cleaner, ensure that the water supply is connected and the unit is positioned correctly. Begin by turning on the water source, allowing it to flow through the unit. This ensures all air is expelled from the system.
Next, engage the gun trigger continuously until a steady stream of water flows out. This step eliminates trapped air in the hoses and pump, which can impede performance. Hold the trigger open for approximately 30 seconds to verify the flow is consistent.
After achieving an uninterrupted water stream, release the trigger. The system is now primed and ready for operational use.
Be mindful of not running the cleaner without water, as this may cause serious damage to the pump. Always check for leaks in the hoses or connections during this process.
Testing the Pressure Cleaner Before Full Use
.jpg)
Before diving into the cleaning tasks, I recommend running a preliminary test to ensure everything functions properly. Begin by checking all connections for leaks. Turn on the machine briefly while observing for any water escaping from hoses or fittings. This step can save you from unexpected issues during lengthy operations.
Initial Operation Check
Next, briefly operate the device without any nozzle attached. This allows the internal pump to prime adequately. Observe the water flow; it should be steady and free of air bubbles. If you notice a sputtering flow, there may be air trapped in the system that requires further priming.
Listen for Unusual Sounds
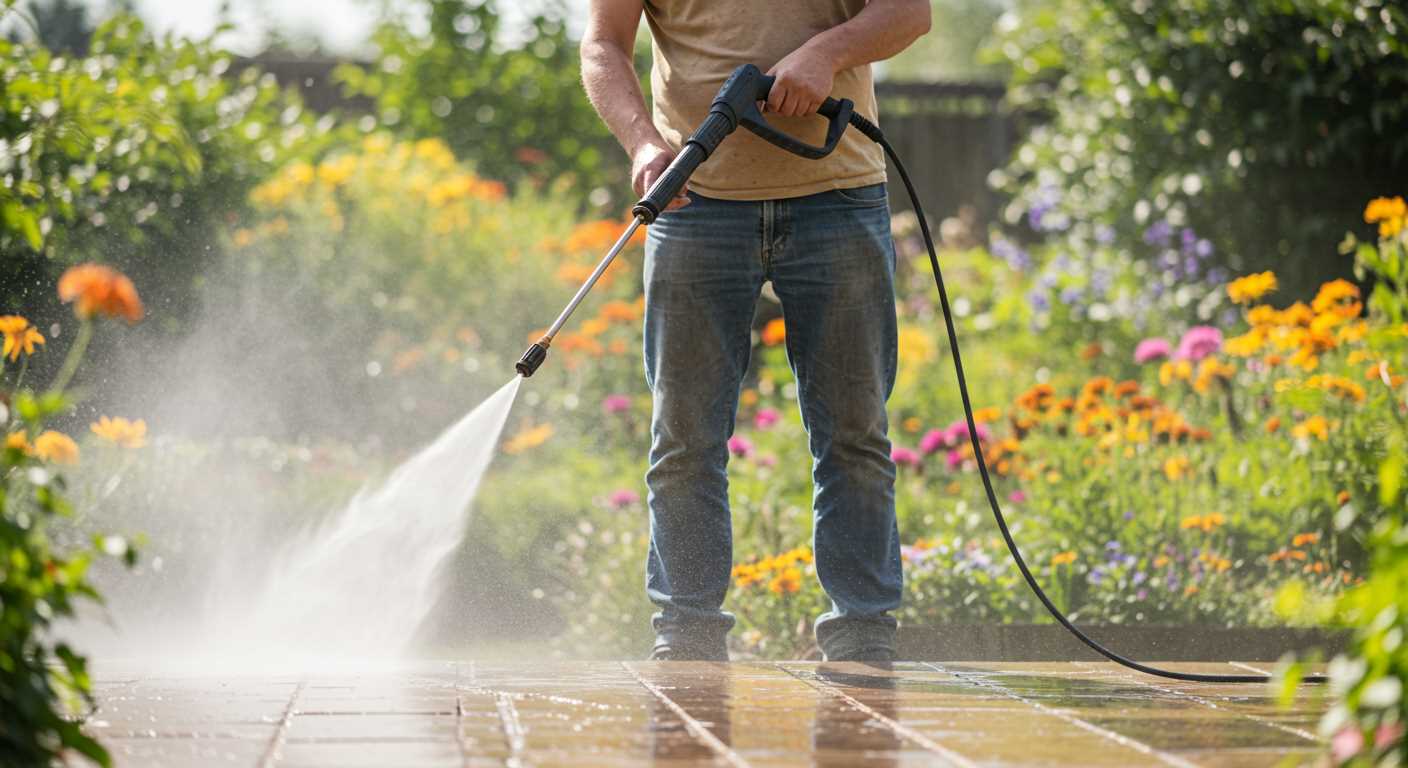
As the equipment runs, pay attention to the sounds it produces. A consistent hum indicates proper functionality. If you hear grinding, rattling, or excessive vibrations, immediately stop the unit and investigate potential issues. Such sounds could signify a malfunction that needs addressing before proceeding.
Performing these tests ensures your cleaning tasks proceed smoothly and effectively, reducing the likelihood of interruptions or failures later on.


