


Before you operate this machine, ensure the unit is placed on a flat, stable surface. Check that the water supply is connected and the hose is free from kinks or blockages to allow for optimal flow.
Inspect the fuel tank; it should be filled with the correct type of unleaded petroleum. Tightly secure the cap once filled to avoid spillage. Be mindful of the oil levels in the engine, as a well-lubricated motor is essential for peak performance.
Next, locate the choke lever and set it to the closed position, which aids in starting the engine. Then, engage the safety lock on the trigger of the wand to prevent accidental discharge. Firmly place your feet on the ground, allowing for a steady grip as you pull the recoil starter.
Once the engine ignites, promptly adjust the choke to the open position. Allow the device to idle for a short time, so it warms up before applying full throttle. This ensures both reliability and longevity of the engine.
After warming up, you can proceed with your cleaning task. Always refrain from pointing the nozzle at people or delicate surfaces, and adjust the spray pattern to suit the task at hand.
Choosing the right location for your cleaning equipment

Pick a flat, stable surface for optimal performance. Uneven ground can lead to instability and affect functionality. Ensure the area is dry; moisture can cause slips and malfunctions. A clear zone is key; remove any obstacles or hazards that may interfere with operation.
Adequate ventilation is important. Positioning the machine away from enclosed spaces prevents the build-up of exhaust fumes, enhancing safety during use. Consider accessibility to water sources; a nearby tap or suitable hose connection saves time and effort.
Ensure your chosen site is away from delicate plants or surfaces that could be damaged by high-pressure cleaning. It’s wise to inspect the surroundings for any potential hazards such as electrical wires or sharp objects.
Keep the area free from bystanders and pets. This ensures both safety and focus during your cleaning tasks.
Finally, think about your comfort. If you’re going to be spending time using the equipment, choose a space with some shade or shelter from the elements to make the task more pleasant.
Preparing the gas engine for operation
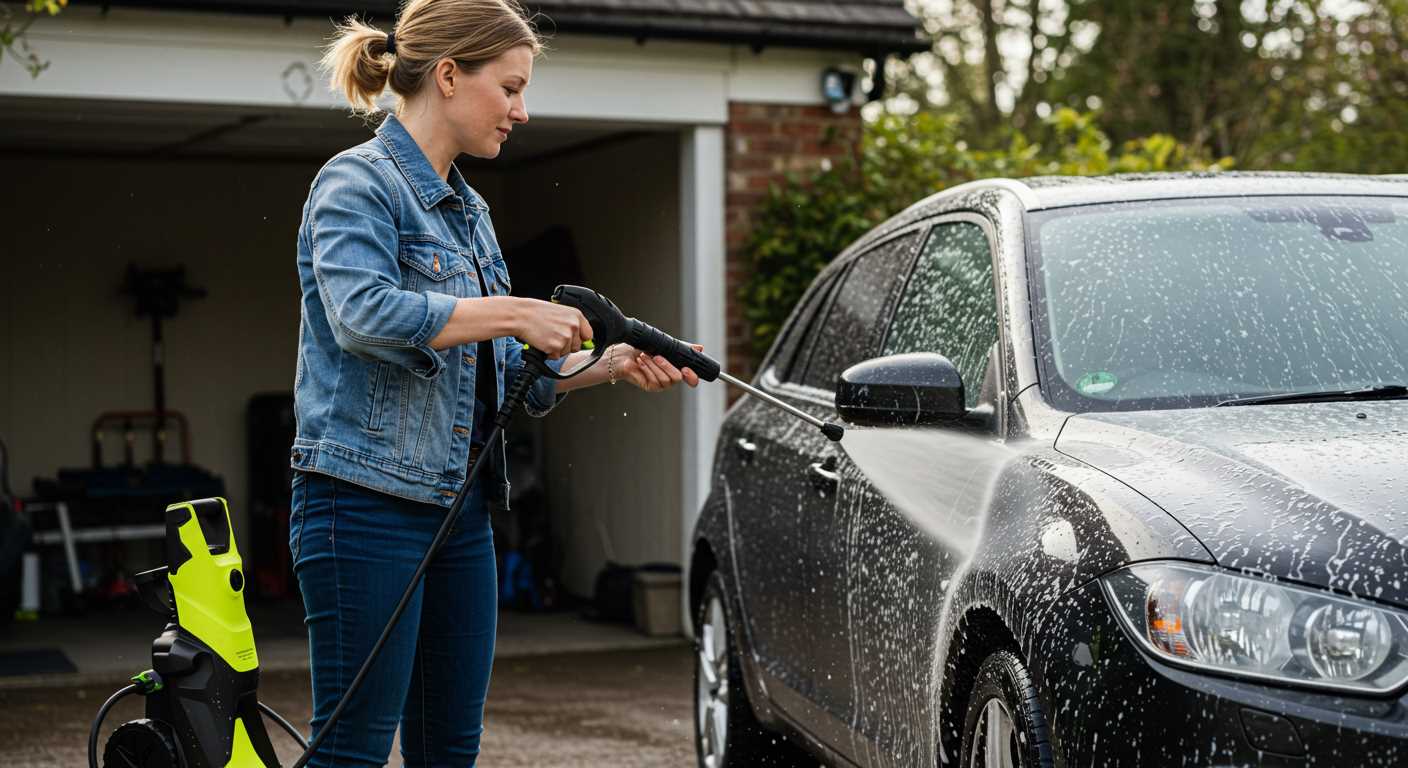
Before engaging the motor, check the fuel level. Using a mixture of high-quality fuel and the correct oil type is paramount. Refer to the manufacturer’s specifications to ensure optimal performance and longevity of the engine.
Inspect the oil level in the crankcase. If it appears low or dirty, replace it with fresh oil. This step not only prevents damage but also enhances the machine’s functionality.
Examine the air filter for any dirt or debris. A clean filter allows for proper airflow, facilitating better combustion and ensuring that the engine runs smoothly. If it’s clogged, replace or clean it as necessary.
Ensure that all connections are secure, including the spark plug wire. A good connection is crucial for reliable ignition. Check the spark plug itself; it should be free of carbon build-up and in good condition.
Finally, inspect the fuel lines and other components for leaks or wear. Addressing any issues beforehand will prevent potential malfunctions during operation, allowing for a seamless experience.
Connecting and Checking the Water Supply
Ensure the water source is readily available before connecting the hose. For optimised performance, use a clean, potable water supply. Check for any debris or contaminants that could affect the operation of your cleaning machine.
Attaching the Hose
Securely attach the garden hose to the inlet on your unit. Hand-tighten the connection to prevent leaks. Always inspect the hose for any damage prior to connection; a compromised hose can lead to reduced water flow and could harm the appliance.
Testing for Leaks and Flow
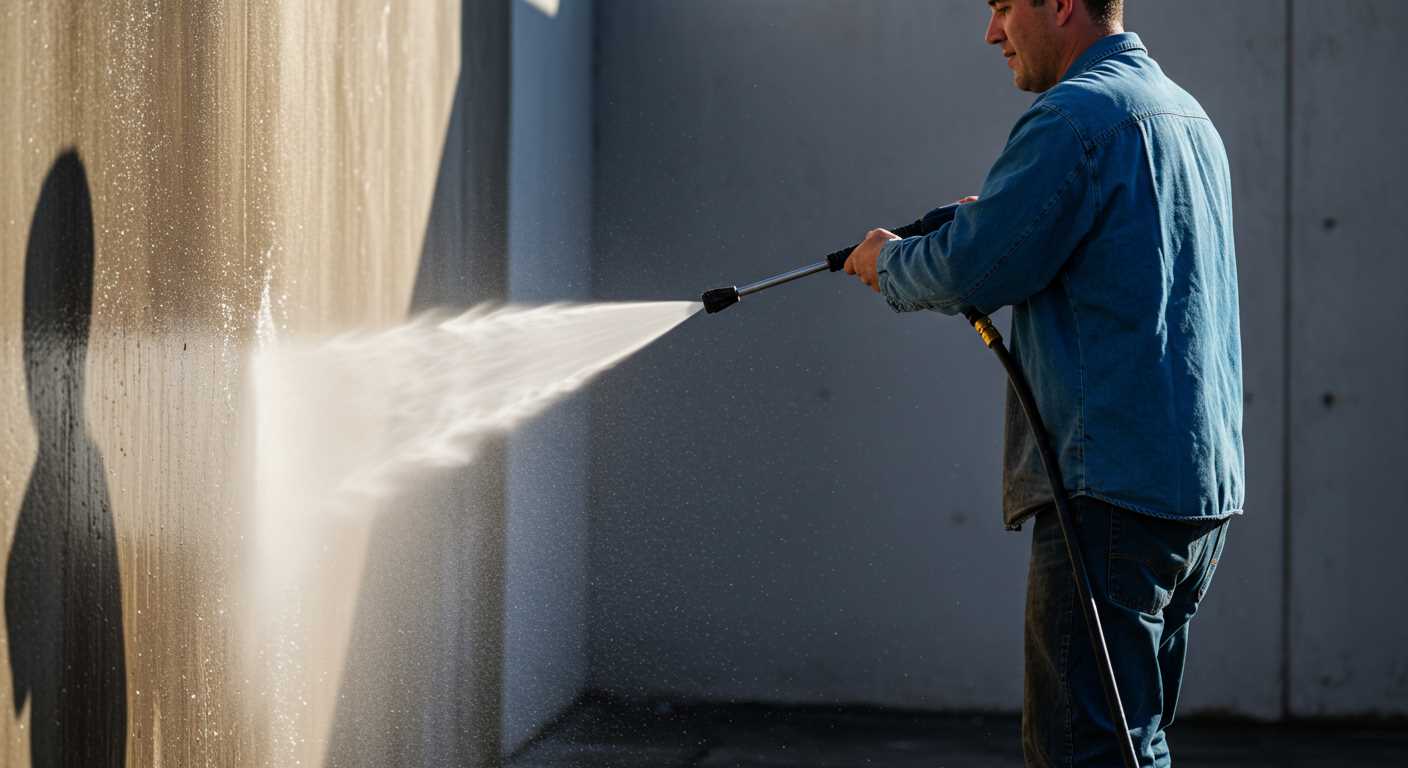
Once the hose is connected, turn on the water supply and check for leaks at the connection points. Allow water to flow through for a minute to ensure no air is trapped within the system. This will help in achieving consistent water pressure when you commence using the device.
Setting the Appropriate Pressure Settings

Adjusting the pressure to fit the surface you’re cleaning is crucial. Select a lower setting for delicate areas such as wooden decks, windows, or painted surfaces to avoid damage.
Pressure Recommendations
- Concrete and Paved Surfaces: Use 2700-3000 PSI for optimal cleaning.
- Decks and Fences: Aim for 1500-2000 PSI. Always test a small area first.
- Vehicles: Set to 1200-1900 PSI. Use a wide spray pattern to protect the paint.
- Brick and Stone: Choose around 2500 PSI. Avoid using on old or cracked surfaces.
To modify the pressure, locate the pressure adjustment knob, typically found on the machine body. Turn it clockwise for increased pressure and counterclockwise to decrease it.
Adjusting Nozzles
- 0-degree nozzle: Highest pressure, ideal for hard surfaces.
- 15-degree nozzle: Suitable for tough stains on concrete.
- 25-degree nozzle: Versatile for general cleaning tasks.
- 40-degree nozzle: Perfect for delicate surfaces.
Always engage the trigger at the lowest setting before increasing the pressure. This helps protect both the machine and the surface being cleaned.
Starting the Engine Safely and Correctly
Before engaging the ignition, ensure you are wearing safety goggles and gloves to protect yourself from any potential debris or fuel splashes.
Follow These Steps
- Check the fuel level in the tank. Refuel if necessary, but keep fuel away from any hot surfaces.
- Ensure the choke is in the correct position. If the engine is cold, set it to ‘full choke’. For a warm engine, use the ‘half choke’ position.
- Position the device firmly on a flat surface to prevent any tipping during operation.
- Engage the safety lock, if available, to avoid accidental activation.
- With one hand, grip the handle securely, and with the other, pull the starter cord smoothly. Avoid jerking the cord to prevent damage.
After Ignition
- Once the engine ignites, gradually adjust the choke to ‘open’ as it warms up. This helps maintain optimal performance.
- Observe the machine for any unusual sounds or leaks. If you notice anything off, turn off the engine immediately and investigate.
- Allow a brief warm-up period before applying any load or throttle adjustments.
Maintaining proper techniques will lead to efficient operation and prolong the lifespan of the equipment. Always refer to the manufacturer’s manual for specific instructions regarding your model.
Using Safety Gear During Operation
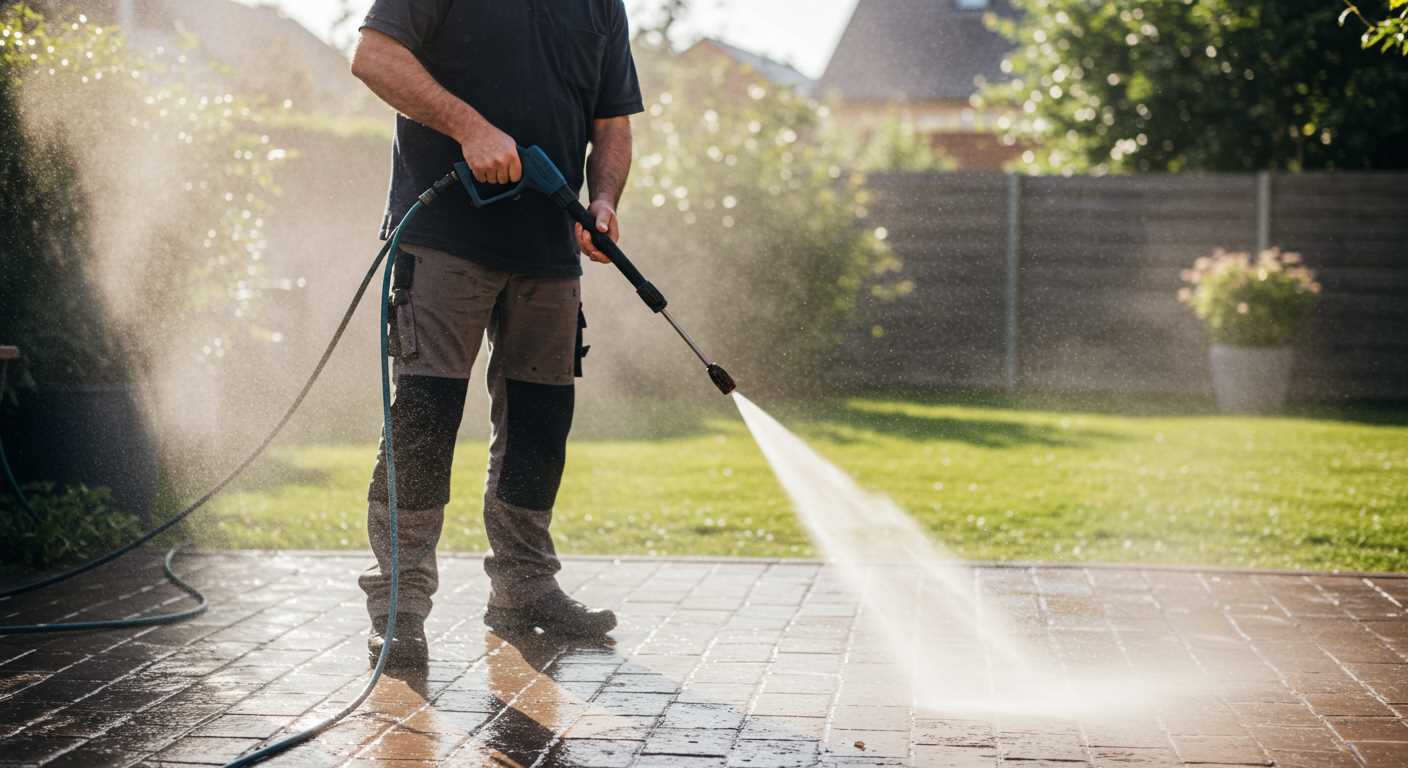
Always utilise proper safety gear to ensure protection while operating cleaning equipment. This includes a pair of safety goggles to shield your eyes from high-pressure water spray and debris. Additionally, wearing gloves can prevent skin irritation from cleaning agents and provide a secure grip on the handles.
Protective footwear is also crucial; opt for sturdy, non-slip boots to avoid slips on wet surfaces. Clothing made from thick fabric keeps you safe from accidental sprays and sharp objects that might be present in the work area.
For those who will be around the noise, consider ear protection. Prolonged exposure to loud machinery might lead to hearing damage. A face mask may be useful if using detergents, preventing inhalation of harmful fumes.
Here’s a quick reference table detailing recommended safety equipment:
| Safety Gear | Purpose |
|---|---|
| Safety Goggles | Protects eyes from debris and water |
| Gloves | Prevents skin irritation and provides grip |
| Protective Footwear | Avoids slips and protects feet |
| Ear Protection | Reduces exposure to harmful noise levels |
| Face Mask | Halts inhalation of detrimental fumes |
Remember, neglecting safety can lead to injuries. Equip yourself properly before engaging in cleaning tasks.
Maintaining Your Equipment After Use
Flush the system with clean water immediately after use. This prevents any detergent or debris from clogging the nozzle and other internal components. Run the unit for a few minutes to ensure that all residues are cleared out.
Cleaning and Inspection
After flushing, detach all hoses and accessories. Inspect them for wear, cracks, or leaks, and clean them with a soft cloth to remove any contaminants. Pay special attention to filters and screens; if they appear dirty or damaged, replace them to maintain optimal functioning.
Storing Your Equipment
Store the unit in a cool, dry place away from direct sunlight. Protect it with a cover if possible. Check the fuel level and either use up remaining fuel or add a fuel stabiliser to prevent degradation. Finally, remember to check the oil level regularly to ensure longevity and proper operation.


