

Before getting underway, ensure you have sufficient fuel in the tank. Always use fresh, high-quality fuel to maintain optimal performance. If the equipment has not been used for a while, check for any stale fuel residue that could hinder operation.
Verify that the oil levels are adequate. Proper lubrication is vital for smooth functioning. If necessary, change the oil to guarantee the engine operates smoothly. Always consult the manufacturer’s manual for the recommended type of oil.
Attach the hose securely to the unit and tighten all connections to prevent any leaks. Make certain that the nozzle is fitted properly and check for any clogs or blockages. Selecting the correct nozzle for your task can significantly impact cleaning efficiency.
Before you make any attempts to engage the engine, ensure that the cleaning unit is on a stable, flat surface. This helps in preventing any spills or malfunctions. Once everything is in place, follow the ignition procedure as outlined in the user manual to safely energize the system.
After starting, allow the machine to run for a short while to warm up before commencing your cleaning tasks. This ensures that all components are functioning correctly and prepares the engine for optimal operation as you begin your work.
Guide to Operating a Karcher Gas-Powered Cleaning Machine
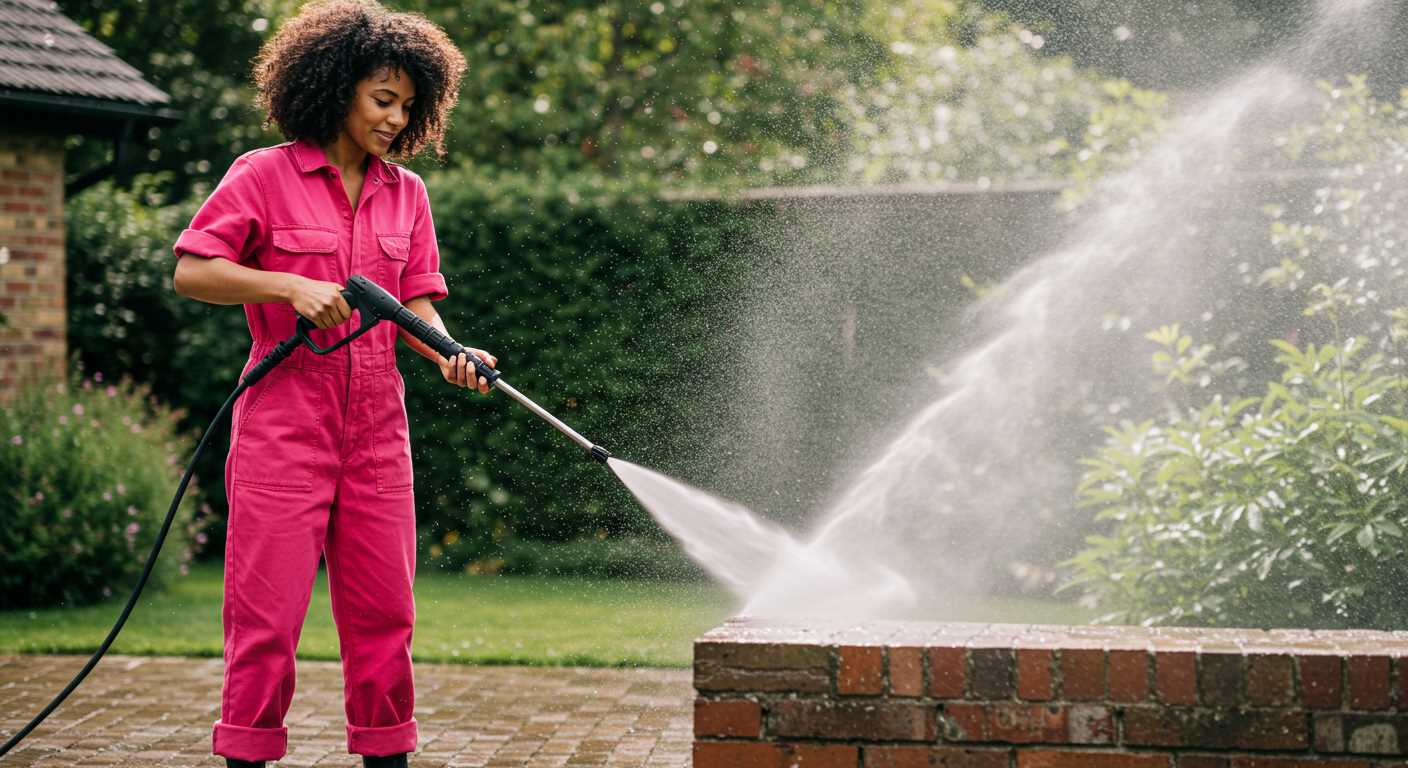
Before you engage the engine, ensure that the unit is on a stable surface, free from obstructions. This enhances safety and performance.
1. Check the fuel level. Ensure the tank is filled with appropriate gasoline. If necessary, use a funnel to prevent spills.
2. Inspect the oil. Look for the dipstick, remove it, and check the oil level. If low, fill with the recommended oil type.
3. Attach the hose. Connect your spray hose to the outlet securely. Ensure the connection is tight to prevent leaks.
4. Insert the nozzle. Select the right nozzle for your task and firmly attach it to the spray gun. Different nozzles provide various spray patterns for distinct jobs.
5. Engage the safety lock on the spray gun. This prevents accidental discharge. Keep the lock engaged until ready to operate.
6. Prime the machine. Turn the water supply on and pull the trigger on the spray gun. This removes air from the system and fills the hose with water.
7. Activate the choke. If the engine is cold, turn the choke to the ‘closed’ position to assist with starting.
8. Pull the starter cord. Stand firm and pull the cord with a steady motion. Repeat if necessary until the engine turns over. If it does not start, ensure the choke and safety mechanisms are correctly set.
9. Adjust the choke. Once the engine runs smoothly, switch the choke to the ‘open’ position.
10. Set the throttle. Adjust to the desired power level. Higher settings are suitable for tougher tasks.
11. Release the safety lock. You are now ready to clean. Aim the gun at the surface and gently squeeze the trigger.
12. Monitor operation. Always be aware of the nozzle’s position and maintain a safe distance from surfaces to avoid damage.
13. Conclude the session. After use, disengage the hose, turn off the water supply, and allow the engine to cool before cleaning the unit.
Follow these steps diligently to ensure a smooth and effective operation of your cleaning equipment.
Understanding the Equipment Setup
Ensure the appliance is on a level surface, ideally outdoors where ventilation is adequate. Secure connections for the water supply; a garden hose should connect tightly to the inlet, avoiding leaks that can hinder performance.
Check the fuel level in the tank, ensuring it contains the correct type of fuel. Use fresh, clean fuel to prevent engine issues. Next, examine the oil level in the crankcase; it’s critical to maintain optimal lubrication, so top off with appropriate motor oil if necessary.
Prepare the high-pressure hose by fixing it to the outlet, ensuring a snug fit to prevent disconnections during operation. Before attaching the nozzle, consult the specifications for the right type, as different tasks require specific nozzles for efficiency and safety.
To prime the water system, turn on the water supply and pull the trigger on the gun for a few seconds. This expels air trapped in the lines. Make sure the trigger lock is engaged when not operating the unit.
| Step | Action | Notes |
|---|---|---|
| 1 | Position unit | Level surface, good ventilation |
| 2 | Connect water line | Tight fit, no leaks |
| 3 | Check fuel level | Use fresh fuel only |
| 4 | Examine oil level | Ensure proper lubrication |
| 5 | Attach high-pressure hose | Secure with no leaks |
| 6 | Attach appropriate nozzle | Match to cleaning task |
| 7 | Prime the system | Remove air, engage trigger lock |
These straightforward steps lay the groundwork for a successful cleaning session. Following them carefully will enhance your experience and ensure the equipment operates reliably. Proper setup minimises the risk of issues and maximises output.
Checking Fuel and Oil Levels

Verify the fuel level by inspecting the tank; it should be filled with clean, fresh petrol to ensure optimal performance. If the tank is low, refuel with a quality brand to prevent engine issues.
Next, check the oil level. Locate the dipstick; remove it, wipe clean, and reinsert it without screwing in. This step will provide an accurate reading. The oil should be within the marked range. If it’s low, add a suitable oil type as indicated in the user manual. Avoid overfilling, as this can lead to engine malfunctions.
Both checks should be done prior to operation to ensure the equipment runs smoothly and effectively, prolonging its lifespan and maintaining performance standards.
Connecting the Water Supply
Ensure you have a high-quality garden hose, at least five eights of an inch in diameter, to maintain optimal water flow. Check for any kinks or leaks before proceeding.
Attach one end of the hose to a water source, preferably a tap that delivers consistent pressure. Use a standard hose connector to ensure a tight fit, preventing any unnecessary leaks.
The other end connects to the inlet on the cleaning unit. Make sure the connection is secure. A loose connection can lead to a drop in performance, so give it a firm twist without over-tightening.
Once connected, turn on the water supply. Inspect the hose for any signs of leaks and observe the connections. You want to guarantee that everything is sealed properly before powering on the equipment.
After confirming the water flow is steady, proceed to prime the system by pulling the trigger on the spray gun. This eliminates any air pockets in the hose and ensures water flows smoothly through the unit.
Finally, do a quick double-check: ensure that the water supply remains on throughout your cleaning task for uninterrupted operation. A steady flow of water is critical for achieving desired results without damaging the equipment.
Inspecting and Attaching Hoses
Check the high-pressure hose for any signs of wear, such as cracks or leaks. A damaged hose can lead to significant performance issues or even accidents. If any damage is found, replace the hose before proceeding.
Ensure the fittings at both ends of the hose are clean and free from debris. Corrosion or dirt can prevent a secure connection. Clean these areas with a soft cloth if necessary.
Attaching the High-Pressure Hose
Attach the high-pressure hose to the machine by aligning the connector and twisting it clockwise until it is securely locked in place. Make sure it feels tight to avoid any accidental disconnections during use.
Connecting the Garden Hose
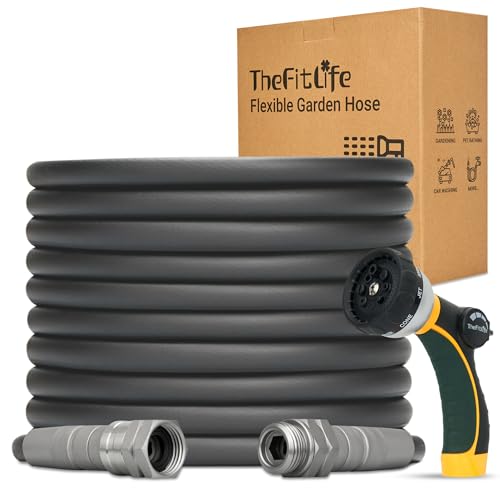
For the garden hose, begin by checking for kinks or blockages that might restrict water flow. Attach one end of the hose to the water supply and the other end to the inlet on the cleaning unit, ensuring a snug fit. Turn on the water supply and check for any leaks.
- Inspect both hoses regularly for maintenance.
- Always use hoses rated for high pressure.
- Store hoses properly to prevent damage and kinks.
After securing the hoses, do a final check by tugging gently on each connection to ensure they are not loose. This pre-use inspection will enhance safety and optimise performance during operation.
Priming the Pump Correctly
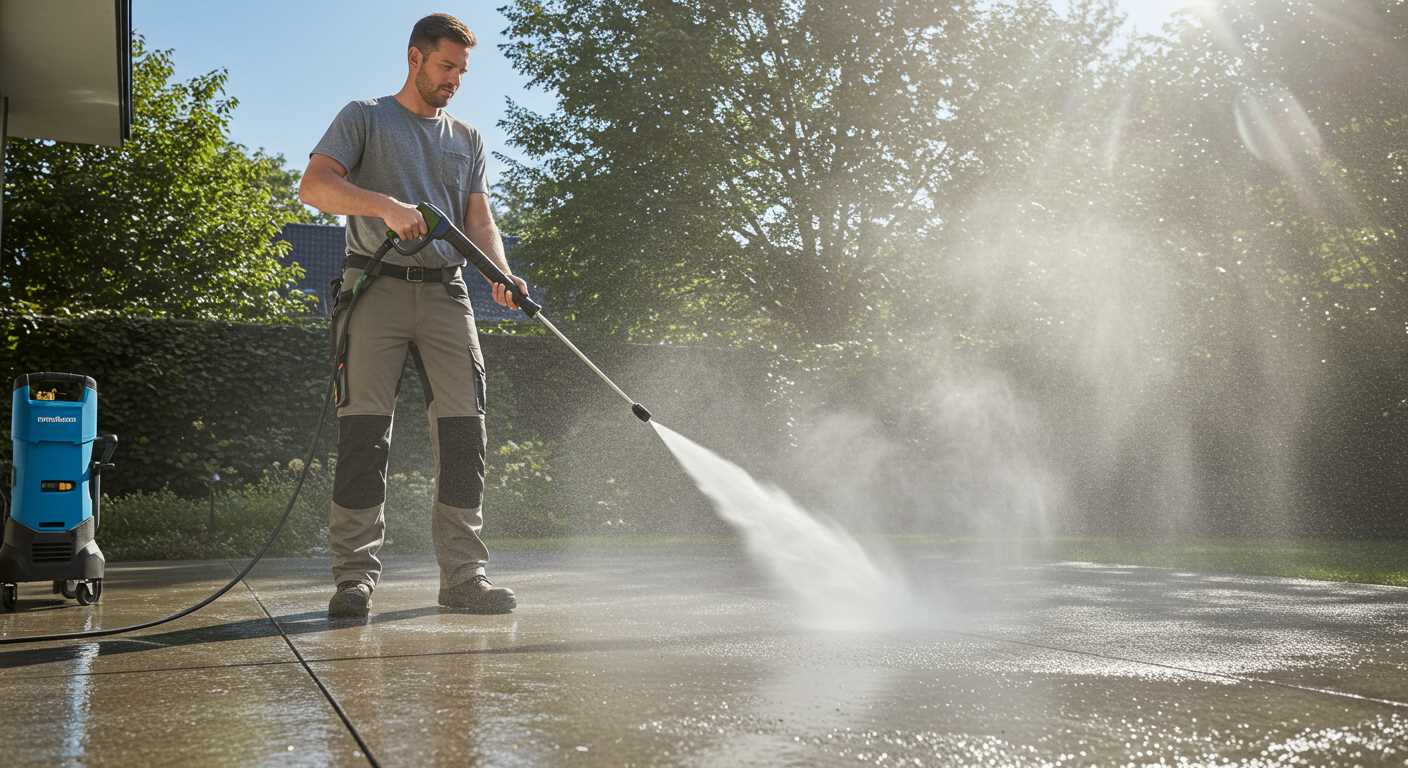
Begin by ensuring the water is supplied and the hoses are securely attached. With the unit off, locate the pump’s primer button or screw. This component is typically found near the inlet where water enters the pump. Press or turn it gently several times to allow water to flow into the system, effectively removing air pockets.
A common error is to assume the pump will self-prime without assistance. Always monitor the water flow through the inlet side when priming. You must see a steady stream emerging from the outlet, indicating that the air has been expelled and the pump cavity is filled with water. Engage the primer again briefly if you notice inconsistencies.
Avoiding Damage
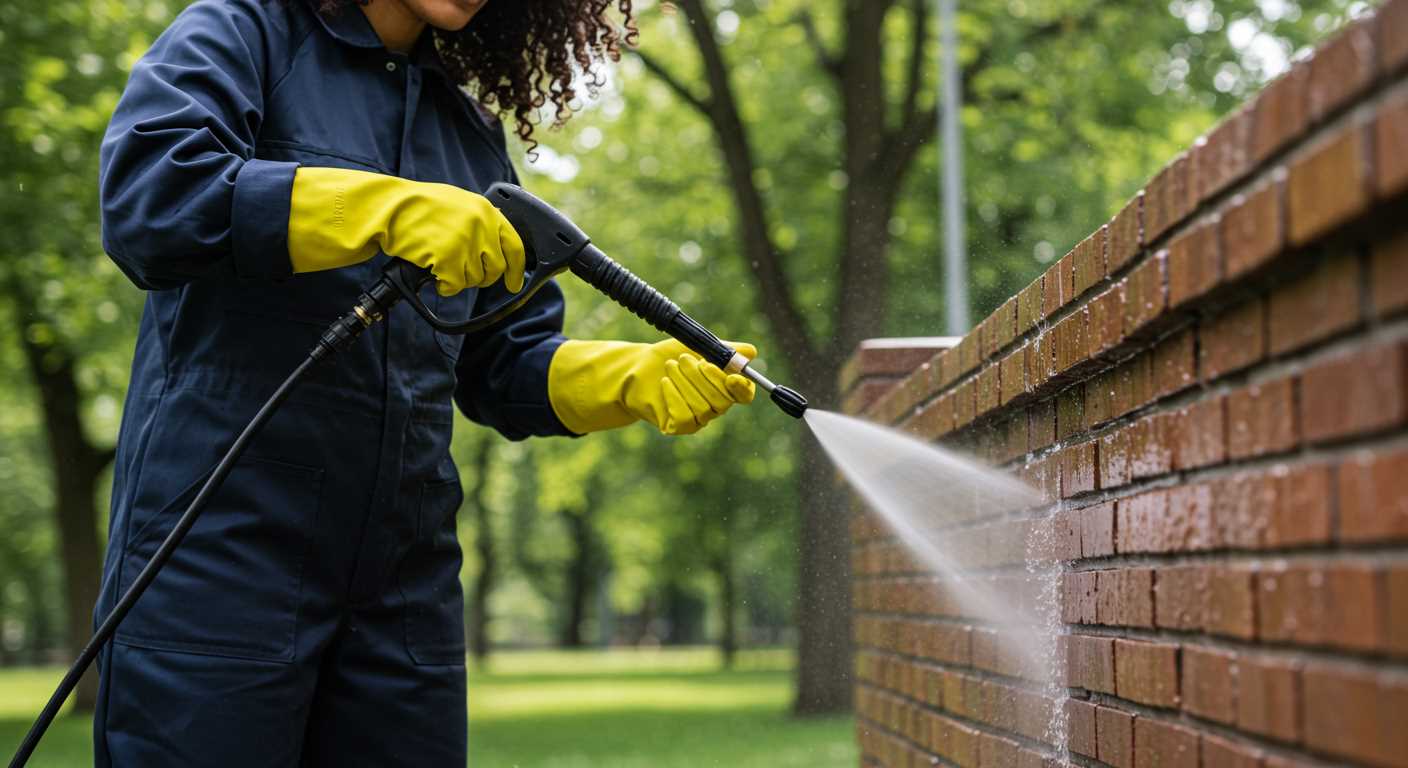
It is critical not to operate the equipment without proper priming, as running the pump dry can lead to severe damage. After priming, double-check the inlet filter and hose connections for any obstructions. Clearing any debris will help maintain a reliable flow.
Final Checks
Once you observe continuous water flow and the pump feels primed, you are ready for the next steps in operating your cleaning machine. Regularly perform this process before each use to ensure longevity and optimal performance.
Starting the Engine Safely
Before igniting the engine, ensure you’re in a well-ventilated area to avoid inhalation of harmful fumes. Put on safety goggles and gloves to protect against debris or unexpected starts. Verify that the equipment is placed on a flat, stable surface to prevent any instability during operation.
Fueling and Ignition Precautions
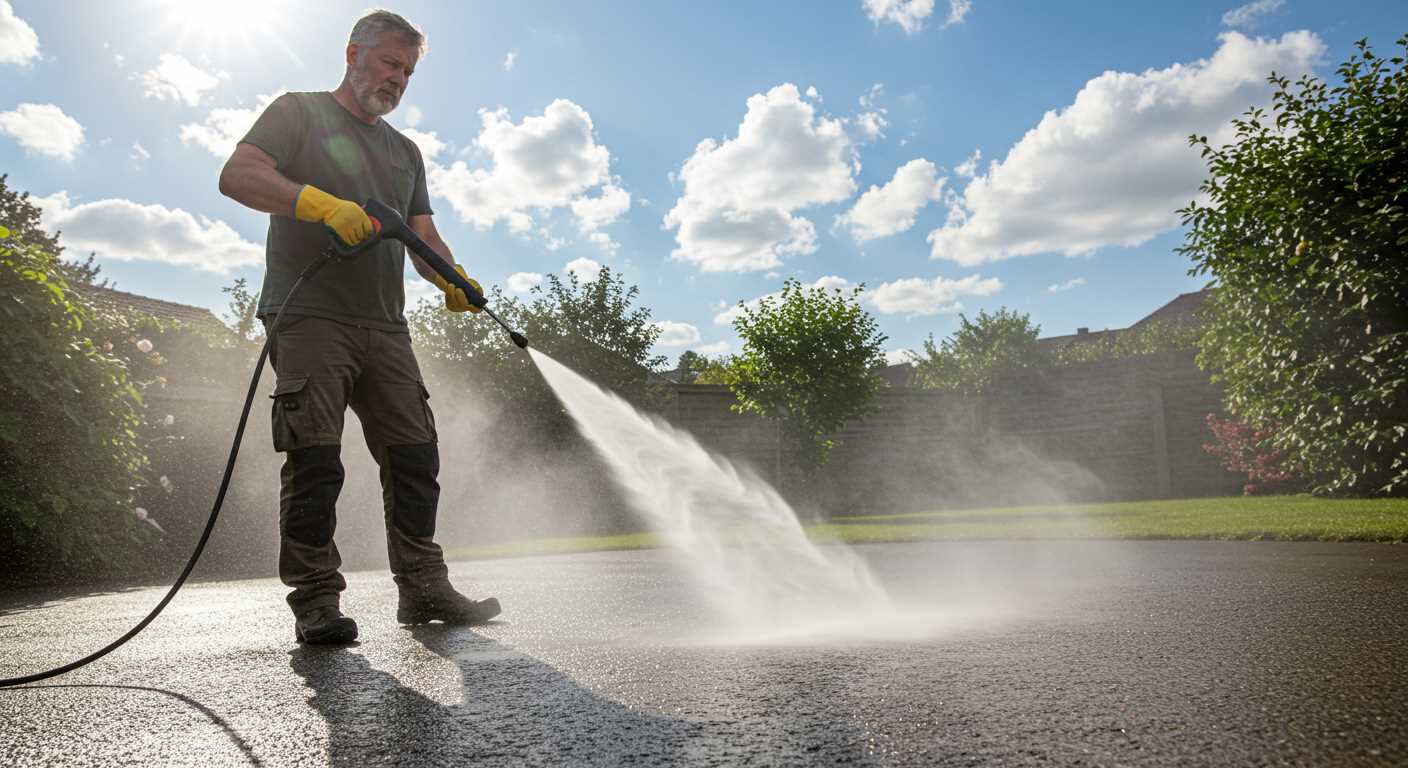
Always utilise fresh fuel, ideally from a sealed container, to prevent sediment and contaminants from entering the engine. When adding fuel, use a funnel to avoid spills. After refuelling, check that the fuel cap is securely fastened. To engage the ignition, ensure the ignition switch is in the ‘on’ position. Hold the recoil starter firmly while pulling the rope smoothly to prevent sudden jerks.
Engaging the Safety Mechanisms
Familiarise yourself with all the safety features on the unit. The trigger lock should be engaged when the machine is not in use, and the nozzle should remain pointed away from yourself and others. After ensuring all safety protocols, depress the trigger gently should you need to release water pressure, but do not activate the spray until you are ready to operate the cleaning device.
Adjusting Spray Settings for Optimal Use
To achieve the best results, adjust the spray settings based on the task at hand. Most models feature a nozzle selection, allowing for different spray patterns such as wide fan sprays for rinsing and concentrated jets for tough spots.
Choosing the Right Nozzle
Select a nozzle that suits your surface. For delicate jobs like washing vehicles, use a wider spray to prevent damage. On the other hand, for hard surfaces such as concrete, a narrow, high-pressure stream is more effective in removing stubborn stains. Always refer to the manufacturer’s guidelines for nozzle recommendations based on specific cleaning tasks.
Modulating Pressure Settings
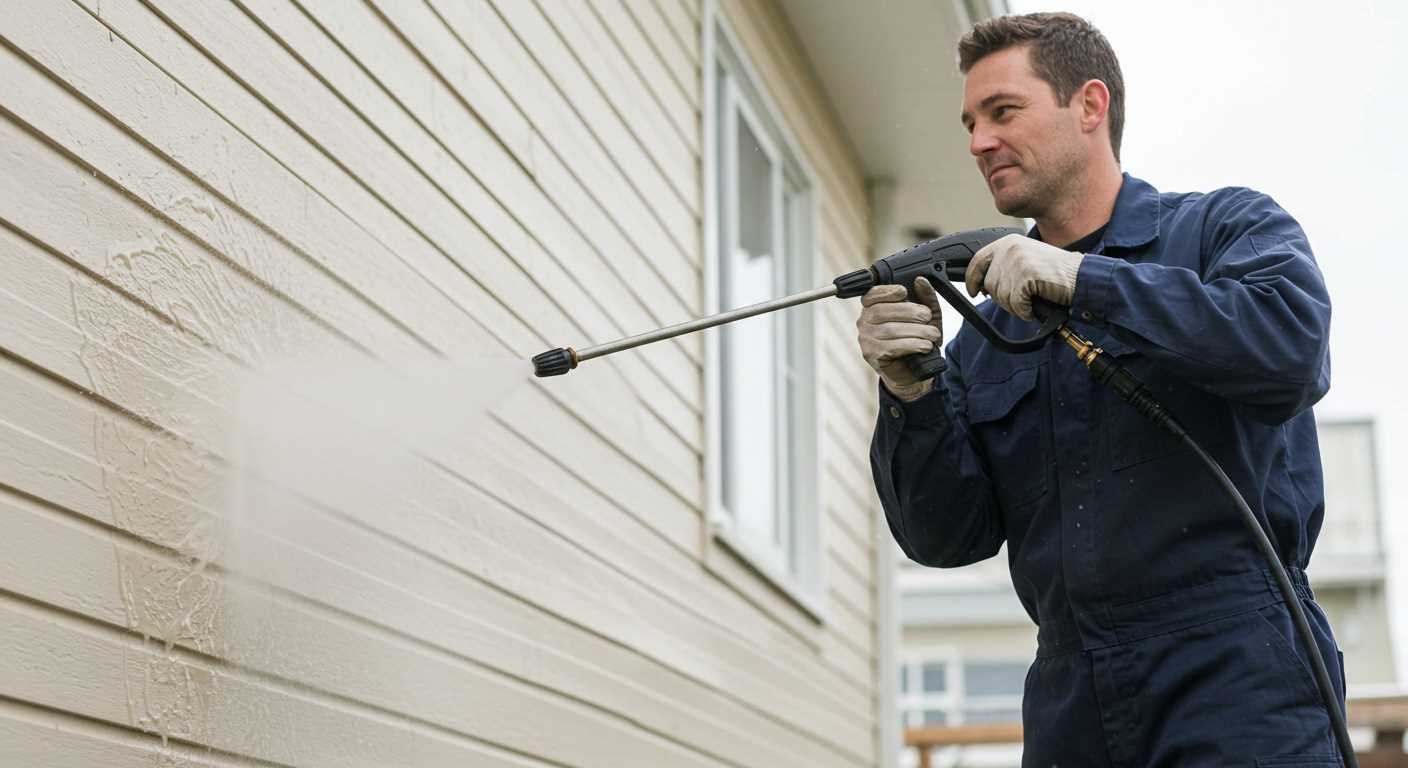
If your model includes pressure regulation, adjust this setting meticulously. Lower pressure for lighter tasks, such as cleaning furniture or soft siding, while higher settings should be reserved for surfaces requiring deep cleaning. This ensures effectiveness without risking any potential harm to the materials being cleaned.
Always test on a small, inconspicuous area before applying your chosen settings extensively, allowing you to judge the impact without causing damage. Keeping your nozzles clean and free from clogs also significantly improves performance.


