

The first step in utilising your new device involves thorough preparation. Ensure you are in a well-ventilated area and have all necessary equipment on hand, including safety gear such as goggles and gloves. Review the manufacturer’s instructions for specific details regarding fuel types and oil requirements, as using incorrect substances can lead to performance issues.
Before you begin, inspect the machine for any visible damage or loose connections. Fill the fuel tank with high-quality petrol and check the oil level. Always opt for the recommended oil type to guarantee optimal operation. Once fuel is added, allow the unit to sit for a few moments to let the fuel settle and flow into the engine.
Prime the system if your model requires it. This generally involves pressing a fuel bulb until you feel resistance. Following this, engage the choke to assist in starting the engine. Pull the starter cord firmly, maintaining a steady grip until the engine roars to life. Afterward, adjust the choke back to its original position to ensure smooth running.
Once everything is in place and the engine is warm, you can proceed to connect the nozzle and select the appropriate spray pattern for your task. Always begin with a wider spray for broader surfaces, gradually narrowing as the job requires more precision. Regularly check for any blockages and maintain a safe distance from the surface being cleaned to avoid damage.
Steps to Operate Your Petrol Cleaning Equipment
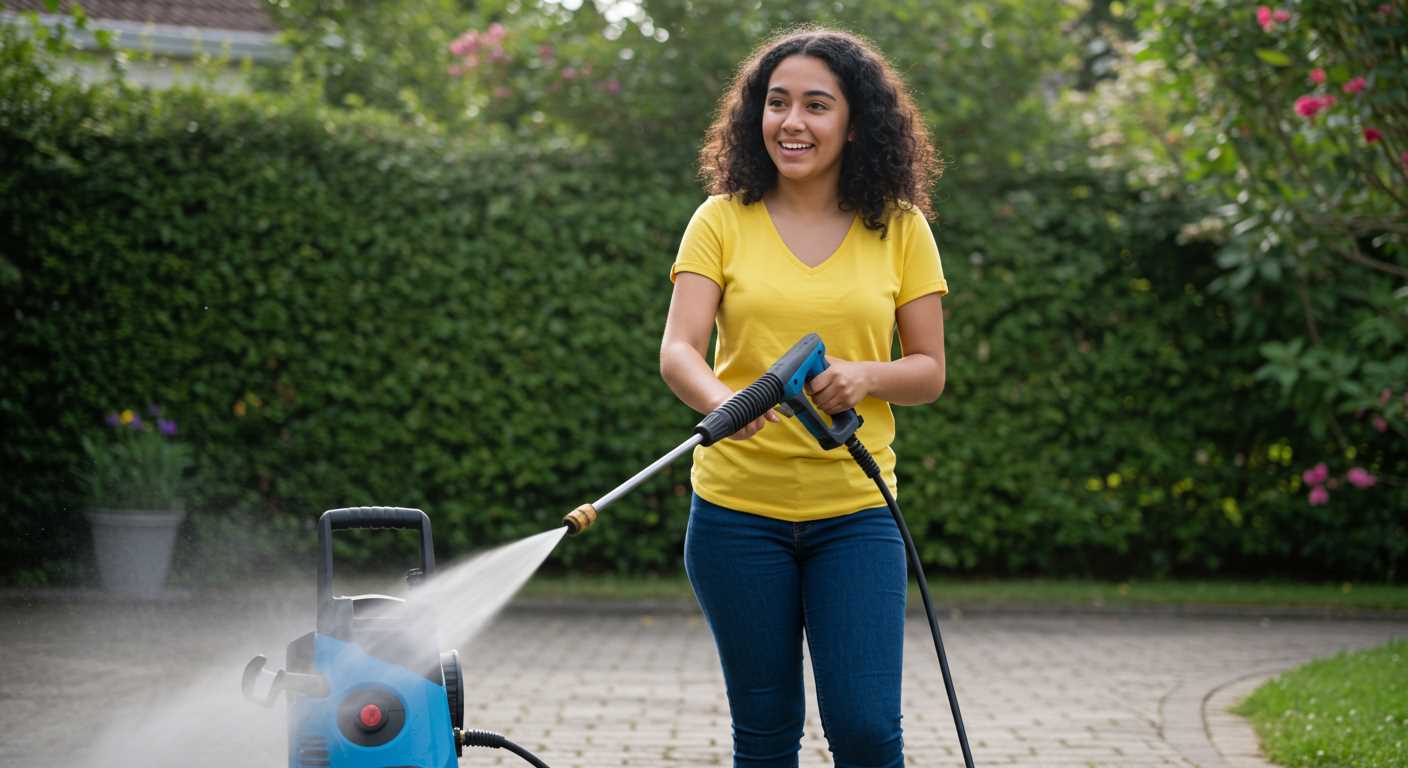
Ensure the device is on a flat surface to prevent any tipping. Check the oil level using the dipstick; it should be within the recommended guidelines. Fill with the appropriate fuel type if necessary, avoiding any mixing of fuel types.
Engage the choke by moving it to the closed position for a cold start. Grip the priming bulb and depress it several times until fuel is visible within the transparent tube, indicating the system is primed. Next, deactivate the choke, leaving it in the open position.
Firmly hold the trigger of the gun to alleviate pressure during the ignition process. Locate the recoil starter handle and pull it sharply; it may take a few attempts for the engine to ignite. Once operational, release the trigger momentarily to maintain control and ensure the engine doesn’t stall.
Once the motor is running steadily, allow it to warm up for a minute before engaging in cleaning tasks. Monitor the pressure gauge; it should indicate proper levels before starting your work.
For optimal performance, regularly maintain your equipment. Check and clean the filters, inspect hoses for wear, and ensure connections are tight after each use. Learn the specific maintenance needs of your model, as these can vary significantly.
Selecting the Right Petrol Pressure Washer Model
Prioritise your specific cleaning tasks when choosing a model. If you need to tackle heavy-duty jobs like removing oil stains or dirt from concrete, select a unit with a high bar pressure, ideally above 150. For lighter tasks such as washing vehicles or patios, a model with around 100 to 120 bar will suffice.
Consider the Engine Power
The engine’s horsepower directly impacts performance. A 5 HP engine generally provides a good balance for domestic use, while commercial operations often require engines with 7 HP or more for enhanced durability and efficiency.
Look at the Water Flow Rate
A high water flow rate, measured in litres per minute (L/min), ensures effective dirt removal. A unit producing 400 to 600 L/min is suitable for most cleaning tasks, while professional or industrial models will need upwards of 800 L/min for rigorous applications.
Understanding Components and Functions
The key to utilising a cleaning unit effectively is understanding its parts and how they operate. Here’s a breakdown of essential components and their roles:
Motor or Engine
The motor generates power, driving the pump. Depending on the type, it can be electric or gasoline-based. Gasoline engines generally provide greater mobility and higher pressure output, which is useful for demanding tasks.
Pump
This component is crucial for elevating water pressure. There are several types of pumps:
- Axial Pumps: Suitable for casual use; they are compact and easy to maintain.
- Triplex Pumps: Ideal for heavy-duty applications; they offer superior durability and pressure consistency.
Hose
The hose delivers water from the pump to the nozzle. Length and diameter matter; a longer or narrower hose can lead to pressure loss.
Nozzle
Interchangeable nozzles allow for tailored cleaning experiences. Options typically range from:
- 0 Degrees: For concentrated jets suitable for tough stains.
- 25 Degrees: A versatile choice for general cleaning.
- 40 Degrees: Best for delicate surfaces.
Trigger
The trigger controls water flow. A variable trigger provides better control over water pressure, enhancing versatility during use.
Wheel and Frame
The frame houses the entire system, while wheels enhance mobility. Ensure that the construction is robust yet lightweight for easy transportation.
Familiarity with these components not only enhances performance but also aids in troubleshooting issues that may arise during operation.
Preparing Your Work Area for Safe Operation
Ensure the area is free of obstacles and debris. Clear any items that may be damaged by water or that could impede your movement during use. Establish a designated zone suited for high-pressure cleaning tasks.
Evaluate the ground surface; choose a stable, level area to prevent instability during operation. Using a mat can offer additional grip and safety.
Identify and remove any potential hazards, such as electrical cables, tools, or garden equipment. Maintain a safe distance from any windows or fragile items that could be affected by water spray.
Assess the weather conditions before beginning. Avoid operating in high winds or during storms. Wet or slippery surfaces can lead to accidents. Ensure the environment is dry and conducive for work.
Organise your cleaning supplies and equipment within reach, including cleaning solutions and accessories. This ensures efficiency without compromising safety.
| Item | Description |
|---|---|
| Surface Area | Clear of obstacles like furniture and tools |
| Ground Conditions | Stable and level surface for safe operation |
| Hazard Identification | Remove potential hazards like cables and fragile items |
| Weather Check | Ensure dry conditions, avoid high winds or storms |
| Supplies Organisation | Keep cleaning solutions and tools within easy reach |
Wear appropriate personal protective equipment, such as safety goggles and gloves, to safeguard against potential injuries from debris or chemicals. Follow these steps to create a safe and efficient workspace for your task.
Fueling Your Pressure Cleaner Correctly
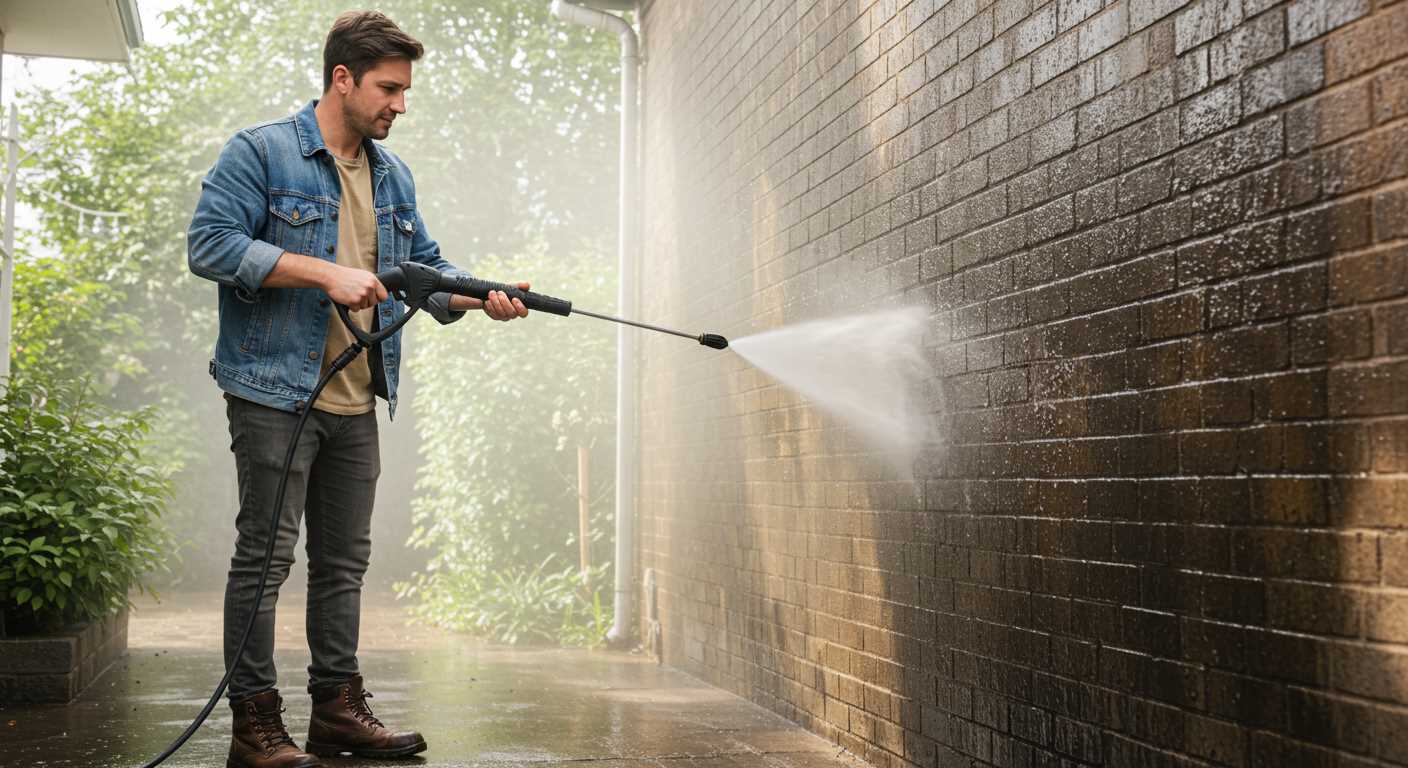
Always utilise a high-quality fuel. I recommend unleaded petrol with an octane rating of at least 95 for optimal operation.
Prior to filling the tank, ensure the machine is positioned on a level surface. This prevents spills and aids in accurate filling. Use a funnel to avoid contact with the unit’s components.
Maintain a correct fuel-to-oil ratio, typically around 50:1, depending on the model specifications. Pre-mixed fuel or appropriate two-stroke engine oil should be used for optimal engine performance.
Fill the tank to no more than 90% capacity. This provides space for fuel expansion during operation, reducing the risk of overflow and spillage.
After refuelling, securely tighten the fuel cap to prevent leaks and evaporation. A thorough check of the surroundings is essential; ensure there are no combustible materials nearby before starting the engine.
In case of fuel spills, clean them immediately to avoid hazardous conditions, using absorbent materials. Always wash your hands after handling fuel and store any leftover fuel in a well-ventilated, secure area away from direct sunlight.
Connecting the Hose and Nozzle for Optimal Performance
.jpg)
Ensure a secure connection between the hose and nozzle to prevent leaks and maintain pressure. Begin by checking that the nozzle is compatible with your unit’s specifications and fittings.
Thread the hose onto the pump outlet, making certain it fits snugly. If your model includes a quick-connect system, push the hose end firmly into the connector until you hear a click. This indicates it’s locked in place.
Attach the nozzle chosen for your particular task, ensuring it’s firmly connected at the end of the hose. A rotating nozzle can adjust spray patterns; turn it to match requirements–narrow for tough stains or wide for general cleaning tasks.
Before operating, turn on the water supply and check for leaks at the connections. If any water escapes, disconnect and reconnect the hose and nozzle to achieve a tight fit. Confirm that all attachments are secure before applying pressure.
By following these steps, you optimise the machine’s performance and achieve better cleaning results.
Adjusting Pressure Settings for Different Surfaces
For optimal cleaning, the pressure level needs to be tailored to the specific surface being treated. For example, on delicate materials like wood or painted surfaces, use a low setting to avoid damage. Typically, a range of 1,200 to 1,500 PSI works well on these surfaces.
Hard Surfaces
When cleaning tougher materials, such as concrete or brick, a higher pressure setting between 2,500 and 3,000 PSI is generally effective. This level efficiently removes dirt, grime, and stains. Ensure you maintain a safe distance of around 12 to 18 inches from the surface to prevent chipping or etching.
Automobiles and Sensitive Areas
For vehicles, a moderate setting of about 1,500 to 2,000 PSI is suggested. This range is sufficient to clean without risking damage to paint or seals. Employ a wide nozzle to disperse the water flow, which mitigates concentrated force on any particular point.
Always consider the nozzle type as well. A broader spray pattern is beneficial for larger areas, while a narrow jet is effective for stubborn spots. Adjusting both the pressure and nozzle accordingly will enhance your cleaning efficiency while safeguarding your surfaces.
Starting the Engine: Step-by-Step Instructions
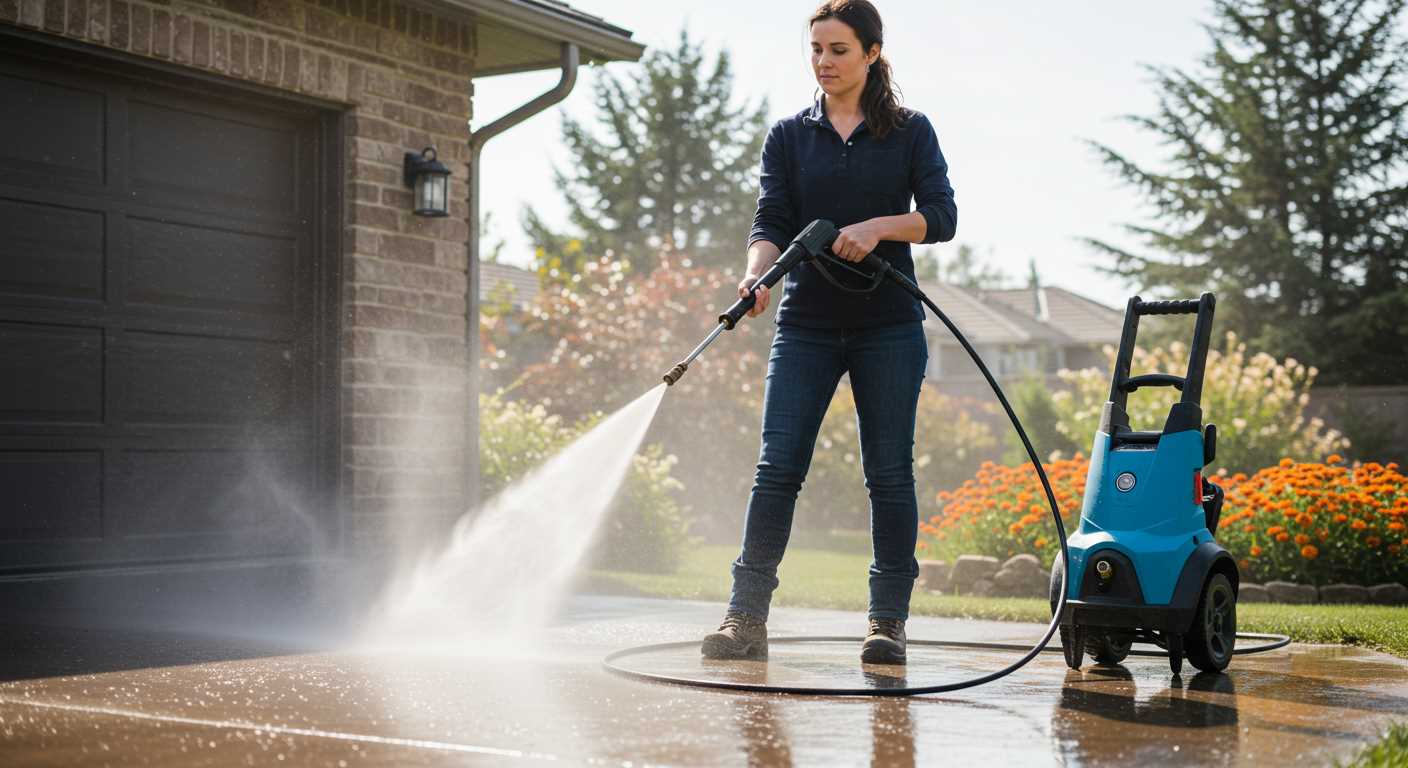
Ensure the fuel tank has the correct mixture, as improper fuel can lead to ignition issues. With the fuel level confirmed, locate the choke lever; this should be fully closed if the engine is cold.
Next, engage the throttle by setting it to the ‘fast’ position, which aids in efficient combustion during firing. Grasp the recoil starter handle firmly, pulling steadily until the engine begins to rumble. It may take several pulls, so don’t be discouraged.
Once the engine fires, gradually open the choke to a half position. Allow the engine to warm up for about a minute. This process ensures optimal performance before engaging the equipment.
If the engine stalls, reset the choke to the closed position and repeat the process. If persistent issues arise, verify the fuel and oil levels are adequate, and check for any clogged air filters or spark plugs that may require maintenance.
Last, always ensure that the safety features are engaged, such as the pressure release valve, before attempting to operate the system.
Maintaining and Storing Your Cleaning Equipment Properly
Regular upkeep is vital for prolonging the lifespan of your equipment. Rinse off any residue after each use to prevent dirt build-up and corrosion. Pay attention to the filters; cleaning or replacing them periodically ensures optimal performance.
Check the oil levels frequently and change it according to the manufacturer’s recommendations. Use the correct type of oil; refer to the user manual for specifications to avoid engine damage.
Before storing, ensure that all fuel is drained to prevent issues such as sludge build-up. Run the engine until it stops to clear the fuel system effectively. After this, disconnect the fuel line and store it in a dry place, away from direct sunlight and moisture.
For long-term storage, disconnect all attachments and coils, clean them, and keep them in a designated area. This practice prevents damage and maintains their functionality.
Never forget to protect the equipment from cold conditions. If you expect freezing temperatures, consider keeping it indoors or using antifreeze solutions to prevent internal damage.
Inspect hoses and connections regularly. Look for signs of wear or leaks and replace them as necessary. A small crack can lead to significant performance issues over time.
Finally, always refer back to the manufacturer’s manual for specific maintenance instructions. Following these guidelines will ensure that your cleaning equipment remains in top condition for years to come.


