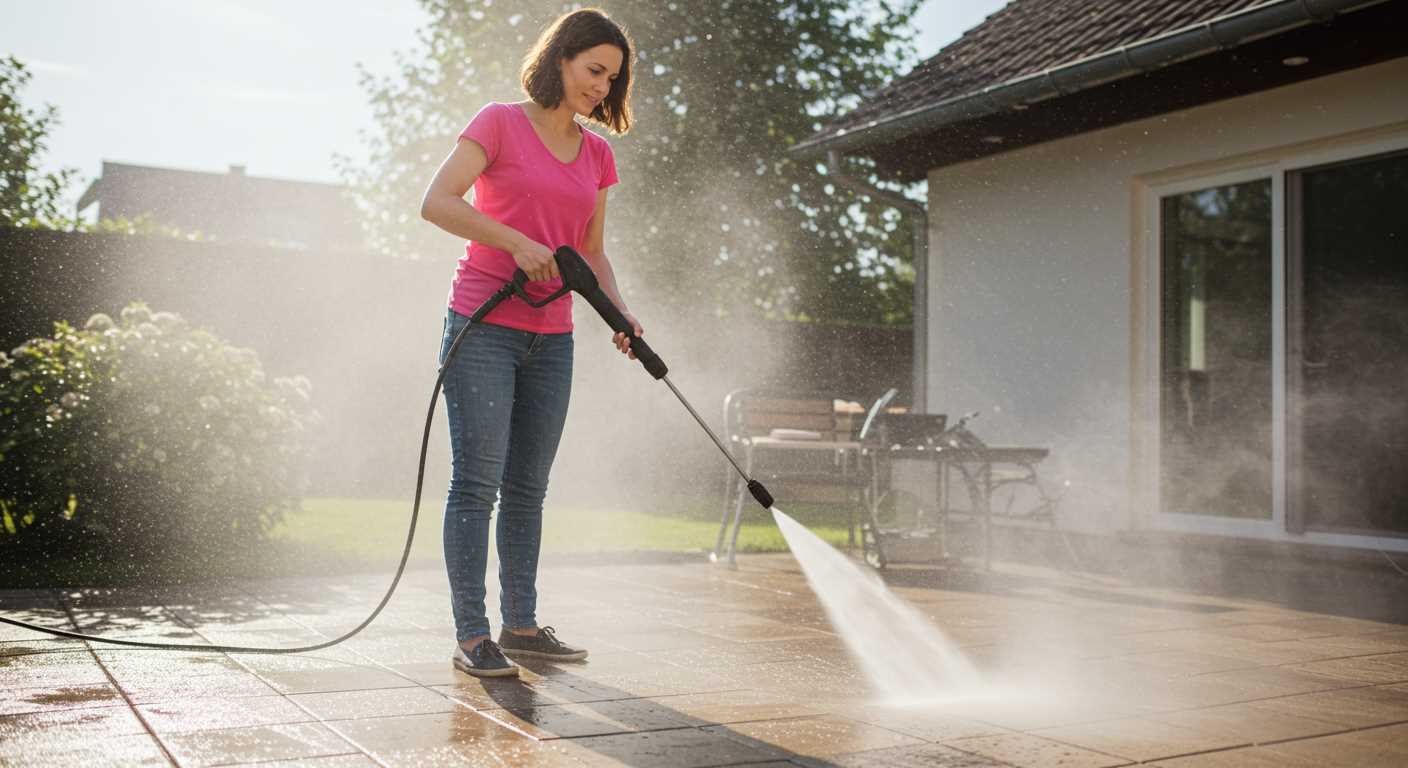


Begin by selecting the right nozzle for your job; a 15-degree option typically works best for removing stubborn layers. It’s advisable to maintain a distance of approximately 12 inches from the surface to avoid damage while still ensuring effectiveness. Adjust the pressure according to the material; softer woods require a gentler touch compared to harder varieties.
Before tackling the project, ensure the area is clear of furniture and debris, allowing for an unobstructed operation. Consider applying a biodegradable product specifically designed to loosen the coating prior to using your equipment; this can significantly enhance the results. It’s prudent to test an inconspicuous area first to confirm compatibility and effectiveness.
Wear appropriate safety gear: goggles and gloves are critical for protecting against splatter. When you start cleaning, move gradually and systematically across the area, employing sweeping motions that overlap slightly to avoid streaking or missed spots. Always keep the unit moving; stopping in one spot can lead to etching, especially on softer surfaces.
After the cleaning session, take time to rinse the area thoroughly to eliminate any residues from the cleaning agents used. Allow the surface to dry completely before considering any further treatments like staining or sealing. This approach will ensure a pristine and well-prepared foundation for future enhancements.
Technique for Removing Coating from Outdoor Flooring Using High-Pressure Equipment
Begin by selecting a high-pressure device suitable for the task. Look for a model that offers at least 3000 PSI. This level of power ensures the removal of stubborn residues without damaging the underlying wood.
Prior to commencing, ensure the surface is free from debris, dirt, and loose materials. A clear area allows for more efficient operation and prevents clogging the nozzle.
Choosing the Right Nozzle
Select a 15 or 25-degree nozzle for optimal results. The narrow angle for stripping away layers is essential, as it concentrates the force of the water effectively.
- Attach the chosen nozzle securely to the wand.
- Test the pressure on a small inconspicuous area to ensure compatibility.
Application Process
Maintain a consistent distance of about 12-18 inches from the surface. Move the wand in a steady, sweeping motion to cover the area evenly. Adjusting the angle of the nozzle slightly may aid in targeting stubborn spots.
- Work in sections to manage the workflow.
- Periodically check for areas that may require additional attention.
After completion, allow the surface to dry thoroughly. This ensures that any remaining moisture evaporates before applying a new finish, preventing future issues. Always follow with a proper sealing treatment to protect the wood from the elements.
Cleanup is essential; thoroughly rinse the equipment and store it properly. Periodic maintenance of the high-pressure unit prolongs its lifespan and efficiency.
Choosing the Right Pressure Washer for Deck Stripping
For effective removal of old finishes, I recommend selecting a unit with a minimum of 3000 PSI coupled with a flow rate of at least 2.5 GPM. This combination ensures adequate power to tackle tough surfaces without damaging the substrate underneath.
Electric models work well for smaller areas and light jobs. However, for larger spaces or tougher layers, a gas-powered option is preferable as it typically delivers superior pressure and runs for longer periods without needing a recharge.
Evaluate pressure varieties as well; adjustable nozzles provide versatility depending on the job’s requirements. A 25-degree nozzle generally works well for broad coverage, while a 15-degree option should handle stubborn materials more effectively.
Be mindful of weight and portability. If you plan to move the equipment around, consider a more lightweight model with durable wheels. Additionally, look for features like a long hose, which extends reach and reduces the need to reposition the unit frequently.
| Feature | Recommended Specifications | Notes |
|---|---|---|
| Pressure | 3000 PSI | Essential for tough residues |
| Flow Rate | 2.5 GPM | Ensures efficient rinsing |
| Power Source | Gas vs. Electric | Gas for larger jobs; Electric for smaller |
| Nozzle Types | 15° and 25° | Versatile choices for different applications |
| Portability | Lightweight design with durable wheels | Facilitates easy movement |
Investing time in selecting the right model pays off when you achieve optimal results. Ensure your choice meets both performance needs and convenience, allowing for a smoother workflow during the project.
Preparing the Surface for High-Pressure Cleaning
Before initiating the cleaning process, ensure that any furniture, planters, or obstacles are removed from the area to be treated. This allows unrestricted access and protects your belongings from damage.
Examine the flooring closely. Remove any debris, such as leaves or dirt, and sweep thoroughly. Check for mould or mildew, which may require specific treatment before using the high-pressure equipment.
Inspect for Damage
Evaluate the condition of the surface. Look for loose boards or protruding nails that may cause injury or damage to the equipment. Secure any loose boards and replace damaged ones as necessary.
Choose Appropriate Cleaning Agents
If heavy staining or build-up is present, consider using a suitable cleaning solution. Ensure the chosen agent is compatible with the material of your flooring. Apply it as recommended, allowing enough time for it to penetrate and work effectively before rinsing.
Selecting the Appropriate Nozzle for Paint Removal
For optimal results, choose a nozzle that delivers a concentrated spray. A 15-degree nozzle is ideal for removing stubborn layers, as it provides the necessary force without excessive damage to the surface beneath. This narrow spray angle focuses the water stream tightly, effectively dislodging unwanted material.
Understanding Nozzle Types
Using a turbo nozzle can enhance efficiency by rotating the stream, offering a wider coverage area while maintaining powerful cleaning capability. This option is suitable for larger areas, minimising the time spent on each section. Conversely, if the material isn’t too adhered, a wider nozzle, such as a 25-degree or 40-degree, may suffice, as it reduces the risk of harming the surface beneath. Always assess the condition of the wood before selecting.
Testing and Adjustment
Perform a small test on an inconspicuous area before proceeding. Adjust the distance between the nozzle and the surface to find the optimal balance between pressure and safety. Keep this distance consistent to avoid creating gouges or uneven patches. If the material isn’t lifting effectively, consider adjusting the nozzle or experimenting with a different angle. Patience is key to ensuring a successful result while preserving the integrity of the underlying structure.
Adjusting Pressure Settings for Optimal Results
To achieve the best outcome, set the pressure between 1200 to 2000 PSI. Lower settings work well for more delicate surfaces, while higher ones are suited for tougher materials. Always test the machine on a small, inconspicuous area first to assess the effect on your surface.
Choosing the Right Pressure Level

For wooden surfaces, begin with a lower setting of around 1200 PSI. Increase gradually up to 2000 PSI if necessary, paying close attention to any damage. For composite materials, typically a range of 1500 to 2000 PSI is ideal. Understanding the tolerance of your specific material helps prevent unnecessary wear.
Fine-tuning for Specific Areas
Different areas may require varying pressure levels. For example, heavily coated sections might respond better to increased pressure, while edges and corners demand gentler treatment to avoid splintering. Maintaining a consistent distance of at least 12 inches from the surface ensures safety and balance.
Techniques for Using the Pressure Washer on Decks

Utilise a sweeping motion while applying high-pressure water to maintain an even distribution of force. This technique ensures that existing finishes and substances are removed uniformly, reducing the risk of damage to the underlying wood.
Begin by positioning the nozzle about 12 to 18 inches from the surface. Gradually decrease this distance as you gain confidence and monitor the effects on the material. Keeping a consistent angle of around 45 degrees allows for effective cleaning while preventing potential gouging.
Work systematically in sections, moving from one side to the other to avoid missing spots. This method also prevents water pooling, which can lead to uneven cleaning results. Overlap each section slightly to ensure complete coverage.
Incorporate short bursts of water rather than continuous streams. This approach aids in controlling the pressure and prevents excessive moisture retention, which could harm the wood over time. Allow the surface to dry before proceeding to the next area.
Utilise a fan spray for broader areas and switch to a tighter stream for stubborn spots. This flexibility allows for targeted cleaning where necessary while efficiently covering larger sections.
Finally, inspect the surface regularly during the process. Look for any areas that require additional attention, adjusting your technique as needed. This ongoing assessment is crucial for achieving optimal results.
Post-Washing Care and Maintenance of the Deck
After restoring the surface, allow it to completely dry for at least 24 hours before applying any treatments. This drying period is critical to ensure optimal adhesion of the products used on the surface.
Applying a Protective Finish
Once dry, consider applying a sealant or stain. Choose a product that is suitable for the type of material, whether timber or composite. This will not only enhance the appearance but also provide a barrier against moisture and UV damage. Follow the manufacturer’s instructions for the best results, typically involving a minimum of two coats.
Regular Cleaning Routine
Implement a regular cleaning schedule to support the longevity of the surface. Use a mild soap solution and a soft bristle brush to remove dirt and debris. For best results, clean the area every few months, especially after heavy rains or storms. This proactive measure helps maintain the finish and keeps the surface looking its best.
Safety Precautions While Stripping Paint
Always wear protective eyewear to guard against flying debris and paint particles. This is non-negotiable. Additionally, a face mask or respirator is advisable to prevent inhalation of harmful chemicals and dust.
Personal Protective Equipment (PPE)

- Choose sturdy gloves resistant to chemicals and wear long-sleeved clothing to avoid skin exposure.
- Sturdy footwear with slip-resistant soles is essential to maintain grip on potentially slippery surfaces.
Environmental Considerations
- Ensure there are no people, pets, or valuable items nearby to lessen the risk of accidents.
- Check the forecast; avoid working in wet conditions to maintain control over the equipment.
Inspect the area for hazards such as electrical lines or uneven surfaces before starting. Keeping the workspace tidy also contributes to safety, as clutter can lead to trips and falls.
Do not direct the flow at individuals or pets, and be mindful of the surroundings. It’s advisable to inform neighbours in advance if you’re undertaking a project that may affect them.


