The most direct approach is to use a dedicated hot water inlet. Many commercial models come equipped with this feature, allowing you to connect your unit directly to a hot water source. For those without this capability, consider using a hot water tank or a boiler unit that can provide the necessary temperature while maintaining the equipment’s integrity.
Ensure that the temperature does not exceed the manufacturer’s specifications; most units are designed to handle temperatures up to around 60°C. Any excess heat may cause damage or reduce the lifespan of internal components. For optimal operation, a steady flow rate is vital, making it essential to select a hot water source that meets these requirements.
Another option is to use an external heating device, such as a portable hot water heater. It can be positioned nearby, providing a flexible solution for various job sites. Make sure to check the compatibility with your model and verify that the pressure ratings align with your equipment’s limits.
Lastly, using adapters to ensure proper connections is crucial for avoiding leaks. Always use hoses rated for higher temperatures and pressures to ensure safety and efficiency during operation.
Connecting Your Equipment to Warm Fluid
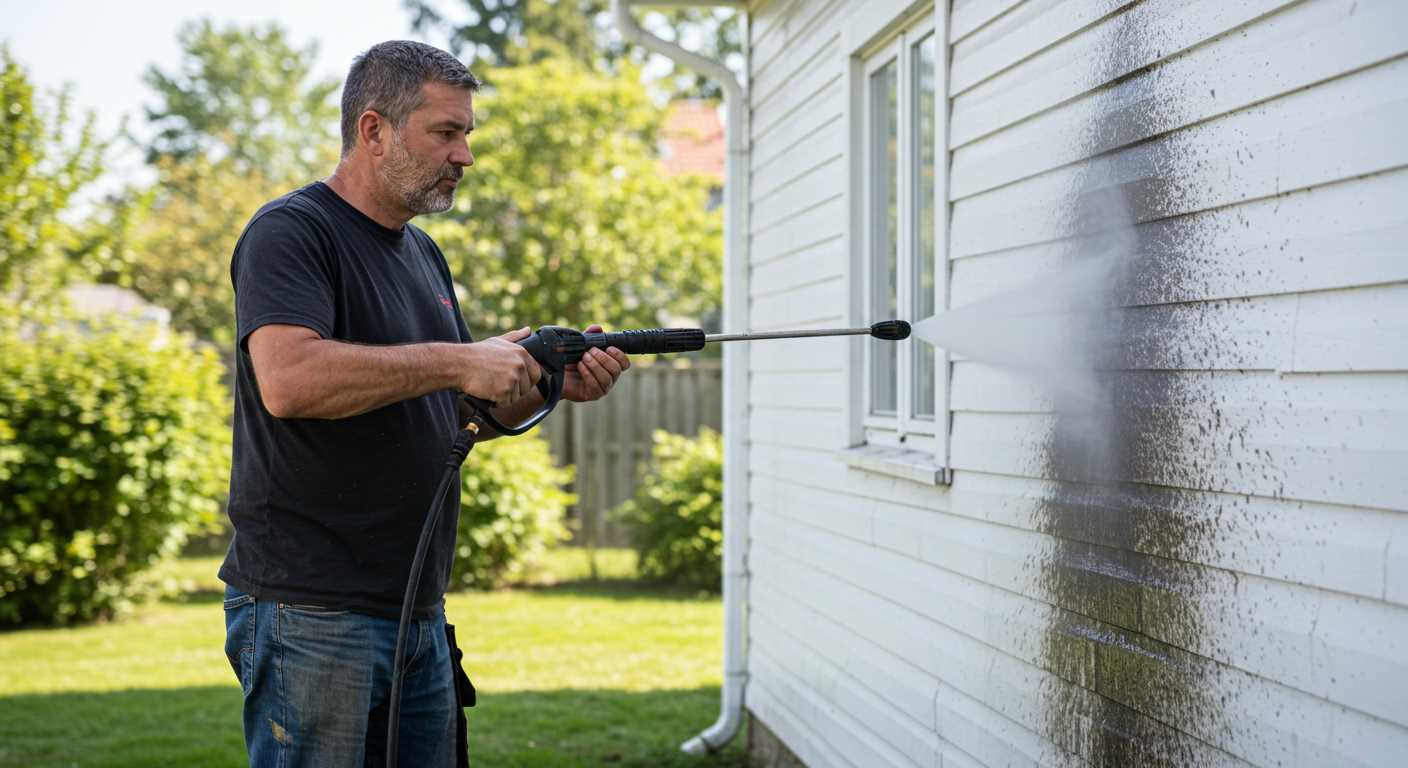
Utilising a heat source is paramount for optimal cleaning results. A common approach is to connect your machinery to an external hot water supply. Ensure the temperature does not exceed 60 degrees Celsius to prevent damage. An inline heater can also be installed to raise the fluid temperature effectively. When setting this up, look for models designed for outdoor use, as they can endure the climatic elements without compromising performance.
Choosing the Right Hose and Fittings
Select a high-pressure hose rated for elevated temperatures. Consider materials like rubber or specific heat-resistant composites. Confirm that all fittings are secure to avoid leaks under pressure. Brass or stainless steel connectors provide durability and prevent corrosion over time, ensuring a steady flow.
Routine Maintenance Checks
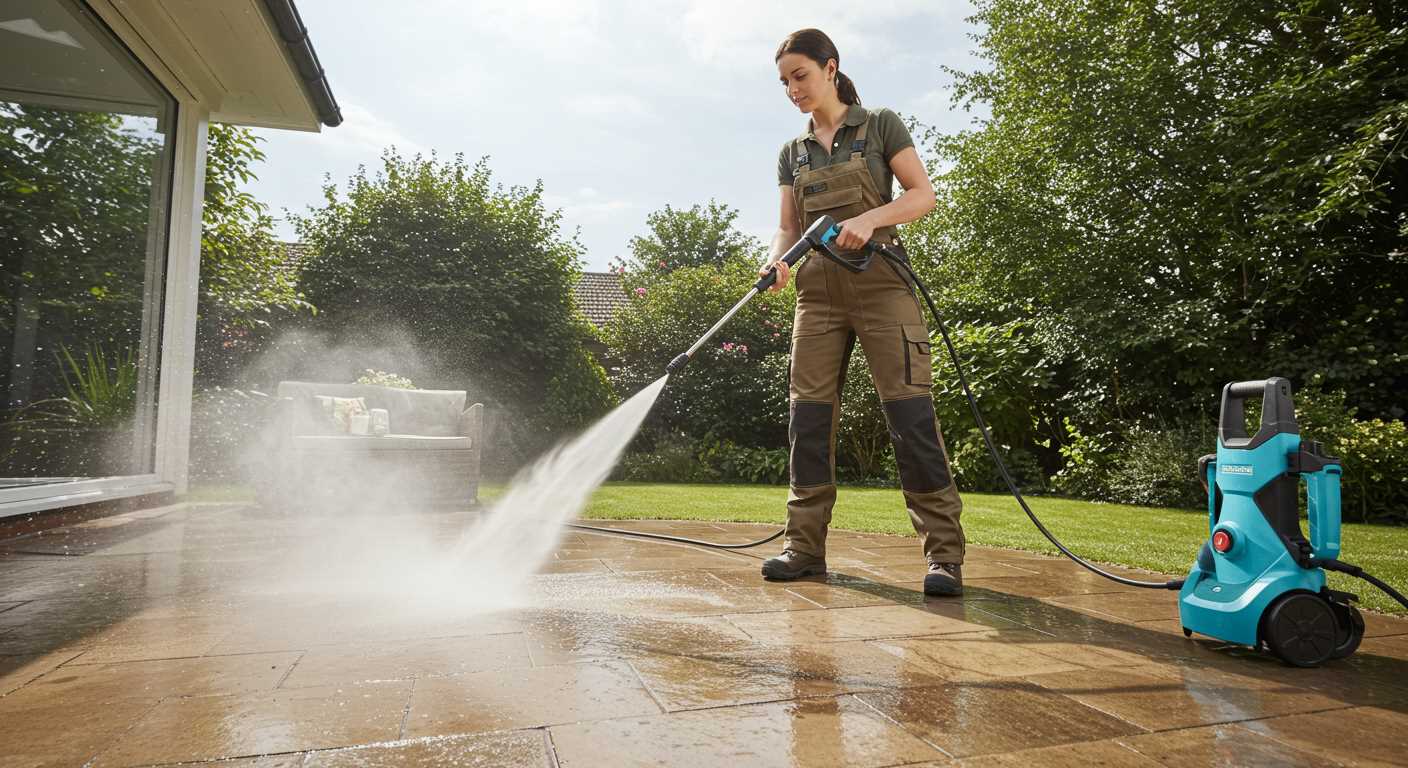
Regular inspections of seals, hoses, and connections are crucial to avoid issues. Inspect for wear or damage frequently, particularly if you’re using this setup regularly. Flush the system with clear fluid periodically to remove any buildup that might affect performance. Keeping your equipment in good condition will enhance longevity and effectiveness.
Choosing the Right Hot Water Supply Source
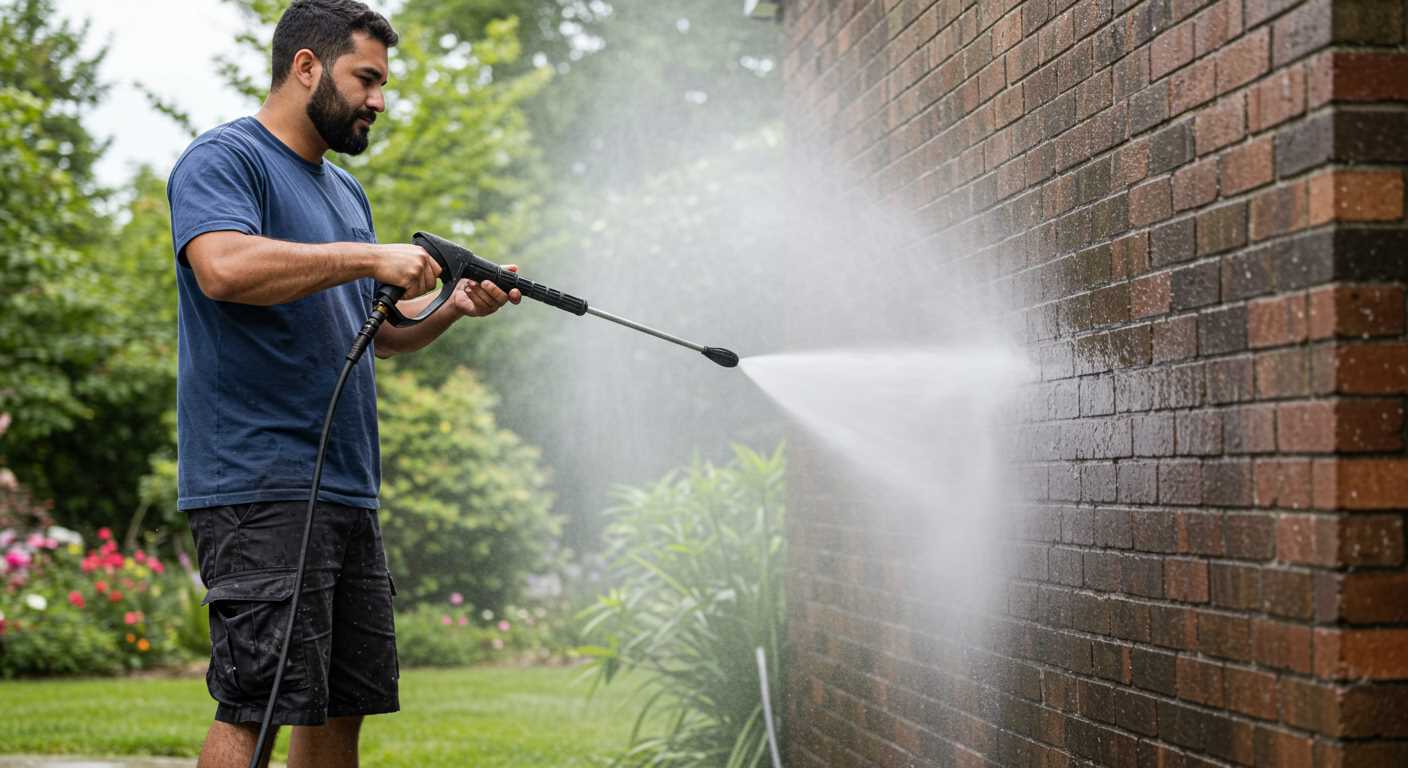
For optimal performance, it’s vital to select a reliable source to bring warmth effectively into your cleaning equipment. Here are a few options to consider:
- Boilers: Commercial or residential boilers can serve as an excellent source. Ensure the model you choose can provide a stable and sufficient flow rate along with the necessary temperature.
- Hot Water Tanks: If you have access to a tank configured for high output, this can be an efficient choice. Look for tanks specifically rated for high-performance applications, such as continuous flow or high-demand needs.
- Recirculation Systems: These systems keep water heated and ready for use. This option is ideal for environments where time efficiency is important, as it minimizes wait times for heated water.
Factors to Consider
When evaluating your options, pay attention to:
- Temperature Stability: Consistency in temperature delivery is crucial for achieving desired results during usage.
- Flow Rate: Ensure the chosen source meets the flow rate specifications of your equipment to prevent performance drops.
- Compatibility: Verify that your selected system is compatible with your gear, avoiding any potential damage or inefficiency.
- Fuel Type: Consider whether natural gas, electricity, or propane best fits your operational needs and availability.
- Maintenance Requirements: Evaluate how much upkeep and servicing each option demands, as this affects long-term reliability and costs.
By carefully considering these elements, you can ensure that your warm liquid supply aligns perfectly with your machine’s performance. Selecting the right heating source is a key aspect of enhancing cleaning efficiency and effectiveness.
Understanding Compatible Pressure Washer Models
Choosing the right equipment is pivotal for optimal performance. I recommend familiarising yourself with specific brands that excel in accommodating heated liquid. Models from Kärcher, Mi-T-M, and Generac have proven compatibility with elevated temperatures. It’s crucial to consult the manufacturer’s specifications to verify your model can handle higher thermal levels without risking damage.
Key Specifications to Review
Look for units labelled as ‘hot water capable.’ A focus on materials is necessary; brass and stainless steel components are typically more resilient under heat stress than plastic alternatives. Additionally, check the wattage ratings and hose materials. High-pressure hoses rated for higher temperatures offer extra durability when using heated solutions.
Experimenting Safely
If uncertain, test the compatibility first by gradually introducing warmer substances. Start at lower temperatures and observe any signs of strain or inefficiency in operation. Always adhere to safety guidelines provided by the manufacturer to ensure longevity and reliable functionality.
Installing a Water Heater Attachment
Begin by selecting a suitable heater that matches your cleaning device’s specifications. Review the manufacturer’s guidelines to ensure compatibility.
Follow these crucial steps for installation:
- Gather necessary tools: adjustable wrench, screwdrivers, and any specific fittings recommended in the instruction manual.
- Shut off the main device and disconnect it from its power source for safety.
- Locate the inlet connection where the external heater will be integrated. This is typically at the rear of the unit.
- Connect the heater’s input hose to the inlet, ensuring a snug fit to prevent leaks. Use Teflon tape for added security.
- Secure the heater to a stable surface if required, following the guide to ensure it remains upright during operation.
- Connect the outlet from the heater to the cleaning unit, double-checking all connections are tight.
- Reconnect the cleaning apparatus to its power source, ensuring all electrical connections are secure.
- Perform a test run: switch on the heater and the cleaning machine. Monitor for any leaks or odd sounds.
- Verify the temperature output and adjust settings if applicable, based on the type of task at hand.
Regular maintenance of the heater and connections is crucial. Inspect hoses and fittings periodically for wear or damage, and replace components as necessary to ensure optimal performance.
Following these steps allows for efficient heating of the liquid, improving cleaning effectiveness while reducing time spent on tough stains and residue.
Connecting the Hot Water Supply Line
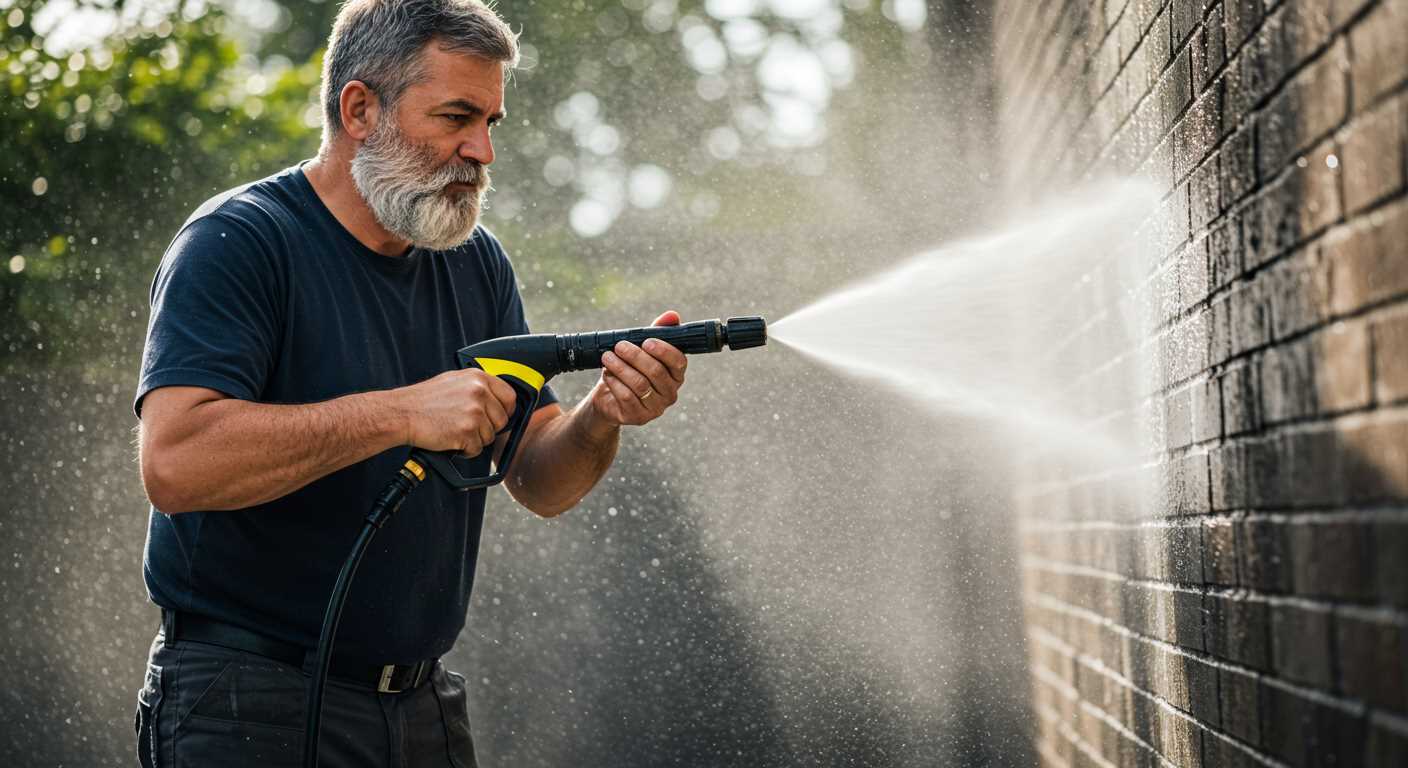
Begin by inspecting the existing plumbing setup. Ensure compatible fittings are at hand, typically ¾-inch connector or a similar size depending on your model. Gather necessary materials: high-pressure rubber hoses rated for high temperatures and sturdy clamps. A durable faucet or valve should be employed for a reliable connection.
First, disconnect the cold water line from the cleaning equipment. Attach the hot water line to the corresponding inlet. Be cautious to avoid cross-threading. Once secure, tighten it by hand, then use a wrench for an additional quarter turn, ensuring a tight seal without over-tightening.
Next, run the hot line from the source to the equipment, making sure to avoid kinks or sharp angles in the hose that could limit water flow. Fasten the hose along the route, using brackets or straps to hold it steady. This will reduce the stress on connections and help prevent leaks.
Verify the hot water source’s pressure and temperature specifications are compatible, adapting if necessary. Once connected, test the system without starting the equipment, checking for leaks at all joints. Adjust as needed before activating the device.
Keep in mind to regularly inspect the connections for wear. Any signs of degradation should lead to immediate replacement of the hoses or fittings. This regular maintenance will prolong the lifespan of your setup and enhance overall performance.
Adjusting Temperature Settings for Optimal Use
Start by setting the thermostat on your heater between 50°C and 60°C, depending on the task. Lower temperatures work effectively for general cleaning, while higher settings are ideal for tough grime or grease. Always consult the user manual for model-specific recommendations.
Monitor temperature fluctuations whilst in use. A stable temperature ensures consistent cleaning power. If the unit seems to lose heat, check for any obstructions in the supply line or debris in filters that could affect performance.
For various surfaces, adjust the temperature accordingly. For delicate materials, aim for lower settings to avoid damage. Conversely, for concrete or metal surfaces, higher temperatures can enhance cleaning efficiency and reduce the need for multiple passes.
Regular calibration of the temperature gauge is vital. Periodically verify that the gauge reflects the actual water temperature. An inaccurate gauge can lead to inconsistent results and increased operational costs if settings are incorrectly assumed.
Lastly, when initiating the equipment, allow time for the water to reach the set temperature before starting cleaning. This pre-heating stage maximises efficiency and ensures the desired outcome right from the beginning of the task.
Maintaining Your Cleaning Device for Elevated Temperature Use
Regular inspection is fundamental. Check all hoses for cracks or leaks that can lead to pressure loss and inefficiency. Replace worn-out hoses to ensure a steady flow and optimal temperature management.
Always clean the inlet filter as dirt and debris can obstruct flow and cause overheating. This simple routine task significantly enhances performance.
Monitoring Seals and Gaskets
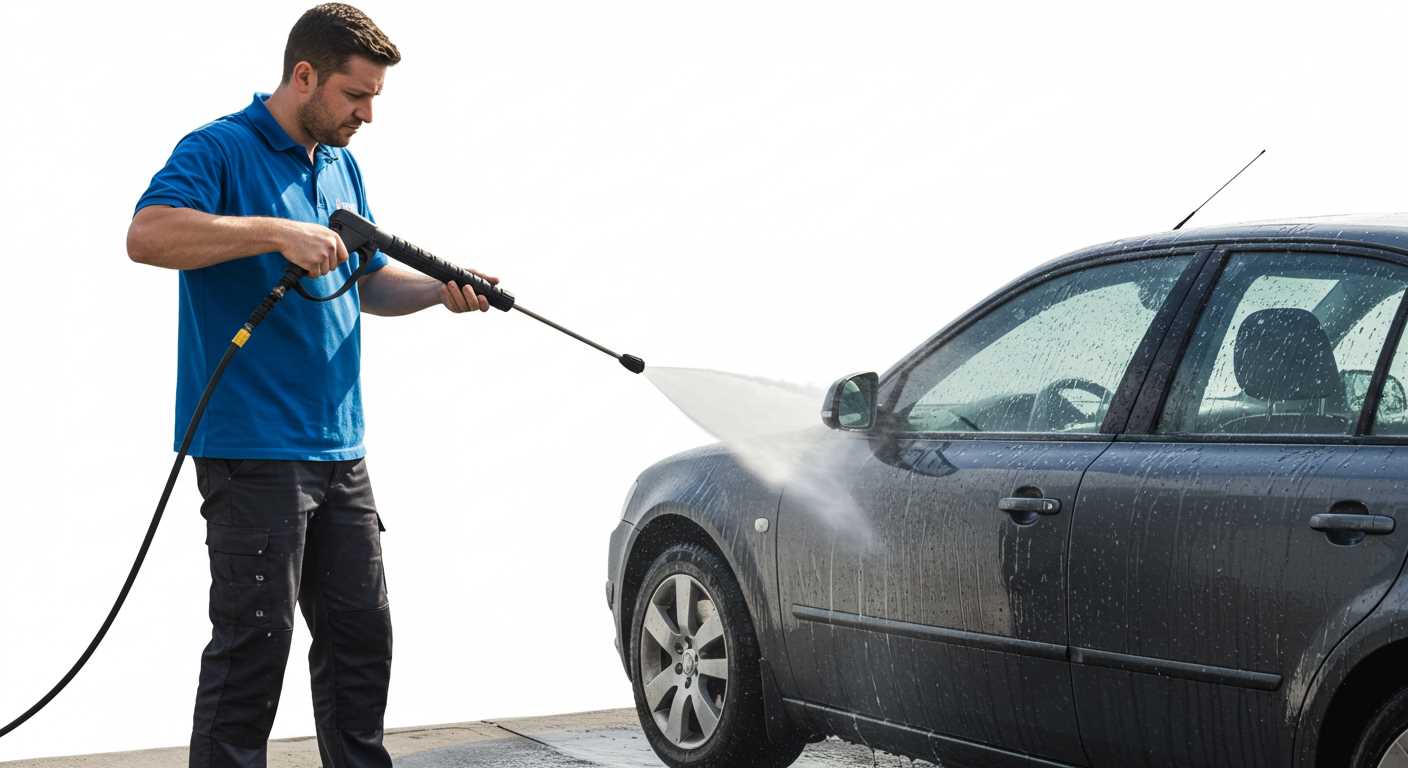
Inspect seals and gaskets for signs of wear. These components are critical for preventing leaks and maintaining heat. Replace any damaged seals to safeguard against potential risks and enhance durability.
Flushing the System
Flushing the system before and after use helps eliminate mineral deposits that can accumulate when using heated liquids. This step prolongs the life of components by preventing corrosion and blockage.
Safety Precautions When Using Hot Water
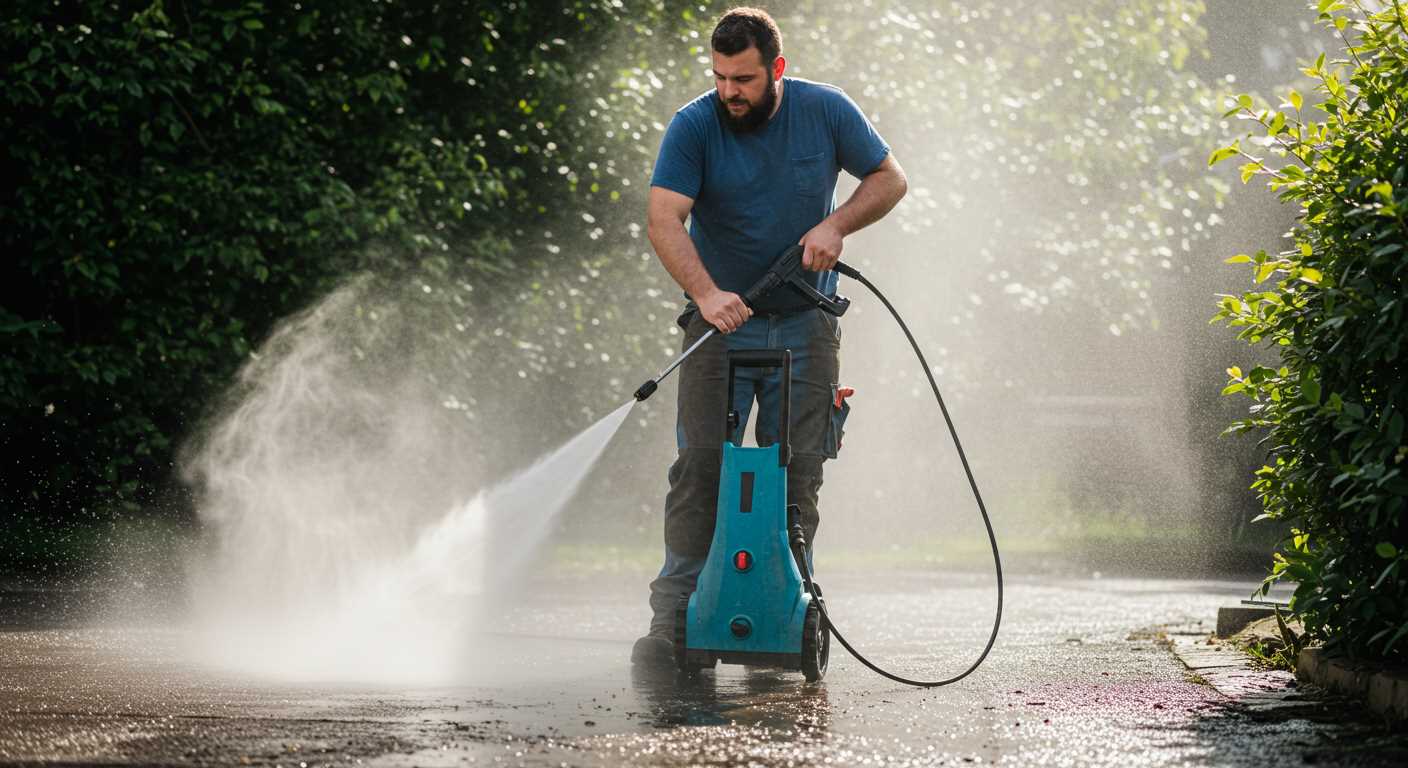
Always wear protective gear such as gloves and goggles to shield against burns and splashes. Ensure that your clothing is heat-resistant to avoid any potential injuries.
Before connecting the heater, inspect all hoses and fittings for wear or damage to prevent leaks. Regularly check for loose connections to maintain a secure setup.
Maintain a safe distance from direct hot streams. Understand that even brief exposure can cause severe burns; use caution when directing the nozzle.
Ensure that the area is well-ventilated to avoid the accumulation of steam or fumes. Working outdoors is preferable; if indoors, keep windows open and use fans for circulation.
| Potential Hazard | Recommended Action |
|---|---|
| Burns from hot liquid | Wear heat-resistant gloves and goggles |
| Slips from wet surfaces | Clear area of obstacles and use non-slip mats |
| Electrical hazards | Keep electrical components dry and away from water |
| Steam exposure | Stay at a safe distance and avoid directing steam toward yourself |
Test the temperature settings before beginning any cleaning task. Start at a lower setting and gradually increase until achieving the desired effect without risking injury.
Lastly, always be prepared for emergencies. Keep a first-aid kit nearby and know the location of emergency contact numbers in case of an incident. This foresight can make a significant difference in keeping your cleaning tasks safe and efficient.


