


To change the attachments on your cleaning device effectively, ensure the motor is turned off and the device is unplugged. This step is crucial for your safety and to prevent any accidental activation.
Next, identify the attachment you wish to replace. Most models feature a simple method for removal. Depending on the brand, you may need to depress a release tab or twist the attachment counterclockwise. Some designs employ a quick-connect mechanism, making it straightforward to detach and reattach components.
When selecting a new attachment, consider the task at hand. Different attachments provide various spray patterns and pressure levels suited for specific applications, whether it be rinsing a vehicle, cleaning patio furniture, or tackling tough grime on brick. Consult the manufacturer’s guidelines for recommended attachments matching your cleaning requirements.
After securing the new attachment, double-check its fit to ensure it’s locked in place. Finally, plug your equipment back in, and you’re ready to commence cleaning efficiently!
Changing Attachments on Your Cleaning Equipment
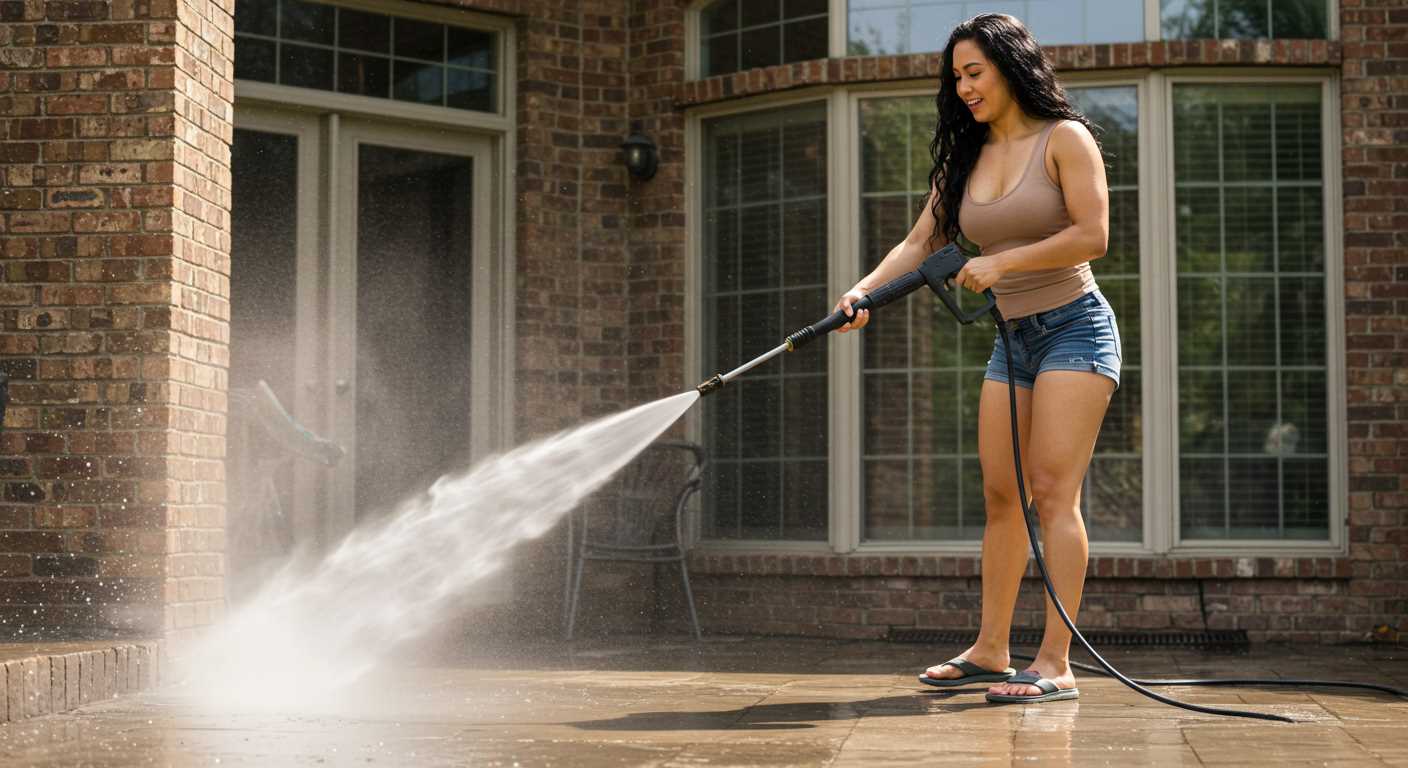
To change attachments, always ensure the appliance is turned off and disconnected from the power source. Grasp the handle firmly and pull the current attachment directly outwards from the lance. Most models have a locking mechanism; release this if necessary to facilitate removal.
Steps to Replace the Attachment
- Align the new attachment with the lance’s opening.
- Push firmly until you hear a click, indicating it is locked in place.
- Test by giving a gentle tug on the attachment to ensure it is secure.
Best Practices
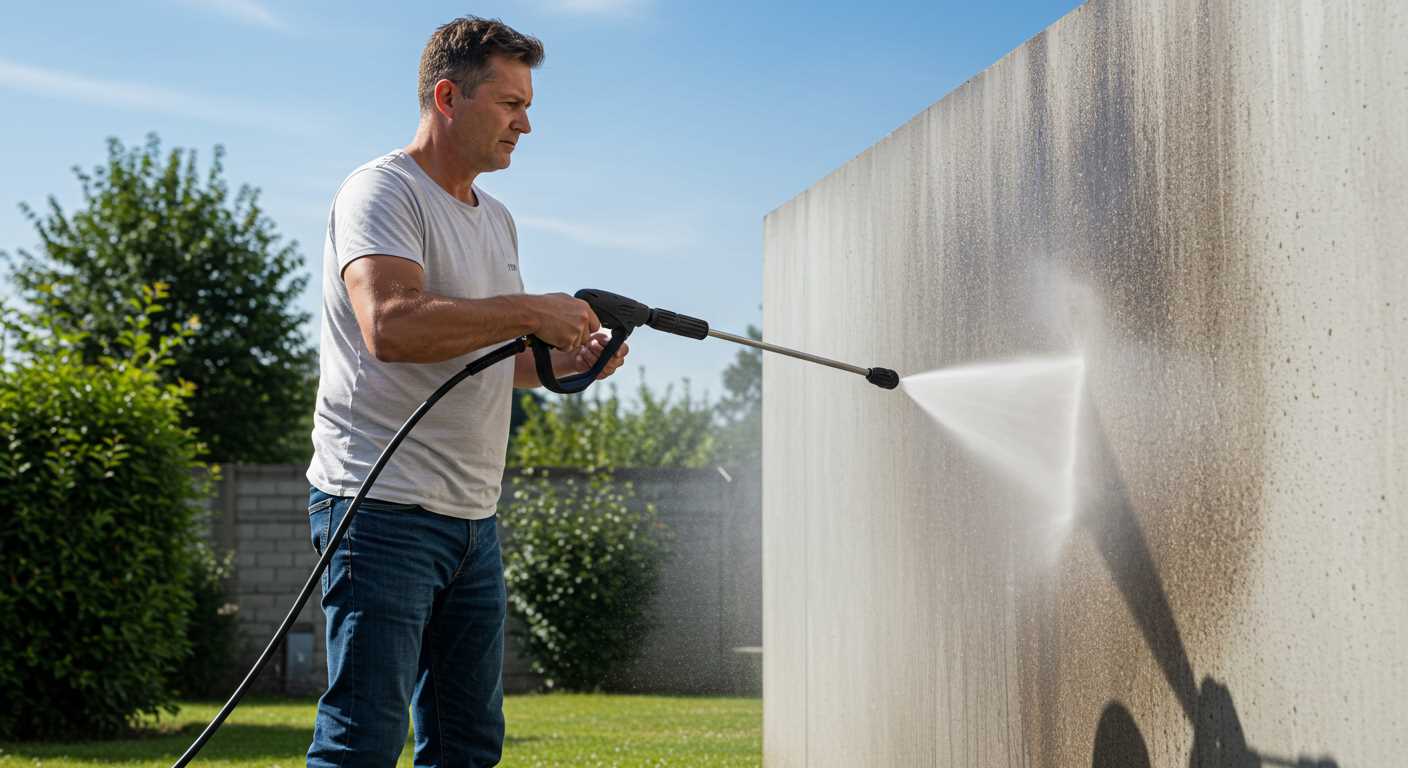
- Always refer to the manufacturer’s instructions for specific guidance on your model.
- Keep attachments clean and free of debris to maintain optimal performance.
- Store attachments in a dry, secure location to prevent damage.
Identifying the Right Nozzle for Your Task
Selecting the right attachment for your cleaning needs hinges on understanding its purpose. Each type serves a different role: narrow jets are suited for stubborn dirt, while wider sprays are designed for delicate surfaces. For driveway stains, a 15-degree option might be ideal; however, for car washing, opt for a 25-degree variant to prevent damage.
Understanding the Colour Code
Most attachments are colour-coded, providing a quick reference for choosing. A red one indicates a zero-degree spray, useful for tough grime but potentially damaging surfaces. Yellow signifies a 15-degree spray, effective for more substantial cleaning tasks. Green represents a 25-degree setting, suitable for light cleaning, and white or black indicates the widest spray patterns for gentle applications.
Assessing the Surface Type
Consider the material you’ll be working with. Brick or concrete can withstand stronger sprays, whereas wood or painted surfaces necessitate gentler approaches. Always test a small area first to ensure compatibility before proceeding with the entire task.
Safely Disconnect the Current Attachment
First, switch off the equipment and disconnect the power source to prevent accidental activation. Ensure that any water supply is also turned off. Allow the unit to depressurise completely; this might take a few moments as water splashes may occur if it’s still under pressure.
After depressurisation, hold the wand securely with one hand while using your other hand to grip the attachment firmly. Most connections will require a slight twist or a pull to disengage. If your model features a quick-connect system, press the release button or lever while pulling the attachment outwards.
Precautions to Consider
Always wear safety gloves to protect your hands from any sharp edges or accidental splashes. Keep your face and body away from the discharge area during disconnection. If facing resistance, do not force the attachment; check for any locking mechanisms that may need to be retracted first.
Maintaining the Connection Point
Once detached, inspect the connection point for any debris or damage. Clean the threaded areas with a soft cloth to ensure a secure fit for the next attachment. This will prolong the lifespan of your components and maintain optimal performance.
| Step | Action |
|---|---|
| 1 | Turn off equipment and disconnect power supply. |
| 2 | Allow the unit to depressurise completely. |
| 3 | Securely hold the wand and grip the attachment. |
| 4 | Use the release mechanism, if applicable, to disengage. |
| 5 | Inspect and clean the connection point. |
Steps to Attach a New Nozzle Securely
Ensuring a tight connection is vital. Align the new attachment with the lance or hose outlet. Gently push the nozzle in while twisting slightly left and right until it locks in place. You’ll typically hear a click when it is securely fitted.
Check Compatibility
Before attempting the fit, verify that the threading and size match your equipment. Refer to the manufacturer’s specifications for guidance, as not all accessories are interchangeable.
Test for Leaks
After attachment, turn on the device to the lowest setting. Watch for any signs of leaks around the fitted area. If water drips or sprays uncontrollably, detach and reattach to ensure a snug fit.
Understanding the Different Spray Patterns
When you’re ready to tackle a cleaning project, selecting the appropriate spray pattern is crucial for the outcome. Each one serves a distinct purpose, enhancing your efficiency and ensuring surfaces are cleaned properly.
The 0-degree pattern delivers a focused, pin-point jet, ideal for tough stains on durable surfaces like concrete or brick. However, use it with caution, as the high pressure can damage softer materials.
The 15-degree option produces a narrow fan spray, suitable for removing stubborn grime from hard surfaces and can effectively strip paint. This setting balances power and coverage, making it versatile for various cleaning tasks.
For general cleaning, the 25-degree setting is often recommended. It creates a wider fan, making it perfect for washing vehicles, decks, or patios. This pattern strikes a good balance between force and gentleness on surfaces.
Lastly, the 40-degree setting offers the gentlest spray, ideal for delicate tasks, such as washing windows or siding. It covers a larger area while maintaining a safe pressure level for fragile surfaces.
Understanding these patterns allows for optimal results while protecting surfaces from potential damage. Assess your task and choose wisely to achieve the best cleaning performance.
Checking for Leaks After Changing Nozzles
After securing a new attachment, conduct a brief examination to ensure there are no leaks. Start the unit at a low pressure setting and observe the connection point where the spray tip meets the lance. Look for signs of water seeping out; any moisture indicates a potential issue.
Evaluating the Connection
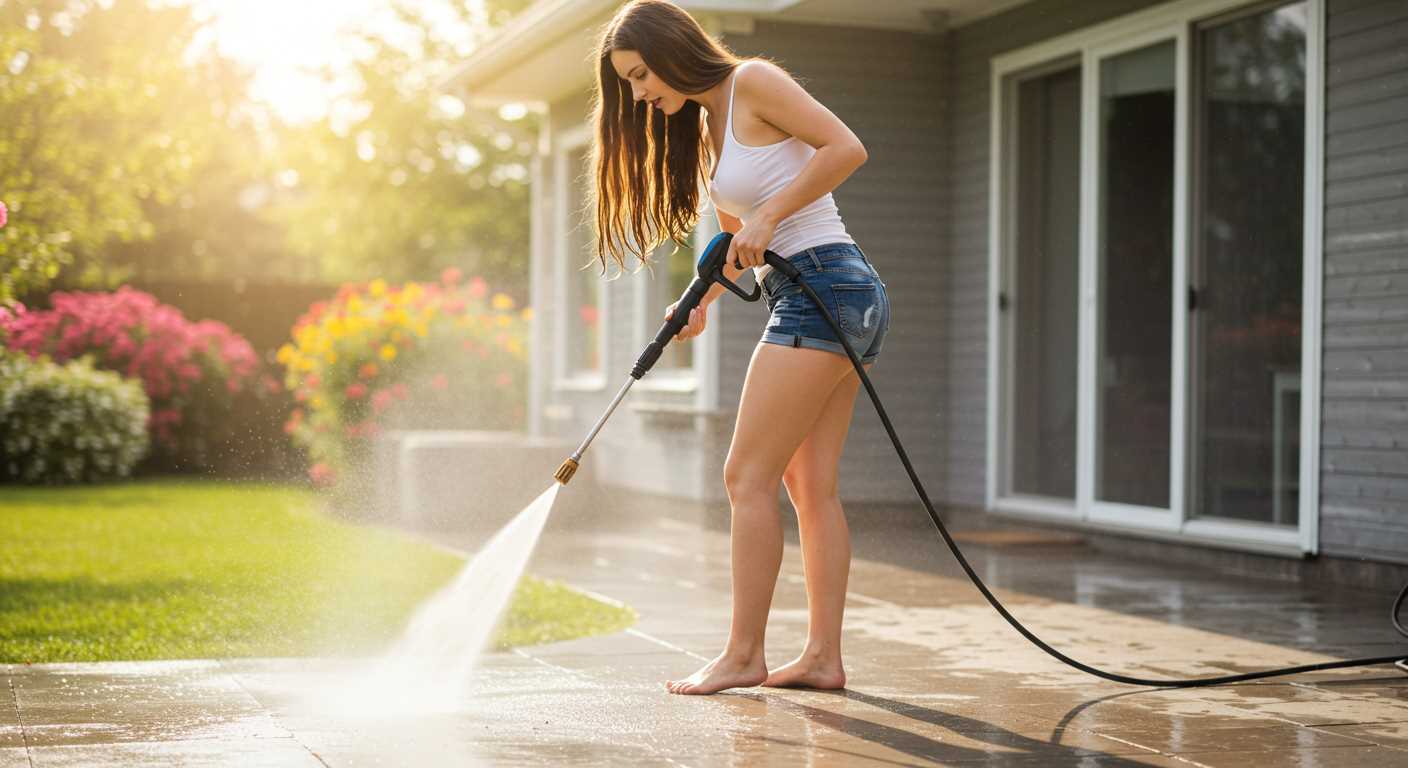
Pay close attention to how tightly the new tip fits. If there are visible gaps or the component wobbles, it may not be properly seated. A snug fit is essential for optimal operation. Use a wrench for additional security if the design allows, but be cautious to avoid over-tightening, which can cause damage.
Testing While Running
Once the equipment is powered on, inspect the attachment while the machine is running. Move the unit slightly to check for unusual vibrations or noises. These could signal an improper connection that might lead to leaks during extended use. If everything appears effective, proceed with your task; if any irregularities arise, address them before continuing.
Maintaining Nozzles for Longevity
To extend the lifespan of your attachments, it’s crucial to clean and inspect them regularly. After each use, rinse any debris or detergent residues to prevent clogs and build-up. Frequent checks for signs of wear will help you catch any issues before they become significant problems.
Storage Recommendations
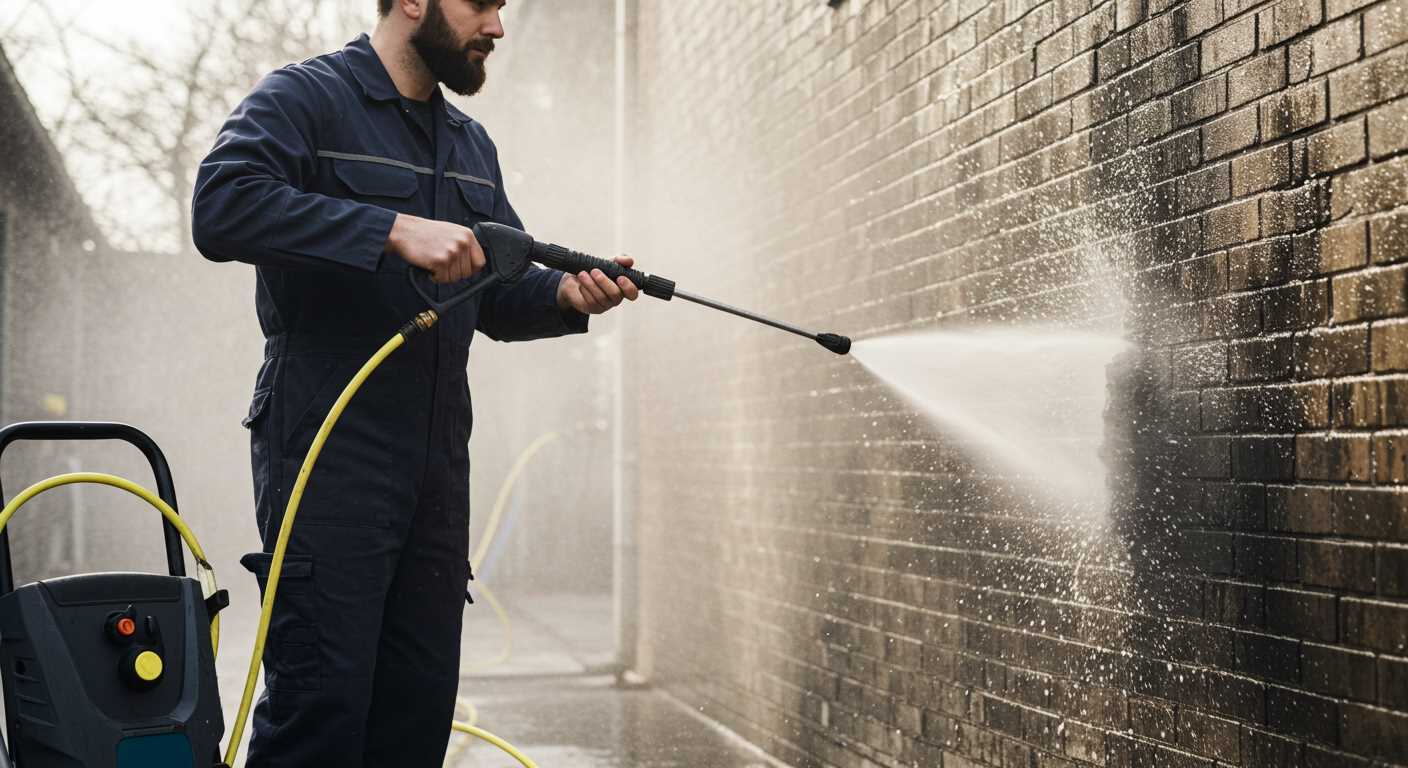
Store the tips in a cool, dry place away from direct sunlight. Keeping them in a protective case is wise to avoid accidental damage. Ensure that nozzles are stored separately to prevent them from scratching each other, which can affect their performance.
Regular Inspection
Inspect for cracks or chips before use. A damaged tip can alter spray patterns and reduce efficiency. If any issues are detected, replace the component immediately to maintain optimal functioning. Additionally, lubricating the connecting ends can aid in easy removal and attachment, ensuring a hassle-free experience when changing equipment.
Common Mistakes to Avoid When Switching Nozzles
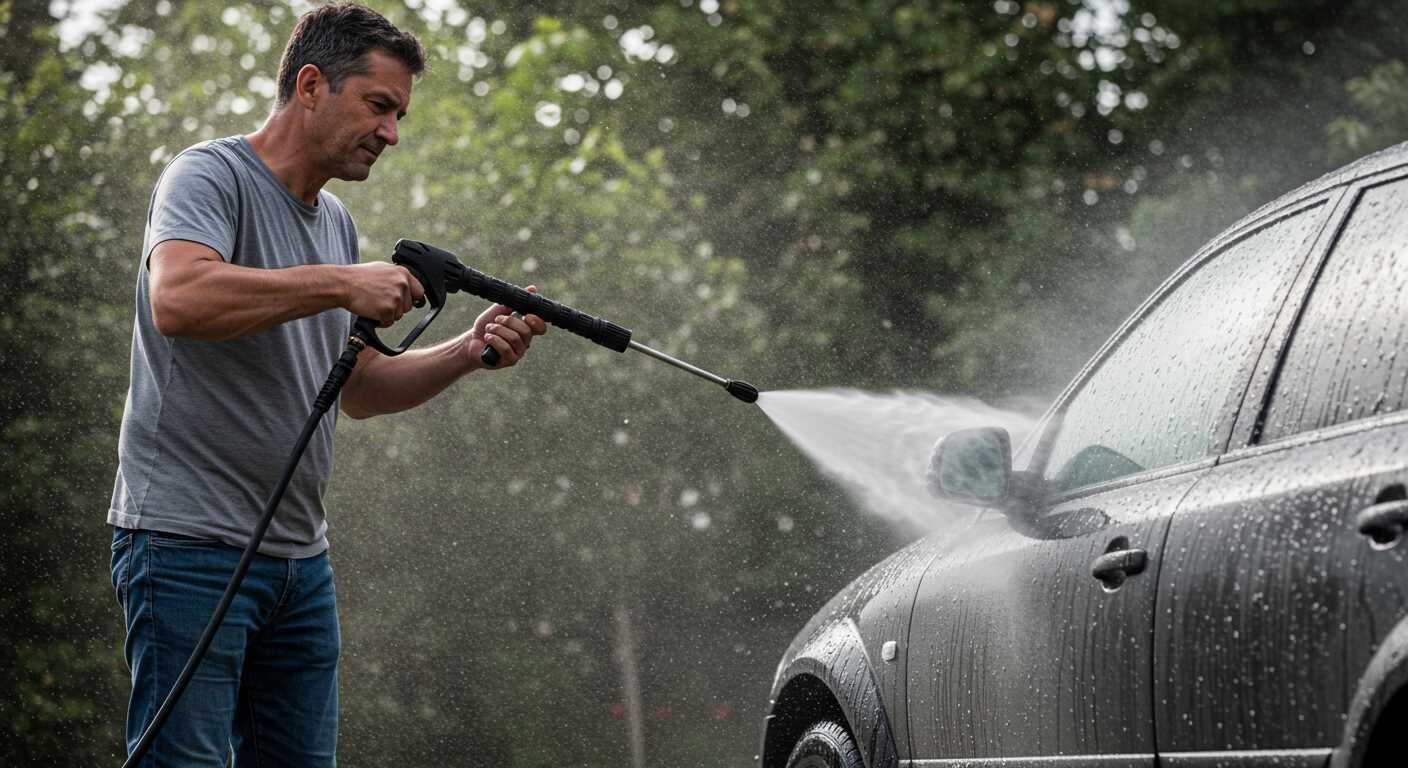
A frequent oversight is neglecting to turn off the sprayer before attempting to change attachments. This can lead to unexpected sprays that might cause injury or damage.
- Failing to wear protective gear such as gloves and goggles can expose you to potential hazards when handling attachments.
- Using excessive force when trying to remove or attach an accessory can damage the connection point. Always ensure a gentle, yet firm grip.
- Overlooking compatibility is a common issue; ensure the new attachment matches the specifications of the machine. Mismatched components can lead to malfunctions.
- Forgetting to check the locking mechanism after securing a new attachment can result in accidental detachment during use.
- Assuming that all accessories provide the same spray patterns is misleading. Familiarise yourself with the different types to utilise each one appropriately.
Also, avoid switching instruments without properly rinsing and cleaning them first; debris can hinder performance and lead to clogs.
- Assuming that any setting works for every task can lead to ineffective results. Always choose the right attachment for the specific job.
- Neglecting to consult the user manual can result in incorrect procedures that may damage your equipment.
Lastly, ignoring routine checks for wear and tear on attachments can result in more significant issues down the line. Regular maintenance can enhance the lifespan of the accessories.
FAQ:
What are the steps to switch nozzles on a pressure washer?
To change nozzles on your pressure washer, follow these general steps: First, ensure the pressure washer is turned off and unplugged or the engine is switched off. Next, release any pressure in the system by squeezing the trigger on the spray gun. Then, identify the nozzle you wish to remove; most nozzles have a quick-release mechanism. Pull the nozzle out or twist it in the opposite direction to detach it. After that, take the new nozzle and push it into the connection until you hear a click or feel it lock in place. Finally, check that the nozzle is securely attached before turning the pressure washer back on.
Is it safe to change the nozzle while the pressure washer is running?
No, it is not safe to change nozzles while the pressure washer is running. Doing so can lead to accidents, including water spraying unexpectedly, which could cause injury or damage. Ensure that the machine is completely off, and any residual pressure is released before attempting to switch nozzles. Safety should always be a priority when using equipment like pressure washers.
Do different nozzles provide various pressure adjustments?
Yes, different nozzles affect the pressure and spray pattern of the water coming from your pressure washer. Generally, nozzles are colour-coded and designed to offer different spray angles and flow rates. A 0-degree nozzle provides a narrow, powerful jet suitable for tough stains, while a 40-degree nozzle delivers a wider spray, ideal for rinsing surfaces without causing damage. Selecting the appropriate nozzle for the task at hand is important for achieving the desired result.
How do I know which nozzle to use for a specific cleaning task?
Selecting the right nozzle depends on the surface you intend to clean and the type of grime you’re dealing with. For instance, a 0-degree nozzle is best for stubborn dirt on concrete or metal, while a 15-degree nozzle works well for heavy-duty cleaning on brick or stone. A wider spray, such as a 25-degree or 40-degree nozzle, is suited for cleaning delicate surfaces like vehicles or soft wood without causing damage. It’s advisable to start with a wider angle and test on a small area before proceeding.
Can I use nozzles from different manufacturers on my pressure washer?
Compatibility of nozzles often depends on the specific design and fittings of your pressure washer model. While some nozzles may fit various brands, it’s recommended to use nozzles that are specifically designed for your machine or those that meet the same specifications. Using incompatible nozzles can lead to poor performance or even damage your pressure washer. Always check your user manual or consult with the manufacturer if unsure.


