


To detach the attachment from your cleaning machine, grip the collar and twist it counterclockwise until you feel it release. This straightforward motion typically ensures a smooth separation. Some models may incorporate a locking mechanism; if so, engage it while twisting for easier handling.
If you encounter resistance, ensure the water supply is turned off and the unit is depressurised. Pressing the trigger may help relieve any remaining pressure, making the process safer and simpler. Always check for any locking features specific to your particular model that might need disengaging first.
For enhanced grip, consider using a rubber glove to prevent slippage. Regular maintenance of these fittings is advisable to avoid residue buildup, which can complicate future removals. Keeping your equipment clean safeguards against unwanted friction and extends the lifespan of both the attachment and the cleaning device.
Identify the type of nozzle on your cleaning equipment
Begin by examining the shape and size of your attachment. Common types include fan, turbo, and detergent nozzles. Each serves a distinct function, impacting water flow and pressure. For instance, fan nozzles create a wider spray pattern, ideal for delicate surfaces, while turbo nozzles concentrate force for stubborn grime.
Check the colour coding
Many manufacturers use colour coding to distinguish between various attachments. For example, a red nozzle typically signifies a zero-degree spray, suitable for tough surfaces, whereas a green or white nozzle indicates a wider angle, safe for general cleaning tasks. Match the colour to your application needs.
Look for manufacturer labels
Inspect for any markings or labels on each accessory. Most brands provide clear indicators regarding nozzle type and usage recommendations. Familiarising yourself with these specifics can enhance your cleaning process and ensure effective results.
Check for Any Locking Mechanisms or Buttons
.jpg)
Examine the attachment closely; many designs incorporate safety features such as locking mechanisms or buttons that hold the fitting securely in place. If there’s a visible latch or pin, disengage it by either pressing or pulling based on the device’s configuration.
Types of Locking Mechanisms
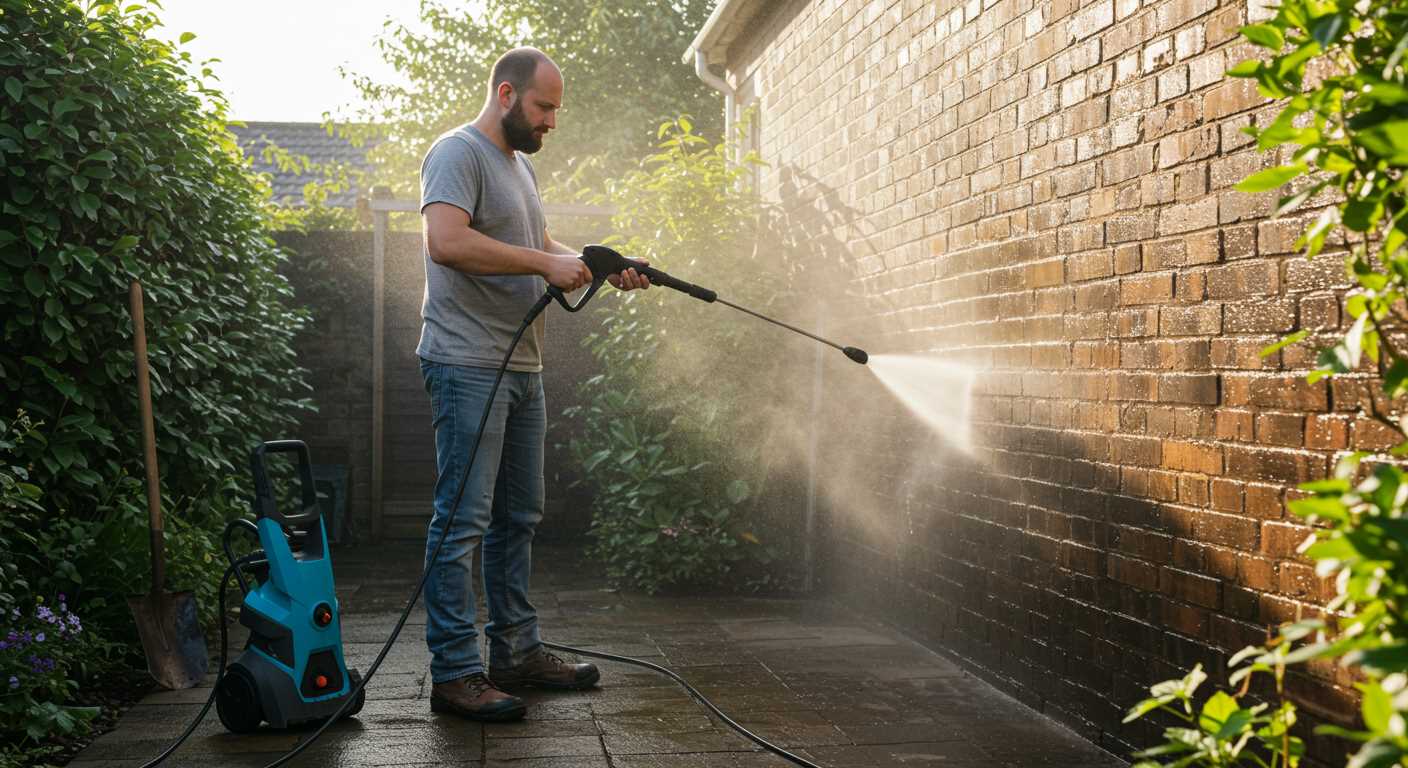
Some models feature a twist-and-lock design; a clockwise turn secures the accessory, while an anti-clockwise turn releases it. Others might have a button that, when pressed, allows for removal. Familiarising oneself with the specific method is key to a hassle-free detachment.
Safety Precautions
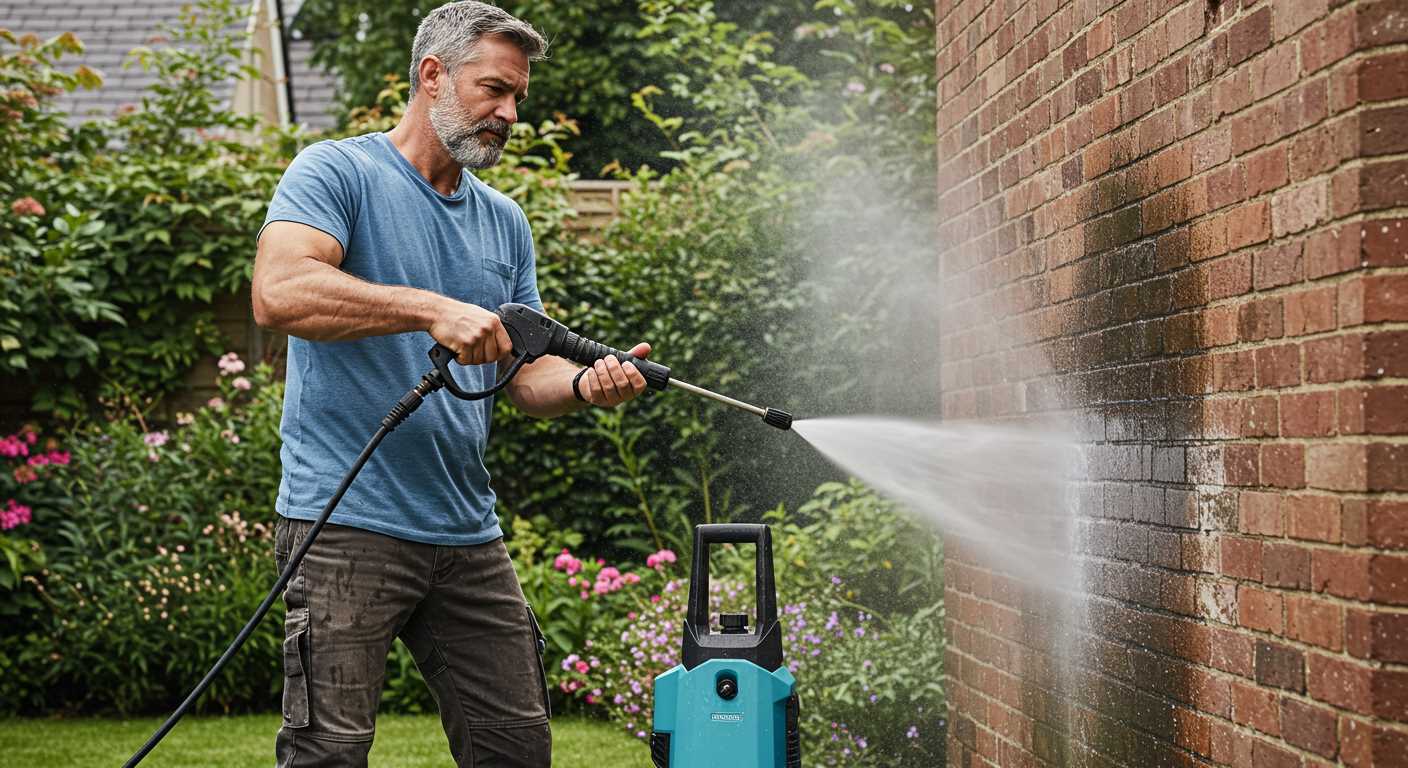
Ensure the machine is completely off and depressurised prior to interacting with any release features. This prevents any unexpected bursts of water or injuries. Always consult the user manual for detailed instructions tailored to your model for optimal safety and ease.
Wear appropriate safety gear before starting
Before engaging with any high-pressure cleaning equipment, don safety goggles to protect your eyes from debris and sprayback. A sturdy pair of gloves will safeguard your hands from the force of the water and any chemicals involved. Sturdy, closed-toe footwear, preferably non-slip, will help prevent accidents on wet surfaces. Long-sleeved clothing shields your skin from overspray and potential chemical exposure. Hearing protection is advisable if the equipment generates significant noise. Always ensure that your work area is clear of obstacles to maintain safety while operating the unit.
Turn off the unit and release built-up energy
Ensure the equipment is powered down completely. Disconnect it from the electrical source or switch off the engine, depending on the model. This action is critical for safety before any adjustments. Once the unit is off, engage the trigger on the spray gun. Hold it until all liquid pressure is fully discharged; this typically takes a few seconds. Releasing tension is vital to prevent any unexpected bursts or accidents. Keep the trigger depressed until a steady trickle of water flows from the nozzle, indicating that residual pressure has been safely released.
Inspect for remaining moisture
Check for any remaining water in the gun line or attachment point. If water is still present, repeat the process of activating the trigger until no more fluid escapes. It’s wise to allow some time for internal components to stabilise before proceeding to detach any accessories. This precaution can help avoid jamming or damage to the connections. Take your time with this step; rushing could lead to mishaps.
Preparation for disconnection
With all pressure released, ensure the equipment is completely cool. Before making any further adjustments, I recommend verifying that all parts are securely connected or free from damage. Conducting a visual inspection helps maintains longevity and performance efficiency, preventing future complications.
Utilise the Correct Technique for Nozzle Removal
Grip the attachment firmly and apply steady pressure while twisting. This action essentially disengages it from the lance or trigger gun.
Steps to Follow
- Ensure your hands are dry for better grip.
- Align your hand with the attachment to exert even force.
- Rotate counter-clockwise while maintaining pressure to ease removal.
- If resistance is felt, double-check for any retained locking systems.
Once the attachment is disengaged, inspect it for any wear and tear to ensure proper function for future use. Store it in a safe place to prevent damage.
Inspect the nozzle and connection for damage
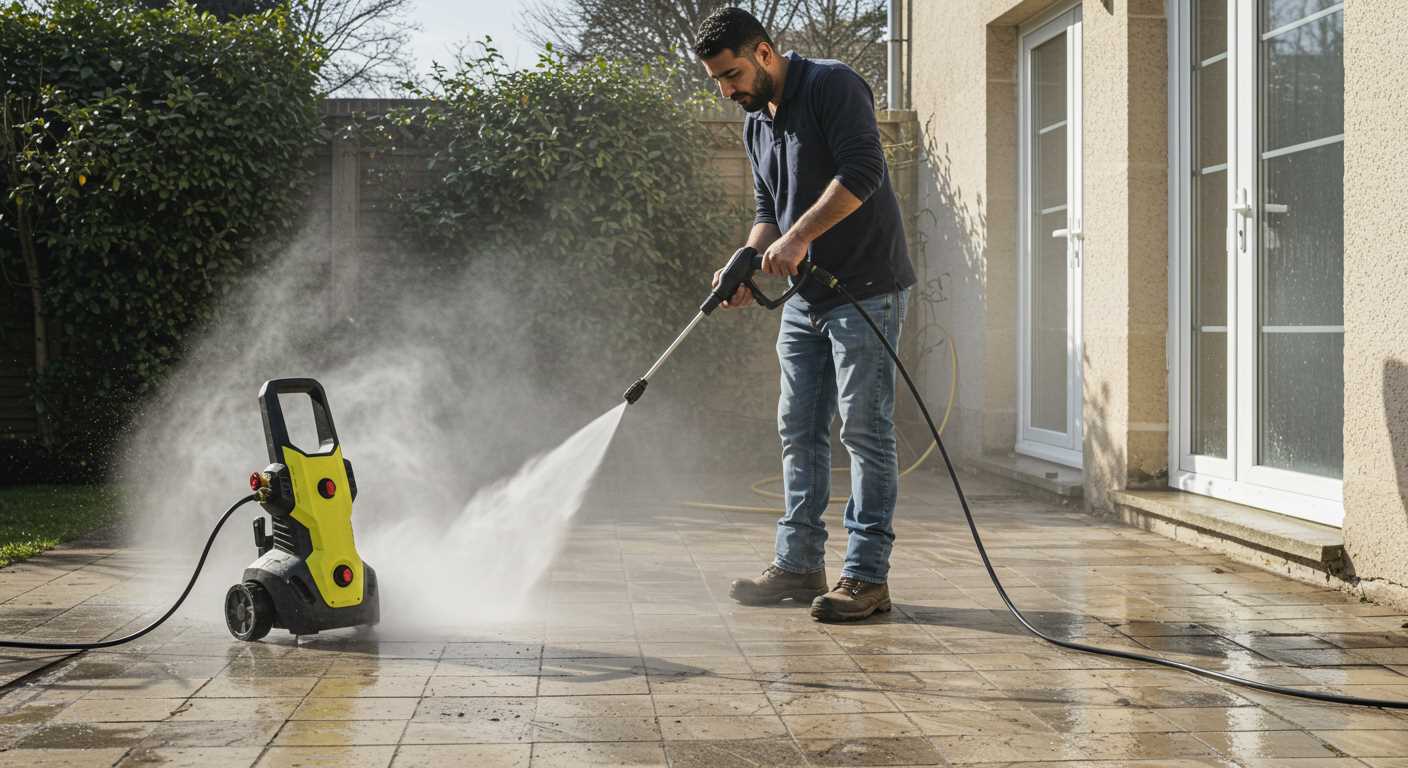
Examine the attachment point and surrounding area for any cracks, wear, or deformation. Look closely at the threads for stripped sections, which may hinder a secure fit over time. A damaged piece can lead to leaks or reduced efficiency, impacting performance during use. Ensure that the locking mechanism, if applicable, is not compromised, as this could also affect functionality. Consider replacing any damaged parts immediately to maintain optimal operation and safety.
Store Accessories Properly After Detachment
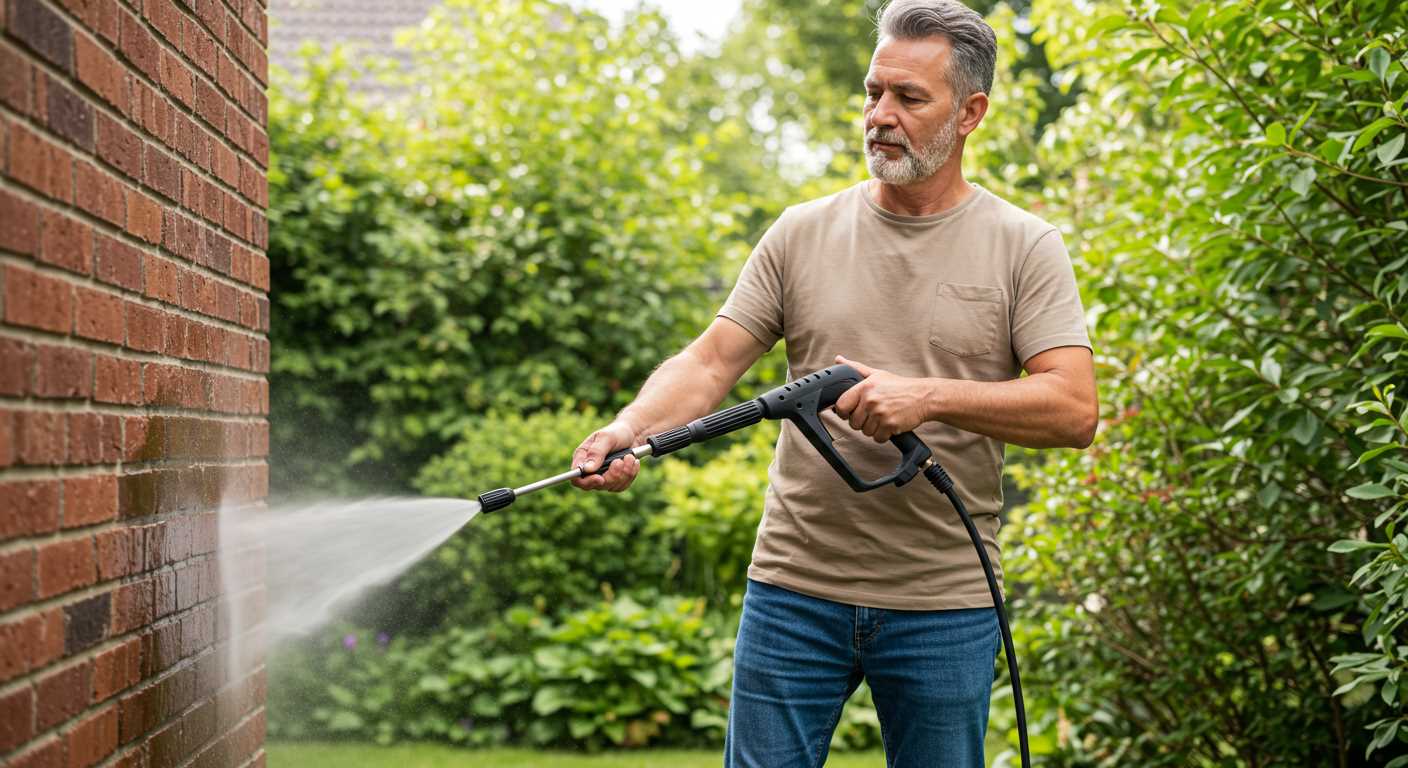
Ensure a safe and organised storage solution for your cleaning accessories to maintain their longevity and functionality. Here are several steps I recommend for effective storage:
Cleaning and Drying
After removing the attachment, clean it thoroughly to prevent residue build-up. Use a damp cloth to wipe down the exterior and remove any dirt or debris. Once cleaned, allow it to dry completely before storing, as moisture can lead to corrosion.
Protective Cases or Containers
Utilise dedicated storage cases or containers to house attachments. Choose sturdy materials that can provide adequate cushioning against impacts. Labels can enhance organisation, making it easy to retrieve the right tool for your needs.
| Storage Method | Description |
|---|---|
| Drawer Storage | Utilise a drawer with dividers to segregate different types of attachments, reducing the risk of damage. |
| Hanging Racks | Wall-mounted racks can keep attachments accessible and visible, maximising storage space. |
| Toolbox | A toolbox is portable and can protect attachments while facilitating easy transport for various tasks. |
Consider climate conditions as well. Storing in a dry, temperature-controlled area helps prevent degradation of materials. By following these steps, your accessories will remain in optimal condition, ready for efficient use when needed.


