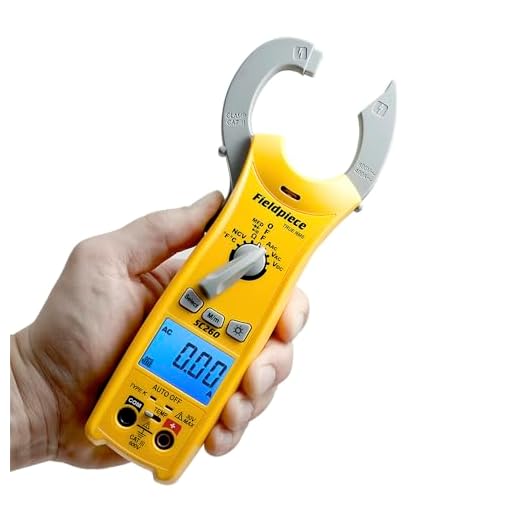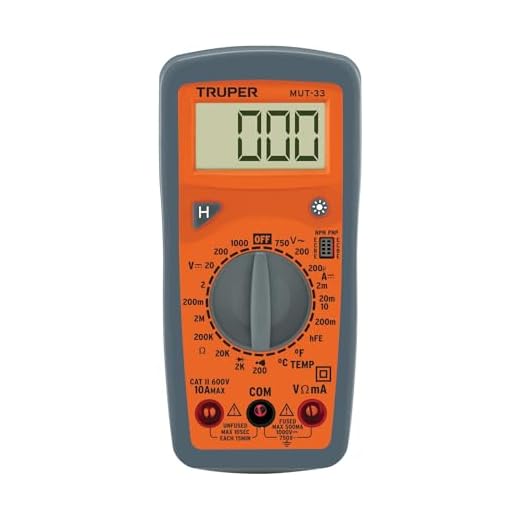


Inspect the electrical component by disconnecting it from the circuit. Ensure the device is entirely powered off and unplugged to avoid any accidental discharge or injury. Utilize a multimeter set to the capacitance measurement mode for accurate readings.
Carefully connect the multimeter leads to the terminals of the component. Note the displayed value and compare it to the manufacturer’s specifications typically found on the label. A significant deviation suggests malfunction.
If the multimeter lacks a capacitance setting, a basic continuity test can provide additional insight. Charge the component briefly, then reconnect the multimeter in continuity mode. A successful outcome would indicate functionality, while no response points towards a damaged component.
For further evaluation, visually inspect for signs of swelling, burn marks, or corrosion. Any physical deformities might indicate an imminent failure, warranting replacement. Regular checks of this type enhance the longevity of your cleaning appliance and ensure optimal performance.
Evaluate the Capacitor Functionality
Begin with ensuring safety by disconnecting the device from its power source. Locate the component, typically situated near the motor. With a multimeter set to the capacitance measurement mode, attach the probes to the terminals of the capacitor. A reading within the specified range indicated on the component should confirm proper operation. If the figure deviates significantly, consider replacement.
Monitor for Physical Damage
Examine the unit for any visible signs of distress. Swelling, leakage, or burn marks suggest malfunction. A suspect component can lead to insufficient power delivery, affecting overall performance. If these indicators are present, replacement becomes necessary regardless of the electrical checks.
Discharge the Component Safely

Always discharge the item before handling. Use a resistor across the terminals to safely release stored energy. This step is critical for personal safety and prevents accidental shocks. Maintain caution when performing this task, as the stored charge can be substantial.
Identifying the Type of Capacitor Used in Your Pressure Cleaning Equipment
Check the label on the motor housing for capacitor specifications. You will often find details like capacitance, voltage rating, and type. Most commonly, you will see either start or run capacitors in electric engines, which serve distinct purposes.
Examine the physical appearance of the component. Cylindrical types are usually run units, while oval shapes indicate start models. The voltage rating can often be found printed on the side, indicating compatibility with the motor’s electrical requirements.
If you can’t locate the information on the motor, consult the user manual. Manufacturers typically include capacitor specifications within the technical sections. If the manual is unavailable, checking the manufacturer’s website or contacting their customer service can provide insights.
In some situations, a visual inspection may reveal signs of damage, such as swelling or leakage, indicating a faulty component that needs replacing. Always ensure that the new part matches the specifications of the original to avoid performance issues.
Necessary Tools for Capacitor Testing
For accurate evaluation, gather the following items:
- Multimeter: A digital multimeter with capacitance measurement capability is indispensable. Select a model that supports at least a 100 µF range for most applications.
- Insulation Resistance Tester: This device is useful for checking the condition of insulating materials, ensuring safety before starting assessments.
- Screwdriver Set: Various sizes will help access the housing of the equipment where the component is located.
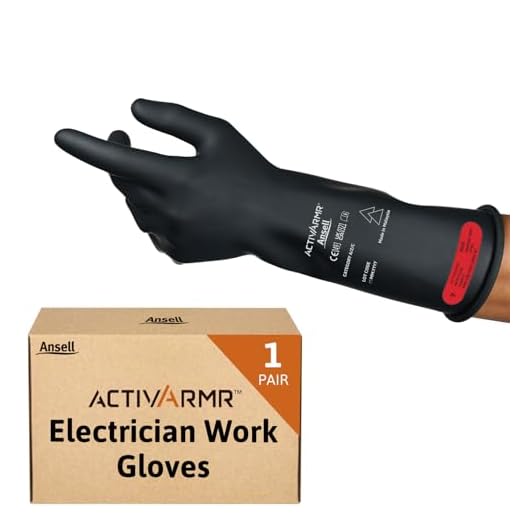
- Safety Gear: Protective eyewear and gloves are necessary for personal protection against any unforeseen discharges or component failure.
- Digital Capacitance Meter: If available, this specialised meter offers precise readings for verification of the component’s specifications.
Ensure your tools are in good working order before proceeding with the examination process. Each item plays a specific role in achieving accurate measurements and maintaining safety standards throughout the evaluation process.
Safety Precautions Before Testing the Capacitor
Disconnect the machine from the power source. Ensure the cord is unplugged before proceeding to avoid any electrical hazards. If your equipment has a switch, make sure it is turned off.
Discharge any residual voltage in the component. Use an insulated tool, like a screwdriver, to short the terminals safely. This action helps eliminate stored energy, preventing accidental shocks.
Wear appropriate personal protective equipment. Always put on safety goggles and insulated gloves to protect against potential electrical shocks and debris.
Check for Physical Damage

Examine the unit thoroughly for any visible signs of wear or damage. Look for bulging, cracking, or leaking, which may indicate a malfunctioning unit that could pose further risks.
Work in a Safe Environment
Ensure your workspace is dry and well-illuminated. Avoid testing near water or moisture, as this can significantly increase the risk of electrocution. Additionally, keep the area clear of clutter to prevent accidents.
Step-by-Step Guide to Testing the Capacitor’s Voltage
Begin by ensuring the appliance is completely disconnected from the electrical outlet to avoid any risk of shock. Locate the terminals of the energy storage device and visually inspect for physical damage or swelling.
Required Equipment
Utilise a digital multimeter, which should have a designated setting for measuring voltage. Set it to AC voltage mode if the item operates on alternating current. Ensure the multimeter is functioning correctly by testing it on a known power source.
Measuring Voltage
Connect the probes of the multimeter to the terminals of the energy storage component. Make sure to respect the polarity if applicable. Activate the device briefly, watching the multimeter display. A reading at or above the manufacturer’s specified voltage indicates proper function. If the measurement remains low or non-existent, it suggests that the component may have failed and needs replacement. Record your findings for reference.
| Status | Voltage Reading | Action |
|---|---|---|
| Functional | At or above specification | No action necessary |
| Faulty | Below specification | Replace component |
| Non-responsive | No reading | Replace component |
After testing, disconnect the multimeter probes. If you have identified a failing component, proceed with the replacement according to manufacturer guidelines.
Checking for Short Circuits in the Capacitor
Begin by disconnecting the power supply to the unit. Safety first–ensure there’s no voltage present before proceeding.
Using a Multimeter
Set your multimeter to the resistance measurement mode. Connect the probes to the terminals of the component. A low resistance value, usually below 10 ohms, indicates a short circuit. If the reading is zero or close to it, the component is likely faulty.
Visual Inspection

Examine the component for physical damage, such as bulging, cracking, or burn marks. Any visible signs of distress often suggest a failure, necessitating replacement. Pay particular attention to the terminals, as corrosion or carbon deposits can indicate electrical shorts.
It’s prudent to repeat these checks multiple times. Intermittent issues may not always reveal themselves on the first test. Document any findings to assist in troubleshooting.
Interpreting Test Results and Next Steps

Results revealing a reading close to the stated capacitance indicate functionality. If the measure significantly deviates, it suggests an issue, likely requiring replacement. A reading of zero or very low capacitance usually points to a severe fault, whereas a short circuit will display as a continuous low reading.
Functional Capacitance
When the capacitance aligns within the manufacturer’s specifications, you can proceed with reassurance. However, should the measure fall below acceptable limits, immediate replacement is advisable to ensure optimal performance of the equipment.
Short Circuits and Other Issues
A short circuit scenario demands urgent attention. Disconnect the circuit, and ensure no residual charge remains before replacing the component. If issues persist post-replacement, checking other electrical components and connections is prudent to identify underlying faults that may affect operation.
FAQ:
What tools do I need to test a pressure washer capacitor?
To test a pressure washer capacitor, you will need a multimeter set to the capacitance setting, safety gloves, and safety goggles. It’s also a good idea to have a screwdriver handy to access the capacitor within the pressure washer. Make sure to disconnect the power supply before handling any electrical components for safety.
How can I tell if my pressure washer capacitor is faulty?
A faulty capacitor may show several signs. You might notice that the pressure washer doesn’t start, there may be a humming sound without any movement, or it might shut off unexpectedly during operation. To confirm, use a multimeter to check the capacitor’s capacitance. If the reading is significantly lower than the rated value printed on the capacitor, it’s likely faulty and needs replacing.
What steps should I follow to test the capacitor of my pressure washer?
To test the capacitor, first, ensure that the pressure washer is unplugged to prevent electrical shock. Next, access the capacitor, usually located near the motor. Using your multimeter, set it to capacitance measurement mode. Disconnect the capacitor from the circuit and connect the multimeter leads to the capacitor terminals. Observe the capacitance reading; if it is below the specified value, replace the capacitor. Finally, reassemble the pressure washer, ensuring all connections are secure, and test it under safe conditions.


