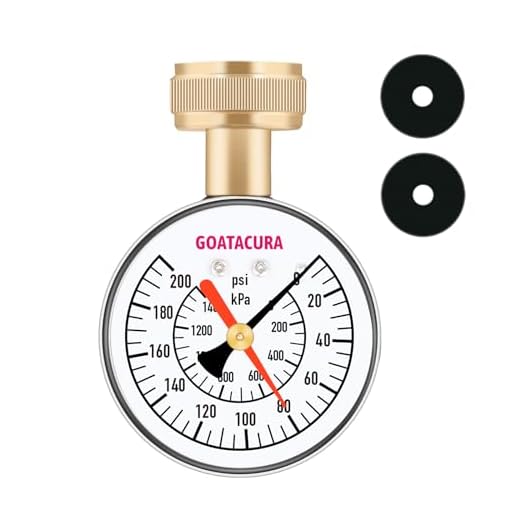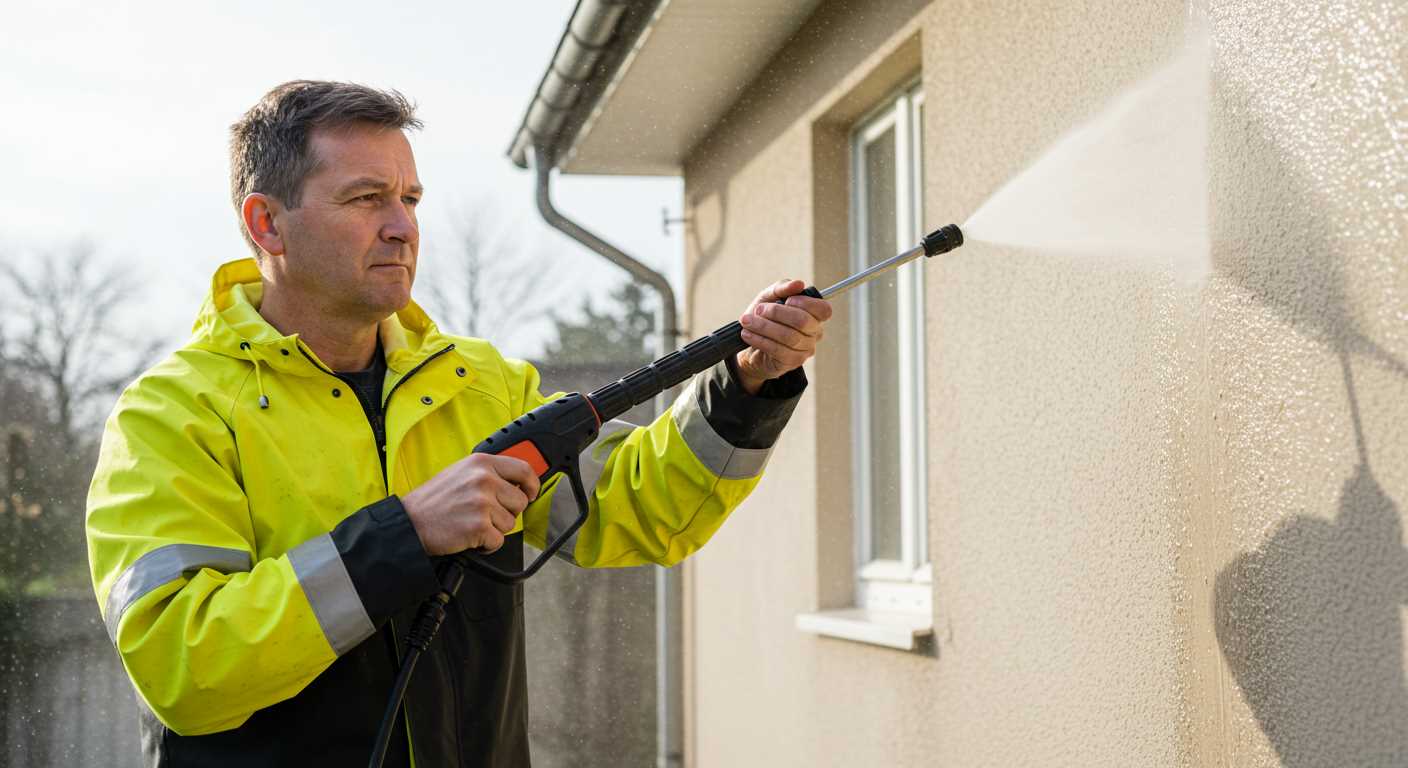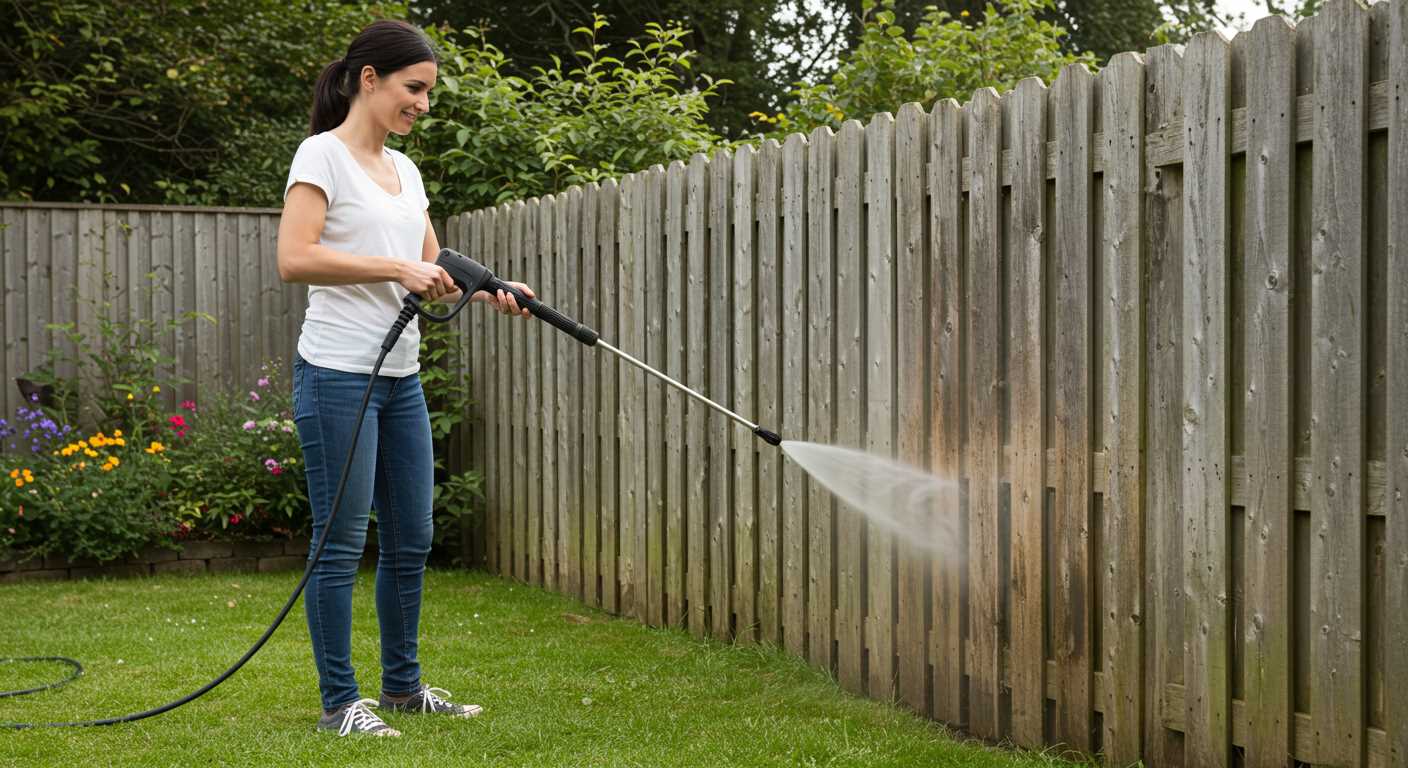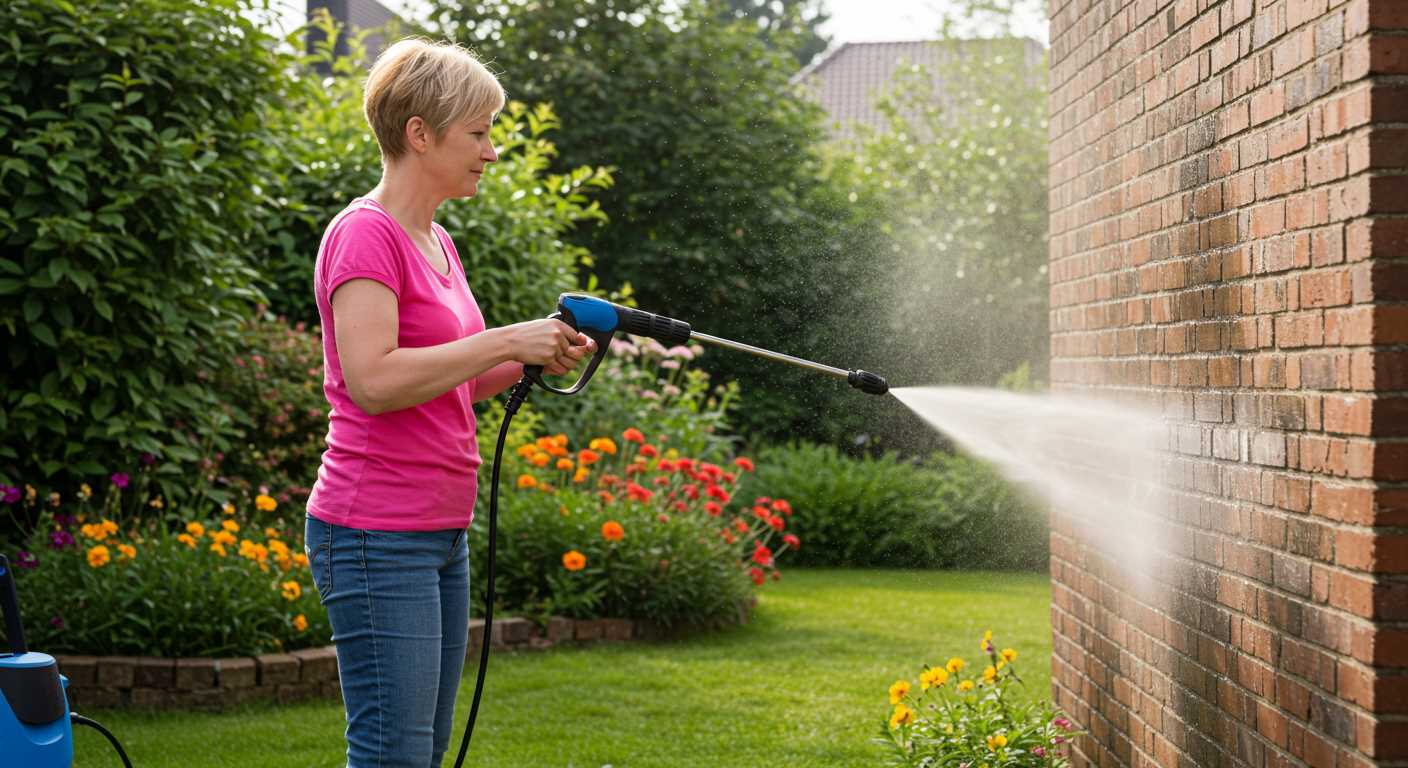


To ensure your cleaning machine operates at its best, it’s essential to quantify the water jet output, which serves as a key metric for proper functionality. My recommendation is to utilise a pressure gauge that can handle the expected range of force. These gauges are readily available at home improvement stores and can be directly connected to the nozzle of your equipment.
Begin by attaching the gauge securely to the spray gun, making sure there are no leaks that could affect the reading. Once connected, activate the machine to its maximum setting while maintaining a consistent flow from the nozzle. The gauge will indicate the water force in real-time, allowing you to ascertain whether it meets the manufacturer’s specifications.
If the reading deviates from the expected values, it may indicate maintenance is required, such as cleaning the filter or checking for blockages in the hoses. Regular monitoring not only enhances cleaning efficiency but also prolongs the lifespan of your unit. This straightforward approach can save you time and money in the long run.
Testing Equipment Performance

Utilising a pressure gauge is a straightforward method to assess the output of cleaning devices. Begin by ensuring the device is turned off and disconnected from the power source. Attach the pressure gauge to the spray gun’s connection point securely, avoiding any air leaks.
Next, reconnect the water supply and switch on the device. While holding the trigger on the spray gun, observe the gauge reading. A reading that falls within the manufacturer’s specifications indicates proper functioning. If the value is significantly lower than expected, it’s time to investigate further.
Common Issues to Address
- Clogged nozzles can restrict water flow, leading to reduced performance. Clean or replace them as necessary.
- Inspect the hoses for any kinks, cracks, or leaks. Damage might cause a drop in pressure.
- Check the water inlet filter for blockages, as this can impede flow and affect readings.
Verifying Consistency
After resolving any issues, repeat the procedure to confirm consistent readings. It’s advisable to perform this check periodically, especially before intensive cleaning tasks. Consistency in measurements not only assures performance but also indicates potential areas that may require maintenance.
Understanding PSI Ratings of Pressure Washers
The measurement of cleaning power in these machines is determined by their PSI (pounds per square inch) rating. This figure indicates how much pressure is delivered through the nozzle, directly affecting the cleaning capability.
For optimal use, consider the following when evaluating PSI ratings:
- Low PSI (1,000 – 1,500): Ideal for delicate surfaces such as wood decks or vehicles. It effectively removes dirt without damaging the surface.
- Medium PSI (1,500 – 2,500): Suitable for typical household tasks, such as cleaning patios, driveways, and outdoor furniture. Strikes a balance between force and safety.
- High PSI (2,500 – 3,500+): Designed for tough jobs like stripping paint or cleaning masonry. Requires caution as it can easily damage softer materials.
Moreover, the flow rate, measured in GPM (gallons per minute), plays a crucial role in enhancing cleaning performance by determining how much water is delivered alongside the pressure. A higher flow rate often complements elevated PSI ratings, aiding in effective cleaning.
Another aspect worth considering is the pressure type: electric models typically offer lower PSI ratings compared to gas-powered machines. Knowing the expected PSI range for each type of unit can guide you toward the right choice based on your cleaning needs.
Bear in mind that a higher PSI does not always mean a superior machine; other features such as nozzle types, surface cleaners, and the specific task at hand should influence your decision as well.
Maintaining your equipment and understanding its specifications ensures longevity and performance. Familiarise yourself with the user manual to understand the optimal pressure settings for various tasks.
Tools Needed for Measuring Pressure Washer Output
To accurately gauge the performance of your cleaning unit, you’ll require a few specific instruments. Start with a reliable pressure gauge, which typically comes equipped with a dial for easy reading. Ensure it can handle the expected pressure range of your device, generally fitting between 0 to 4000 psi.
Next, you’ll need an appropriate adapter to connect the gauge to the water outlet. This is crucial; without a proper fit, you risk leaks or inaccurate readings. Adapters vary based on the model, so identify the right type for your setup.
Additional Equipment

A garden hose is necessary to supply water to your unit during evaluation. Make sure it’s in good condition and can handle the flow required. Furthermore, a bucket can be highly useful for capturing water during tests, preventing any mess.
Lastly, consider having a notepad or digital device handy for recording measurements. This allows you to compare results over time and notice any changes or trends in performance.
Steps to Attach a Pressure Gauge to Your Washer
Before connecting the gauge, ensure the device is turned off and unplugged for safety. Identify the outlet on your equipment where the hose connects. Using the appropriate adapter, attach the pressure gauge securely to this outlet, ensuring there are no leaks at the connection point.
Securing the Adapter
.jpg)
Utilise adjustable pliers or a wrench to tighten the adapter if necessary. Be cautious not to over-torque, which may damage the components. Confirm that the gauge displays zeros or the standard reading to ensure proper calibration and functionality.
Final Checks

Before beginning operation, double-check all connections for security. Ensure the gauge face is legible and batteries, if applicable, are functioning. With everything in place, proceed to start your equipment and observe the gauge for accurate readings of the output pressure.
Conducting a PSI Test Safely
Always wear safety goggles and gloves before starting. The high-pressure stream can cause serious injuries, so protecting your eyes and hands is crucial. Make sure the area is clear of bystanders and pets to prevent accidents.
Before connecting any equipment, inspect all hoses and fittings for wear or damage. Leaks can lead to hazardous situations, increasing the risk of injury. Replace any worn parts before proceeding.
Ensure the electric outlet or extension cord is rated for the equipment’s power requirements. Avoid using damaged cords, as they pose a serious shock hazard. If using a gas-powered unit, check for proper ventilation in your work area.
When attaching the gauge, keep the nozzle pointed away from yourself and others. The pressurised water can escape rapidly, causing injury if not handled properly. Ensure a firm connection between the gauge and the machine to prevent leaks during measurement.
Turn the unit on without engaging the trigger first to allow the water to flow through the gauge. Once all air has been purged from the system, engage the trigger while watching the gauge for the reading. Be cautious, as the nozzle can still kick back under pressure.
After obtaining your readings, release the trigger and allow the system to depressurise completely before detaching the gauge. This step prevents accidental sprays or leaks, maintaining safety throughout the process.
| Safety Measure | Description |
|---|---|
| Goggles and Gloves | Protect your eyes and hands from high-pressure water spray. |
| Area Clearance | Keep the testing area free from people and pets. |
| Inspection | Check hoses and fittings for damages. |
| Power Source Check | Ensure electric outlets and cords are in good condition. |
| Nozzle Positioning | Always point the nozzle away from yourself and others. |
| Depressurisation | Completely depressurise before removing any attachments. |
Interpreting the PSI Results from Your Test
Examine the reading on your gauge closely. A result within the manufacturer’s specified range indicates optimal performance. Generally, this means you can rely on your machine to handle most cleaning tasks effectively.
If the measurement is significantly lower than stated, there could be issues such as a clogged nozzle, worn piston, or a failing motor. Address these problems promptly to restore functionality. Alternatively, overly high readings may indicate an obstruction that requires immediate attention to prevent damage to components.
In specific situations, such as for vehicles or delicate surfaces, consider the cleaning requirements. For example, a lower output may be more suitable for washing cars, while higher figures are ideal for heavy-duty tasks like concrete cleaning.
Comparing your results with similar models can also provide insight. If your figures are consistently below average, it might be time to investigate further, including the possibility of maintenance or replacement.
Document the readings for future reference, which assists in tracking performance changes over time and can help in assessing the need for servicing.
Troubleshooting Low PSI Readings in Pressure Cleaners
If you encounter low readings on your pressure cleaner, several factors could be at play. Begin by examining the water supply. Ensure your hose is not kinked and that there is a steady flow of water reaching the unit. Verify that the water inlet filter is clean and free from debris, as blockages can impair performance.
Next, inspect the nozzle. A clogged or damaged nozzle can significantly affect output. Replace the nozzle or clean it thoroughly to restore optimal flow. Depending on the model, consider using a nozzle with a wider aperture for testing purposes.
Examine Connections and Hoses
Look closely at all fittings and hoses for leaks. A small leak can lead to a significant drop in water pressure, so ensure all connections are secure and undamaged. If you notice any signs of wear or damage, replace the affected parts immediately.
Internal components such as the pressure relief valve and water pump may also be contributing to the issue. If you have experience, check that the pressure relief valve is functioning properly. If it is stuck open, it could be continuously releasing water pressure. If you’re unsure, it’s wise to consult a professional.
Motor and Power Supply
A malfunctioning motor can hinder operation. Check that the motor is running smoothly without unusual noises. Inspect the power supply to ensure it’s providing sufficient voltage and that the cord is undamaged. Inconsistent power delivery can lead to inadequate performance.
If after these checks the issue persists, it may be worth consulting the manufacturer’s manual or reaching out to customer support for assistance, as some appliances may have specific troubleshooting guidelines to address lower-than-expected output.
Maintaining Optimal PSI for High-Performance Cleaning
For achieving superior results, consistently maintaining the appropriate pressure level is vital. Regularly inspecting and adjusting the settings of your unit ensures it operates within the ideal range, often indicated by the manufacturer’s specifications. Factors such as nozzle selection, distance from the surface, and cleaning detergents influence the efficiency of your equipment.
Watch for common indicators of suboptimal performance. Uneven spray patterns or reduced cleaning power often signal a need for immediate attention. If you notice such signs, check for blockages in the hose or nozzle, as these can easily impair functionality.
Cleaning the filters and screen regularly is another effective practice. These components can accumulate debris, restricting water flow and ultimately affecting pressure output. A quick rinse or replacement can restore optimal performance.
Consider using compatible accessories. Different nozzles or surface cleaners can impact the effectiveness of your unit, so ensure that any attachments used align with the pressure and flow specifications of your machine.
Lastly, seasonal maintenance cannot be overlooked. Storing the equipment properly during off-seasons prevents unnecessary wear and tear, ensuring it’s ready for use when the time comes. By implementing these tips, you’ll guarantee that your cleaning projects are efficient and that the performance of your equipment remains at its peak.


