

Begin with a quality abrasive attachment compatible with your high-pressure cleaning unit. These attachments typically utilise a venturi effect to mix the abrasive material with water, creating a powerful jet for surface treatment. Ensure that the nozzle size matches the specifications of your equipment for optimal performance.
Next, select the right type of abrasive material. For most applications, garnet or crushed glass works well, providing effective surface removal without excessive damage. Always refer to the manufacturer’s guidelines regarding the abrasiveness to avoid wear on your machine.
After securing the appropriate attachment and material, adjust the water pressure settings on your equipment. A higher pressure often yields faster results; however, excessive force can lead to surface damage. Start at a moderate setting, then gradually increase to find the ideal balance between efficiency and safety.
Lastly, wear appropriate personal protective equipment, including goggles and gloves, to safeguard against flying debris. Ensuring adequate ventilation in your workspace is equally important to manage dust and airborne particles. Following these steps will enhance your surface preparation projects significantly and maximise the capabilities of your high-pressure cleaning apparatus.
Selecting the Right Pressure Device for Abrasive Cleaning
To achieve optimal results while using an abrasive cleaning setup, it is crucial to select a model with a solid minimum pressure rating of 3000 psi. This level of force facilitates effective removal of stubborn materials without damaging surfaces.
Furthermore, a flow rate of at least 4 GPM is recommended. This ensures that the abrasive material is carried efficiently to the surface, promoting a thorough clean while minimising particulate buildup.
Evaluating the compatibility of the equipment with various nozzle types is also key. A nozzle that can accommodate larger orifices offers improved coverage and can handle more abrasive materials effectively.
Models with adjustable pressure settings provide versatility, allowing you to tailor the force according to the task at hand. This adaptability is particularly beneficial for varying surface types and cleaning needs.
Ensure the machine has a sturdy construction. Look for units with reinforced components, as they will endure the wear and tear associated with sand and other abrasives.
Lastly, consider the power source. Electric machines are quieter and easier to maintain, while gas-powered versions typically offer more portability and higher performance under heavy-duty conditions.
Required Accessories and Materials for Conversion
A few key accessories and materials are necessary to effectively convert your cleaning machine into a blasting unit. Here’s a detailed list:
- Abrasive Material: Select a suitable medium such as silica sand, glass beads, or baking soda. Ensure that the chosen abrasive is compatible with your equipment and does not cause damage.
- Nozzle Kit: Invest in a dedicated sandblasting nozzle suitable for the abrasive material. A wider, venturi-style nozzle enhances the mixing of air and abrasive, increasing efficiency.
- Abrasive Feed System: A siphon feed or pressure feed setup is essential. Ensure that the feed system is compatible and can handle the flow rate of your device.
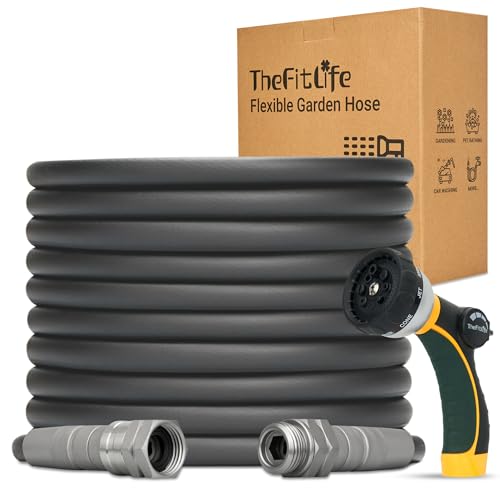
- Hoses: Use high-pressure hoses rated for abrasive materials. Ensure the connections are secure and leak-proof to maintain efficiency during operation.
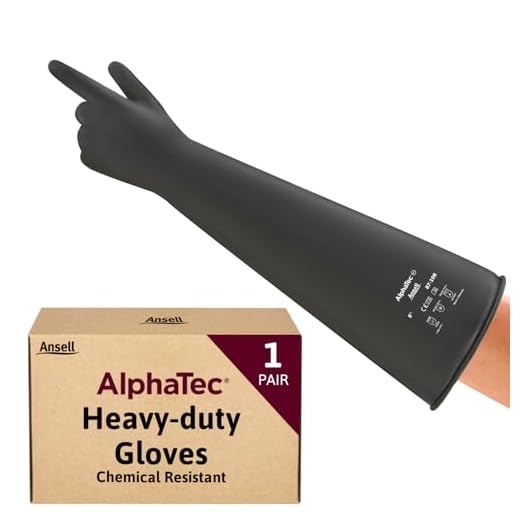
- Safety Gear: Equip yourself with protective eyewear, gloves, and a respiratory mask to safeguard against dust and debris inhalation. A full-body suit is advisable to protect skin from abrasives.
- Compressor (if needed): Depending on your style of abrasive application, a compressor might be necessary to provide additional air pressure. Ensure it matches the requirements of the sandblasting setup.
- Adaptors and Fittings: Gather necessary adaptors to connect the abrasive feed system and nozzle to the main unit securely. These components should fit tightly to prevent any leaks or disconnections.
Procurement of these accessories is crucial in achieving optimal results in your abrasive cleaning tasks. Prior to purchasing, double-check compatibility with your existing equipment to avoid any compatibility issues down the line.
Step-by-Step Guide to Attach Sandblasting Kit
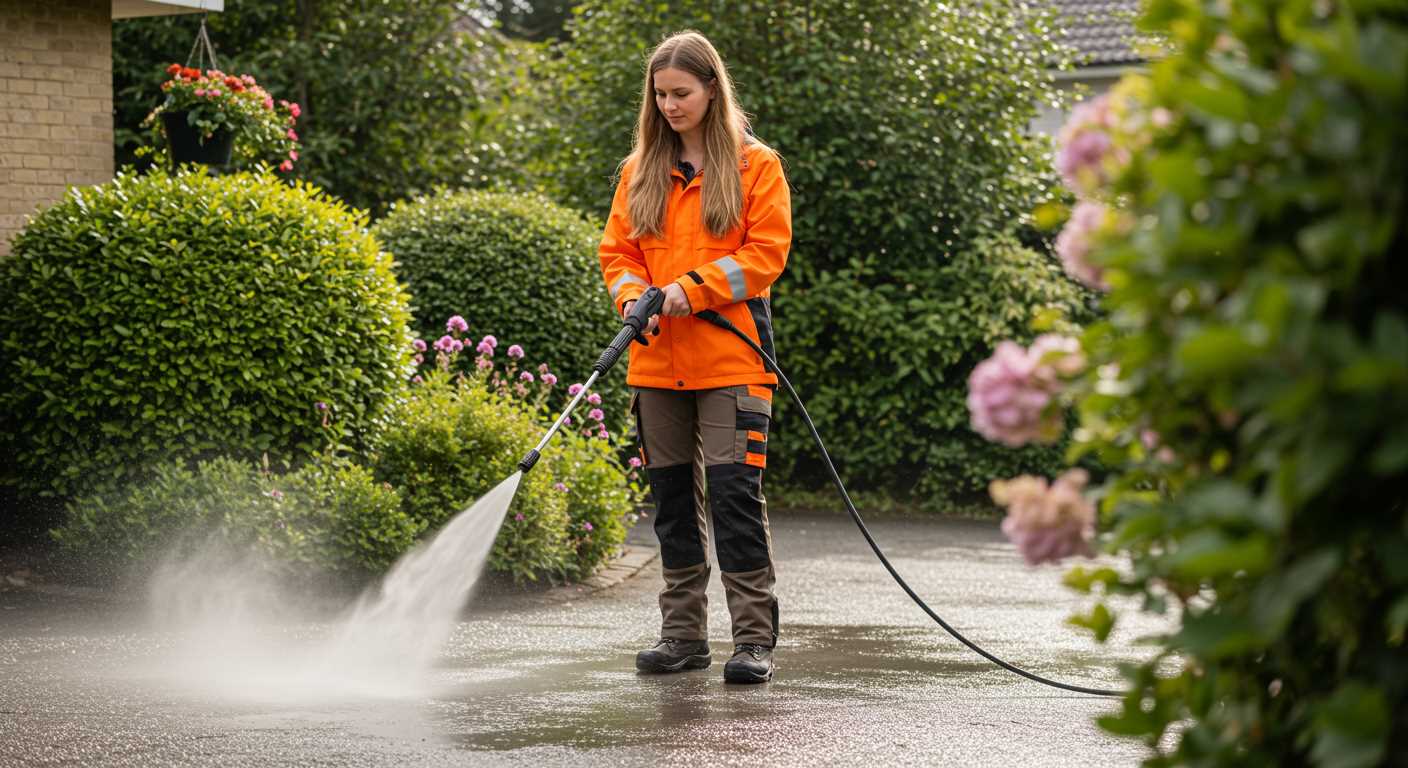
Begin with disconnecting the high-pressure hose from the unit. This ensures no water passes through while setting up the sandblasting equipment.
Attach the Sandblasting Kit
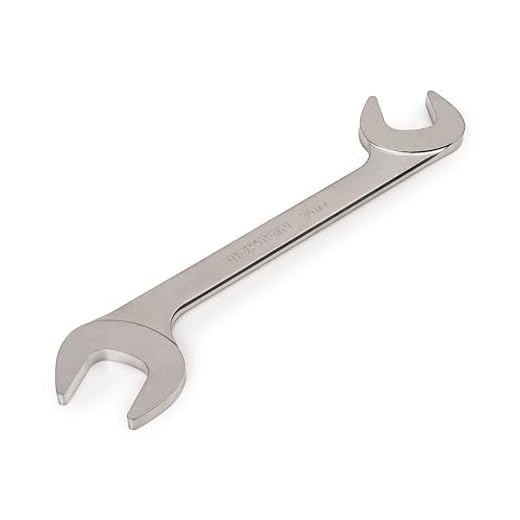
Take the sandblasting kit and locate the connection point designed for the high-pressure hose. Securely attach it, making sure to tighten it adequately to avoid leaks during operation. Use a wrench if needed for extra grip.
Load the Abrasive Material
Fill the sandblasting attachment’s hopper with the chosen abrasive media, such as silica sand or glass beads. Ensure the hopper is not overfilled to prevent clogging. Check for any clogs in the sand feed tube before starting to avoid interruptions during the cleaning process.
Adjust the nozzle according to the manufacturer’s specifications for optimal performance. Experiment with different sizes to find what works best for your specific needs.
Reattach the high-pressure hose to the cleaning device. Test for securing all connections before commencing work. Once everything is in place, prime the system following the kit’s instructions, and you are ready for usage.
Setting Up the Pressure Washer for Optimal Performance
Begin with a thorough inspection of the unit. Ensure that all hoses and connections are secure, and check for any signs of wear or damage. Replace any frayed hoses or defective fittings to avoid leaks and loss of pressure during operation.
Next, choose the appropriate nozzle. Use a high-pressure tip for blasting tasks to maximise effectiveness. A 0-degree or 15-degree nozzle often works best, as it focuses the water stream, enhancing the removal of stubborn materials.
Fill the detergent tank with a suitable abrasive material. Make sure to use a product specifically designed for the type of task at hand. Store it away from moisture and extreme temperatures to ensure longevity.
Adjust the pressure settings on your unit according to the requirements of the task. Most equipment allows for variable pressure settings. For instance, higher settings are ideal for concrete surfaces, while lower settings work well on softer materials, reducing the risk of damage.
Double-check the water supply. A steady and adequate flow is crucial; low water flow can lead to pump overheating and damage. Ensure that the water source can provide enough pressure and volume for the guidance of the machine’s operation.
| Action | Recommendation |
|---|---|
| Inspect Unit | Check hoses and connections for damage |
| Choose Nozzle | Select a high-pressure tip (0-degree or 15-degree) |
| Fill Tank | Use a suitable abrasive material |
| Adjust Settings | Modify pressure according to task requirements |
| Check Water Supply | Ensure adequate flow and pressure |
Finally, test the system before you begin. Run the unit briefly to check for any abnormalities in operation. Make adjustments as necessary for optimal performance during your project.
Safety Precautions While Sandblasting
Prioritise your well-being by employing the following safety measures during abrasive blasting activities.
Personal Protective Equipment (PPE)
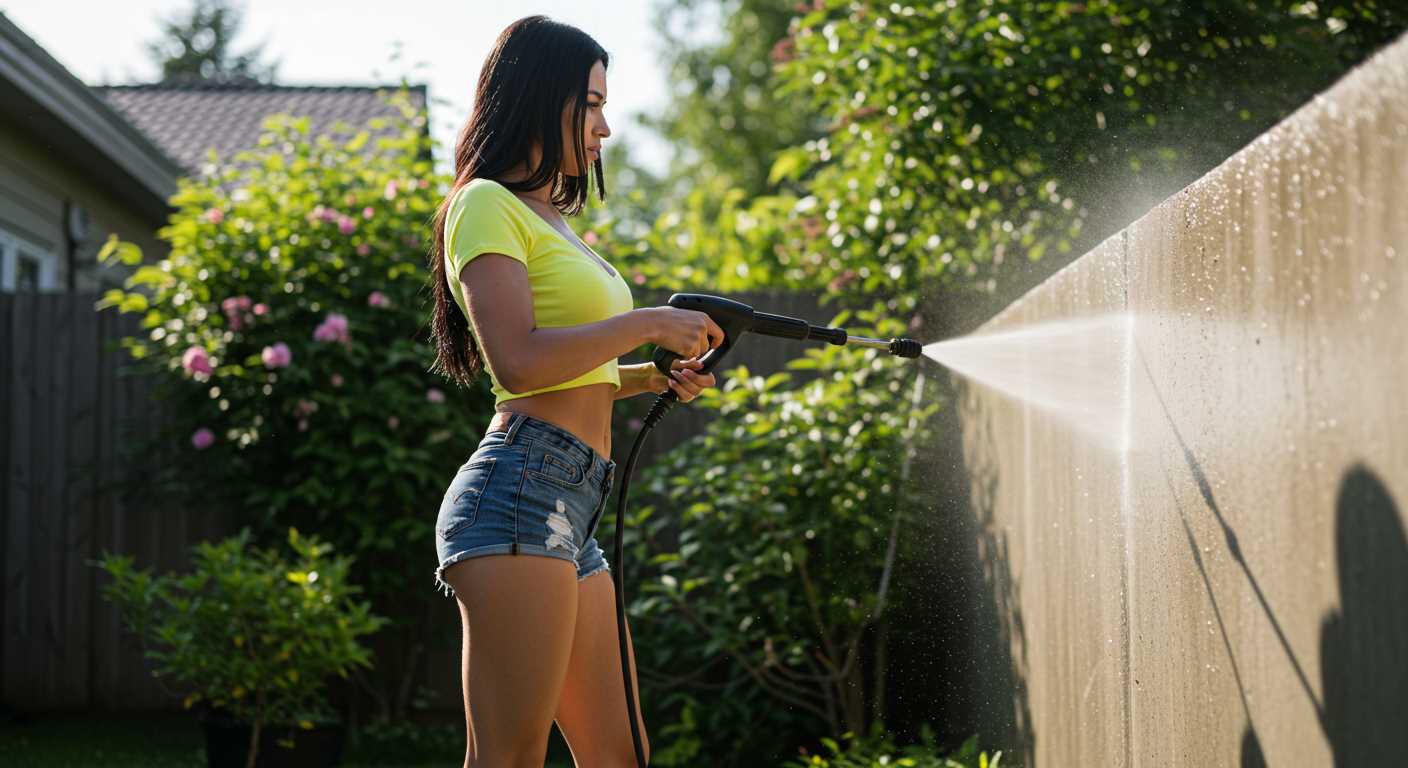
- Wear a suitable respirator with a P100 filter to shield against inhalation of fine dust particles.
- Use impact-resistant goggles or a full-face shield to protect your eyes from airborne abrasives.
- Don protective gloves made from cut-resistant materials to safeguard your hands.
- Opt for heavy-duty coveralls or a jumpsuit to prevent skin exposure to materials.
- Ensure steel-toed boots are worn to protect your feet from falling objects.
Workspace Safety

- Set up the blasting operation in a well-ventilated area to dissipate harmful dust and vapours.
- Cover nearby surfaces and equipment to avoid unwanted contaminants.
- Establish a designated safety zone around the work area to keep bystanders at a distance.
- Keep a fire extinguisher readily accessible as certain materials may ignite under pressure.
- Avoid using flammable solvents or cleaning agents nearby. Always use appropriate storage for such materials.
Regularly inspect gear and equipment for wear or damage to maintain operational safety and efficiency. Remaining informed about the materials and processes involved is essential for a safe experience. Always prioritise communication and teamwork when executing any form of abrasive cleaning.
Maintenance Tips for Post-Sandblasting Care
Immediately after use, rinse any abrasive materials from the sandblasting kit and the connected components. Neglecting this can lead to clogs and reduced performance over time.
Inspect all attachments for damage or wear. Pay special attention to hoses and nozzles; replace any parts that appear frayed or compromised. This step can prevent future mishaps during operation.
Empty the sand hopper thoroughly. Residual abrasive can mix with moisture and lead to rust or other degradation of parts. Cleaning this area also assists in maintaining efficient flow during your next operation.
Run water through the system for several minutes to flush out any remaining particles. This helps maintain optimal performance and extends the lifespan of the equipment.
Store the equipment in a dry, temperate environment to avoid corrosion. If possible, cover it with a protective tarp or placed in a designated storage box to prevent dust accumulation.
Regularly lubricate any moving parts to ensure smooth operation. This is particularly important for valves and joints, which can otherwise stiffen and cause operational challenges.
Periodically check the user manual for maintenance recommendations specific to your model. Each unit can have unique needs, and following the manufacturer’s guidelines will keep everything running efficiently.
Implement a routine inspection schedule. By regularly assessing your equipment, you can catch potential issues before they escalate, saving time and money on repairs.

