
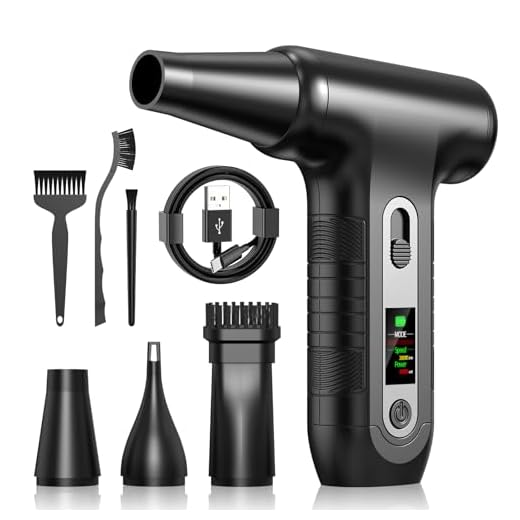


Remove the blockage by using a straightened paperclip or a needle to gently probe the opening. This will help dislodge any debris lodged within. Ensure you handle the part carefully to avoid damage.
Follow this by rinsing it under warm water. This will flush out any remaining particles and make the reinsertion smoother. After cleaning, allow the component to dry completely before reattaching it to your machine.
Inspect the hose and connection points as well. Sometimes, it’s not just the tip that can get obstructed. Look for any kinks or bends in the hose that could impede flow. Adjusting or replacing damaged sections might be necessary to restore optimal function.
Regular maintenance practices will prevent future issues. Cleaning the attachment after each use can save you time and frustration later on. Clear away any residue that could accumulate and harden. This simple habit prolongs the life of your equipment.
Identify common causes of blockage in cleaning equipment tips
Identifying the source of obstruction is vital for a seamless operation. One prevalent reason is the accumulation of dirt or debris within the opening, which can easily be cleared with a fine wire or needle. Regular inspection after use will reduce the likelihood of build-up.
Clogged or damaged filters
Another common issue arises from filters that are either blocked or damaged. These components should be checked frequently and replaced as needed, ensuring optimal water flow. A worn or torn filter may allow particles to enter and lead to further complications.
Incorrect nozzle attachment
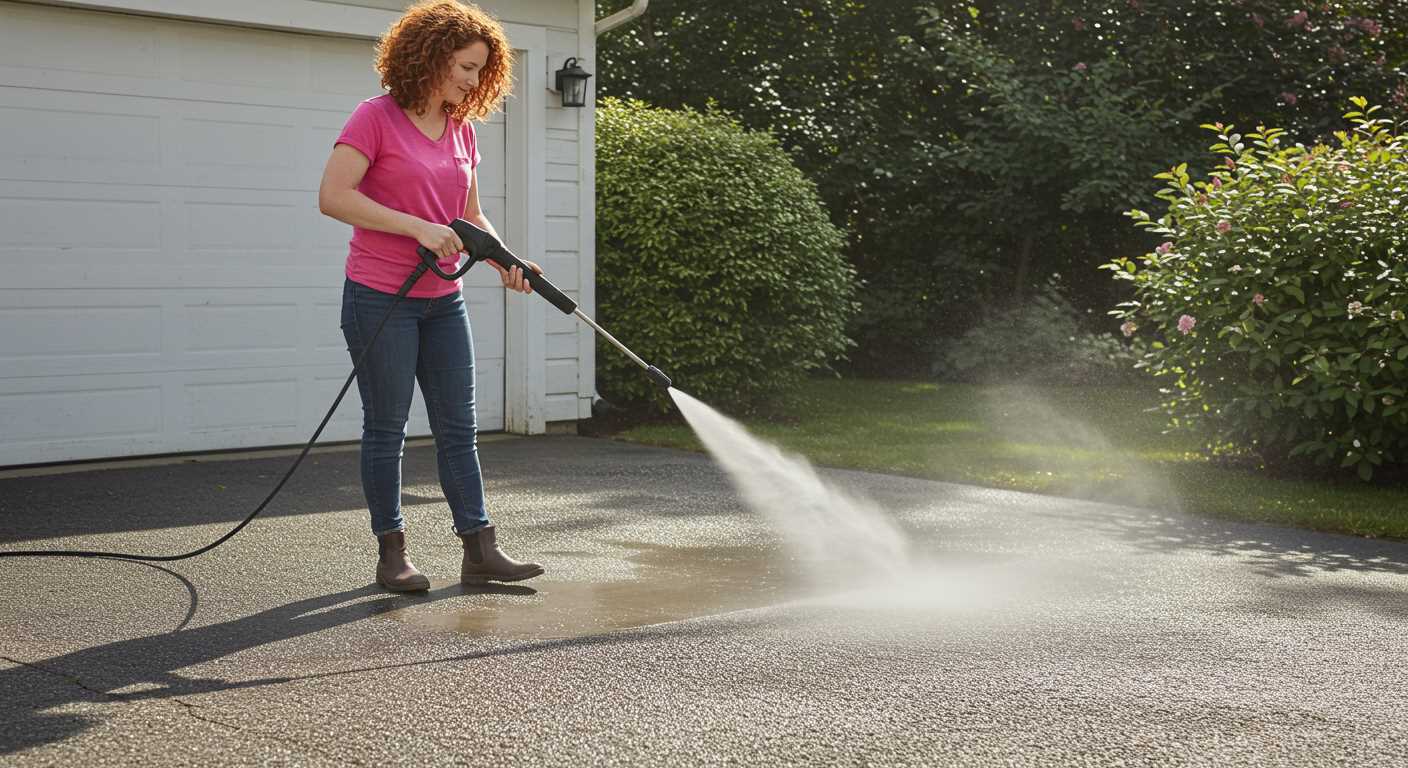
The selection of the right type of attachment is critical. Using an inappropriate size or type can create back pressure and hinder performance. Ensure the correct nozzle is fitted according to the intended task, which allows for adequate water movement and reduces strain on the system.
Tools Required for Clearing a Jet Sprayer Tip
A thorough cleaning of the jet sprayer tip demands a few key tools. The primary items include a set of fine wire brushes, ideally ranging from 0.5mm to 2mm, to accommodate various nozzle sizes. These brushes help remove stubborn debris without damaging the nozzle.
Next, a compressed air canister is invaluable for blowing out loose particles after initial cleaning. Ensure you wear protective eyewear when using compressed air to avoid injury from flying debris.
Cleaning Solutions
A cleaning solution containing vinegar or a specialised descaling agent can assist in dissolving mineral build-up. Apply this with a sponge or cloth to soak stubborn spots before brushing.
Additional Equipment
For those intricate nozzles, a needle or pin set is useful for dislodging very small blockages. Carefully insert the needle into the opening, making certain not to expand or damage it.
Lastly, a soft cloth is essential for drying the components after cleaning, preventing rust and ensuring longevity. Having these tools on hand will facilitate efficient maintenance of your cleaning equipment.
Step-by-step guide to disassemble the cleaning device tip
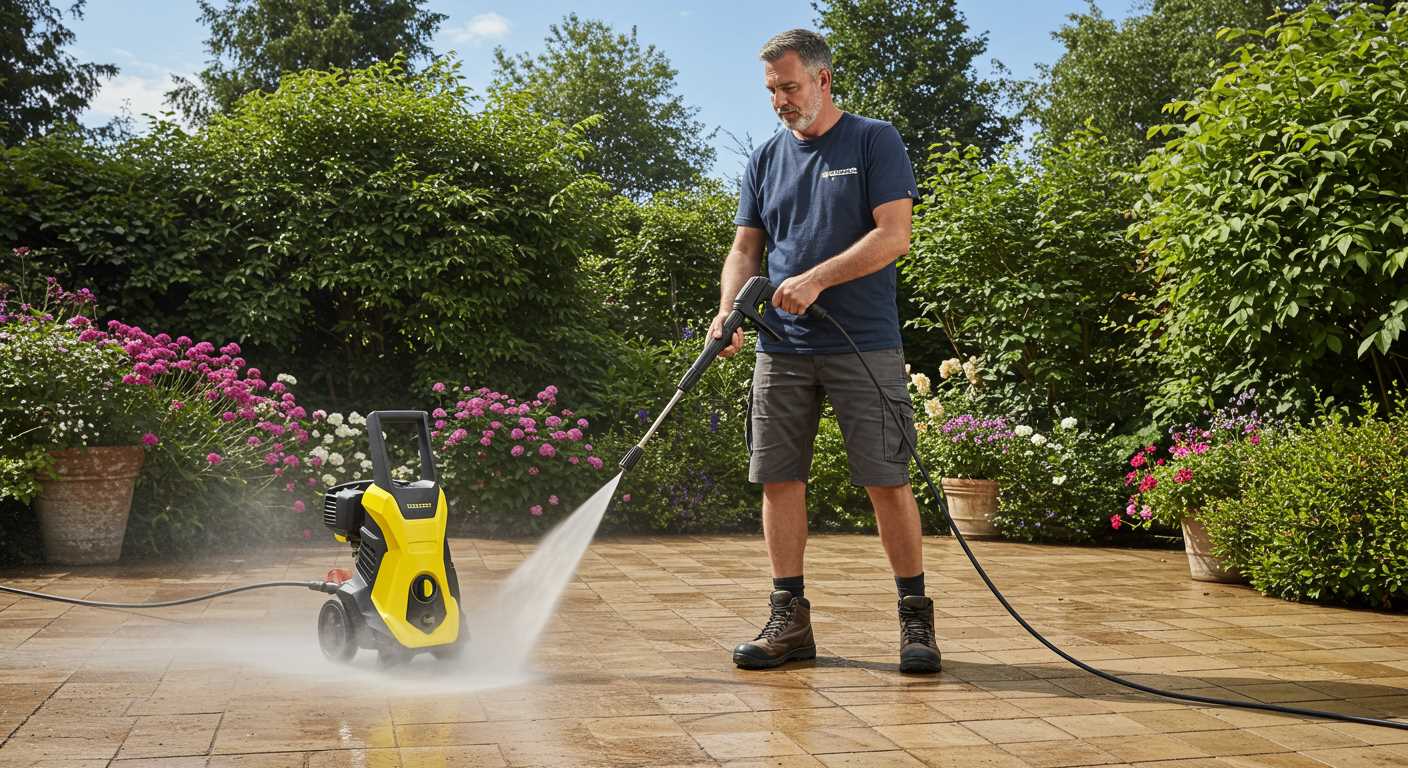
Begin by detaching the unit from its power source and ensuring that it is completely depressurised.
- Gather necessary tools:
- Small adjustable wrench
- Flathead screwdriver
- Allen keys (if applicable)
- Clean cloth
- Locate the connection point: Identify where the attachment meets the lance. This is often a threaded section that can be turned by hand.
- Unscrew the connection: Use the wrench to gently loosen the attachment. Avoid over-tightening to prevent stripping the threads.
- Remove the outer casing: If the attachment features a cover, carefully pry it off using the screwdriver to expose internal components.
- Inspect the interior components: Look for any debris or build-up that could hinder performance. Take note of how each part fits together.
- Disassemble further if necessary: If blockages persist, continue dismantling by removing O-rings or other seals, using the appropriate tools to avoid damage.
- Clean the parts: Use the cloth to wipe away any dirt, ensuring that no remnants remain in crevices or on seals.
- Reassemble the tip: Carefully put the components back together in reverse order. Ensure that seals are properly seated to prevent leaks.
- Test the assembly: Reattach the cleaning device to the power source and run a brief test to confirm functionality.
Follow these steps meticulously, and you will effectively disassemble and inspect the attachment for any impediments. This process enhances both performance and lifespan.
Cleaning Orifices Using Appropriate Methods
Begin by detaching the component from its assembly for better access. An effective method is soaking the tip in a mixture of warm water and vinegar or a specialised descaling solution for about 30 minutes. This will break down any mineral deposits or grime.
After soaking, use a soft-bristled toothbrush to gently scrub the area around the orifice. Avoid using abrasive materials, as they can cause damage. Rinse thoroughly with clean water afterwards to remove any residue.
If blockages persist, tiny pin or needle gauge products can assist in clearing stubborn debris. Insert the pin into the orifice, ensuring not to apply too much force to prevent any unintended damage.
Alternative Cleaning Techniques
For severe clogs, a compressed air source can effectively dislodge particulate matter. Direct the nozzle of the air hose into the orifice for short bursts, ensuring safety glasses are worn to protect against debris.
Always ensure to reassemble the unit correctly and run it briefly to check for proper function once the cleaning process is complete.
| Method | Details |
|---|---|
| Soaking | Use warm water and vinegar for 30 mins. |
| Scrubbing | Gently scrub with a soft-bristled brush. |
| Using a Pin | Insert a pin or needle to clear stubborn blockages. |
| Compressed Air | Blow air to dislodge debris. |
Tips for Reassembling the Sprayer Head Correctly
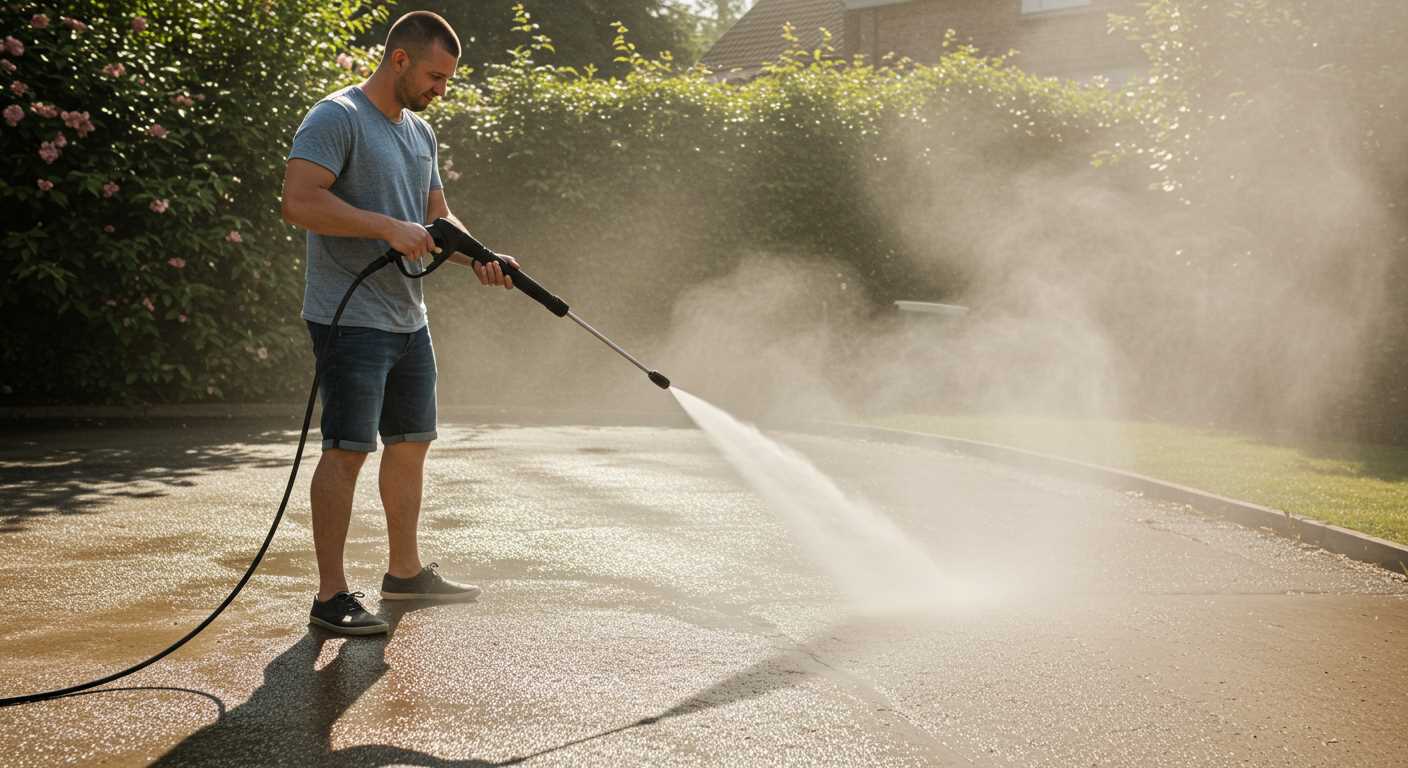
Align all components properly before securing them to avoid misalignment. Ensure that the O-rings or seals are in place, as missing seals can lead to leaks during operation.
Use a gentle hand when tightening screws or fittings. Over-tightening may result in damage to threads or cracks in the housing, compromising performance.
Double-check that all detachable parts are in their designated positions. Refer to any diagrams or manuals if available; they can clarify the correct assembly order.
Before completing the reassembly, perform a visual inspection to confirm there are no debris or residue on the parts that could interfere with functionality.
After reassembly, test the unit at a low setting. Allowing the equipment to run under reduced pressure can help identify any assembly issues before it operates at full capacity.
Keep a record of disassembly and reassembly steps, as this can serve as a reference for future maintenance. It streamlines the process and ensures accuracy for subsequent repairs.
Testing After Clearing the Jet
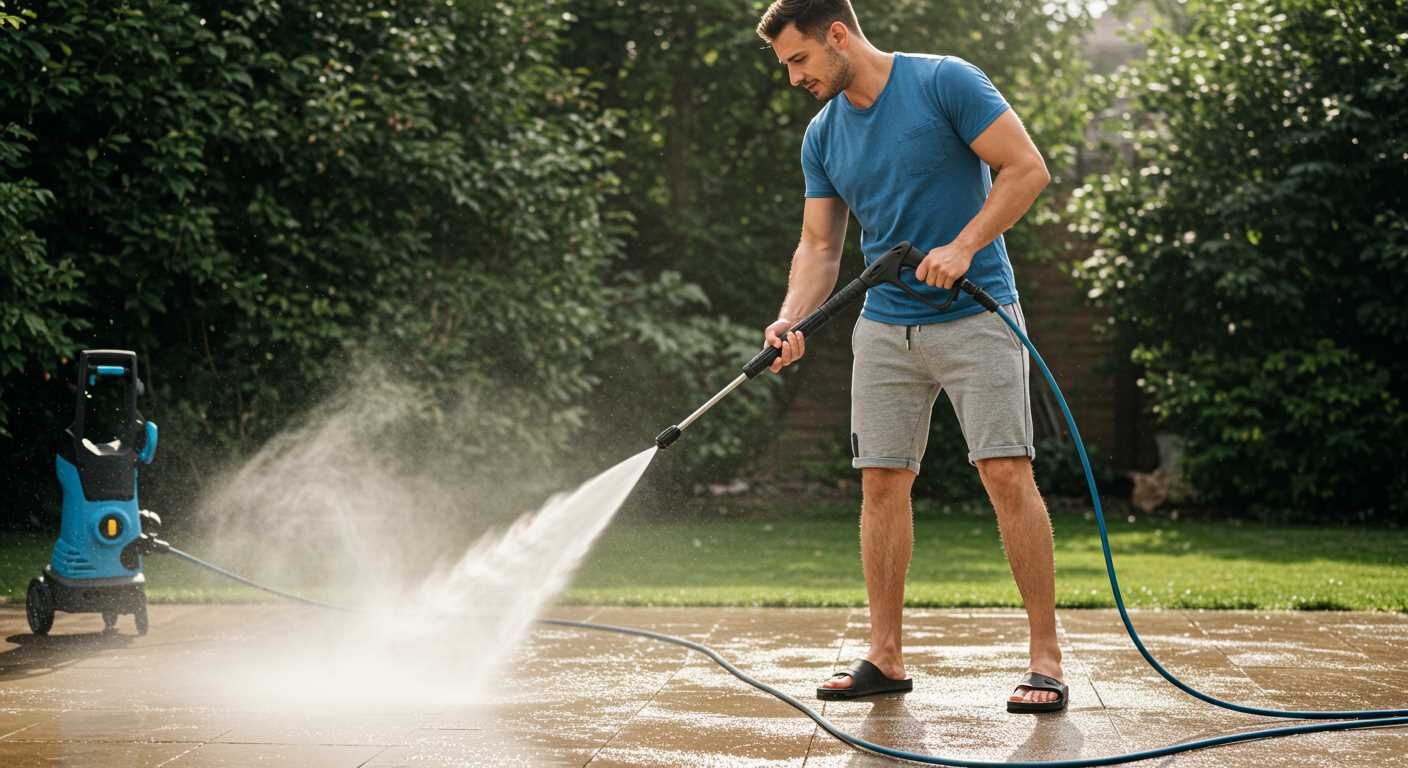
After reassembling the sprayer component, the first step is to connect it back to the water supply and attach any necessary fittings. Make sure that all parts are secured tightly to prevent leaks during the test.
Turn on the water supply without activating the motor initially. Check for any leaks at the connections. If everything appears secure, proceed to power on the machine and allow it to build pressure. Observe the gauge, if available, to ensure it reaches the expected levels.
Direct the lance away from yourself and others, then activate the trigger. Observe the flow of water from the end of the lance. A strong, consistent jet indicates successful removal of previous obstructions. If the stream appears weak or inconsistent, further inspection might be necessary.
Test various spray patterns by adjusting the settings on the nozzle, if applicable. Each pattern should produce a distinct spray: from a concentrated stream for tough stains to a wider fan for cleaning larger surfaces. This will help confirm that all functions are operational.
After testing, take note of any unusual sounds or vibrations during operation, which can indicate lingering issues. Should problems persist, consider revisiting the disassembly steps, ensuring that no debris remains in the assembly and that all components are correctly aligned.
Once testing is complete and everything is functioning properly, store the equipment correctly and ensure it is maintained regularly to avoid future issues.
Preventive measures to avoid future blockages
Regular maintenance is key. Always flush the cleaning tool with clean water after each use to remove any residual detergent or debris.
Use quality filtration
Install a high-quality inlet filter to catch particles before they enter the system. This simple addition can significantly decrease the chances of clogs.
Choose appropriate cleaning agents
Select cleaning solutions recommended by the manufacturer. Avoid abrasive chemicals that can cause mineral build-up within the internal pipes and fittings.
Inspect hoses and fittings frequently for damage or wear. Replace any compromised parts to prevent fragments from breaking off and entering the flow system.
Ensure that the water source is clean. A contaminated water supply can introduce sediments that lead to blockages. If your water supply is prone to debris, consider using a pre-filter.
Store the equipment properly. Protect it from extreme temperatures and ensure that there is no standing water in the unit. This will prevent mineral deposits from forming.
Perform periodic checks on the user manual for updates regarding maintenance practices specific to your model.
Lastly, following a consistent routine of inspection and cleaning will keep the device in optimal condition, reducing the likelihood of encountering future issues.
FAQ:
What causes a pressure washer nozzle to become blocked?
A pressure washer nozzle can get blocked for a variety of reasons. Common causes include the accumulation of dirt, debris, or detergent residue inside the nozzle. When you use the washer for cleaning, particles can be dislodged from surfaces and may enter the nozzle. If proper maintenance isn’t performed, these materials can harden or clog the nozzle opening, impeding water flow. Furthermore, mineral deposits from hard water can also build up, especially if the washer has been stored for a time without being used.
How can I tell if my pressure washer nozzle is blocked?
Signs of a blocked pressure washer nozzle include a significant drop in water pressure or an uneven spray pattern. If the nozzle is completely blocked, the washer may not produce any pressure at all. Listening for unusual sounds from the washer can also be a clue. If you notice a whistling or sputtering sound, it could indicate that water is struggling to pass through a clogged nozzle. Additionally, if you visually inspect the nozzle and see any dirt or debris, that’s a strong indication that it needs cleaning.
What are the steps to unblock a pressure washer nozzle effectively?
To unblock a pressure washer nozzle, follow these steps: First, ensure the machine is turned off and disconnected from the power source to prevent accidents. Detach the nozzle from the gun. Use a small pin or needle to carefully clear any debris from the opening. It’s crucial to push the debris out rather than further in. After clearing, rinse the nozzle with clean water. If deposits remain, a mixture of vinegar and water can help dissolve them. Soak the nozzle in this solution for about 30 minutes, then scrub gently with a soft brush. Rinse thoroughly before reassembling the nozzle and testing it. Regular maintenance can help prevent blockages in the future.


