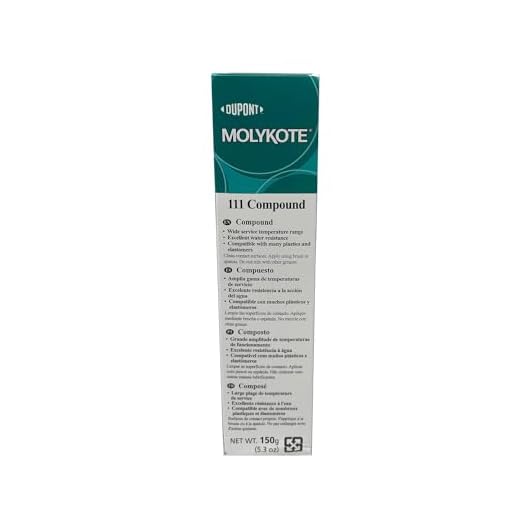
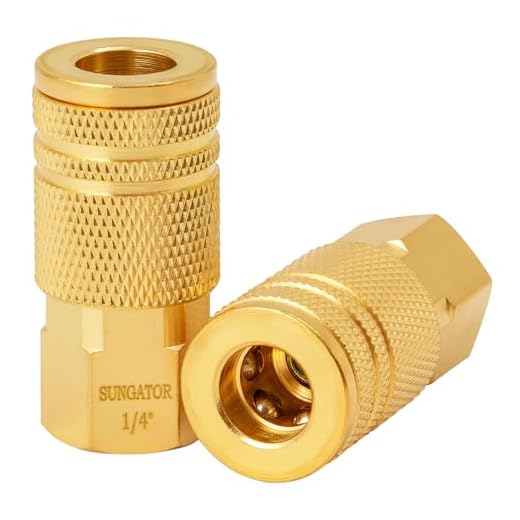


Begin by disconnecting all attachments and removing the water supply. Ensure the machine is unplugged before proceeding. Use penetrating oil on the bolts and joints to facilitate movement. Apply the oil generously and allow it to sit for at least 30 minutes. This simple step can often break the corrosion that causes the machine to seize.
Next, attempt to manually rotate the drive shaft. Use a wrench if necessary, applying even pressure to avoid damaging threads or other components. If resistance persists, revisit the application of penetrating oil and give it additional time to work its magic. A few rounds of this process may be essential in gaining the proper movement.
If you’re still facing difficulties, consider disassembling the housing to access internal components. Check for any debris or corrosion inside the casing that may hinder functionality. A thorough cleaning of the internals using a soft brush and warm soapy water can be beneficial. After cleaning, dry the parts thoroughly before reassembly.
Once everything is back together, test the system by reconnecting the water supply and plugging it in. Turn on the machine to see if it operates smoothly. If it still doesn’t function, you may need to consult the manufacturer or a professional for more advanced troubleshooting.
Unblocking the Water Pump Mechanism
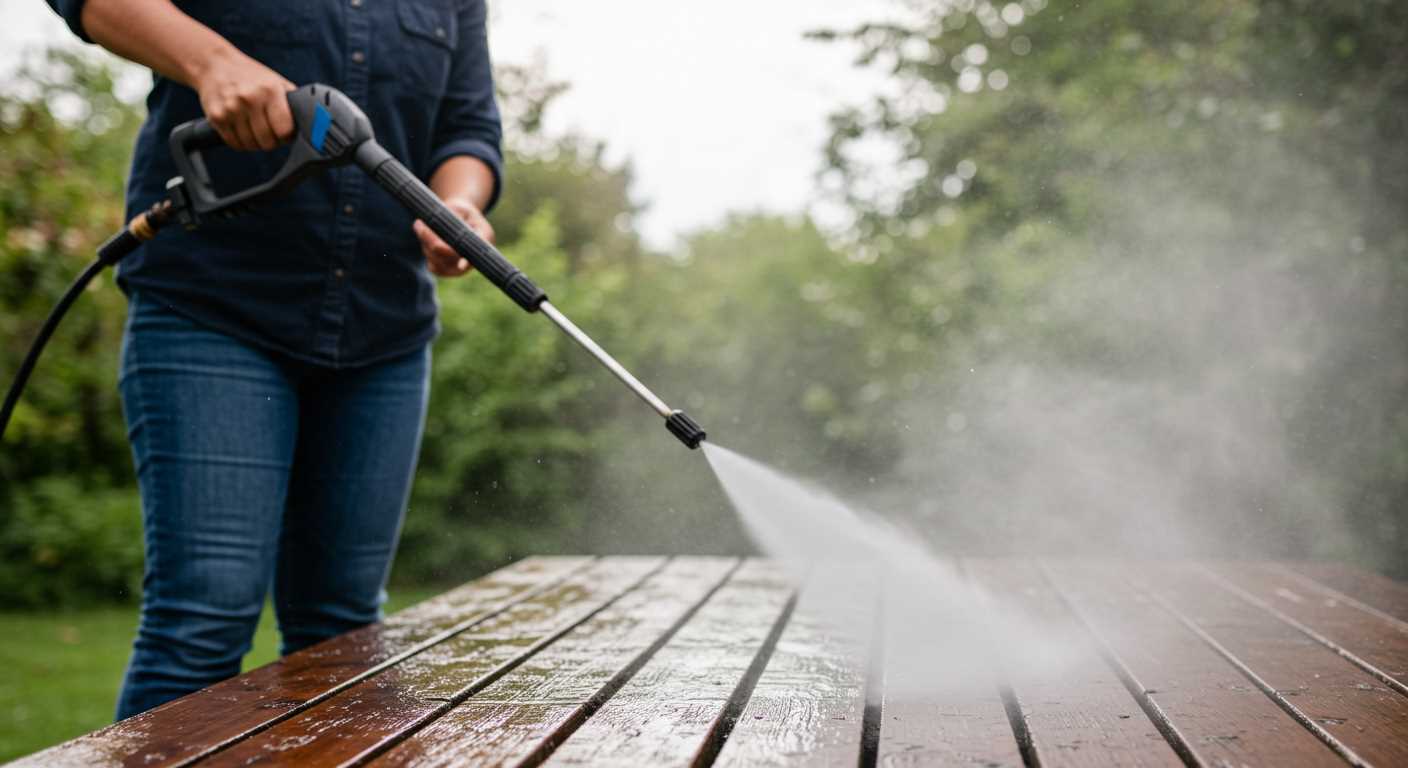
Apply penetrating oil to the fittings and seals. Ensure to choose a high-quality lubricant designed for mechanical components. This oil can break down rust and grime that may be causing the seizure. Let it sit for at least 30 minutes to allow for effective penetration.
Cleansing the Internal Components
Remove any debris around the assembly. Carefully disassemble the unit, taking note of the configuration for reassembly later. Use a soft cloth to wipe down the internal parts, paying particular attention to where the mechanism rotates. If you observe stubborn buildup, a soft brush can help in clearing these areas.
Applying Gentle Force
After performing the above steps, attempt to rotate the crankshaft manually. Use a wrench or a similar tool, applying light pressure to avoid damage. If the assembly remains stuck, gently tap around the edges with a rubber mallet, as this can help to dislodge any adhesive bonds formed by rust.
If all else fails and you still face resistance, consider using a heat gun on the external casing to expand the metal slightly. This thermal expansion may free the components stuck together. Exercise caution and avoid overheating, as this can cause damage.
After successfully restoring movement, reassemble the machinery, ensuring all components are clean and lubricated. Test the functionality before putting the equipment back into regular use.
Identifying Common Symptoms of a Seized Unit
Noticing any of the symptoms below can indicate an issue with the cleaning device’s operation. Recognising these signs early can help avoid further damage.
Unusual Noises
A distinct grinding or clunking sound when starting the motor often signals that internal components are stuck. This can occur when moving parts, such as pistons or valves, have become immobile.
Lack of Pressure Generation
If you observe that the usual force of water is diminished or completely absent, this could be tied to mechanical failure within the assembly. It may not build up the necessary pressure to function correctly, hinting at potential internal blockages or damaged seals.
Inconsistent water flow can also indicate that the mechanism isn’t operating smoothly. Any cases of sputtering or erratic discharge should not be overlooked, as they often point to deeper mechanical issues.
Resistance in the Motor
When engaging the unit, an unusual stiffness in the motor suggests that it’s struggling to initiate movement. This symptom often correlates with internal components that cannot rotate freely, hinting at significant buildup or damage.
Ensure you carefully monitor these indicators to prevent prolonged issues. Early detection leads to easier solutions and can extend the lifespan of your equipment.
Gathering Necessary Tools and Materials for the Task
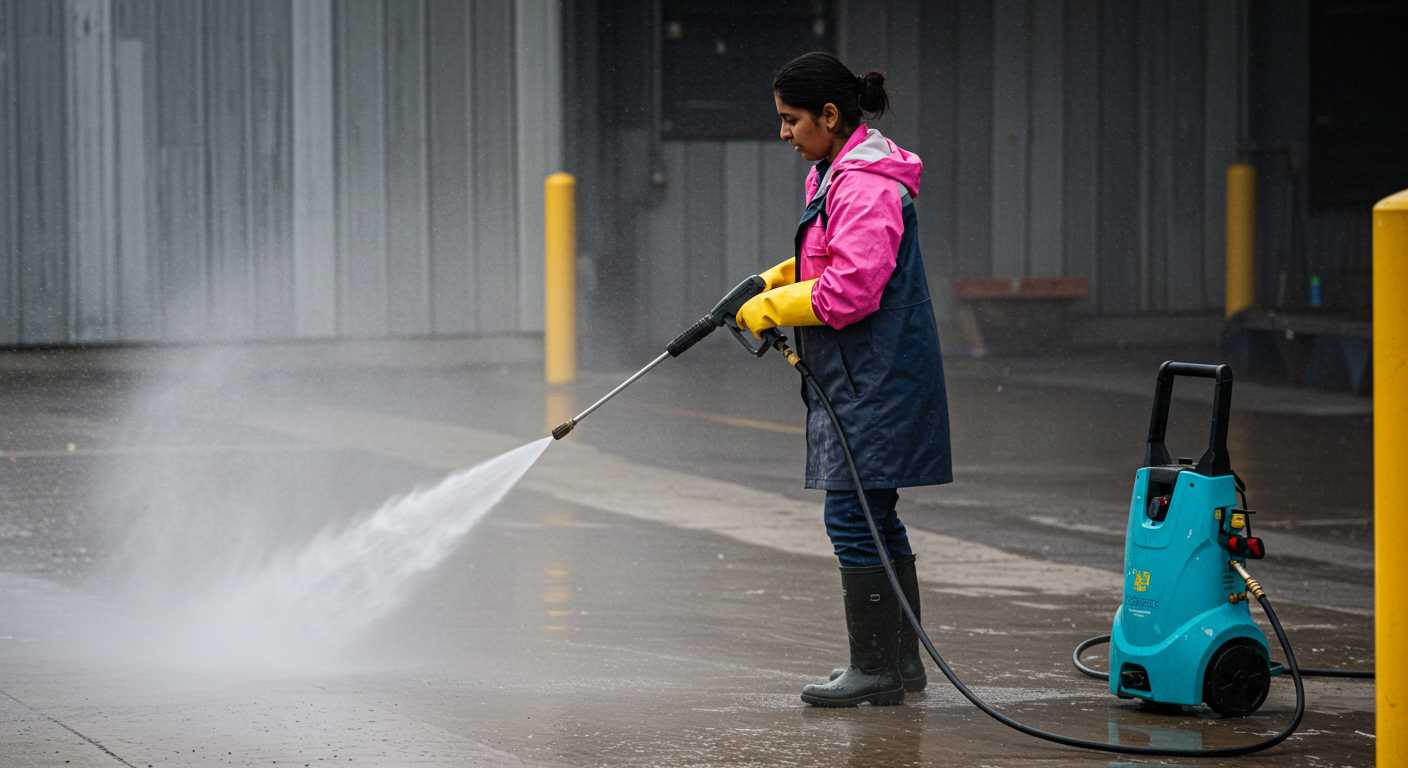
To effectively restore functionality to a malfunctioning cleaning device, ensure you have the following tools and materials at hand:
| Tools | Purpose |
|---|---|
| Wrench set | To loosen and remove fittings on the motor assembly and fluid lines. |
| Screwdriver set | For disassembling covers and accessing internal components. |
| Pliers | To grip and manipulate tight components or hoses. |
| Lubricating oil | Aids in loosening stuck components and reducing friction. |
| Cleaning cloths | To wipe surfaces and collect debris during the process. |
| Bucket | For catching any residual fluid during disassembly. |
| Replacement seals or gaskets | To replace any worn-out components during reassembly. |
| Safety gloves | To protect hands while handling tools and cleaning agents. |
| Safety goggles | To shield eyes from debris or cleaning substances. |
Gathering these items will enable a smoother troubleshooting and repair process, increasing your chances of successfully restoring the unit to proper working condition.
Draining the Pressure Washer and Disassembling the Pump
Begin with disconnecting the power source and any hoses connected to the machine. Ensure no water remains in the system by following these steps:
Locate the drainage plug, usually situated at the bottom of the water reservoir. Position a bucket beneath the unit to catch the water. Remove the plug carefully, allowing gravity to fully empty the reservoir. If your model lacks a plug, remove the inlet hose and tilt the machine to drain any residual water.
Next, disassemble the assembly that houses the fluid displacement mechanism. Start by removing any screws, bolts, or fasteners securing the cover or housing. Use the appropriate tools to avoid stripping any parts. Take photographs or notes during this process to aid in reassembly.
Initially, remove external fixtures such as the spray wand and nozzles. Then, proceed to detach the cover from the main body. Depending on the design, you may find gaskets or seals; be careful not to damage them as they can be delicate.
After accessing the inner components, check for any visible signs of damage or obstruction. Carefully detach the crankshaft or piston assembly, noting the order of components, as this will be critical for reassembly. Ensure all parts are placed in a clean area to avoid losing them.
With the internal assembly exposed, inspect each section for signs of corrosion or wear. If required, clean these components using a suitable solvent and a soft brush to remove debris and grime that may have built up over time.
By following these steps, you prepare the entire apparatus for further examination or repair, ensuring efficient cleanup and maintenance of all essential components.
Inspecting Internal Components for Damage and Blockages
Begin with a thorough examination of the interior parts after disassembling the unit. Look for visible signs of wear or breakage, particularly on seals, gaskets and pistons.
Check for obstructions that could prevent smooth operation:
- Foreign Objects: Inspect areas around the motor and inside the casing for debris or any items that may have entered.
- Corrosion: Examine metal surfaces for rust, especially in areas exposed to moisture. This can affect functionality and longevity.
- Blockages: Ensure that passages for fluid flow are clear. Use a small wire or compressed air to remove any debris.
- Gasket Condition: Look for cracks or deformation in gaskets that may hinder sealing and cause leaks.
- Piston Movement: Manually check the pistons to ensure they move freely without excessive resistance.
If you identify any issues, replace faulty components to restore proper operation. Ensure each part is compatible with your specific model.
Reassemble the machinery carefully, ensuring all connections are secure and components are aligned properly before reattaching the outer casing.
Applying Lubrication to Free Stuck Parts
Utilise penetrating oil as your primary lubricant. Brands like WD-40 or PB Blaster work effectively to break down rust and grime. Apply liberally to all affected areas, ensuring even coverage on the joints and seals.
Steps for Effective Lubrication
- Position the equipment in a well-ventilated area to enhance the drying process after application.
- Spray the lubricant onto the seized components, using a small brush to work it into tight spaces.
- Let the oil sit for at least 20 minutes to allow it to penetrate thoroughly.
- Gently attempt to move the parts, applying more lubricant as necessary.
If the initial attempt doesn’t yield results, consider heating the components slightly. A heat gun can help expand the metal, facilitating the release of stuck parts. Always be cautious with this method to avoid damaging sensitive components.
Alternative Lubrication Options
- Used motor oil can be a cost-effective alternative but may not be as effective for all materials.
- Silicone spray is useful for protecting components from moisture post-lubrication.
- Graphite powder serves well in environments exposed to extreme temperatures.
After achieving movement, ensure to clean off excess lubricant to prevent future accumulation of dirt and debris. Reassemble the unit following the manufacturer’s guidelines to ensure proper functioning.
Reassembling the Equipment and Conducting Initial Tests
Once all components have been inspected and any necessary repairs made, reassemble the unit carefully. Start with the internal sections, ensuring they fit snugly. Pay attention to the position of seals and gaskets; proper placement prevents leaks and ensures optimal performance. Secure each part with the appropriate screws or bolts without over-tightening, as this could lead to stripping or cracking.
Final Checks Before Operation
After reassembly, double-check all connections and fittings. Inspect hoses for kinks or damage that might cause pressure drops or blockages. Ensure the inlet and outlet valves operate smoothly and aren’t obstructed.
Conducting Initial Tests
Before fully powering up the appliance, test the system without any cleaning solution. Attach it to a water source and prime the system to remove any trapped air. Turn on the unit briefly to observe its operation. Look for fluid flow from the outlet and listen for unusual noises, indicating remaining issues. Watch for leaks, especially around joints and seals. If everything appears stable, proceed to a normal operational test using your chosen detergent.
Evaluating performance during these initial tests is crucial. Check the effectiveness of the cleaning action on a suitable surface. Adjust settings as necessary to achieve desired results. Immediate detection of any irregularities can prevent further complications down the line.
Maintaining Your Cleaning Equipment to Prevent Future Issues
Regular maintenance is pivotal for enhancing the longevity of your cleaning device. I strongly recommend flushing the internal system with clean water after every session to eliminate debris and residues. This simple task can drastically reduce the likelihood of clogs and internal wear.
Changing the Oil
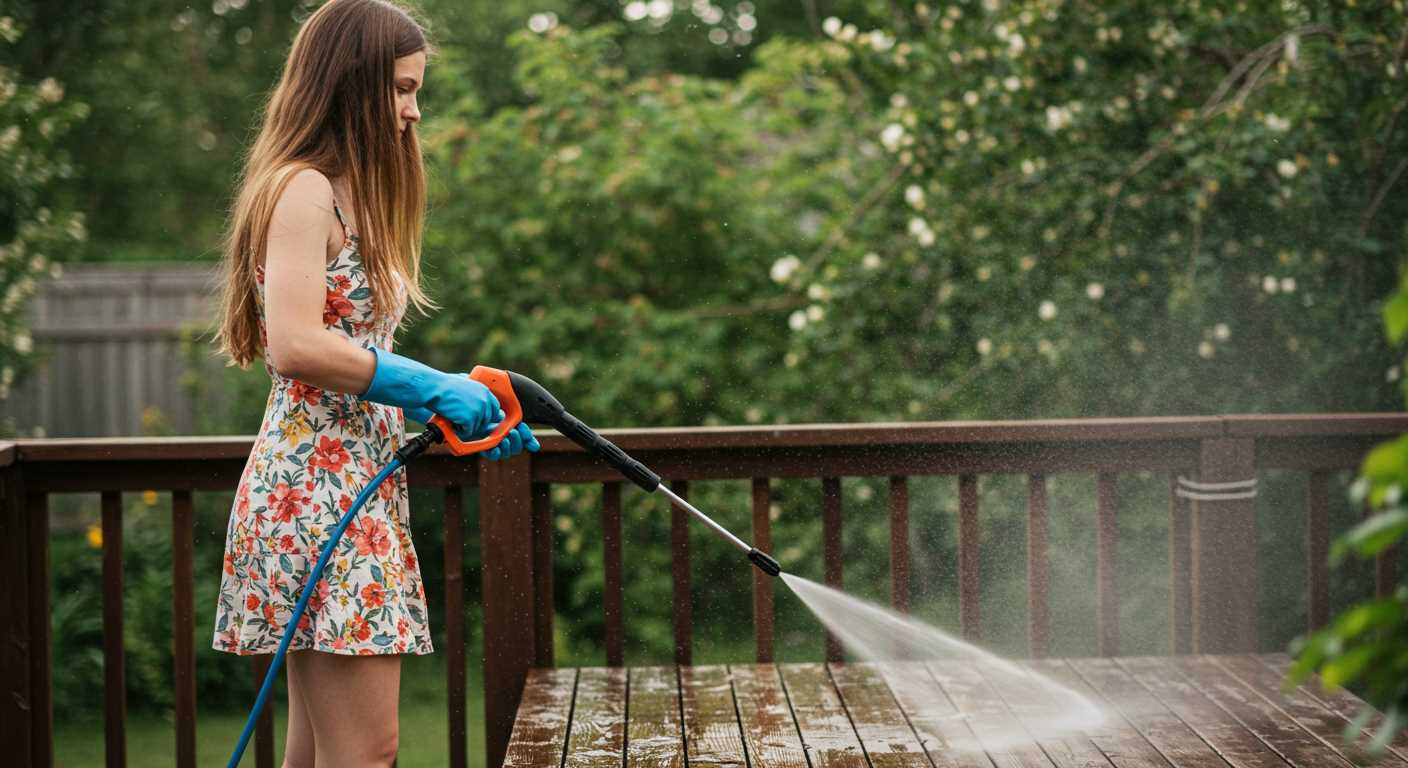
For models equipped with a lubrication system, oil changes should occur at least once a season or after every 50 hours of use. Always check the manufacturer’s guidelines for the appropriate type of oil to use. Fresh oil ensures smooth operation and protects internal components from wear.
Storing Correctly

Proper storage is critical. Keep the machine in a dry, protected location to avoid moisture accumulation that can lead to rust. If your unit is not used frequently, consider using antifreeze or a storage solution specifically designed for these machines. It’s best to disconnect hoses and ensure all parts are free from water to prevent freezing damage during colder months.
Regularly inspecting the hoses and connections for wear or cracks can prevent leaks and pressures issues down the line. Replace any damaged components immediately to maintain efficiency and performance levels.
Lastly, a periodic inspection of the nozzle can ensure optimal spray patterns and prevent back pressure complications. Replacing these components according to the usage frequency ensures that your cleaning tool remains functional and reliable.
FAQ:
What are the common signs that a pressure washer pump is seized?
There are several indicators that may suggest your pressure washer pump is seized. Firstly, if you attempt to start the pressure washer and the engine runs but does not pressurise water, this is a clear sign. Additionally, you might notice unusual noises coming from the pump or the inability to pull the recoil starter. If you see any leaks around the pump area or if the pump feels extremely hot to the touch, these could also be signs of a problem. Regular maintenance and inspections can help identify these issues early.
Can I unseize a pressure washer pump without professional help?
Yes, you can often unseize a pressure washer pump yourself without the need for a professional. Start by disconnecting the pressure washer from the power source and draining any water from the system. Then, attempt to manually turn the pump by hand. If it feels stuck, applying a penetrating oil, such as WD-40, to the pump’s housing can sometimes help loosen it. After allowing the oil to soak, try again to rotate the pump. If these methods do not work, it may be necessary to disassemble the pump for a thorough cleaning or further checks.
What tools do I need to unseize a pressure washer pump?
To unseize a pressure washer pump, you will need a few basic tools. A socket set or adjustable wrench is necessary for disassembling the pump and other components. Additionally, a penetrating oil will be helpful to loosen any stuck parts. If you plan to clean or replace any internal components, have screwdrivers, a soft brush, and possibly replacement seals or gaskets on hand. Finally, safety gloves and goggles are advisable to protect yourself while working on the pump.
How can I prevent my pressure washer pump from seizing in the future?
To prevent your pressure washer pump from seizing in the future, regular maintenance is key. Ensure you run the machine as per the manufacturer’s guidelines, particularly through a flushing session with fresh water after each use. Additionally, consider draining the pump and storing it in a dry location if you will not be using it for an extended period. Using a pump protector fluid can also safeguard against freezing conditions. Regularly check for any leaks or unusual noises during operation, which may indicate a developing issue that requires attention.


