

Before you even consider tackling outdoor grime, ensure the equipment is fully charged. A fresh battery can make a notable difference in performance. Check the power indicator, as faded lights often indicate low energy levels that lead to subpar results.
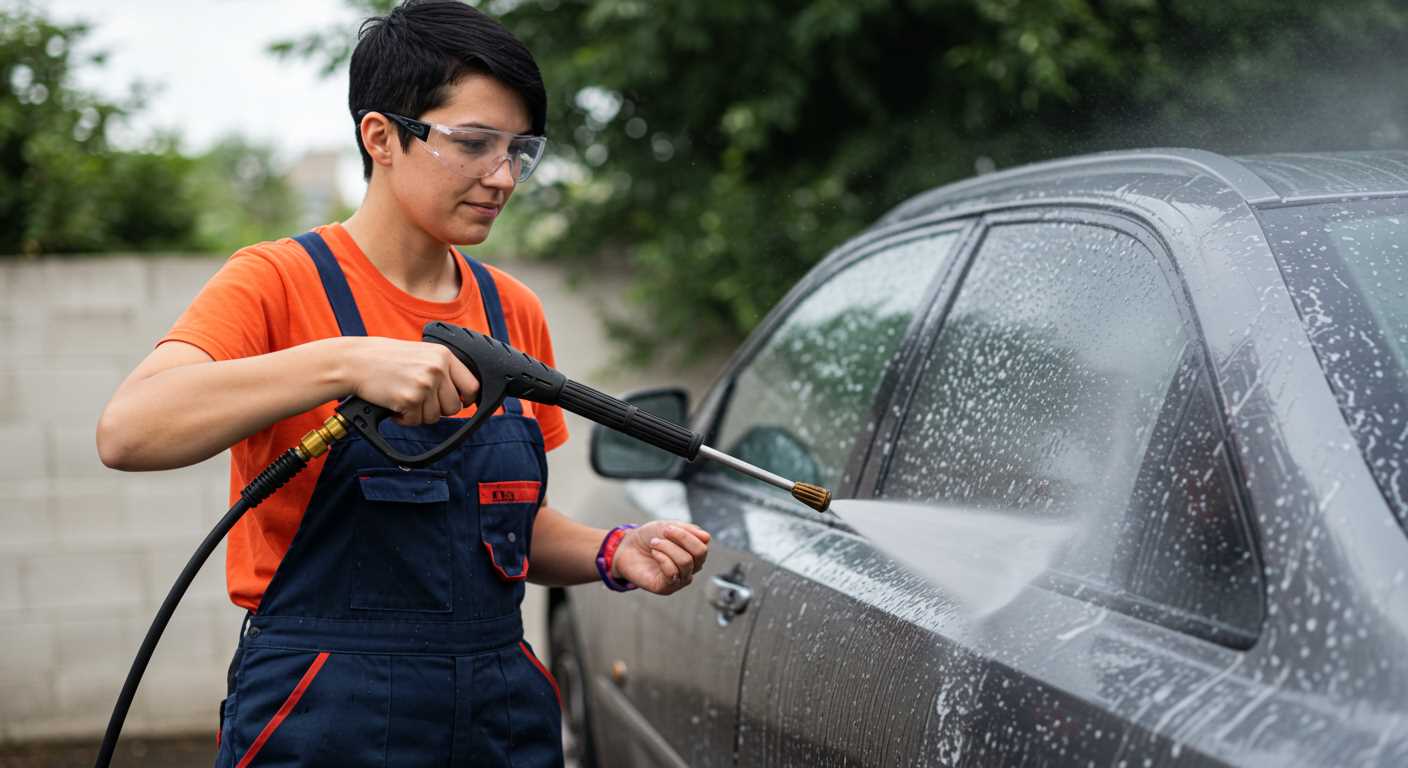
Attach the appropriate nozzle based on the task ahead. Nozzles vary in spray pattern and intensity, catering to different surfaces and cleaning needs. For delicate surfaces like car paint, utilise a wide-angle setting to prevent damage, while a narrower option is best for tougher stains on concrete or brickwork.
Position the unit at an optimal distance from the surface. Maintaining around 2 feet is ideal for most applications, allowing effective cleaning without causing harm. Avoiding too close a contact can help to prevent chipping or stripping paint from surfaces.
Utilising the right cleaning solution is equally critical. Some units are designed for specific detergents that enhance the cleaning process. If a cleaner is needed, ensure it is compatible with the machine to maintain longevity and performance.
Lastly, think about your cleaning technique. Rather than a random back-and-forth motion, move in overlapping strokes. This method helps provide an even finish and ensures that all areas receive adequate attention without leaving streaks or unclean patches.
Choosing the Right Location for Your Cleaning Equipment
.jpg)
Prioritise a flat, stable surface free of debris. This ensures both safety and stability while operating. Avoid uneven ground, as it can cause the device to tip or shift during usage.
Check for nearby electrical outlets or the adaptability for extensions to prevent tripping hazards. Having power efficiently located streamlines the process, allowing better manoeuvrability without cumbersome cords in the way.
Consider the proximity to drainage systems. Directing water flow away from structures or landscaped areas reduces the risk of unsightly pooling and potential damage.
Be mindful of your surroundings. Areas near sensitive plants, outdoor furniture, or delicate surfaces should be approached with caution. Choosing an area away from these elements can prevent inadvertent harm.
Lastly, assess the wind direction. Operating on a breezy day can lead to unexpected spray patterns, creating a mess or affecting nearby areas. Select a sheltered location for better control over water dispersion.
Preparing the Surface Before High-Pressure Cleaning
Clear the area of obstacles such as furniture, potted plants, and decorations. This allows for unobstructed access to all surfaces during the cleaning process.
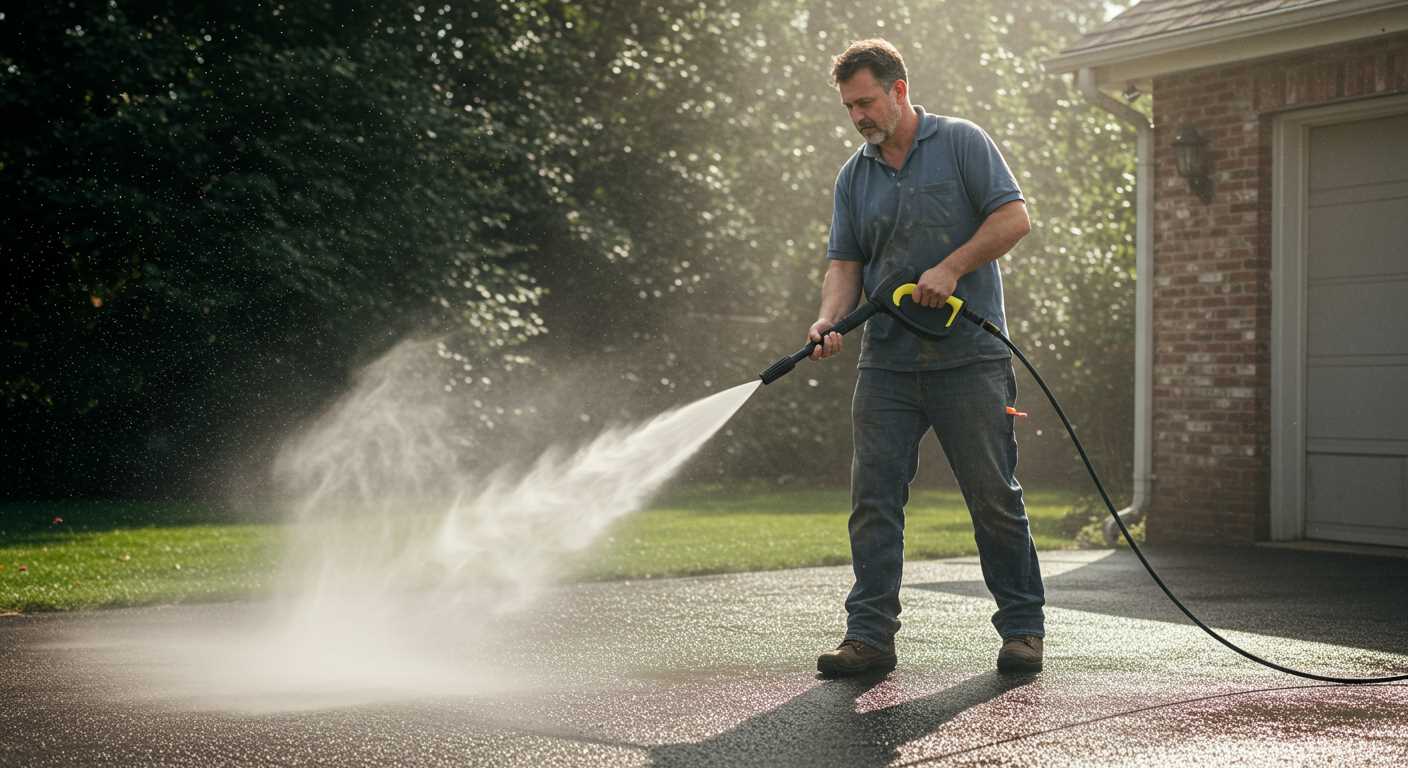
For surfaces like driveways or patios, remove loose debris, dirt, and leaves using a broom or a blower. This step enhances the efficiency of the cleaning task.
Check for delicate items such as outdoor electronics or fragile decorations. Either relocate these items or cover them with waterproof tarps to protect them from water exposure.
If addressing exterior walls, inspect for any loose paint, dirt buildup, or mold. Scrape off flaky paint and scrub any mouldy areas with a suitable cleaner prior to starting the work.
For surfaces with excessive stains, a pre-treatment using a dedicated cleaning solution may improve outcomes. Allow the solution to sit for the recommended time, ensuring you follow the manufacturer’s instructions.
Prior to operation, evaluate the need for safety measures like wearing goggles and gloves. This helps protect against any debris that may become dislodged during cleaning.
| Surface Type | Preparation Steps |
|---|---|
| Concrete Driveway | Remove debris with a broom, apply pre-treatment solution. |
| Wooden Deck | Clear furniture, check for rot or loose boards. |
| Brick or Stone Walls | Scrape off loose paint, check for mold and treat. |
| Vehicles | Ensure windows are closed and remove any personal items. |
By following these specific steps, the efficiency of the cleaning process increases significantly, leading to superior results.
Connecting and Charging Your Cordless Cleaning Equipment
Before you begin your tasks, make sure the battery is fully charged. To do this, locate the charging port, usually found on the handle or the back of the unit. Plug in the charger securely into the equipment and connect it to a power outlet.
Here’s a step-by-step guide to ensure an efficient charging process:
- Remove the battery pack from the unit if applicable. This can usually be done by pressing a release button or sliding the pack out.
- Connect the charger to the battery pack. Ensure the connection is secure and the indicator light shows that charging has commenced.
- Plug the charger into a mains electrical socket. Verify that the socket is functioning properly by testing with another device.
- Monitor the indicator light; it generally shifts from red (charging) to green (fully charged). This usually takes a few hours, but check the manufacturer’s specifications.
- Once charged, unplug the charger and remove the battery pack. If you removed it for charging, slide it back into the unit until it clicks into place.
Always refer to the user manual specific to your model for any peculiarities related to charging. Regular maintenance of your battery is critical; keep it clean and store it in a cool, dry location when not in use.
Check the battery periodically for wear, as life expectancy diminishes after a particular cycle count. Replacing a worn battery ensures consistent performance during operation.
Selecting the Appropriate Nozzle for Different Tasks
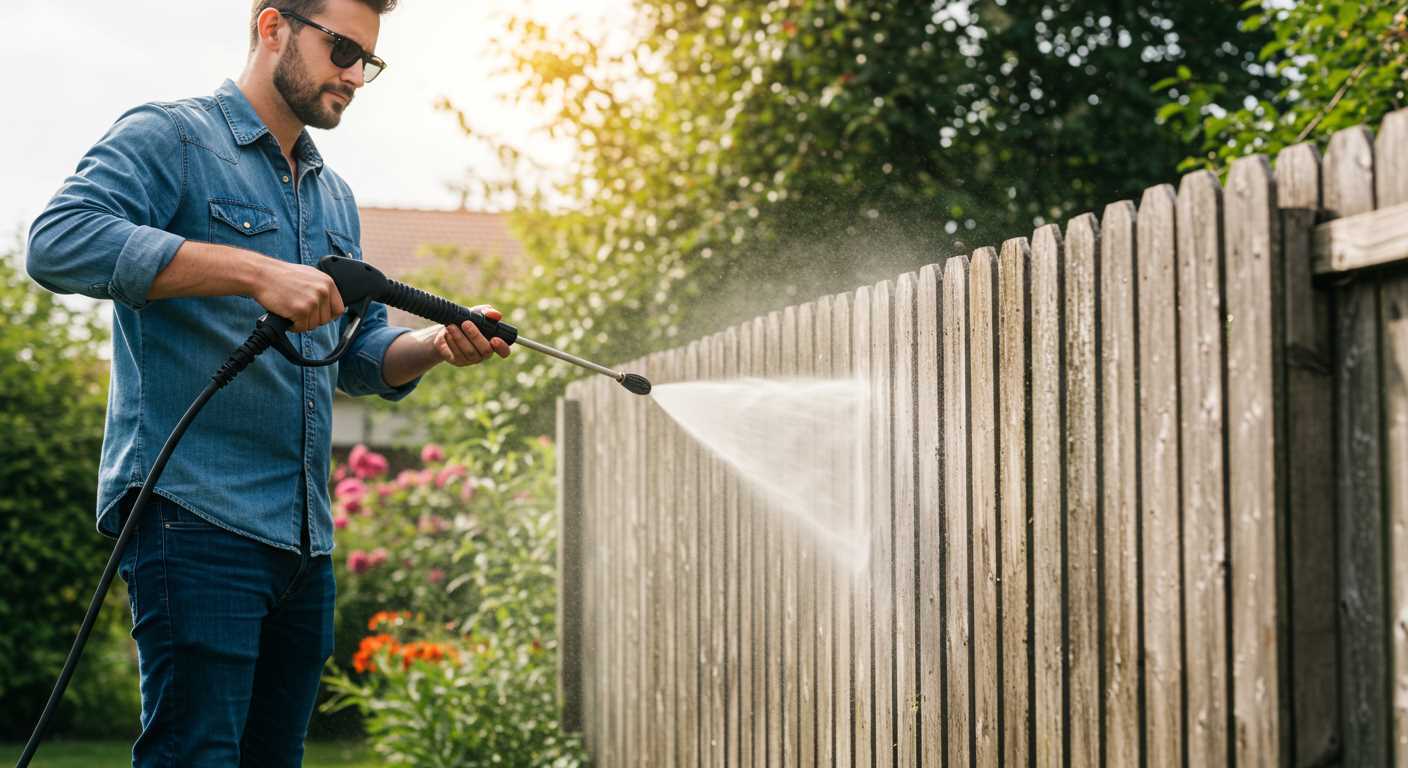
The key to achieving optimal results with a cleaning unit lies in choosing the right nozzle for the task at hand. Nozzles typically vary in size and spray pattern, each designed for specific cleaning scenarios. For general cleaning, a 25-degree nozzle provides a versatile spray that balances power and coverage, making it suitable for surfaces such as patios and driveways.
If you encounter stubborn grime or tough stains, the 15-degree nozzle is your best ally. This nozzle delivers a concentrated, high-pressured stream that effectively breaks down difficult residues on surfaces like concrete and brick. Always maintain a safe distance to prevent surface damage.
For delicate surfaces, such as vehicles or painted decks, opt for the 40-degree nozzle. This attachment creates a wide and gentle spray, allowing for safe cleaning without risking scratches or abrasions.
When dealing with high-up surfaces or lower pressure applications, a soap nozzle, often characterised by a wider or adjustable angle, facilitates the application of detergents or cleaning solutions. This nozzle typically functions best at low pressure, allowing the soap to adhere to the surface longer before rinsing.
Always remember to switch nozzles based on the task requirements. Testing on a small, inconspicuous area can also help ensure that the chosen nozzle does not damage the surface while maintaining the desired cleanliness.
Safety precautions to follow during pressure washing
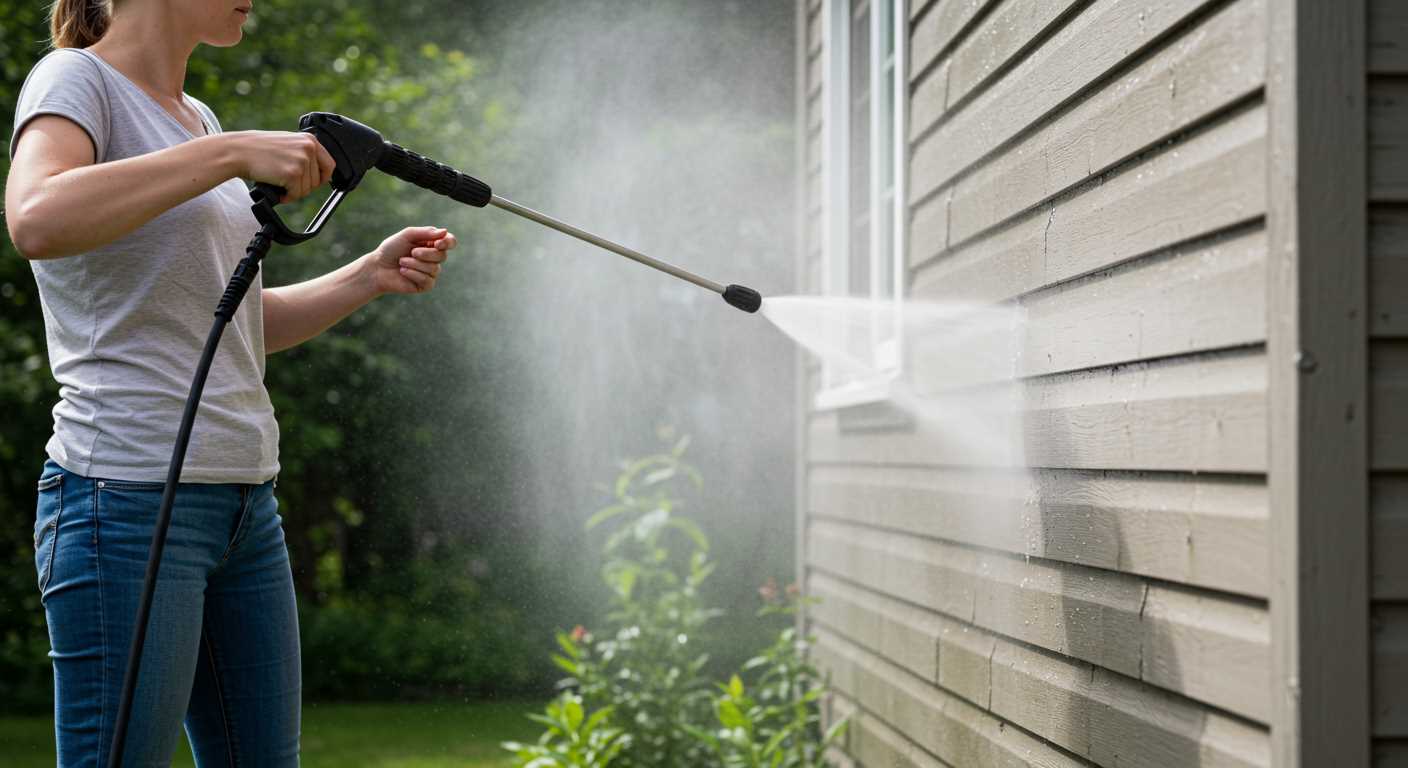
Always wear appropriate personal protective equipment. This includes safety goggles to protect your eyes from debris, gloves to shield your hands, and sturdy footwear to avoid slips. Consider using ear protection as well, as some devices can generate loud noises.
Before starting, ensure the area is clear of non-essential items. This reduces the risk of damaging personal property and helps you focus on the task at hand.
Avoid directing the spray at people, pets, or plants. The force can cause injury or damage. Maintain a safe distance from surfaces while spraying, adjusting your angle to prevent close-range impact.
Check for any electrical hazards nearby. Avoid using equipment near outlets or extension cords that may come into contact with water. If working outdoors, ensure there is no risk of electrical shock.
- Inspect hoses for leaks, cracks, or wear before use.
- Ensure all connections are tight and secure.
- Never block or cover any vents on the machine.
Be mindful of your surroundings. Look out for slippery surfaces, especially if washing under wet conditions. Maintain a stable footing at all times.
Be cautious with detergent applications. Ensure that cleaning solutions do not stain or damage delicate surfaces. Always follow the manufacturer’s guidelines regarding chemical usage.
After completing your task, allow the machine to cool down before storing it. Proper maintenance of tools ensures longer life and functionality.
Finally, always refer to the user manual for specific safety instructions related to your equipment model. Adhering to these guidelines will ensure a safe and effective cleaning experience.
Maintenance Tips for Prolonging Your Pressure Cleaner’s Lifespan

Regularly inspecting the unit will help catch any wear or damage early. Focus on checking the hoses for leaks or cracks, as these are common failure points. Replace any damaged parts immediately to prevent further issues.
Draining the water supply after each task is essential. Leftover water can lead to rust or mineral build-up, which negatively affects performance. Ensure you clear the pump and any attached hoses to extend their durability.
Keep all filters clean and free of debris. A clogged filter can strain the motor and reduce operational efficiency. Inspect them frequently, especially after heavy use, and clean or replace them as needed.
Store the equipment in a dry, sheltered area to protect it from the elements. Extreme temperatures can weaken plastic components and cause seals to fail, leading to leaks. If storage in a garage is not an option, consider using a protective cover to shield it from rain and sun.
Lubricate moving parts periodically. This includes wheels and any pivot points. A little grease can reduce friction, helping mechanisms to work smoothly and last longer.
Charge the battery according to the manufacturer’s specifications. Overcharging or undercharging can shorten battery life significantly. Always use the recommended charger and avoid prolonged exposure to extreme temperatures when storing the battery.
Lastly, perform a full review of the operations manual. Familiarise yourself with specific maintenance tips outlined by the manufacturer. Each model has unique requirements that contribute to its longevity.
FAQ:
What are the key steps for setting up a cordless pressure washer?
To set up a cordless pressure washer, first ensure the battery is fully charged. Next, attach the appropriate nozzle for the task at hand, whether it’s a wider spray for delicate surfaces or a more concentrated stream for tough dirt. Then, connect the water supply, if applicable, and press the trigger to release any air trapped in the system. Finally, you’re ready to start washing by pulling the trigger and moving the washer over the surface you want to clean.
Can a cordless pressure washer handle heavy-duty cleaning tasks?
A cordless pressure washer is generally designed for light to medium cleaning tasks, such as washing cars, patios, and garden furniture. For heavy-duty applications, like removing stubborn grime from driveways or heavily soiled surfaces, a corded or gas pressure washer may provide more power and consistent performance. However, advancements in battery technology mean some high-end cordless models can tackle moderately tough jobs effectively, but their runtime may be limited.
How long does the battery of a cordless pressure washer typically last?
The battery life of a cordless pressure washer varies by model and usage. On average, you can expect around 30 to 60 minutes of use on a single charge, depending on the pressure settings and the type of cleaning task. It’s advisable to check the manufacturer’s specifications for the exact run time and consider having a spare battery for longer cleaning sessions. This way, you can swap batteries when one runs out.
What precautions should I take while using a cordless pressure washer?
While using a cordless pressure washer, ensure you wear appropriate protective gear, including goggles and gloves, to safeguard against debris and water spray. Always keep the nozzle aimed away from people, pets, and fragile items. Before using the washer, check for any potential hazards, such as electrics in the area you are cleaning. Additionally, avoid using the washer on surfaces that are too delicate or not suitable for high-pressure cleaning, as this could cause damage.
What maintenance does a cordless pressure washer require?
Maintaining a cordless pressure washer is relatively straightforward. After each use, rinse the nozzle and gun to remove any dirt or detergent residue that could clog them. Periodically check the battery for any signs of wear and ensure it is charged correctly. It’s also a good idea to inspect hoses for leaks or damages. Storing the washer in a dry place and ensuring the hoses are coiled correctly can extend its lifespan. Always refer to the user manual for specific maintenance tips and schedules.


