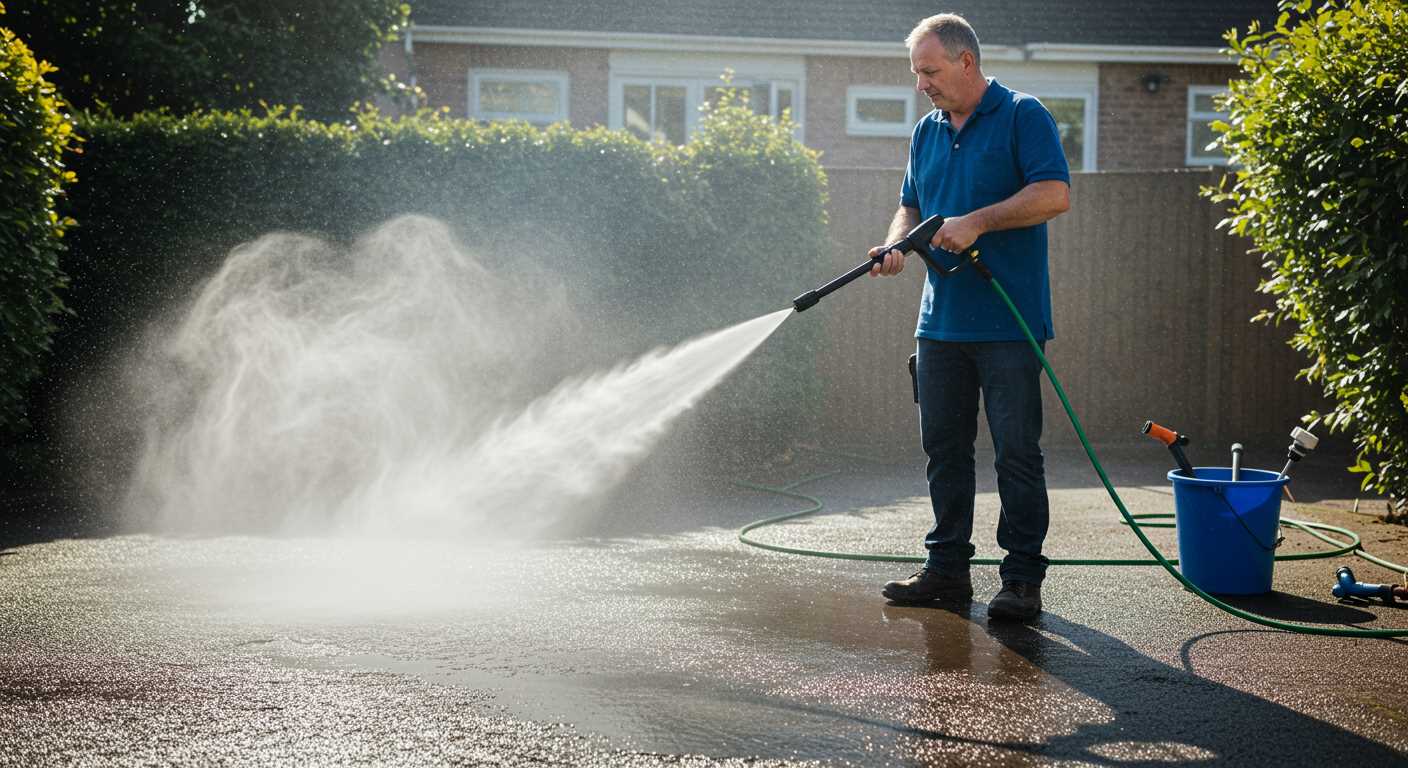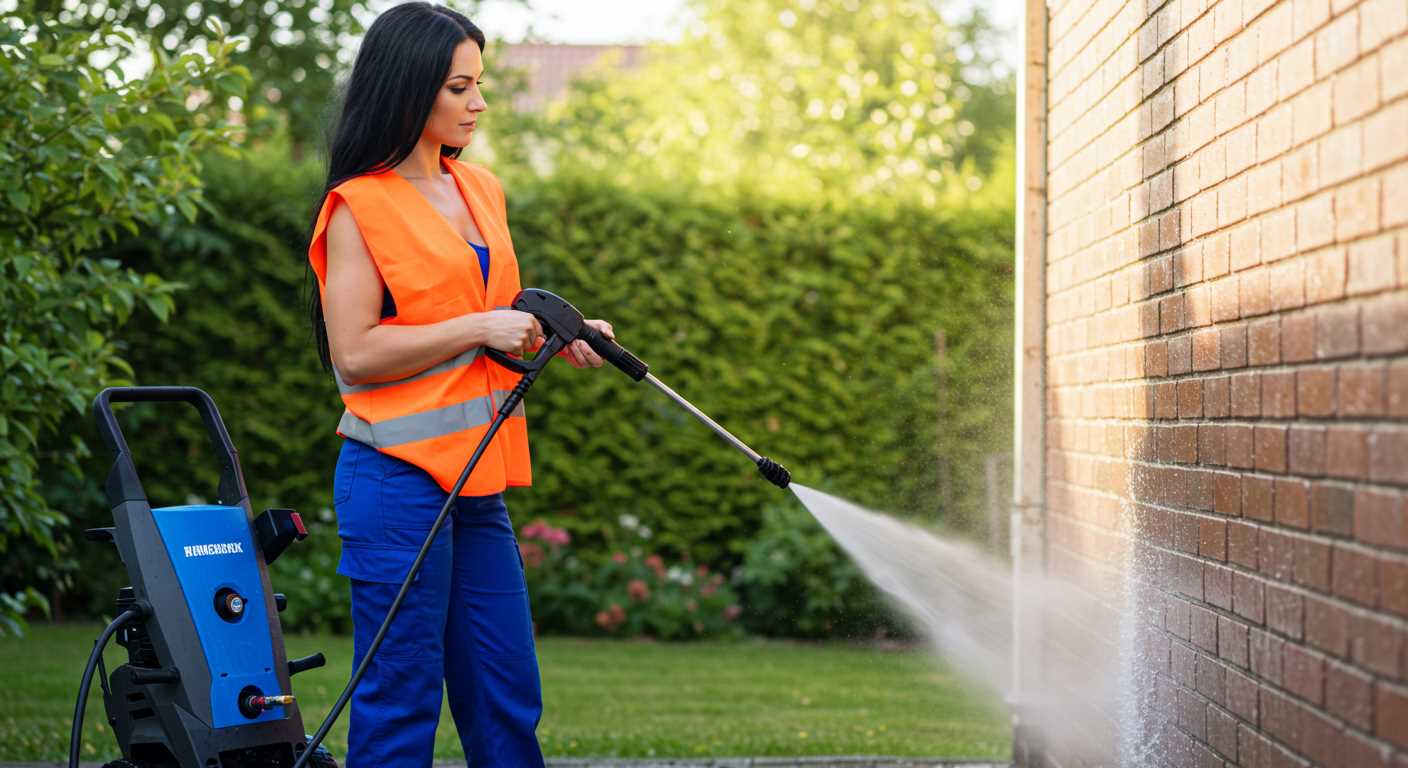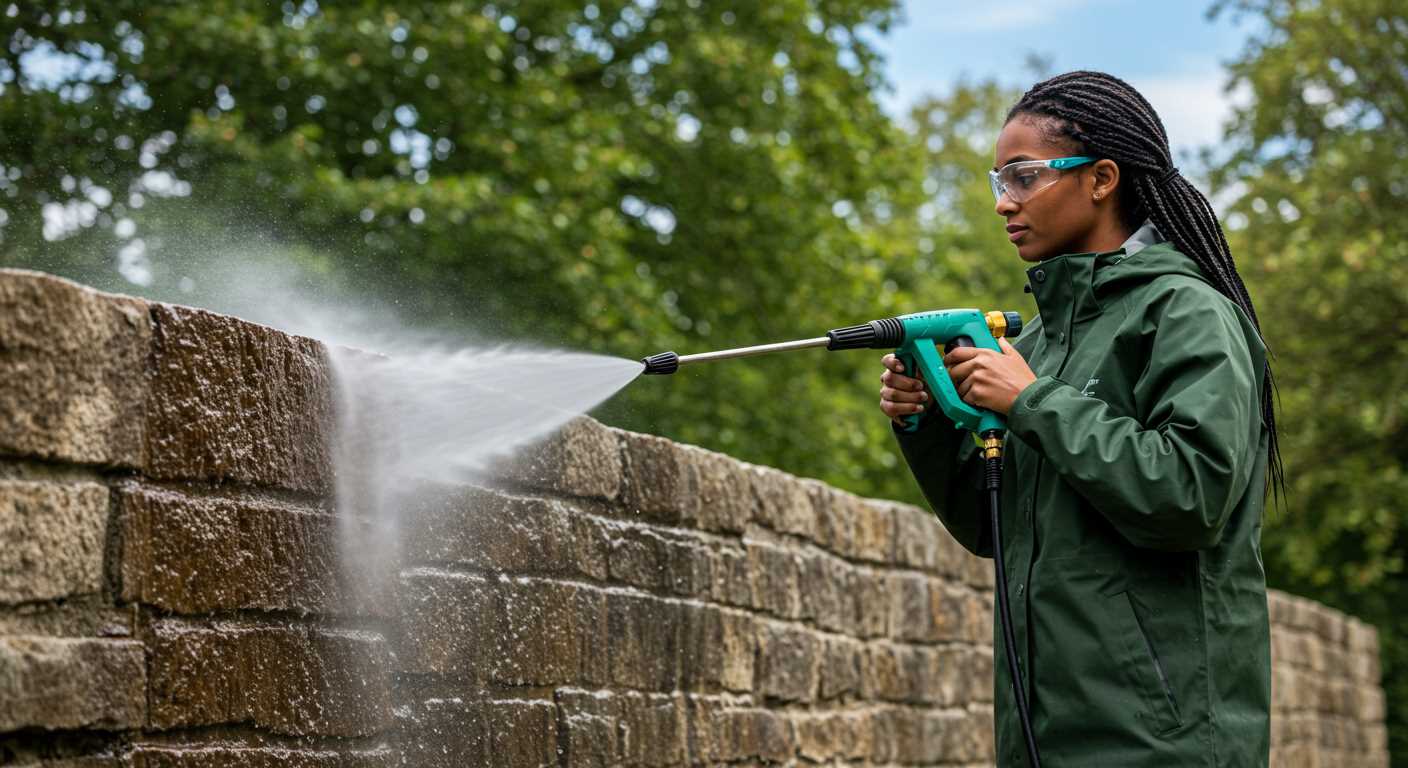

Choosing the right nozzle attachment is crucial for maximising cleaning potential. Opt for a specific type designed to produce thick suds, effectively encapsulating dirt and grime. The correct dilution ratio of detergent creates an ideal mixture, facilitating enhanced lift-off during washing.
Before applying the solution, ensure the surface is cooled down to prevent rapid drying, which might hinder the cleaning process. Begin at the top and work your way down, allowing the foam to dwell for several minutes. This allows the formulated bubbles to penetrate and loosen stubborn contaminants without requiring excessive scrubbing.
After allowing adequate dwell time, initiate the rinsing process using a fan spray tip. This maintains the foam’s integrity while dislodging debris, ensuring a spotless finish. Regular maintenance of equipment and the attachment enhances longevity, providing consistent results every time.
Selecting the Right Foam Generator for Your High-Pressure Cleaner
Choose a model compatible with your high-pressure cleaner’s specifications. Look for units designed to operate within the same PSI and GPM range. For instance, if your unit has a maximum pressure of 2000 PSI, ensure the generator can handle similar specifications without compromising performance.
Nozzle Size

Opt for adjustable nozzle sizes to achieve the desired foam consistency and coverage. A wider nozzle may spread the mixture thoroughly, while a narrower one focuses the spray for targeted cleaning. Ensure the model supports interchangeable nozzles for versatility.
<h3.Material Quality
Select a device made from high-quality materials that resist corrosion and wear. Brass fittings and high-grade plastics enhance durability, ensuring longevity even with regular use. Avoid inexpensive models that may deteriorate quickly, reducing effectiveness over time.
Preparing Your Equipment for Optimal Lathering

Ensure your machine is devoid of any existing detergent. Begin by detaching the detergent tank if your model features one. Thoroughly rinse it out under clean water, removing residue that could affect suds performance.
Check the Nozzle Size
The nozzle size significantly influences the output. Verify that you’re utilising the correct nozzle, typically a larger spray tip, to facilitate an even application of the suds.
Examine the Hose and Connections
- Inspect the hose for any kinks or damages that could hinder water flow.
- Secure all connections tightly to avoid any leakage during operation.
Testing the equipment without any attachment prior to application can help identify any operational flaws. Run a brief check to confirm proper functioning. If everything operates smoothly, you’re ready to proceed with sudsing tasks efficiently.
Choosing the appropriate soap for your foam applicator

To ensure optimal cleaning results, select a detergent specifically designed for high-pressure devices. Regular car wash soaps may not create sufficient lather and could potentially damage sensitive surfaces. The right choice will enhance lubrication, allowing dirt and grime to be lifted effortlessly.
Types of Detergents
Look for products that are pH-neutral and biodegradable. Acidic or highly alkaline options could harm paint or finish on vehicles. There are various formulations available, including those tailored for automotive, household, or industrial cleaning. Identify your primary cleaning tasks to select the most appropriate variant.
Foam Thickness and Application
The viscosity of the soap plays a vital role in performance. Thicker solutions create a dense layer, allowing for longer dwell time on surfaces, which aids in dislodging stubborn contaminants. Experiment with dilution ratios as specified by the manufacturer to achieve the desired consistency. Keep in mind that overly diluted soap may result in inadequate cleaning.
Mixing Foam Solution Correctly for Optimal Results
For a rich and clingy lather, dilute the cleaning agent in the right proportions. A typical ratio is one part cleaner to five parts water. Always follow the manufacturer’s instructions for specific mixing guidelines, as concentrations may vary by brand.
Steps to Achieve the Best Mixture

Firstly, measure the required amount of soap accurately using a measuring jug. Add the appropriate quantity to the container of your sprayer. Then, fill the remainder with clean water to avoid any reaction that could reduce the cleaning power. It’s crucial to mix thoroughly, either by shaking or stirring, until fully combined.
Testing the Mixture

Conduct a quick test on a small area to evaluate the mixture’s effectiveness. If the suds dissipate quickly or fail to cling to surfaces, adjust the ratio by increasing the soap concentration slightly. Conversely, if it’s overly thick and doesn’t spray well, dilute with additional water.
Applying foam to the surface: techniques and tips
Start by adjusting the nozzle on your attachment to achieve the desired spray pattern. A wider fan produces a gentle mist ideal for delicate surfaces, while a tighter stream generates higher pressure, suitable for tougher grime.
Maintain a consistent distance from the surface, typically around 2-4 feet. This prevents over-saturation and ensures an even application of the cleaning solution. Begin at the top and work your way down to avoid streaking.
Apply the mixture in a systematic manner–spraying in overlapping passes. This technique guarantees complete coverage, reducing missed spots. Allow the coating to dwell for a few minutes to loosen dirt and stains before rinsing.
Adjust the amount of product released during application based on the surface type; harder surfaces may require more, while softer materials benefit from a lighter touch. Watch the consistency of the foam; it should cling but not drip excessively.
For best results, keep the cleaning mixture topped up during use, ensuring a steady flow. After applying, it’s wise to inspect the surface. If stubborn residues persist, reapply the solution and let it sit longer before rinsing.
Finally, rinse thoroughly, starting from the top again and using a sweeping motion to guide the water away from the area. This prevents any leftover soap from creating a film or residue.
Adjusting Pressure Settings for Different Surfaces
For optimal cleaning, it’s crucial to tailor the pressure output according to the surface being treated. Adjusting the pressure settings can prevent damage and enhance efficiency.
Here’s a breakdown of recommended pressure levels for various surfaces:
| Surface Type | Recommended Pressure (PSI) | Notes |
|---|---|---|
| Car Paint | 1200 – 1900 | Aiming for delicate surfaces, a lower pressure is advisable to avoid paint damage. |
| Wood Decking | 1500 – 2000 | Maintain a safe distance to prevent splintering. |
| Brick or Concrete | 2500 – 3000 | This level effectively removes grime without risk of dislodging bricks. |
| Vinyl Siding | 1200 – 2500 | Varies by condition; start lower and increase if necessary. |
| Roofs | 1200 – 1800 | Use caution; excessive pressure can damage shingles. |
Always begin at a lower setting when uncertain and gradually increase until achieving desired results. Check manufacturer guidelines for specific recommendations related to your equipment and the surfaces involved.
For safeguarding sensitive fixtures, utilise a spray nozzle that offers a wider dispersion of water, reducing the intensity of the stream. It’s advisable to test on a small area first to confirm suitability before proceeding with the entire surface.
Cleaning and maintaining your foam sprayer after use

After applying a thick layer of suds, it’s crucial to keep the applicator in optimal condition for future tasks. Immediately after finishing, rinse the device with clean water to remove any residual cleaning agent. This should be done under low pressure to avoid damaging any components.
Disassembling and inspecting parts
Next, take apart the unit according to the manufacturer’s instructions. Carefully examine each piece for wear or damage. Pay close attention to the nozzle and filters; these are often the first areas to clog or degrade. If necessary, replace any worn components to ensure consistent performance.
Proper storage practices
Store the equipment in a cool, dry location, away from direct sunlight and extreme temperatures. If your sprayer has a hose, ensure it is coiled loosely to prevent kinks or damage. Regular maintenance checks, even during storage, will help identify potential issues before your next cleaning session.


