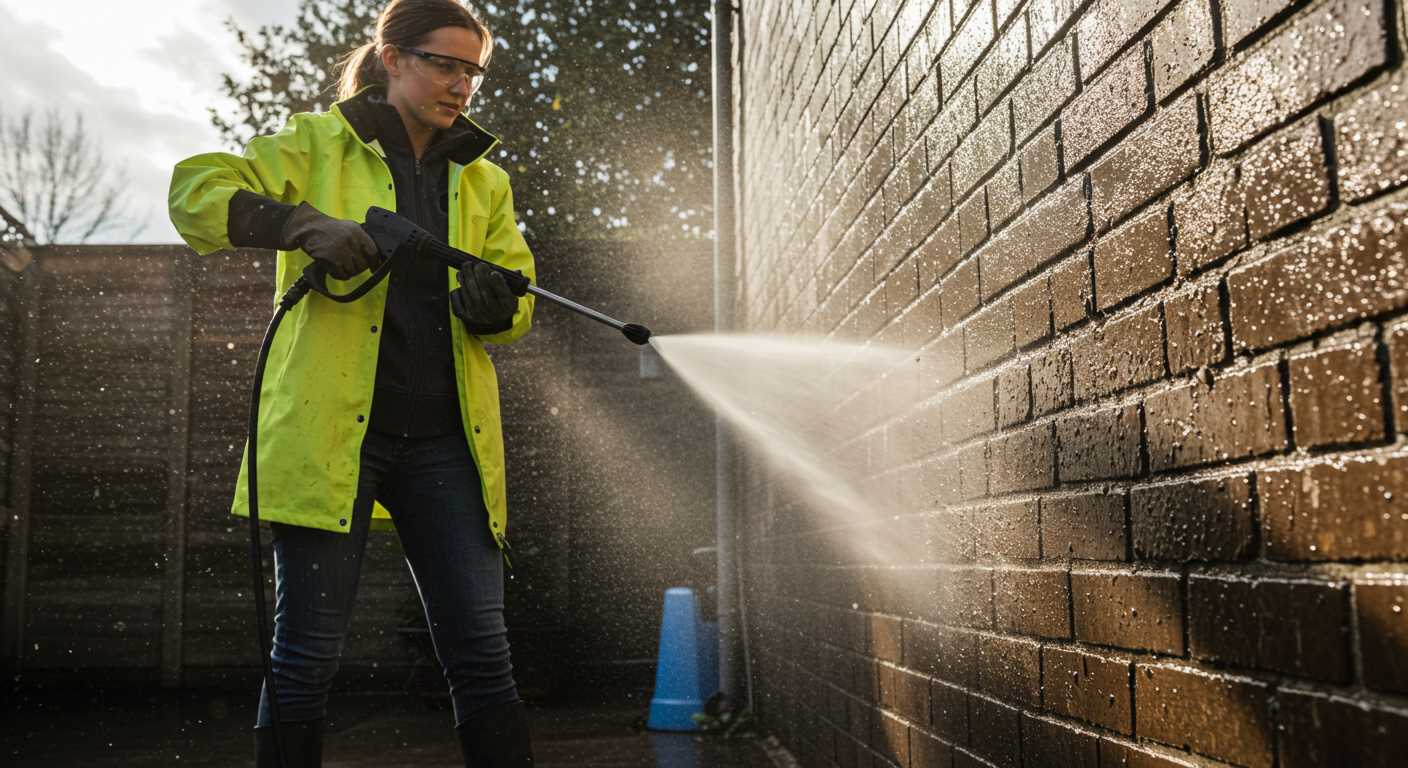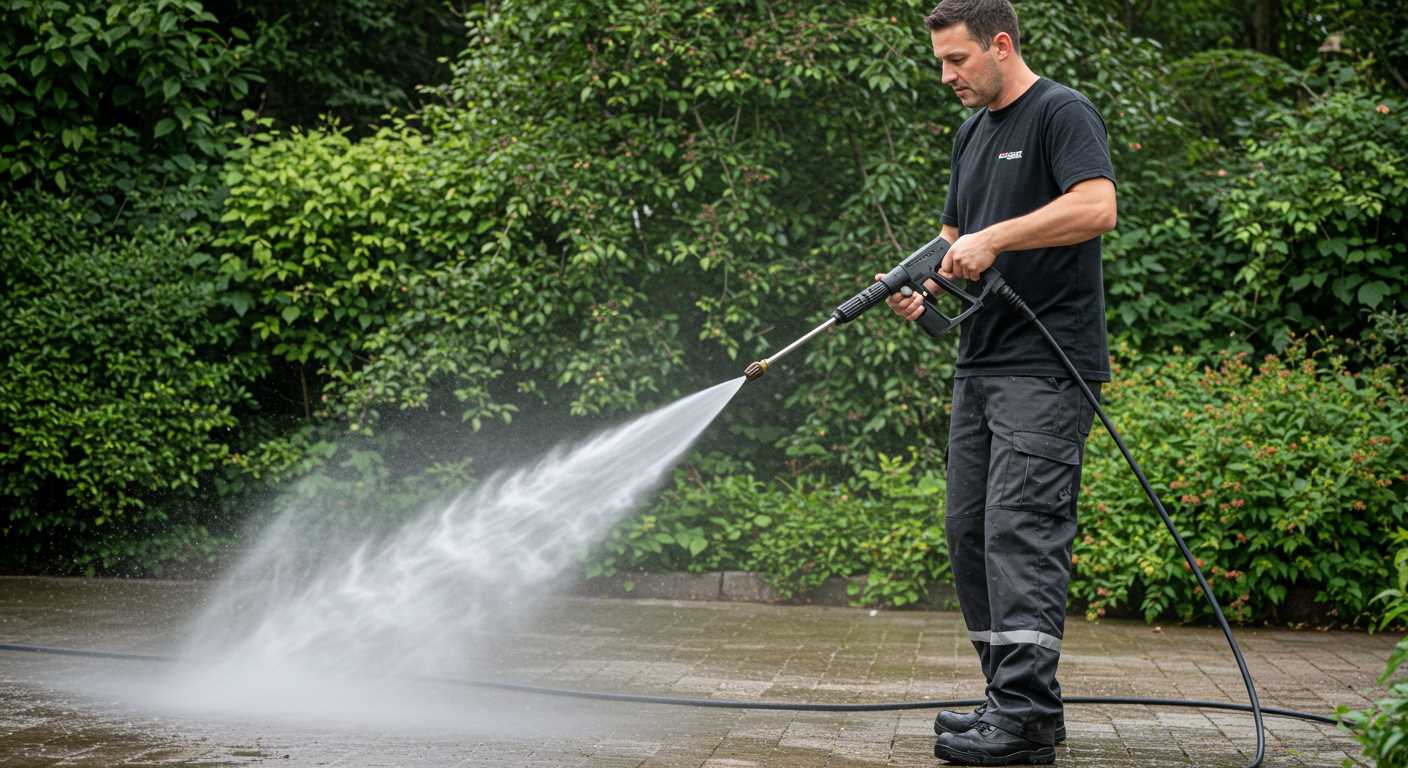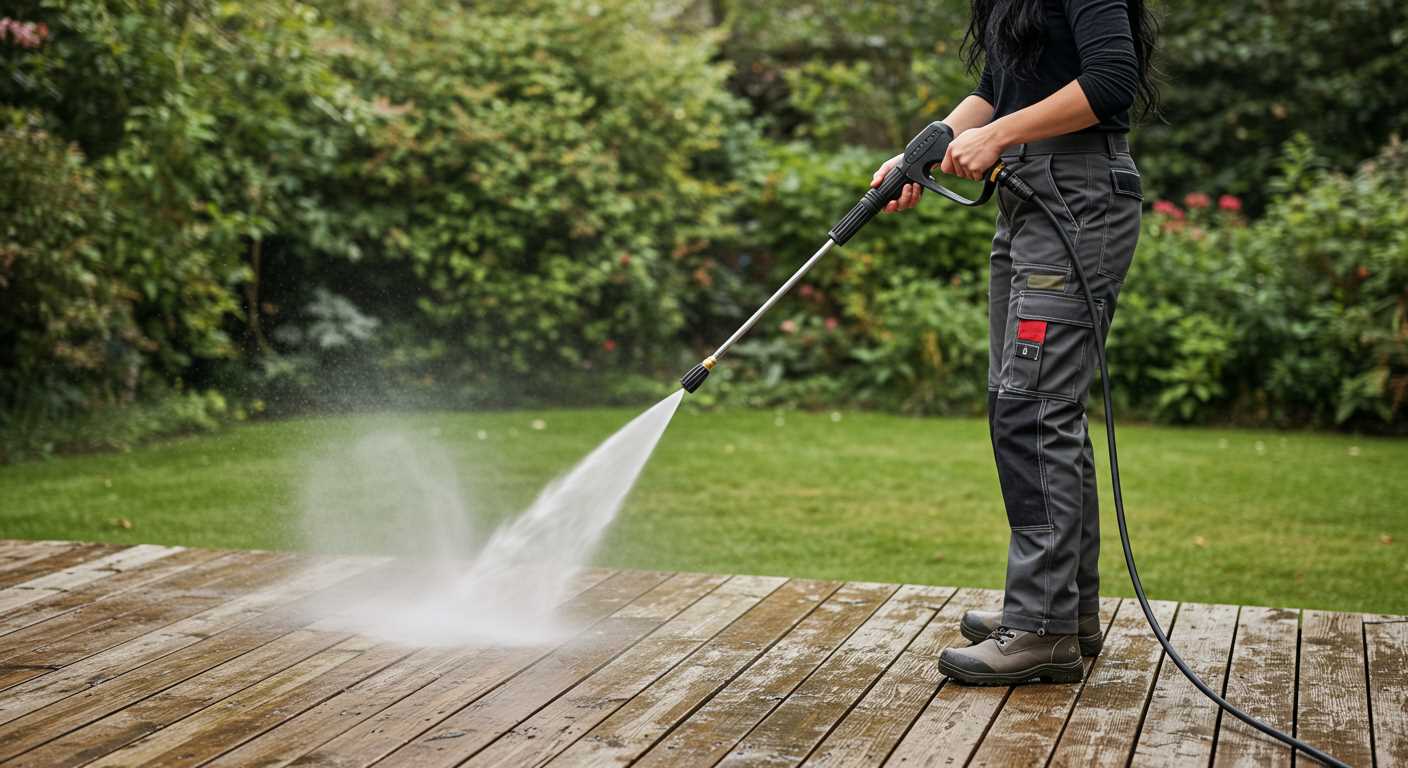

Before you initiate any cleaning task with your high-pressure cleaning device, ensure you’ve selected the correct nozzle. Each nozzle produces a different spray pattern and pressure, tailored for specific cleaning jobs. For example, a zero-degree nozzle focuses the force into a narrow stream, ideal for stubborn stains, while a 40-degree nozzle disperses the water over a wider area, perfect for rinsing surfaces. Adjusting the nozzle according to the surface you’re treating is critical to prevent damage.
Next, always check the fuel level and oil before starting. A clean, well-maintained engine performs better and lasts longer. If you’re unsure about the oil condition, it’s wise to consult the manufacturer’s recommendations for your equipment. Regular maintenance extends the lifespan and ensures optimal performance during each cleaning session.
Wearing the appropriate safety gear is non-negotiable. Goggles protect your eyes from debris, and gloves safeguard your hands from high-pressure water and cleaning solutions. Consider wearing non-slip footwear as well, which will enhance stability on wet surfaces.
When positioning the equipment, maintain a safe distance from the surface being cleaned to avoid etching or damaging it. Start with a distance of approximately two feet and gradually adjust based on the results. This method allows you to gauge the necessary pressure without compromising the integrity of the surface.
Finally, consider the environment. Utilise eco-friendly detergents when required, particularly if you’re operating near plants or water sources. Their formulations provide powerful cleaning without harming the surroundings, making your cleaning task sustainable.
Understanding the Operating Principles of a Gas-Powered Pressure Cleaner

Familiarity with the components is essential. The heart of the cleaner is its engine, generating power for the pump. Typically, a four-stroke engine provides robust performance while minimising emissions compared to older models. This engine drives a crankshaft connected to the pump via a belt or direct coupling, ensuring efficiency in power transfer.
The pump itself is a critical component, utilizing pistons or a diaphragm mechanism to create a pressurized water stream. As the engine operates, water enters the pump through an inlet valve. The pistons then compress the water, significantly increasing its pressure before it exits through the nozzle. Understanding this cycle helps in diagnosing issues if performance wanes.
Another key aspect is the nozzle design. Various nozzles produce different spray patterns, allowing for versatility in cleaning tasks. From a wide fan spray for delicate surfaces to a narrow jet for tough grime, selecting the correct nozzle optimises the machine’s performance and prevents damage to surfaces.
Fuel type also plays a role. Most models require unleaded gasoline, while some may use specific oil mixtures. Keeping an eye on fuel quality and ensuring the cleaner is filled with fresh gasoline can prevent starting issues and engine wear.
Regular maintenance is non-negotiable. Periodic checks of the air filter, spark plug, and oil levels can prolong the lifespan of the machine and maintain its peak performance. If the engine struggles or emits unusual noises, troubleshooting might be necessary to ensure optimal functionality.
Finally, understanding safety features enhances operational safety. Many models include automatic shut-off valves that mitigate the risk of accidents. Familiarising yourself with these features prepares one for unexpected situations and improves overall safety while handling the equipment.
Preparing the Equipment for First Use
Before initiating the first cleaning session, ensure that all components are correctly assembled according to the manufacturer’s instructions. Begin by inspecting the unit carefully for any signs of damage or loose parts.
Fill the fuel tank with fresh petrol, ensuring not to exceed the maximum fill line. Always use a funnel to prevent spills and avoid contact with moving parts. Check the oil level using the dipstick; if necessary, top it up with the recommended oil type compatible with the engine.
Attach the appropriate nozzle for your intended task. Different nozzles provide various spray patterns, crucial for different surfaces. Ensure the high-pressure hose is firmly connected to both the unit and the spray gun.
Prime the system by pulling the recoil starter handle lightly several times. This process helps to build pressure in the system. Do this with the ignition off to avoid accidental starts. After priming, turn the ignition switch to the ‘On’ position.
Always test the unit at a lower pressure setting first, gradually adjusting to a higher setting as needed. This approach allows for a more controlled cleaning effect and reduces the risk of damage to surfaces.
Finally, prior to starting the equipment, wear appropriate safety gear, including gloves and eye protection. This precaution protects against any debris or water that may be propelled during operation.
Selecting the Right Nozzle for Your Cleaning Task
For achieving optimal results, choosing the appropriate nozzle is paramount. Nozzles are designed to regulate the spray pattern and pressure, allowing you to customise your cleaning approach based on the surface and dirt type.
Types of Nozzles and Their Applications
The most common nozzles are the 0-degree, 15-degree, 25-degree, and 40-degree options. The 0-degree nozzle delivers a concentrated stream of water, ideal for stubborn stains on hard surfaces, while the 15-degree nozzle offers a narrow spray for tougher cleaning tasks. For general cleaning, the 25-degree nozzle is a versatile choice, suitable for driveways, patios, and decks. The 40-degree nozzle provides a gentle fan spray, perfect for washing delicate surfaces like vehicles or windows.
Choosing Based on Surface and Dirt Type
Evaluate the materials and level of grime before selecting a nozzle. For instance, concrete and brick require a more aggressive nozzle, whereas wood or paint may benefit from a milder option. When in doubt, it’s wise to test the spray on a small, inconspicuous area to assess compatibility with the surface.
Properly connecting hoses and fittings
To ensure seamless operation, attach hoses securely. Start by inspecting the inlet and outlet ports on the machine, ensuring they are clean and free of debris. Next, choose the correct diameter hose for your model. A mismatched hose can hinder performance.
When connecting the hoses, align the threads carefully and twist them hand-tight. Avoid using tools, as overtightening can damage the fittings. A good practice is to apply Teflon tape to the threaded connections to prevent leaks.
Connecting the Water Supply

Attach the water supply hose to the designated inlet port. Ensure that the connection is tight but not excessive. If your model has a filter, check it for cleanliness and install it before connecting the hose.
Connecting the High-Pressure Hose
For the high-pressure hose, connect one end to the outlet on the machine and the other end to the spray gun. Ensure that both ends click into place securely. Regularly inspect these connections for wear and tear, as damaged hoses can pose safety risks.
| Connection Type | Recommended Practice |
|---|---|
| Water Supply Hose | Ensure tight fit, apply Teflon tape |
| High-Pressure Hose | Check for damages, secure connections |
By following these steps, you will guarantee that your connections are secure, reducing fluid leaks and ensuring the unit operates optimally.
Starting the Engine Safely and Efficiently
Ensure you are in a well-ventilated outdoor space before commencing, as fumes can be hazardous. Familiarise yourself with the engine’s manual for specific starting procedures. Follow these steps to start the machine correctly:
- Check the fuel level. Use unleaded petrol and ensure there are no leaks.
- Fill the oil reservoir, using the correct type as specified in the manual.
- Engage the choke if the engine is cold, setting it to the closed position.
- Make sure the throttle is in the ‘Run’ position.
- Hold down the safety switch if equipped, and pull the starter cord briskly. Repeat if necessary.
- As the engine starts, gradually adjust the choke to the open position once it warms up.
Prevention and Maintenance Tips

- Always perform a pre-start inspection, looking for loose parts or signs of wear.
- Keep the starter cord free from tangles to avoid additional strain during starting.
- Disconnect the spark plug when performing maintenance to avoid accidental starts.
A routine check on the air filter and spark plug can aid in preventing starting issues. Regular maintenance helps ensure reliability during operation, allowing you to focus on your cleaning tasks.
Technique for Maximum Cleaning Power During Operation
Utilise a consistent sweeping motion while applying the jet. Start with the nozzle at a distance of about one metre from the surface and gradually decrease the distance as needed to enhance cleaning effect. Avoid stationary spraying, as this may damage surfaces or leave streaks.
Optimal Angle for Spray
Adjust the angle of the spray to effectively target dirt and grime. For flat surfaces, a 45-degree angle typically delivers the best results. For vertical surfaces, aim at a slight downward angle to allow debris to be dislodged rather than forced into the material.
Utilising Cleaning Solutions
- Select appropriate detergents compatible with the device–ensure they are pressure washer safe.
- Apply the solution before the high-pressure water, allowing it to penetrate and loosen debris for about 10 minutes.
- Rinse with clear water after using chemicals to prevent residue build-up.
Monitor your cleaning speed and adjust the flow rate accordingly, particularly with thicker grime that might require a more persistent application. Regularly check and clean the nozzle tip to maintain proper water flow and pressure. A blocked nozzle will significantly reduce output and efficiency.
Lastly, maintain steady footing and a firm grip during operation to manoeuvre easily while avoiding fatigue. Keeping your body aligned with the spray direction not only enhances control but also improves the accuracy of the water jet.
Maintaining Your Cleaning Equipment After Use
Draining any remaining water from the system is crucial. Disconnect the hose and turn on the unit for a few seconds to expel residual water, preventing internal damage and reducing the risk of rust. This task should be performed each time after operation.
After draining, it’s advisable to flush the unit with a cleaning solution designed for these machines. This helps eliminate mineral deposits and other contaminants that may accumulate over time. Always follow the manufacturer’s instructions regarding the cleaning solution to ensure compatibility.
Inspecting Components and Cleaning Accessories
Examine the hoses, filters, and nozzles for cracks, clogs, or wear and tear. Replace any damaged parts immediately to maintain optimal performance. Consider soaking removable nozzles in warm, soapy water before rinsing to remove stubborn debris.
Store the hoses and other accessories loosely coiled to prevent kinks, which can restrict water flow during future use. Keeping everything organised in a dedicated storage area will streamline your next cleaning session.
Engine Maintenance and Fuel Management
After completing your tasks, let the engine cool down before any maintenance. Change the oil regularly based on usage, and replace the air filter as needed. For machines using petrol, never leave fuel in the tank for extended periods. Empty the tank and run the engine until it stalls to clear out any remaining fuel, as stale petrol can lead to starting issues.
FAQ:
What safety precautions should I take when using a gas powered pressure washer?
Before using a gas powered pressure washer, ensure you wear appropriate safety gear such as goggles, gloves, and sturdy footwear to protect yourself from debris. Make sure the area is clear of people and pets. It’s advisable to read the user manual thoroughly to understand the specific safety features of your model. Also, ensure the washer is on a stable surface and never point the nozzle at anyone, as the high-pressure water can cause serious injuries.
How do I set up a gas powered pressure washer for the first time?
Setting up a gas powered pressure washer involves several steps. First, place the machine on a flat surface and ensure the fuel tank is adequately filled with the correct fuel mixture. Connect a garden hose to the machine’s water inlet and ensure it’s securely attached. Turn on the water supply and check for leaks. Next, attach the appropriate nozzle for your task. If the pressure washer has a choke, set it to the ‘closed’ position, and once you’re ready to start, pull the starter cord or press the ignition button, depending on your model. After starting, adjust the choke to the ‘open’ position and let it warm up for a minute before use.
What surfaces can I clean with a gas powered pressure washer?
Gas powered pressure washers can be used on a variety of surfaces, including driveways, patios, decks, and siding. They are effective for removing dirt, mould, and mildew from these tough surfaces. However, caution should be exercised when using them on more delicate materials such as wood or painted surfaces, as the high pressure can cause damage. Always test on a small, inconspicuous area first if you are unsure about how the surface will react. For cleaning vehicles, it is advisable to use a lower pressure setting to prevent scratches and damage to paintwork.
What is the best way to maintain my gas powered pressure washer?
To maintain your gas powered pressure washer, start by regularly checking and changing the oil as recommended in the user manual. Clean or replace the air filter and spark plug periodically to ensure smooth operation. After each use, run the washer for a few minutes with clean water to flush out any detergent residue. Store your unit in a dry place and, if possible, drain the fuel if you won’t be using it for an extended period to prevent clogging. Regular maintenance will prolong the life of your pressure washer and keep it running efficiently.


