


Attach the correct nozzle for the type of surface you’re addressing. A narrow angle is perfect for tough stains on concrete, while a wider angle works best on delicate surfaces. Check for any damage or wear on the nozzles before getting started, as this can significantly affect performance.
Always follow the manufacturer’s guidelines for water temperature. For a unit designed to use hot water, maintaining it at the specified level enhances cleaning without risking equipment damage. Avoid using an incompatible temperature, as it can lead to premature failure of internal components.
Begin with a pre-wash rinse of the surface to remove loose debris. This helps in preventing scratches and improves the overall effectiveness of the cleaning agent. After rinsing, apply the right detergent, ideally one that is compatible with your equipment to avoid damage. Allow the detergent to sit for the recommended time to fully lift grime and stains before rinsing.
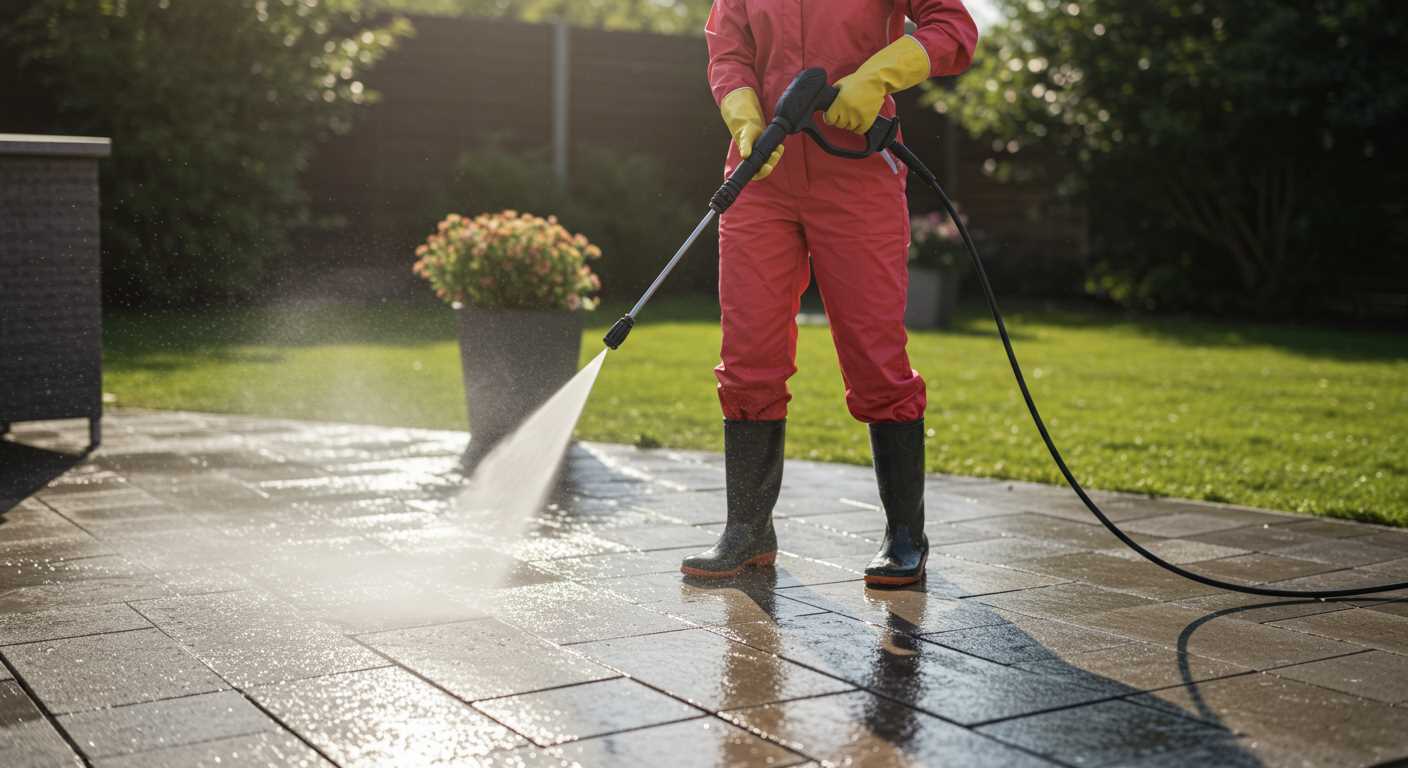
Hold the gun firmly and maintain a consistent distance from the surface. This should generally be 30 to 36 inches, adjusting based on the surface type. Avoid spraying directly at joints or seals, as high-pressure water can force its way into unwanted areas, leading to damage over time.
Lastly, after cleaning, thoroughly rinse out the unit to remove any residual detergent. This helps prevent build-up and maintains the performance of the cleaning machine for future tasks. Regular maintenance checks will ensure longevity and optimal functionality of your equipment.
Preparing the Machine for Operation
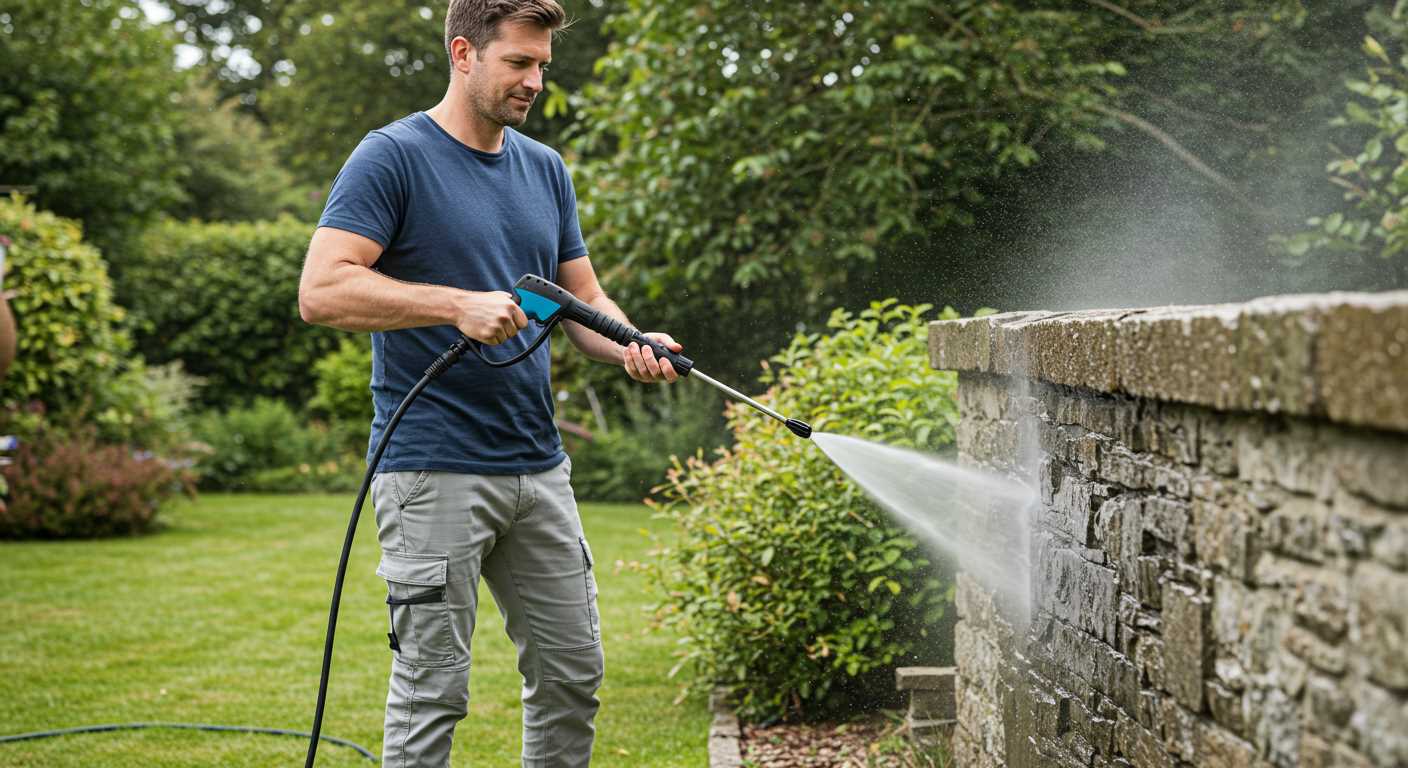
Ensure the unit is placed on a stable, flat surface away from obstacles. This stability prevents tipping during operation. Check for any visible damage or leaks in hoses and fittings before connecting to a power source.
Verify that the water supply is adequate. The water inlet should be connected to a reliable source, ensuring a strong flow. Using a garden hose rated for at least 10 bar pressure is recommended to avoid low water flow issues.
Fill the detergent tank with the appropriate cleaning solution, ensuring it’s compatible with the equipment. Avoid overfilling; a maximum fill line is often marked on the tank.
Connect the high-pressure hose to the outlet of the machine securely, ensuring there are no leaks. A loose connection can lead to performance issues and safety hazards.
| Step | Action |
|---|---|
| 1 | Place the unit on a stable surface |
| 2 | Inspect hoses and connections |
| 3 | Connect the water supply |
| 4 | Fill detergent tank |
| 5 | Attach the high-pressure hose |
Finally, plug the device into a grounded outlet and check the power settings. Ensure you’re using the right voltage to prevent equipment damage. Once all checks are done, the machine is ready for its task.
Selecting the right nozzle for your cleaning task
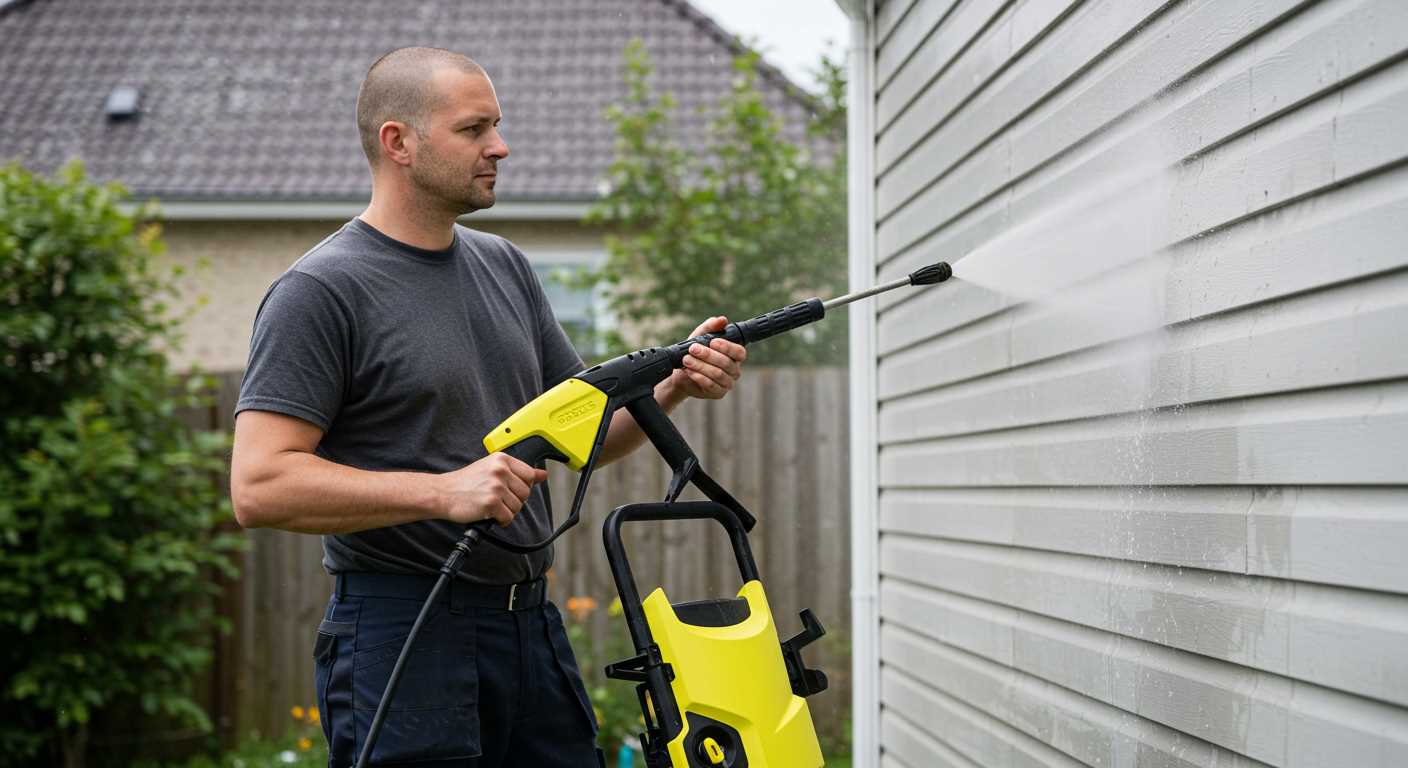
To achieve optimal cleaning results, choose a nozzle that matches your specific task. The nozzle’s spray pattern and pressure play a crucial role in determining efficiency and effectiveness. Typically, nozzles are colour-coded for easy identification of their spray angles and purposes.
Types of Nozzles
Common nozzles include:
- Zero-Degree (Red): Produces a concentrated, high-pressure stream, ideal for tough stains on hard surfaces like concrete or brick.
- 15-Degree (Yellow): Offers a slightly wider fan that works well for cutting through grime on surfaces like driveways and patios.
- 25-Degree (Green): Best for general cleaning, suitable for deck surfaces, vehicles, and outdoor furniture.
- 40-Degree (White): Gentle enough for softer surfaces such as shingles or painted surfaces, providing a wide spray for regular maintenance.
- Soap Nozzle (Black): Designed for applying detergent, delivering low-pressure spray to ensure even application.
Tips for Choosing
Consider the surface material and level of dirt when selecting a nozzle. For delicate surfaces, opt for wider angles to prevent damage. For heavy-duty tasks, narrower angles can effectively dislodge tough dirt. Also, be aware that using a more powerful nozzle than necessary can lead to unnecessary wear on both the surface and the equipment.
Keep a variety of nozzles accessible for different tasks, ensuring versatility for all cleaning needs. Understand their specific applications to maximise the results from your equipment.
Adjusting the Pressure Settings for Different Surfaces
Always adjust the pressure to match the surface you are cleaning. Start with the lowest setting to prevent damage, especially on delicate materials.
Surfaces and Suggested Settings
- Wooden Decks: Use a low setting around 1200-1500 PSI to avoid splintering. Keep the nozzle at least 12 inches away to provide a gentle clean.
- Pavement and Concrete: A medium setting ranging from 2000 to 3000 PSI is ideal. This will effectively remove grime and stains. Maintain a distance of 6-12 inches.
- Vehicles: For cars, use a setting around 1300-1900 PSI. Always use a wider nozzle and ensure to stay at least 2 feet away, preventing paint damage.
- Brick and Stone: Medium to high settings between 2000 and 2500 PSI work well. Adjust the nozzle to a narrow spray for tough spots, keeping a distance of about 8-12 inches.
- Glass: Always opt for a low setting under 1200 PSI. Maintain a distance of at least 2 feet to prevent shattering.
Fine-tuning Techniques
- Start with the lowest pressure and gradually increase until you achieve desired results.
- Test pressure on a small, inconspicuous area first. This will indicate the right setting for the rest of the surface.
- If unsure, consult the manufacturer’s guidelines for the specific surface material.
Adjust settings based on the task, ensuring effective cleaning while preserving the integrity of the surfaces.
Proper Technique for Applying Detergent
Always begin by ensuring the chemical dispenser is properly connected to the cleaning unit. This prevents any leaks during operation. Prepare the detergent according to the manufacturer’s instructions, as dilution rates may vary for different products.
Application Steps
- Attach the appropriate nozzle for detergent application; typically, this is a low-pressure nozzle.
- Start the machine and engage the chemical injection system. Allow the detergent to mix with the water flow.
- Hold the spray wand about 30 cm away from the surface being treated. This distance ensures even coverage without excessive pooling of the detergent.
- Apply the solution in a smooth, sweeping motion, covering the entire area. Work from the bottom of the surface to the top, avoiding any streaks or uneven spots.
Timing and Rinsing
- Allow the detergent to sit for a few minutes for maximum effectiveness. Do not let it dry on the surface, as this can lead to residues.
- After the appropriate dwell time, switch to a high-pressure nozzle for rinsing. Start rinse from the top down to effectively wash away all detergent.
Always wear protective gear, including gloves and goggles, when handling chemicals. Check local regulations for handling and disposing of detergents to ensure compliance and safety.
Maintaining a Safe Distance from the Surface
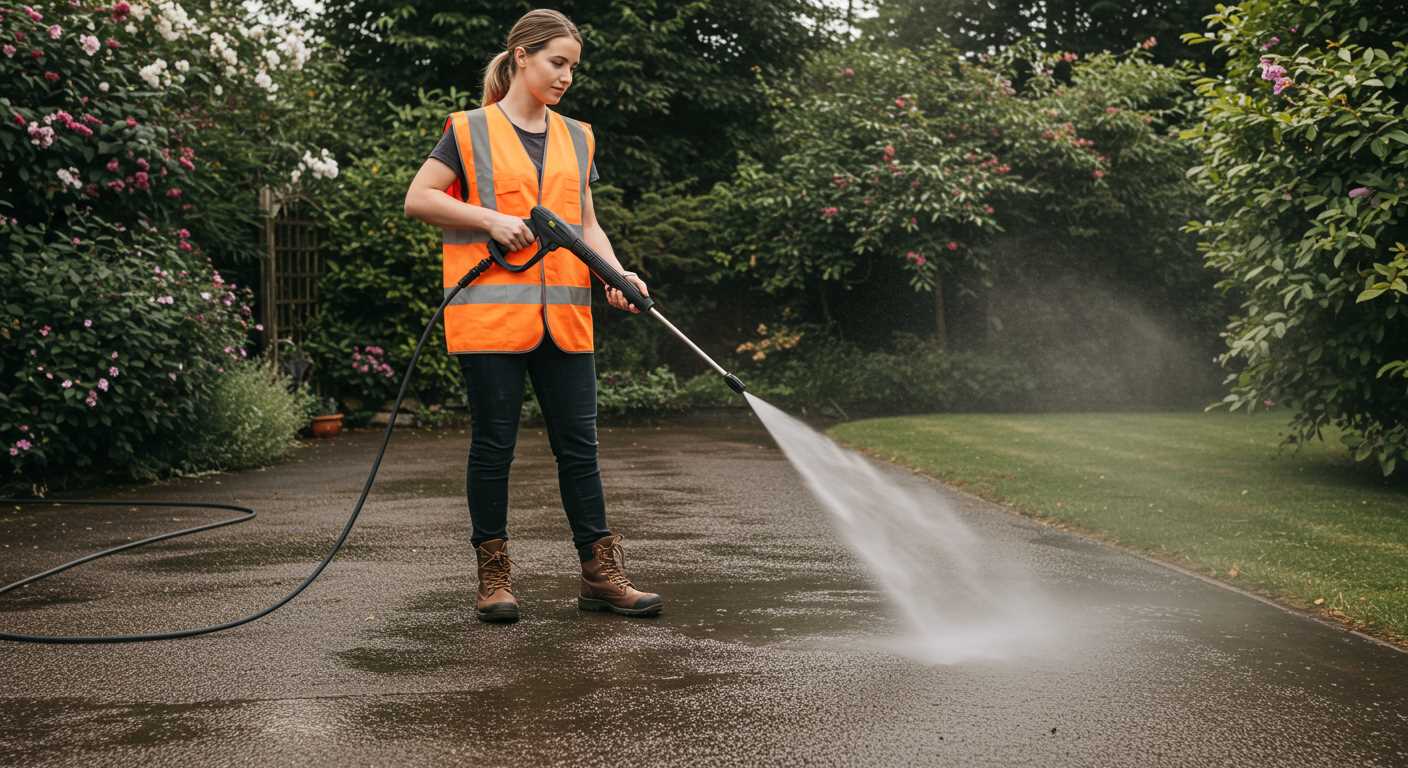
Always maintain a distance of at least 1 to 2 feet from the surface being cleaned. This range allows for effective cleaning without causing damage. For delicate surfaces such as paint, glass, or wood, increase this distance to 3 feet or more to prevent etching or stripping.
Adjusting your stance can help in achieving the correct distance. Bend your knees and keep a steady grip on the equipment for better control. The nozzle should be pointed at a slight angle rather than directly at the surface; this reduces the risk of damage while still applying the necessary force.
Monitor the surface closely as you work. If paint starts to peel or surfaces begin to show signs of distress, immediately increase your distance or change your technique. It’s essential to remain vigilant, as surfaces react differently to high-pressure techniques.
Another strategy is to start with a wider distance and gradually move closer as you gauge the surface’s response. If you notice that a particular area is more resilient, you can adjust your distance accordingly. This method helps prevent mishaps and ensures a thorough clean without compromising the integrity of the material.
For flat surfaces, such as driveways and patios, a consistent distance is typically manageable. However, when working on vertical or irregularly shaped surfaces, step back frequently to reassess your position. Taking a moment to evaluate your progress can save time and effort in the long run.
Cleaning Tips for Various Outdoor Surfaces
For concrete driveways, always begin with a solid rinse to remove loose debris. Follow up with a concentrated cleaner to break down oil stains. Work methodically in sections, ensuring that the cleaner has adequate time to activate before rinsing thoroughly with high-pressure water. Aim for a distance of about 12 inches to avoid etching the surface.
Wooden Decks and Fences
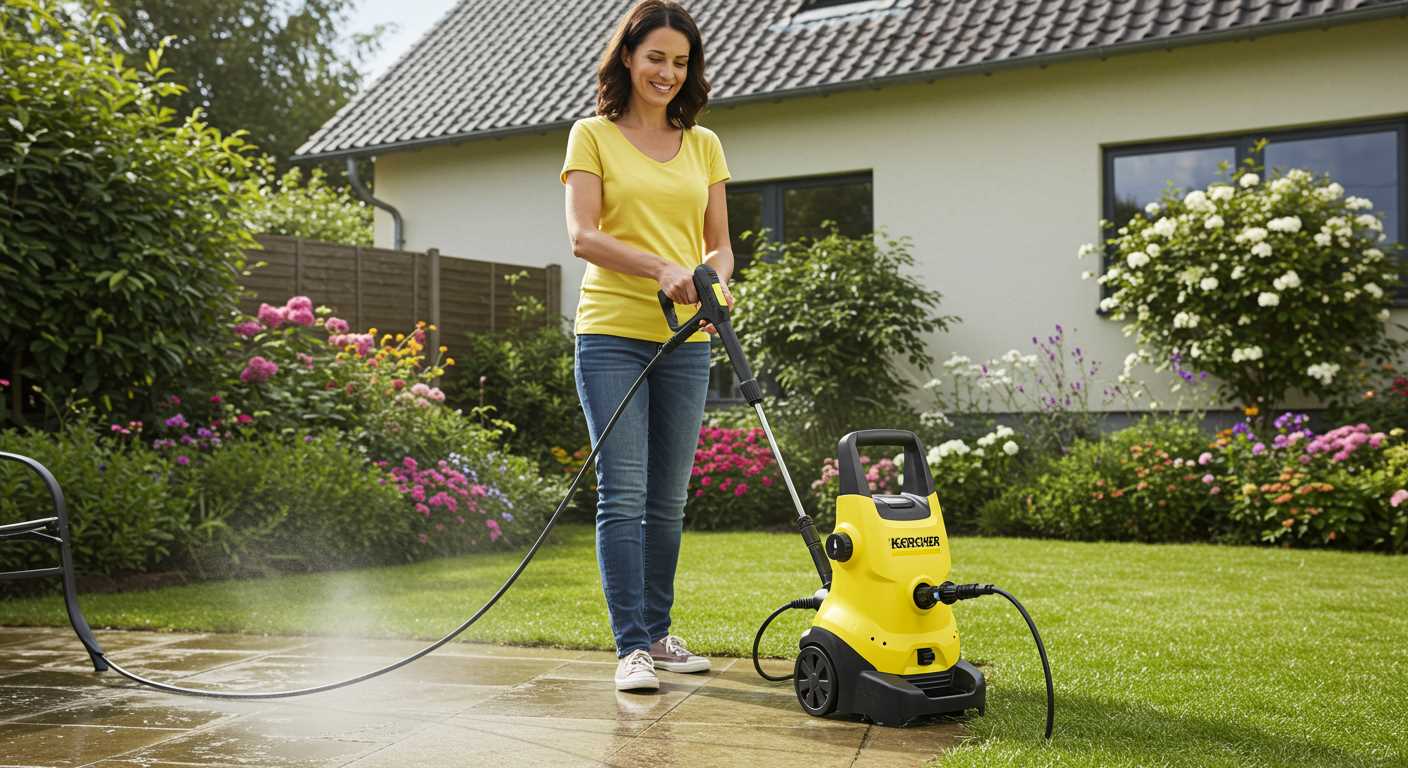
Utilise a low-pressure setting for wooden structures. A fan nozzle is ideal to prevent splintering. Apply a wood-safe detergent, allowing it to penetrate for several minutes. Rinse off in the direction of the wood grain to preserve its integrity and finish.
Brick and Masonry
With brick surfaces, a medium nozzle works well. Pre-treat with a masonry cleaner for stubborn stains. Rinse thoroughly while maintaining a uniform distance of about 18 inches to prevent damage. Pay attention to joints, as they can be more susceptible to wear.
Always assess the surface condition before you begin and adjust your technique based on specific materials. Consistent monitoring during the cleaning process is key to ensuring an effective outcome.
Post-use maintenance and storage of the pressure cleaner
After each operation, immediately disconnect the water source and power supply. Remove any detergents from the tank and rinse it with clean water to prevent residue build-up.
Inspection and cleaning
Examine the hoses and connections for wear or leaks. Clean the nozzle by using a pin to remove any clogs and flush it with water. Regularly examine the filter screens to ensure efficient operation.
Winterisation
For storage during colder months, drain all water from the equipment to prevent freezing and cracking. Add a pump protector or antifreeze solution specifically designed for cleaning equipment. Store the unit in a dry, sheltered location to avoid weather-related damage.
Wrap hoses loosely to prevent kinks, and keep the machine upright to avoid any fluid leakage. Cover the unit with a protective cover to keep dust and debris away. Conduct a routine inspection before the next use to verify its condition and readiness.


