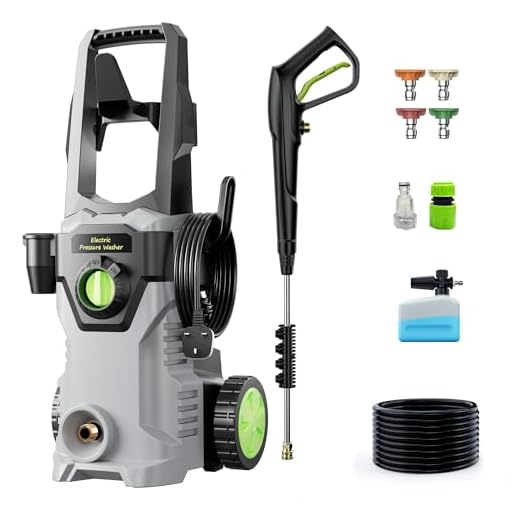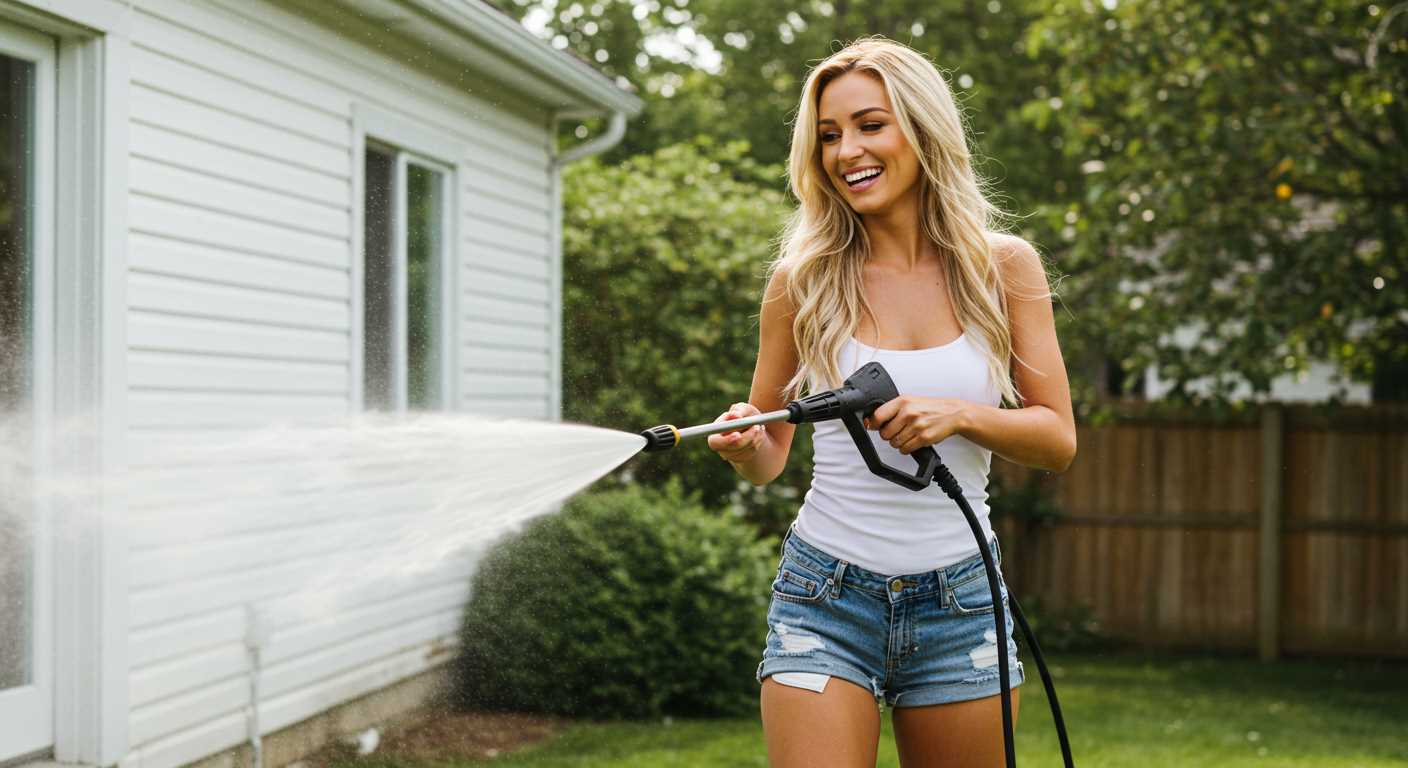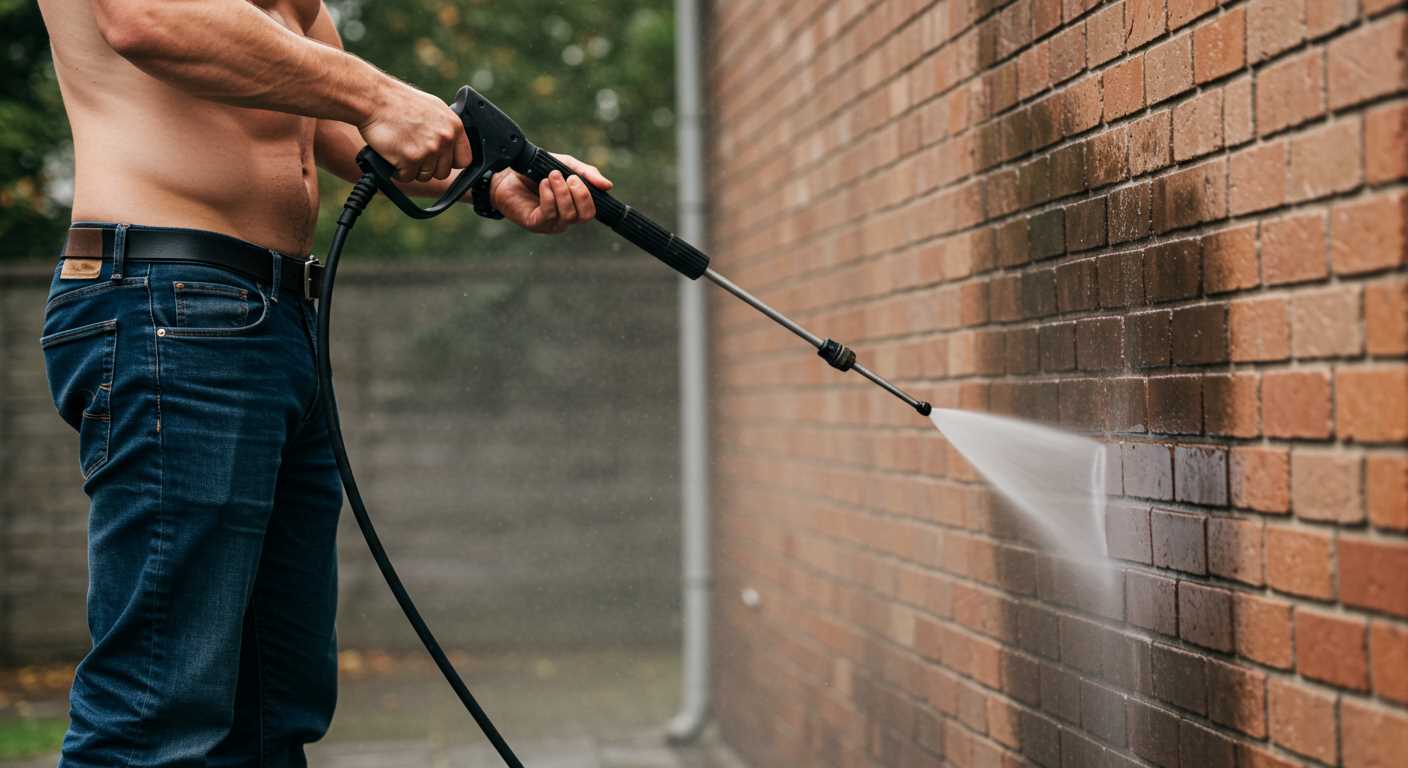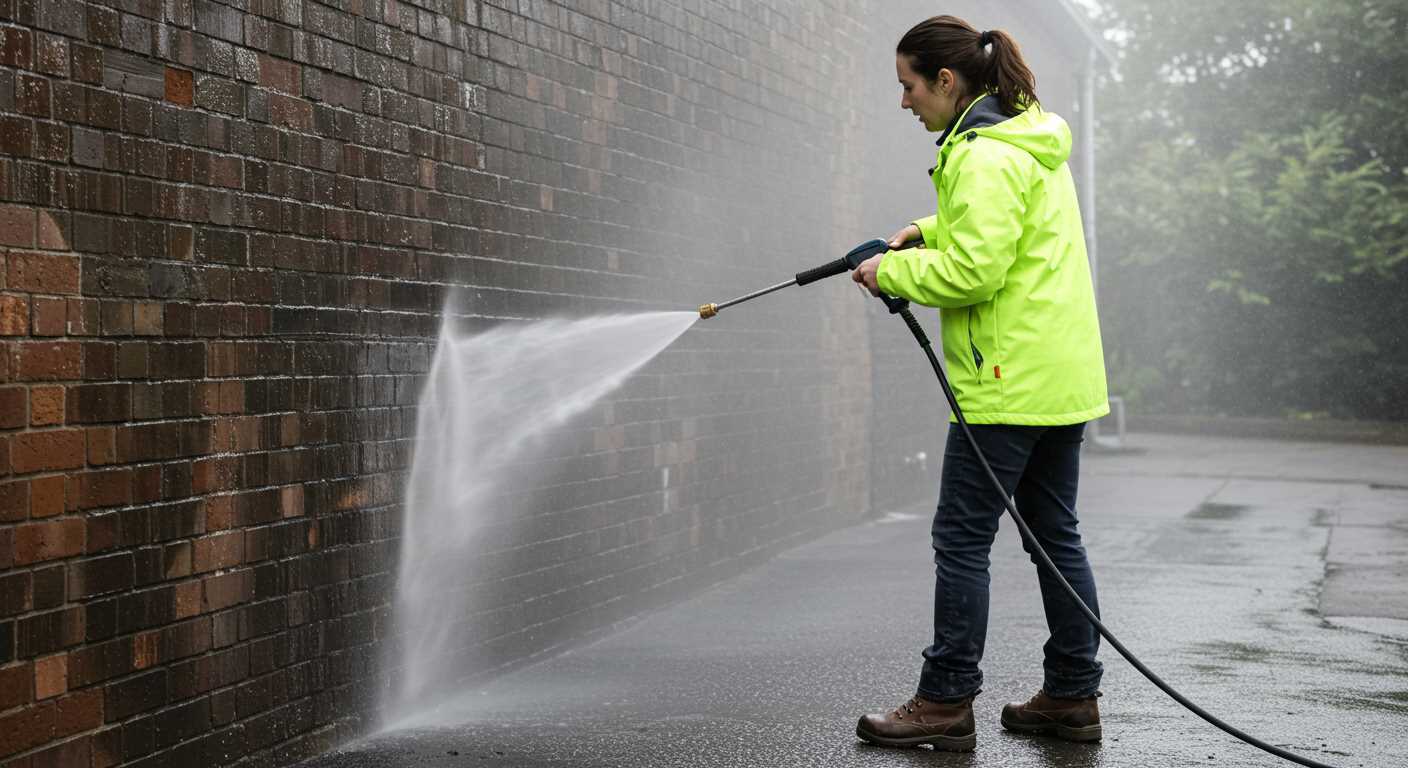


Using water sources like a container can significantly enhance the independence and practicality of your cleaning routine. Begin by filling the bucket with clean water, ensuring it’s free of debris to prevent clogs in your equipment. A clear water source not only prolongs the life of the unit but also maximises performance during tasks.
Connect the suction hose securely to the inlet of the machine, making sure there are no leaks. This setup allows the appliance to draw water directly from the bucket without relying on a direct outdoor tap. It’s advisable to ensure that the hose remains submerged in the water to maintain a consistent flow; an air intake can disrupt operation.
Adjust the settings based on the task at hand, utilising the appropriate nozzle for optimal pressure and spray pattern. For instance, a wider spray is ideal for rinsing surfaces, while a concentrated jet effectively tackles tough stains. Always observe the pressure output, as the input from a bucket may vary slightly, affecting the overall spray strength.
Regularly monitor the water level in the bucket, refilling as necessary to maintain uninterrupted operation. This strategy can be particularly beneficial when working in outdoor spaces distant from water access. Ultimately, employing a bucket ensures that your cleaning tasks remain efficient and straightforward.
Choosing the Right Container for Your Equipment
Select a sturdy, opaque container with a minimum capacity of 20 litres to ensure adequate water supply and stability during operation. This size helps maintain an uninterrupted flow and supports the requirements of higher-pressure models.
Material is significant; opt for polyethylene or PVC to resist impacts and prevent leaks. Avoid metal tanks, as they may corrode or dent over time, compromising functionality.
Consider the Height and Design

The height of the chosen container matters. A shorter design facilitates access and reduces direct water intake issues. Ensure the container has a wide opening for ease of filling and cleaning, promoting longevity.
Check Compatibility and Accessories
Before making a choice, confirm that the container can accommodate hose attachments without difficulty. Some units may require additional fittings or adapters. A secure lid can help prevent debris from contaminating the water, enhancing performance.
Overall, investing time in selecting the right container will significantly affect your cleaning efficiency, prolong equipment life, and reduce maintenance concerns.
Preparing the Area Before Washing

Clear the workspace of any obstacles such as furniture, plants, or toys. This not only prevents damage but also provides a safe environment to work in.
Assess the Surface Conditions
Examine the area you plan to clean. Different surfaces require varied approaches:
- For paved areas, ensure there are no loose stones or debris.
- On wooden decks, check for any damaged boards that may need attention before washing.
- Brick or stone surfaces may have moss or algae; these should be treated beforehand for better results.
Protect Nearby Items
Cover or move items that could be affected by spray or debris:
- Vehicles should be parked away from the cleaning zone.
- Windows and doors can be shielded with plastic sheets to prevent damage.
- Electrical outlets and equipment should be covered to avoid water ingress.
Taking these steps ensures that your cleaning experience is smooth and effective, minimising risks to both the environment and the equipment used.
Setting up the equipment for bucket use

Ensure the suction hose is long enough to reach the bottom of your chosen container. A typical length of around 2 to 3 metres is typically sufficient.
Attach the hose to the inlet of your model securely. If a filter is included, connect it to prevent debris from entering the system. This filter is crucial as it protects internal components from damage.
Adjusting the settings
Before commencing operation, set the device to a low-pressure setting. Starting with a gentler spray ensures control over the cleaning process, especially if working on delicate surfaces.
Check the detergent ratio if applicable. Mixing cleaning solution in advance or using a dedicated soap container can aid in optimising the cleaning approach.
Final checks
Inspect all connections for leaks or loose fittings. A quick check can save time and resources later. Also, ensure your power source is safe and convenient, allowing for uninterrupted flow during the task.
Always refer to the manufacturer’s instructions for specific details related to my model to avoid any missteps. Following these steps will prepare you well for effective cleaning without hassle.
Selecting the Appropriate Nozzle for Your Task
The nozzle choice significantly influences the cleaning outcome. For light tasks like washing vehicles or patio furniture, the 25-degree nozzle is ideal; it delivers a gentle spray that effectively removes dirt without damaging surfaces.
For Heavy-Duty Cleaning
If tackling stubborn grime on concrete or driveways, opt for the 0-degree nozzle. This option produces a concentrated jet of water, offering maximum pressure to dislodge tough stains. However, exercise caution to avoid surface damage.
Selecting Nozzles for Specific Tasks
For delicate surfaces, such as outdoor cushions or wooden decks, switching to a 40-degree nozzle is advisable. This wider spray pattern minimizes intensity, protecting fragile materials. Moreover, consider a rotary nozzle for versatile use; it combines the best of both worlds, providing enhanced cleaning power while maintaining surface safety.
Always adjust your nozzle according to the specific material and level of dirtiness to achieve optimal results. Understanding these nuances transforms cleaning into a straightforward, effective process.
Mixing Cleaning Solutions with Water Correctly
Always read the manufacturer’s instructions on the cleaning solution container before mixing. Using the recommended dilution ratio is paramount for optimal results. Typically, a 1:10 ratio of cleaner to water is effective for most general cleaning tasks.
Steps for Proper Mixing
First, add the water to the bucket before pouring in the cleaning solution. This helps to prevent excessive foaming and ensures an even mix. Stir gently to combine the two without creating too many bubbles.
Safety and Compatibility
.jpg)
Ensure the cleaning solution is compatible with the surfaces you plan to clean. Some substances may damage delicate materials. Always wear gloves and eye protection when handling concentrated cleaners to avoid skin irritation and injury. If you’re unsure about the mixture, test it on a small, inconspicuous area first.
Techniques for Optimal Cleaning Results
For maximum cleanliness, maintain an even distance of approximately 30 to 50 cm from the surface being treated. A steady hand ensures uniform pressure application, crucial for effective dirt removal.
Adjust Your Approach Based on Surface Type
- Delicate Surfaces: On painted or fragile materials, angle the nozzle and keep it at a lower pressure to avoid damage.
- Stubborn Grime: For heavy encrustations like oil or mud, employ a direct spray at a closer range while using the appropriate cleaning solution to break down residues.
- Porous Materials: Increase the distance slightly when dealing with textured surfaces, allowing the water to penetrate without forcing it into the material.
Effective Technique Patterns
- Horizontal Sweeps: Use side-to-side or circular motions to prevent streaking, maintaining an overlap of about 10-15 cm with each pass.
- Top to Bottom: Always start cleaning from the highest point, allowing dirt and debris to flow downward, preventing re-soiling of already cleaned areas.
- Spot Cleaning: Identify heavily stained areas and focus on them with crosshatch patterns, ensuring the solution penetrates deeply before rinsing.
After cleaning, always rinse surfaces thoroughly to remove any residual cleaning agents, as this prevents streaks and build-up. Allow surfaces to dry completely to assess whether additional cleaning is required.
Maintaining Your Equipment After Use
After cleaning, ensure you disconnect all hoses and allow the motor to cool down for at least 15 minutes. This simple step prolongs lifespan and prevents overheating issues.
Inspect the filters and nozzles for any debris. A clogged nozzle can lead to reduced performance, so keep a soft brush on hand for cleaning. Regular checks will maintain optimal water flow.
Store your machine in a dry, cool place. Protect it from moisture to prevent rusting or damage to electrical components. If you live in a region with harsh winters, consider draining any remaining water to avoid freezing.
For electric models, check the power cord for any signs of wear or fraying. Damaged cords can pose a safety hazard, so replace them immediately if needed. It’s advisable to keep a spare cord available.
Refer to the manufacturer’s manual for any specific maintenance requirements. Regular servicing will help avoid unexpected costs down the line. Generally, replace seals and gaskets every couple of years to prevent leaks.
| Task | Frequency | Notes |
|---|---|---|
| Inspect filters and nozzles | After each use | Clean or replace as necessary |
| Check power cord | Monthly | Replace if damaged |
| Drain water | After each use | Prevent freeze damage |
| Check seals and gaskets | Every 6 months | Replace as needed |
By following these maintenance recommendations, I ensure maximum efficiency and longevity of my cleaning equipment. Regular care maximises performance and prevents inconveniences. Keep your tools in top condition, and they will serve you well for years to come.


