

Achieve remarkable cleaning results by adjusting the nozzle size appropriately for your tasks. A wider nozzle allows for covering larger areas more quickly, while a narrower one can concentrate the force on stubborn dirt and grime. This simple adjustment can transform your cleaning efficiency dramatically.
Your choice of cleaning solution plays a critical role as well. For heavy-duty applications, consider using specialized detergents designed for your specific surface types. They enhance the overall effectiveness, making tough jobs easier, especially in areas like driveways or patios where dirt builds up significantly.
Regular maintenance extends the lifespan of your device and ensures consistent performance. Routinely check the hoses for wear and tear, and inspect the filters for clogs. A clean machine operates better and prevents downtime during important tasks.
Safety cannot be overlooked. Always wear protective gear, including goggles and gloves, to shield yourself from potential hazards. Understanding pressure ratings and maintaining a safe distance during operation will help prevent injuries and damage to surfaces.
Choosing the Right Nozzle for Your Task
Select the appropriate nozzle based on the cleaning task at hand. For stubborn stains on concrete or brick, a 0-degree nozzle provides a concentrated spray, ideal for cutting through tough grime. However, exercise caution; this nozzle can damage delicate surfaces.
For general cleaning purposes, the 15-degree and 25-degree nozzles are versatile options. The 15-degree nozzle is effective for tasks like stripping paint or cleaning decks, while the 25-degree nozzle serves well for washing vehicles or siding without risk of damage.
The 40-degree nozzle produces a wider spray, perfect for rinsing and applying soap to larger areas, such as outdoor furniture or windows. For detergent application, consider a soap nozzle; it typically has a larger orifice to decrease fluid pressure, allowing for effective suds distribution.
Each nozzle type significantly affects water flow and pressure. Be mindful of the surface you are working on to prevent unintended damage. For example, asphalt may be sensitive to higher pressures, so choosing a wider nozzle prevents wear.
Before starting your task, test the selected nozzle on a small, inconspicuous area to gauge its impact. Knowing your equipment and the nozzles’ specifications ensures optimal performance and satisfactory results.
Understanding Pressure and Flow Rate Settings
Choose the right pressure for the surface you’re cleaning. For delicate surfaces like wood or painted materials, keep pressure under 1500 PSI. For tougher surfaces such as concrete, adjust to somewhere between 2000 and 3000 PSI. Settings above this level may cause damage or result in unwanted noise from the equipment.
Flow Rate Importance
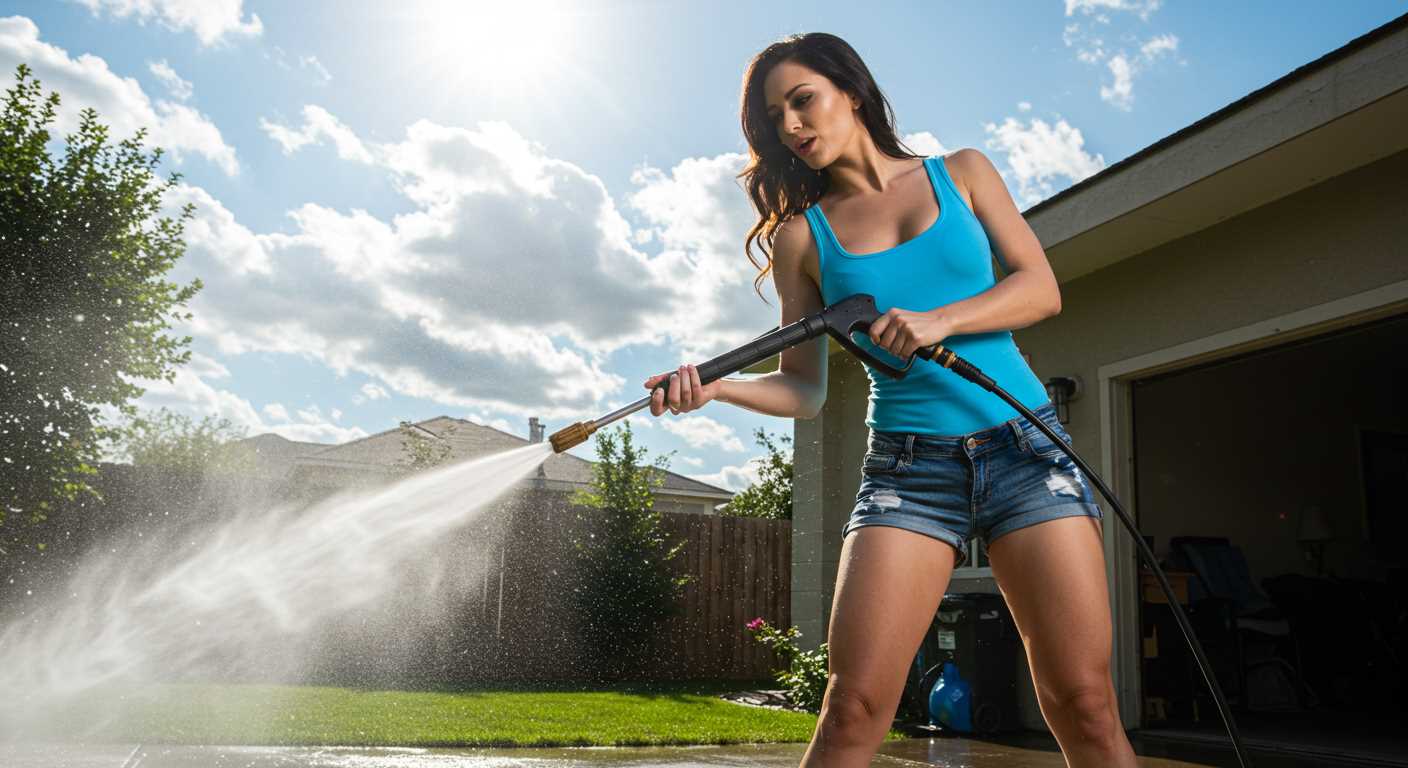
Flow rate, measured in litres per minute (LPM), significantly impacts cleaning ability. A higher flow rate means more water volume hitting the surface, enhancing dirt removal. For larger projects, look for machines offering at least 8-10 LPM. This aids in rinsing away substances quickly without leaving streaks.
Finding the Balance

Striking a balance between pressure and flow rate is paramount. Elevated pressure with low flow can create a forceful stream that lifts dirt but may leave residues. Conversely, low pressure coupled with high flow can saturate the area but might not eliminate stubborn grime. Adjust as necessary based on the task at hand for optimal results.
Preparing the Surface Before Cleaning
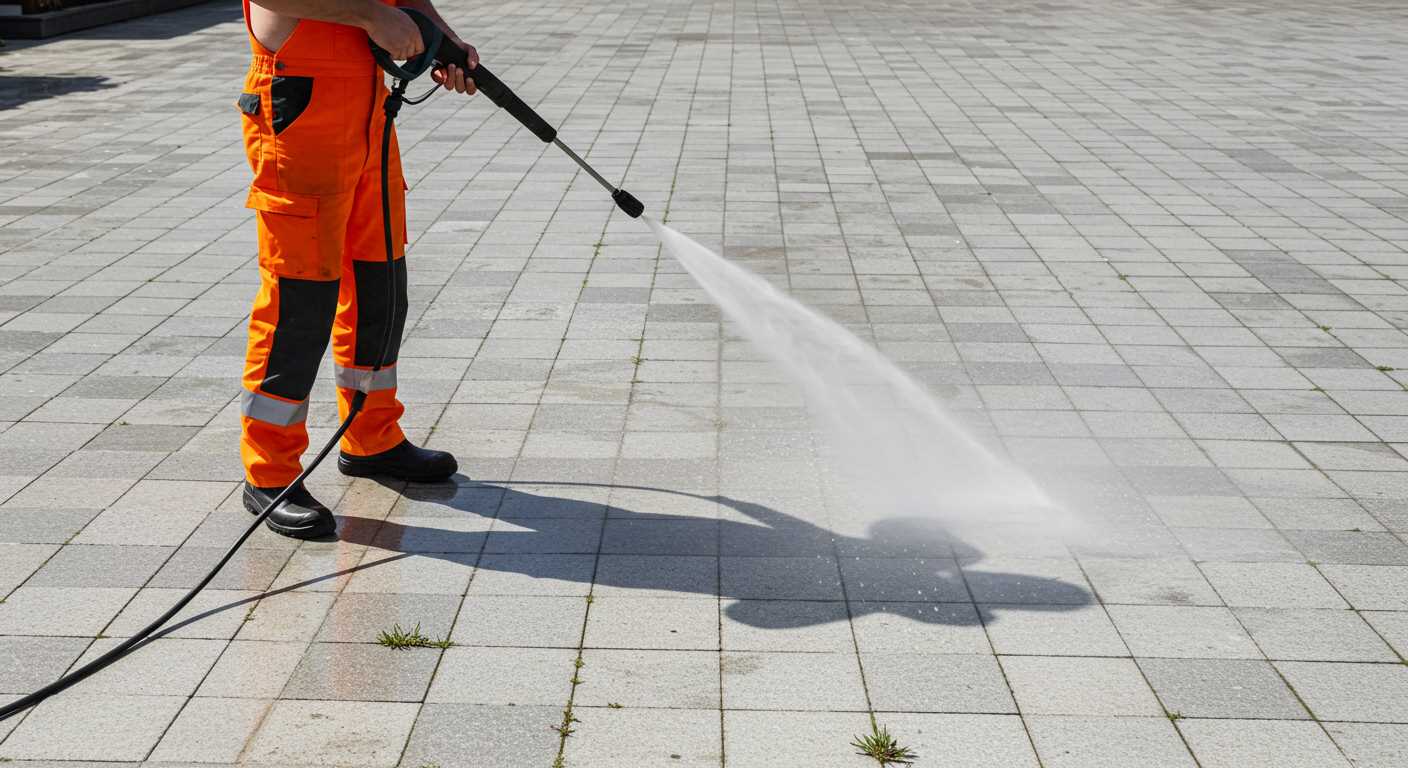
Begin by removing all outdoor furniture, planters, and decorations from the area to prevent damage and ensure easy access to surfaces. Clear any debris, such as leaves or dirt, to facilitate a thorough cleanup. If working on a driveway or deck, sweep the surface well.
Assess Damage and Treat Stains
Inspect the surface for any damage like cracks or loose paint. Address these issues accordingly; for example, patching cracks before proceeding with a thorough wash will yield better results. For stubborn stains, apply appropriate cleaners or degreasers designed for the specific material.
Protect Surrounding Areas
Shield nearby plants, windows, and exterior walls from overspray by covering them with plastic sheets or tarps. If you are near electrical outlets or fixtures, ensure they are secured and protected from moisture.
Lastly, ensure adequate drainage in the work area; if water accumulates, it may create a hazardous environment or affect the results of the cleaning process.
Safety Tips for Operating a Larger Pressure Washer
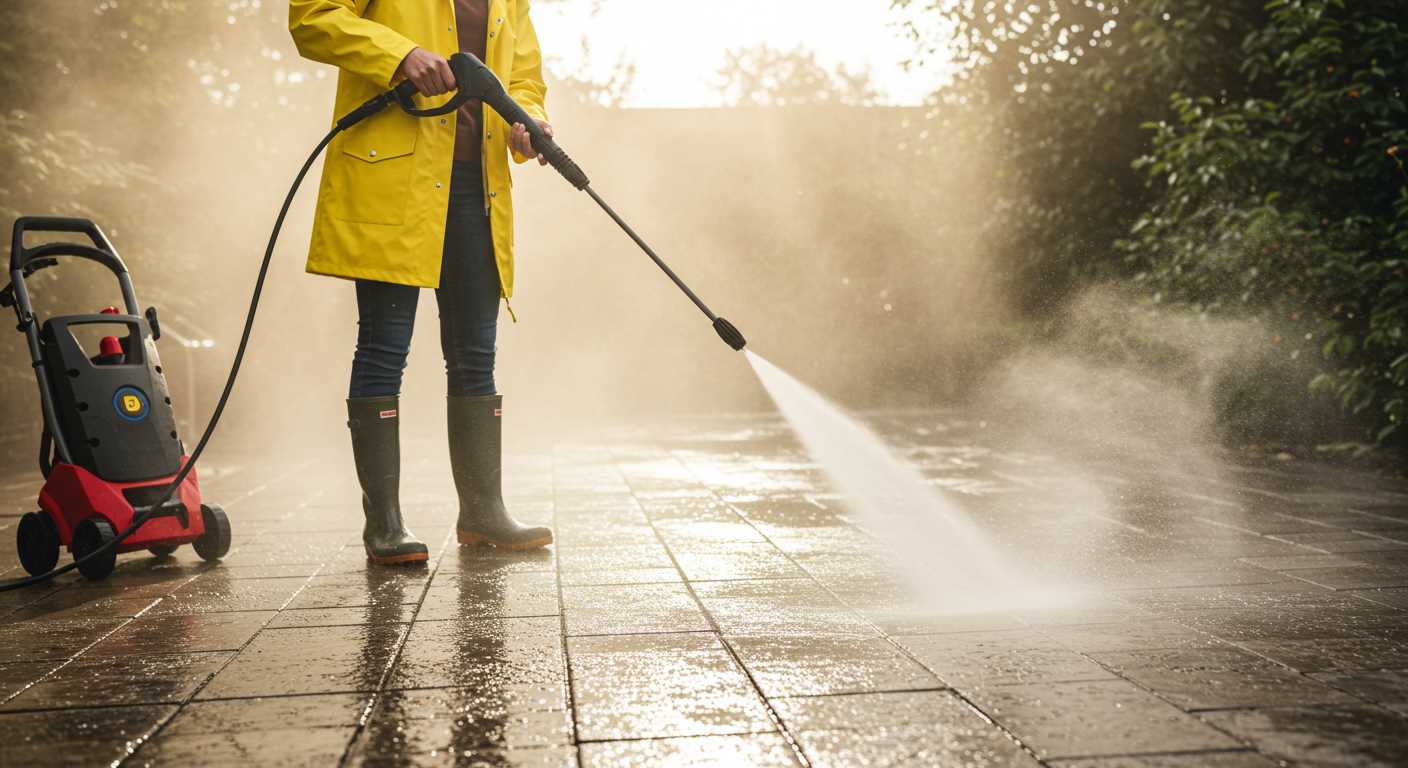
Always wear appropriate personal protective equipment (PPE) before starting any cleaning task with high-powered equipment. This includes safety goggles, thick gloves, and sturdy footwear to shield yourself from debris and high-pressure water spray.
Before You Begin
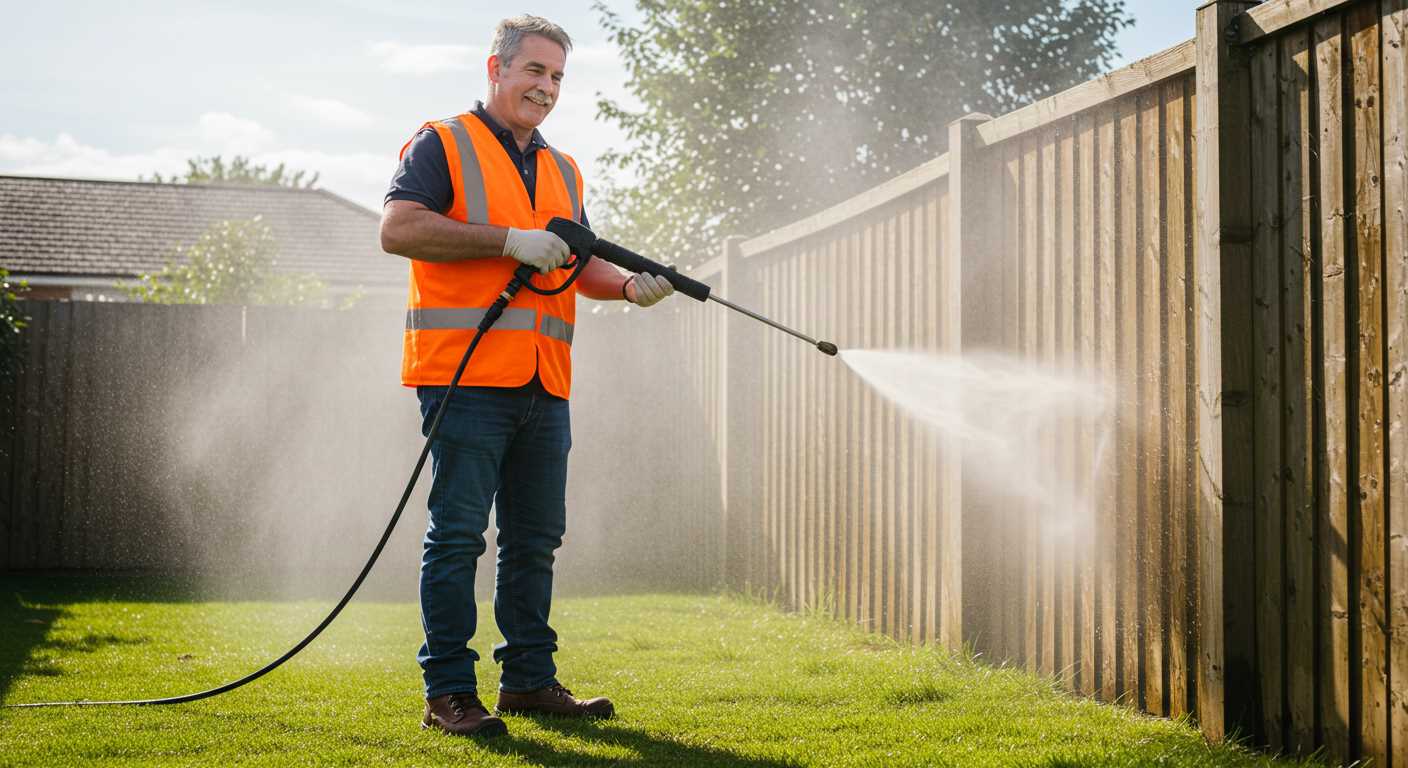
- Inspect hoses, fittings, and connectors for damage. Replace any worn or frayed components to prevent leaks and accidents.
- Ensure the area is clear of obstacles, including people, pets, and fragile items. This reduces the risk of injury and property damage.
- Check the weather conditions. Avoid operating in wet or stormy weather to prevent electrical hazards and slipping.
During Operation
- Maintain a safe distance between the nozzle and the surface being cleaned. Getting too close can cause injury or damage.
- Keep both hands on the trigger gun while operating; this helps maintain control and improves safety.
- Never point the nozzle at yourself, bystanders, or animals. The force of the water can cause serious injuries.
- Be aware of the kickback when the trigger is pulled. It can cause you to lose control if not handled properly.
- Take regular breaks to avoid fatigue. Tiredness can lead to mistakes and increase the risk of accidents.
Following these guidelines ensures a safe working environment while maximising the potential of your cleaning equipment.
Cleaning Different Surfaces: Technique and Considerations
.jpg)
Start with a gentle approach on delicate surfaces. Adjust the pressure for softer materials like wood or painted surfaces to prevent damage. A distance of at least two feet is advisable to avoid gouging. For surfaces such as driveways, concrete, or brick, closer contact can be employed using higher pressure settings, ideally between 2000 to 3000 PSI.
For vertical surfaces, work from the top down. This method ensures that dirty water flows downward, avoiding streaks on freshly cleaned areas. Maintain a consistent distance and pattern to achieve an even clean. Always overlap passes slightly to avoid missed spots.
Utilise a sweeping motion for horizontal surfaces, as it helps to lift dirt effectively. Adjust the nozzle to fan out the stream, increasing coverage and improving efficiency. Clean in sections, allowing each one to dry slightly before proceeding to the next to gauge cleanliness accurately.
Here’s a summary of techniques for various surfaces:
| Surface Type | Recommended PSI | Distance | Technique |
|---|---|---|---|
| Wood | 1300 – 1600 | 2 – 3 feet | Gentle up-and-down strokes |
| Vinyl Siding | 1500 – 2000 | 2 – 3 feet | Top to bottom with overlapping strokes |
| Concrete Driveways | 2500 – 3000 | 1 – 2 feet | Sweeping side-to-side motion |
| Brick Walls | 2000 – 2500 | 1 – 2 feet | Top-down technique with overlapping |
| Vehicles | 1200 – 1900 | 2 – 3 feet | Circular motion from top to bottom |
Consider environmental factors such as wind and surroundings. Clean during calm weather to avoid backsplash and ensure optimal cleaning. For stubborn stains, pre-treat with appropriate cleaning solutions to enhance results.
Keep in mind the moisture levels in cleaning solutions. Applying pressure cleaner chemicals at lower pressures or applying them manually can lead to better saturation and, subsequently, more effective cleaning. Always follow the manufacturer’s recommendations for surface preparations and post-cleaning care.
Maintaining Your Pressure Washer for Longevity
Regular maintenance is key to enhancing the lifespan of your cleaning unit. Start with a thorough inspection after each use. Check for any signs of wear or damage on hoses, nozzles and connections. Replace any worn parts immediately to prevent further issues.
Flushing the system with clean water is essential, especially if you’ve used detergents or cleaning agents. Run plain water through the machine for a few minutes to clear any residual chemicals that could cause build-up.
Filter Care
Consult the user manual for your model’s filtration system. Clean or replace filters as recommended. Blocked filters can restrict water flow, leading to decreased performance and potential damage to components.
Winterisation Techniques
If you reside in an area where temperatures drop significantly, winterise your equipment properly. Drain any residual water from the pump and hoses to avoid freezing, which can crack and damage the apparatus. Use a pump saver fluid to protect seals and interior parts during the off-season.


