


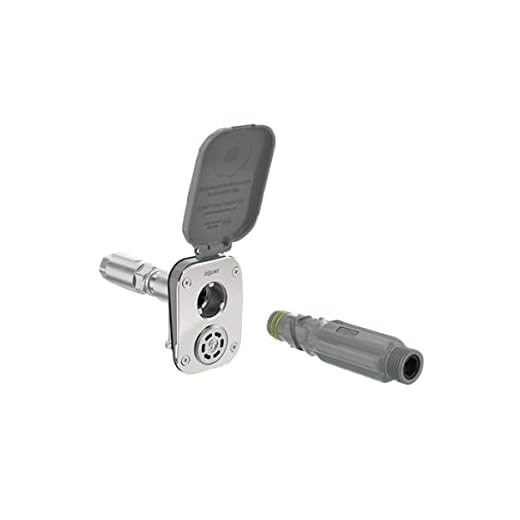
The first step involves selecting the right nozzle for the task at hand. Different attachments offer varying spray patterns and pressure intensities, tailored to surfaces and grime levels. For delicate materials like wood or car paint, opt for a wider spray to prevent damage. Conversely, a narrow, concentrated jet is perfect for stubborn dirt on concrete or brick.
Next, ensure your water supply and power source are adequate. Fill the tank with clean water, avoiding any contaminants that could harm the device or the environment. Hook up to a reliable electrical outlet and turn on the appliance, allowing it to build pressure before beginning your cleaning session.
Always maintain a safe distance from the surface being cleaned. A distance of approximately 18 inches is ideal for most tasks, reducing the risk of damage while still delivering effective cleaning results. Move the nozzle back and forth to cover areas more evenly, and keep an eye on the cleanup to adjust the pressure as needed.
Regular maintenance is key to prolonging the lifespan of your equipment. After each use, disconnect the water supply and power. Let the machine run for a short time to clear any residual water and prevent blockages. Store the device indoors or in a sheltered space to protect it from the elements.
Choosing the Right Cleaning Device for Your Needs
For optimal performance, consider the PSI (pounds per square inch) rating. A model with a minimum of 1500 PSI suits light tasks, while those above 3000 PSI are ideal for tougher jobs such as removing grime from concrete surfaces.
Next, evaluate the GPM (gallons per minute). A higher GPM indicates a better flow rate, making it easier to rinse away detergent and dirt. Typically, a range of 1.5 to 2.5 GPM is advisable for home applications.
Examine the motor type. Electric machines are quieter and suitable for small to medium projects, while gasoline-powered alternatives provide greater power for large-scale tasks but require more maintenance and fuel considerations.
Consider the portability aspect as well. Options with wheels and a lightweight design enhance mobility, allowing easy manoeuvring around job sites and storage convenience.
Assess the nozzle types and their versatility. A variable nozzle adjusts spray patterns, while specialty nozzles cater to specific tasks, offering better control over water pressure and angle.
Check for additional features such as detergent tanks, which simplify cleaning. Integrated hose reels prevent tangling, and extension wands extend reach for overhead surfaces, enhancing usability.
Lastly, review consumer feedback and ratings. Real-world experiences provide insights into durability and performance, helping to make a well-informed decision.
Setting up your pressure cleaning equipment correctly
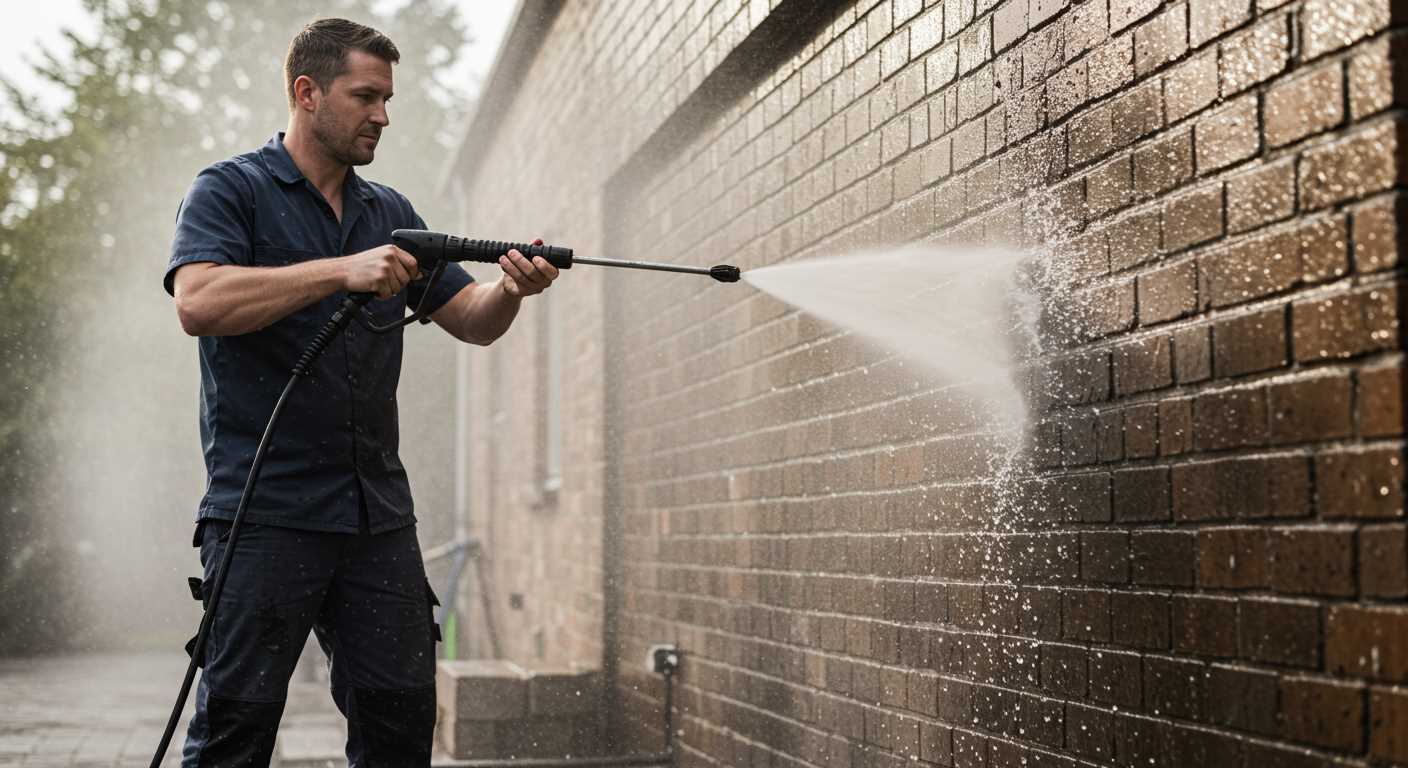
Ensure the unit is on a flat, stable surface to prevent any tipping or movement during operation. This provides safety and helps maintain consistent results.
Connect the water supply securely. Use a garden hose with a suitable diameter, tapering to the inlet of the machine. Check for any leaks prior to operation; even slight drips can affect performance.
Attach the spray nozzle according to the task requirements. Different nozzles deliver varying spray patterns and pressures; choosing the correct one is key for efficiency. For example, a narrow jet is excellent for tough stains, while a wider spray works well for rinsing.
Engage the safety lock, if available, to prevent accidental activation. This feature, often overlooked, can be crucial in avoiding injuries or unintended damage.
Turn on the water supply and squeeze the trigger to remove any air from the system. This step ensures a steady stream when you activate the motor.
Finally, plug the unit into a suitable electrical outlet, ensuring the connection is safe and dry. Avoid using extension cords if possible; if necessary, opt for a heavy-duty one that can handle the power required.
Understanding the different nozzles and their uses
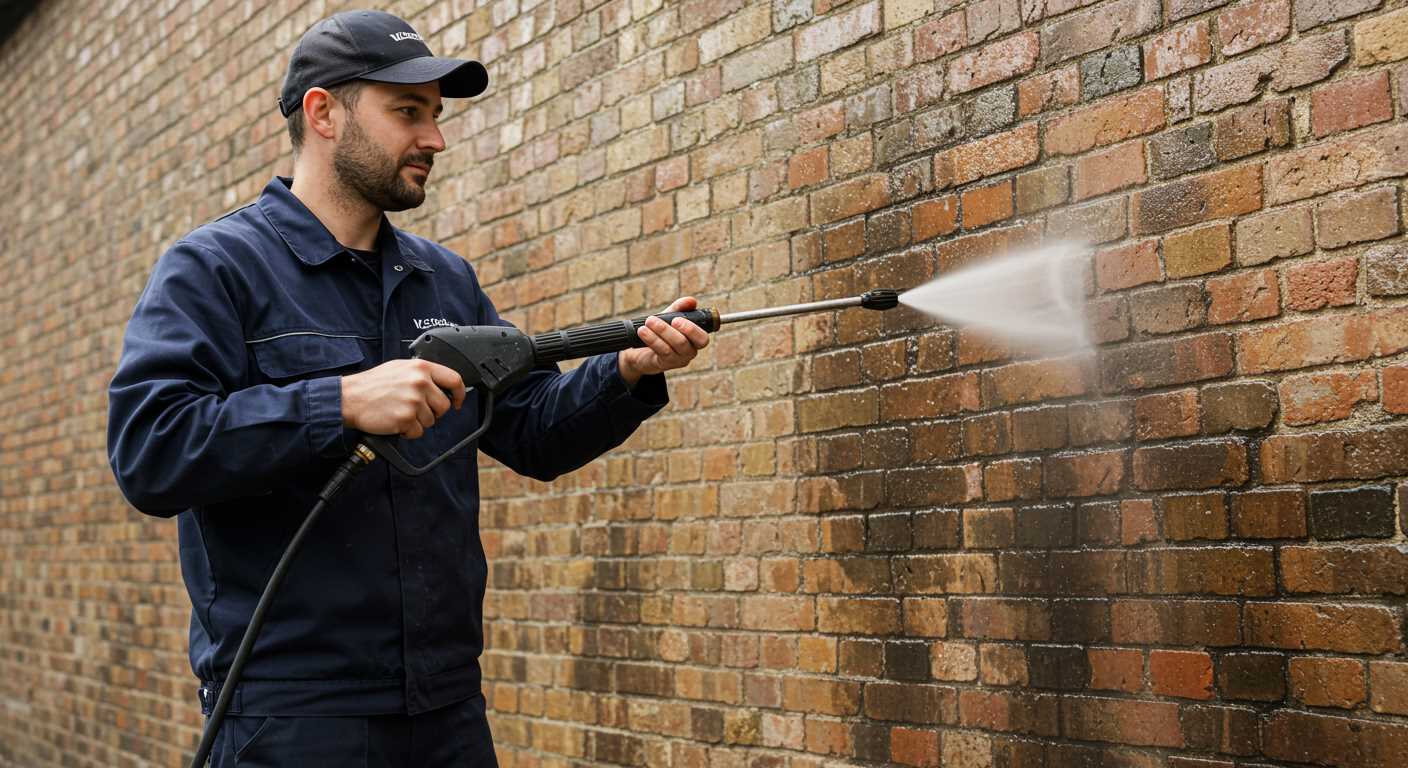
Choosing the right nozzle is crucial for achieving the desired outcome when cleaning various surfaces. There are typically four primary nozzle types, each designed for specific tasks.
0-Degree Nozzle

This nozzle produces a focused, powerful jet of water, making it ideal for tough stains on hard surfaces like concrete or brick. Exercise caution, as it can cause damage to softer materials or delicate surfaces. Reserve this for heavy-duty cleaning.
15-Degree Nozzle
With a wider spray pattern than the 0-degree, this nozzle is perfect for removing dirt and grime from tougher surfaces without risking damage. It’s effective on surfaces such as driveways, patios, and decks, offering a balance between power and safety.
25-Degree Nozzle
The 25-degree option provides a broader spray, making it suitable for more delicate tasks like washing vehicles, siding, or wooden fences. Its versatility allows for effective cleaning without excessive force, reducing the risk of damage.
40-Degree Nozzle
Best for light cleaning tasks, this nozzle produces a gentle spray suitable for windows, outdoor furniture, and painted surfaces. It’s ideal for rinsing away soap or lightweight debris without causing harm.
Additionally, many units come with adjustable nozzles, which allows for quick changes between spray patterns as needed. Selecting the right attachment greatly enhances the cleaning process and protects the surfaces you are working on.
Preparing Surfaces Before Cleaning
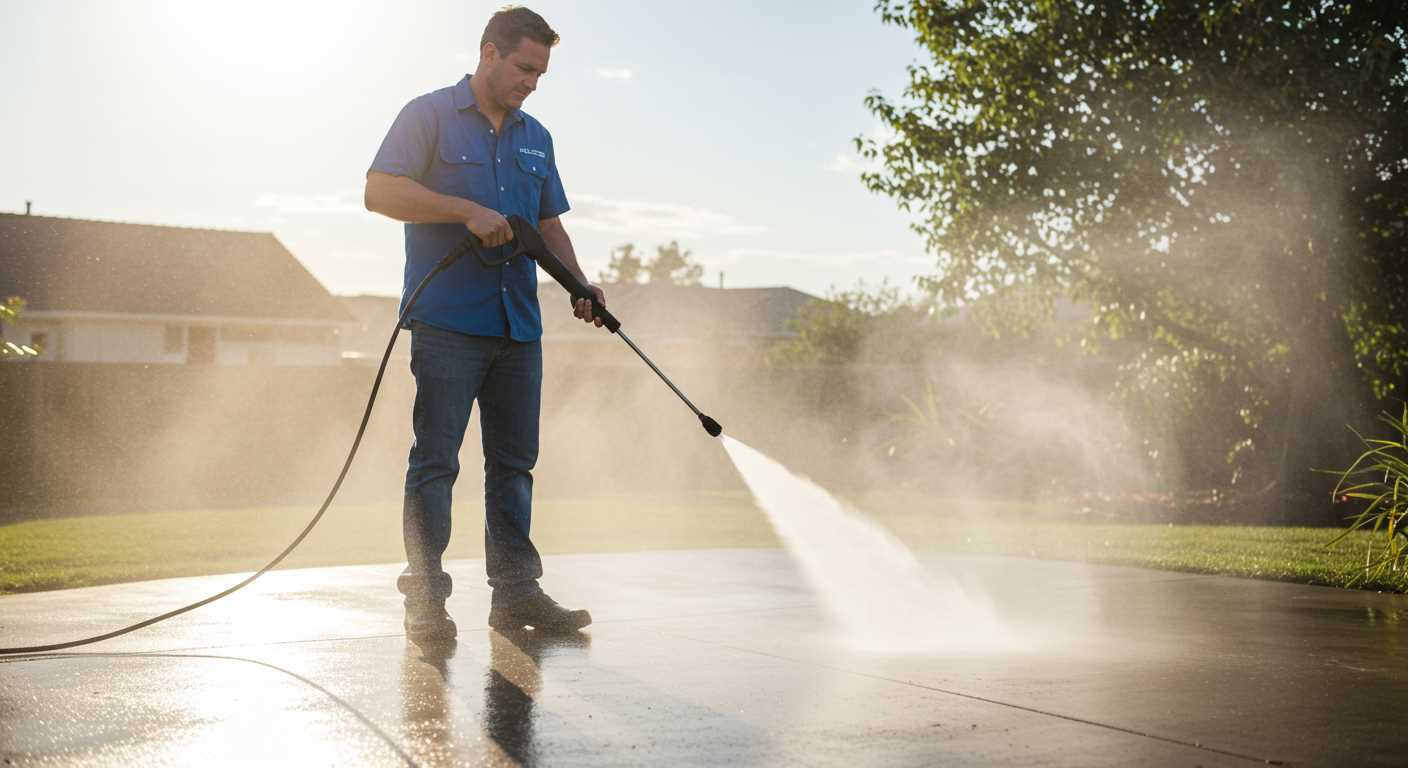
Before engaging in the washing process, remove any loose debris such as leaves, dirt, or dust from the surface. This prevents larger particles from scratching or damaging the material during the high-pressure cleaning. Use a broom or blower for thorough removal.
Inspect the area for potential damage or vulnerabilities. Look for cracks, loose paint, or delicate materials that may not withstand strong water jets. Patch any minor defects and consider using protective coverings on sensitive surfaces.
Securing the Surroundings
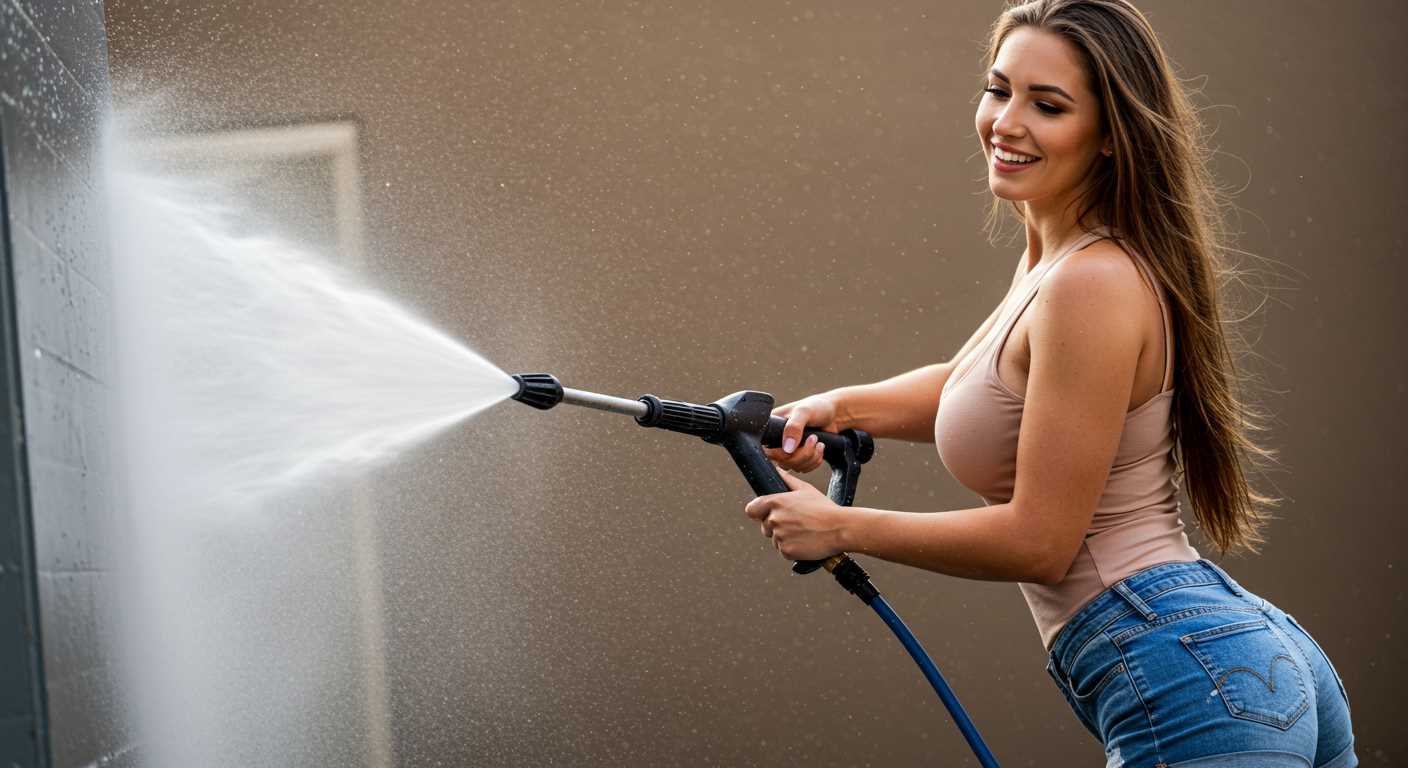
Ensure the surrounding areas are protected. Cover plants, furniture, and other items to shield them from overspray and potential chemical exposure. Construct barriers or use tarps to define the cleaning zones.
Pre-Treating Stains
For tougher stains, pre-treat surfaces with suitable cleaning solutions. Allow sufficient time for the detergent to penetrate dirt before starting the washing equipment. This enhances the efficiency of the cleaning process, making it easier to achieve a pristine finish.
Safety Precautions When Operating a High-Pressure Cleaning Device
Always wear appropriate personal protective equipment (PPE) including safety goggles, gloves, and sturdy footwear to shield against debris and water spray.
Ensure the work area is free from bystanders, pets, and children to avoid accidents. Clear any obstacles that might cause tripping or impede movement.
Before commencing, inspect the machine for any signs of wear, leaks, or damage. Regular maintenance checks are essential to ensure safe operation.
- Verify that the electrical connections are secure and that the device is rated for the power supply used to avoid electrical hazards.
- Make certain that the water source is connected properly to prevent air from entering the system, which can help avoid damage.
Maintain a minimum distance from surfaces being cleaned. Staying at least two feet away can prevent damage and reduce the risk of injury from the force of the water.
Be aware of your surroundings; check for any overhead power lines and maintain a safe distance from them to avoid electrocution.
- Never point the nozzle at yourself or anyone else.
- Do not adjust, clean, or perform maintenance on the appliance while it is running.
- Always turn off and unplug the equipment when not in use, and follow manufacturer guidelines for storage.
Be cautious with detergents and cleaning agents. Read and adhere to all instructions, including dilution ratios. Always use products recommended for use with your specific model.
In case of malfunction or unexpected performance issues, cease operation immediately and consult the user manual. Do not attempt repairs unless qualified to do so.
Proper maintenance for longevity of your cleaning equipment

Regular upkeep can significantly extend the lifespan of your cleaning device. Begin by ensuring that all components are free from debris after each session. Rinse the exterior and check for any visible damage.
Daily Maintenance Checklist
| Task | Frequency |
|---|---|
| Clean filters | Daily |
| Inspect hoses for leaks | Daily |
| Check oil levels | Daily |
| Empty detergent tank | Daily |
Weekly and Seasonal Maintenance
Once a week, inspect the spray nozzles to clear any blockages and ensure optimal performance. Additionally, service the engine according to the manufacturer’s guidelines. Store the device in a dry area to prevent corrosion.
Before the winter months, consider adding a storage solution to prevent freezing of liquid within the system. Run the equipment briefly with antifreeze to protect internal components during cold weather.
Adhering to these practices can ensure that your cleaning apparatus remains reliable and efficient for years to come. Regular inspections and careful handling contribute significantly to its durability. Remember, a little attention goes a long way.


