


If you’re aiming for performance in your cleaning tasks, attaching a specialised nozzle can significantly enhance your results. Begin by ensuring compatibility with your machine’s settings and adjust the flow accordingly. This step is crucial, as utilising the correct pressure level avoids potential damage and optimises cleaning efficiency.
Next, position the nozzle at an appropriate distance from the surface. Maintaining a consistent distance helps to prevent surface wear while ensuring thorough removal of dirt and grime. Aiming for about 12 to 18 inches from the area being treated typically yields the best results. Adjust your angle based on the stubbornness of the staining; a narrower angle can provide more concentrated force when needed.
Incorporate a cleaning solution where necessary. If you’re tackling particularly tough spots, pre-soaking with a compatible detergent makes a noticeable difference. After applying the detergent, use the high-pressure option to rinse effectively, ensuring no residue is left behind. Following these steps will transform your cleaning routine into a more satisfying and productive experience.
Choosing the Right Equipment for Blast Functionality
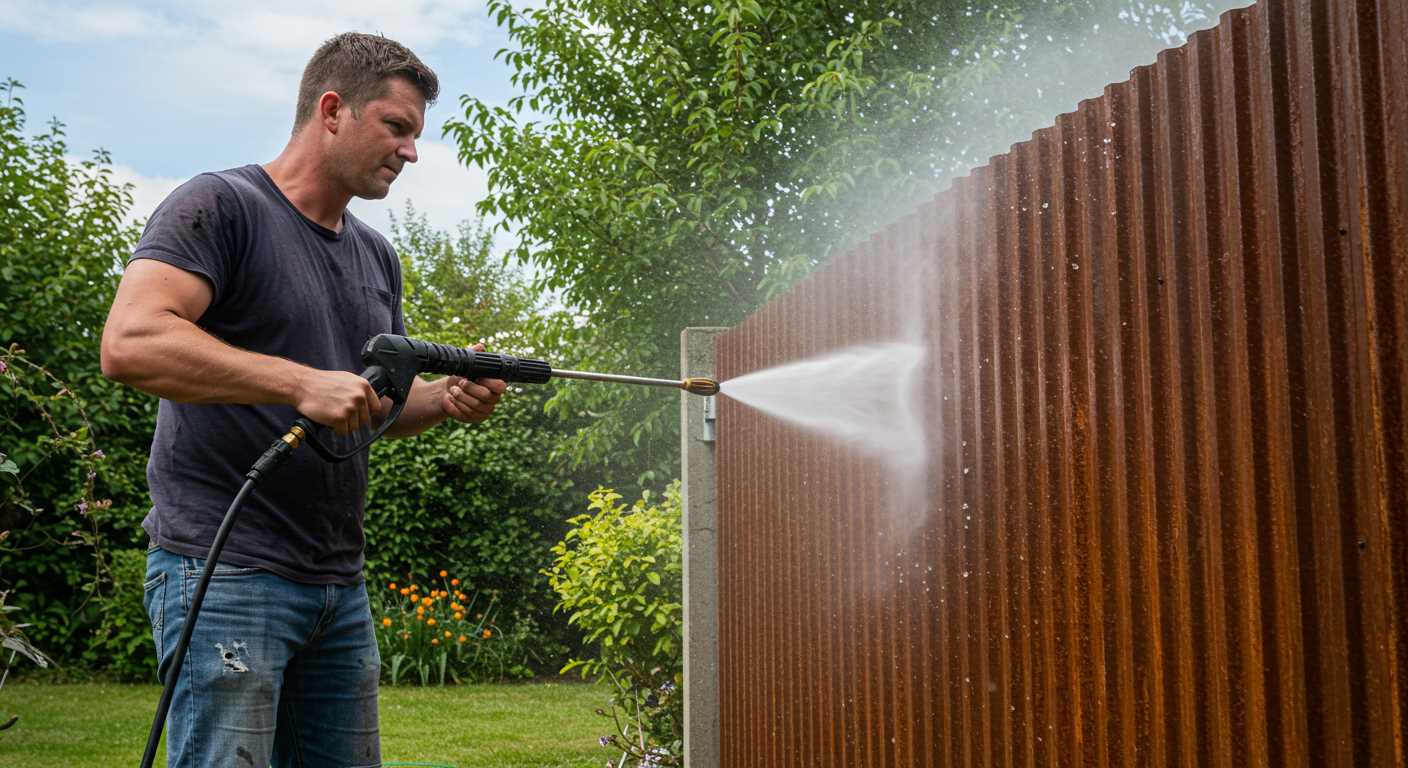
Opt for a model with at least 2000 PSI for optimal performance with this type of nozzle. A higher PSI translates to greater force, which is crucial for efficient cleaning tasks.
Additionally, consider the flow rate measured in GPM (gallons per minute). A higher GPM allows for quicker coverage and reduces the time you spend working on projects. A combination of 2000 PSI and 2.5 GPM is typically effective for residential needs.
Types of Units
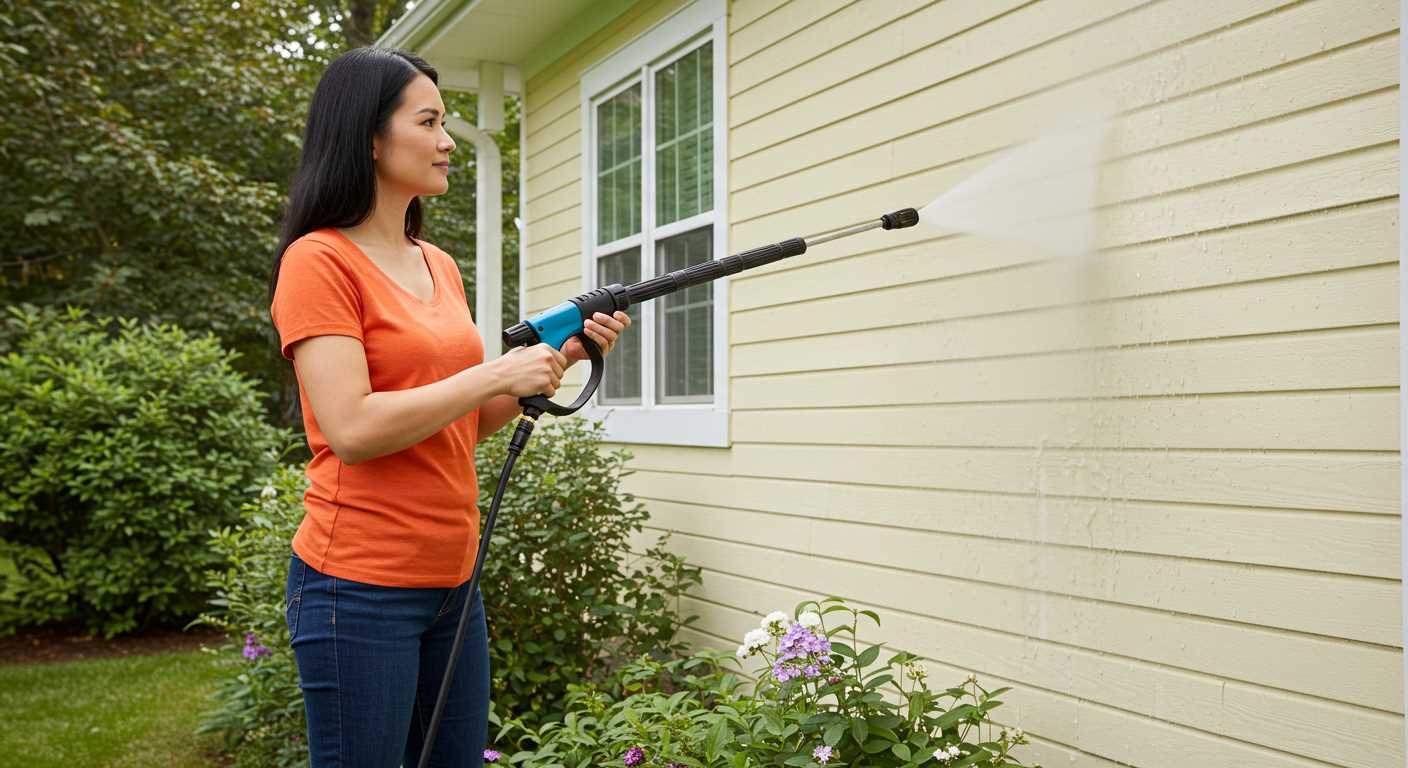
Both electric and gas-powered units can be suitable, depending on your requirements. Electric units are quieter and more convenient for small jobs, while gas-operated machines offer superior power, making them ideal for tough surfaces and larger areas.
Compatibility
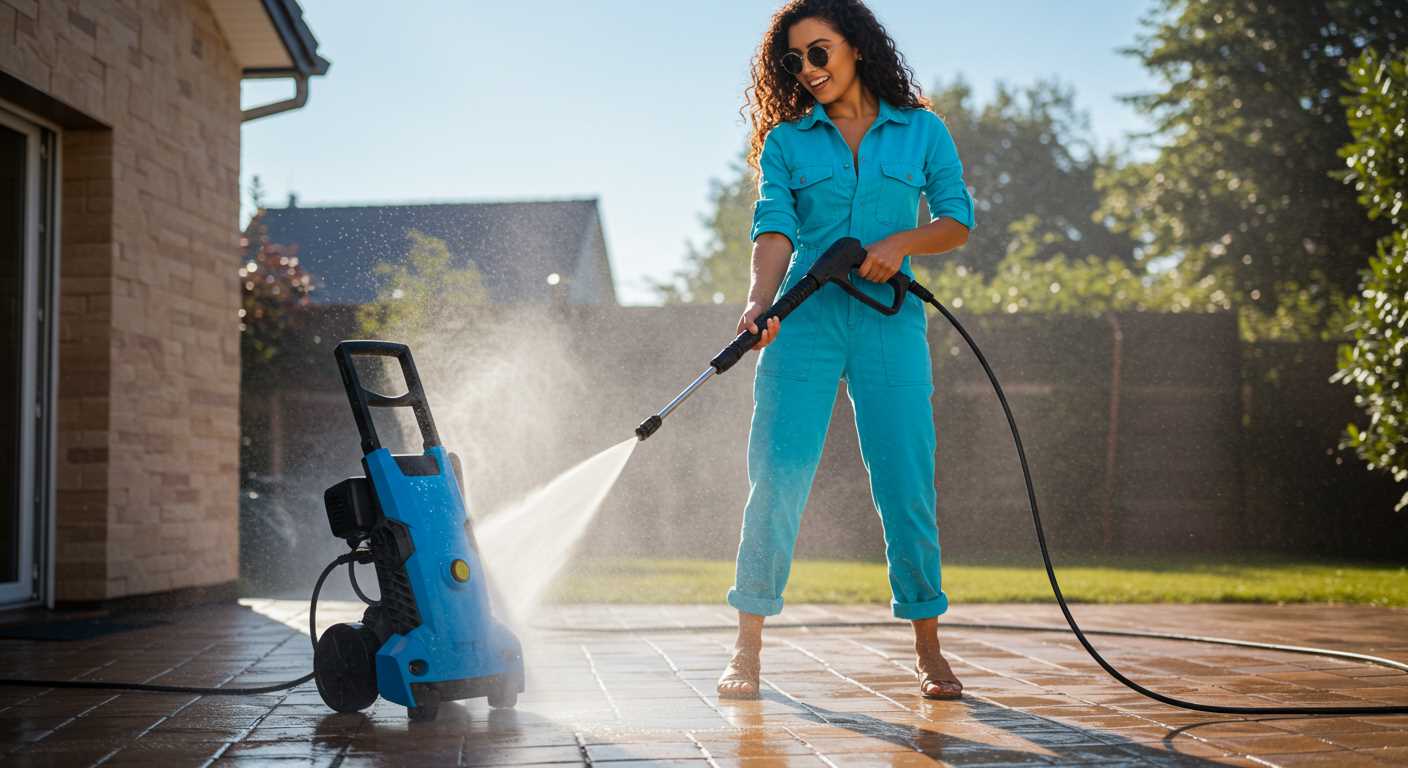
Before purchasing, ensure that the nozzle attachment fits your specific machine. Most brands offer universal compatibility, but it’s crucial to verify this to prevent issues during operation.
| Feature | Electric Models | Gas Models |
|---|---|---|
| Power Source | Electricity | Petrol |
| Maintenance | Low | Higher |
| Noise Level | Low | Medium to High |
| Weight | Lighter | Heavier |
| Power Output | Around 1500-2000 PSI | 2000 PSI and above |
After considering these factors, select a unit that best aligns with your cleaning requirements. A well-chosen machine ensures the effective use of the blast nozzle, enhancing your overall cleaning experience.
Understanding the components of a blast attachment
Focusing on the core elements of a blast accessory reveals its significance in enhancing cleaning efficiency. At the heart of this tool lies the nozzle, designed to concentrate the flow of fluid into a powerful jet. Selecting a nozzle with the correct angle and orifice size directly influences the intensity of the stream, improving its effectiveness for various surfaces.
Key Elements
The housing of the device plays a vital role, ensuring durability while withstanding high pressures. A well-constructed outer shell protects internal mechanisms and contributes to a comfortable grip during operation. Additionally, a robust connection system is crucial for securing the accessory to the equipment. Ensuring compatibility with your machine maximises performance and prevents leaks.
Special Features
Some blast tools incorporate adjustable settings, allowing for flexibility in usage. This feature enables the user to tune the output according to the task at hand, whether removing tough stains or gently rinsing delicate materials. Moreover, rotating components can enhance cleaning power by adding a scrubbing action, providing a deeper clean on stubborn dirt.
Preparing Your Cleaning Equipment Before Attachment Deployment
Ensure the device is powered off and unplugged before beginning any setup. Inspect the unit for any signs of wear or damage, particularly in hoses and connectors, to prevent leaks during operation.
Fill the tank with the appropriate cleansing solution, as per the manufacturer’s guidelines. If using a detergent, confirm it is compatible with your equipment to avoid damaging internal components.
Attach the correct nozzle and secure it firmly to avoid disconnections during operation. Verify that the hose is properly connected to the water supply and that there are no kinks or blockages in the line that could impede water flow.
Checking Pressure Settings and Testing
Inspect the settings on the control panel, adjusting the pressure levels according to the requirements of the task at hand. If your device has a variable pressure feature, start with a lower setting to see how the cleaning solution interacts with the surface.
Before beginning the full cleaning process, conduct a short test on a small area to gauge effectiveness and ensure no damage occurs. This will help determine if further adjustments are necessary for optimal results.
Adjusting pressure settings for optimal performance
To maximise the effectiveness of your cleaning task, calibrate the force of the unit according to the surface being treated. For delicate materials, such as wood or painted surfaces, start at a lower setting, typically around 1500 PSI. Gradually increase the intensity if necessary, but avoid excessive force that could cause damage.
On harder surfaces like concrete, a range between 2500 to 3000 PSI is often ideal. This level ensures that grime, oil, and stubborn dirt are effectively removed without compromising the integrity of the surface. Always test a small, inconspicuous area first to assess the compatibility of the pressure with the material.
In addition to PSI, observe the flow rate. Adjusting the nozzle or using different tips can alter the spread and concentration of the jet. A wider spray is usually suitable for rinsing, while a narrow stream works best for heavy-duty tasks.
Environment also impacts performance. Wind can disperse the cleaning solution, while temperature can affect viscosity. On colder days, solutions may become thicker, necessitating more power. Be prepared to make minor adjustments based on these factors for consistent results.
Before commencing, ensure the device is primed correctly. Air pockets can cause fluctuations in output, resulting in uneven cleaning. Continuously monitor your settings throughout the job to maintain optimal performance, adapting as necessary to achieve the best results.
Safety Precautions When Using a High-Pressure Nozzle
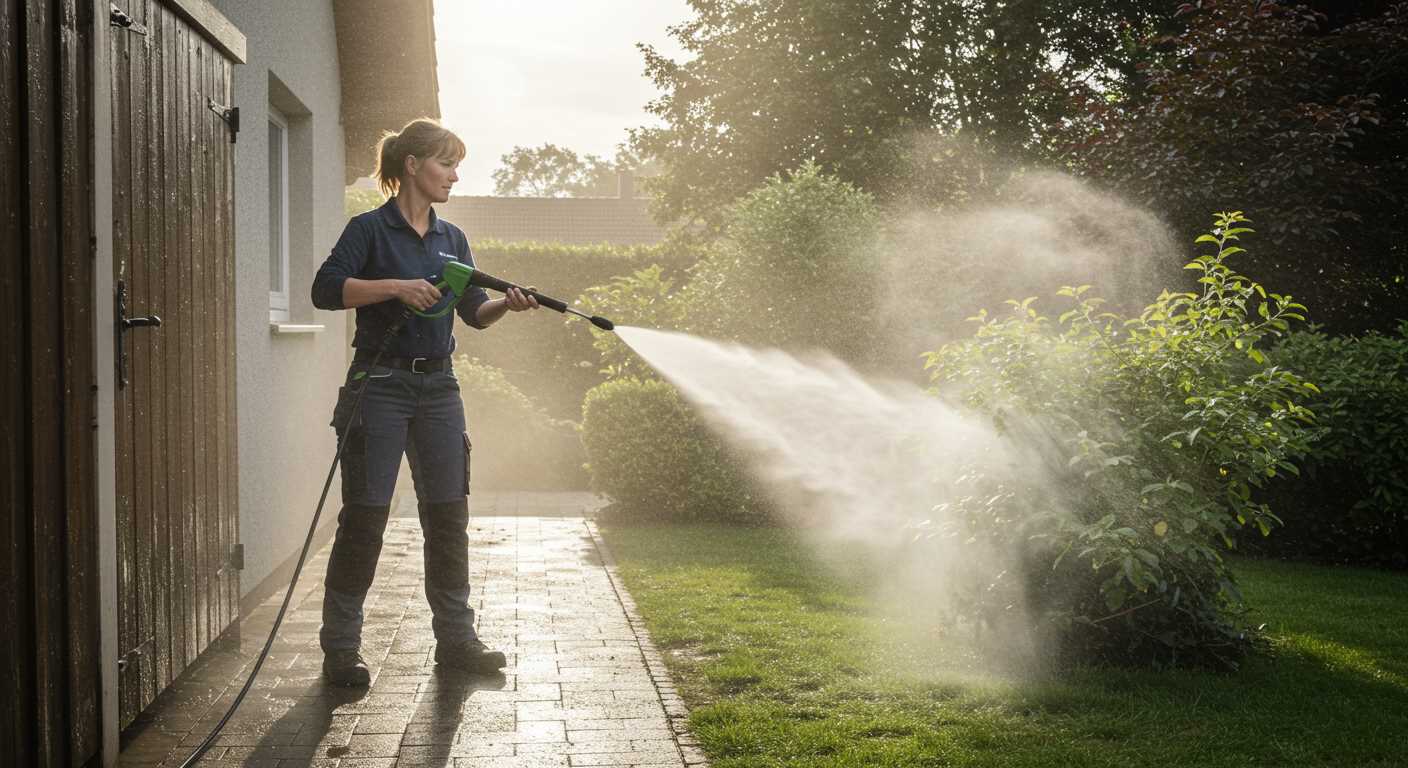
Always wear protective eyewear to shield your vision from debris and splashes. Equipped shoes with slip-resistant soles provide necessary grip, especially on wet surfaces. Long pants and sleeves help protect against accidental contact with the nozzle and chemicals.
Prior to Operation
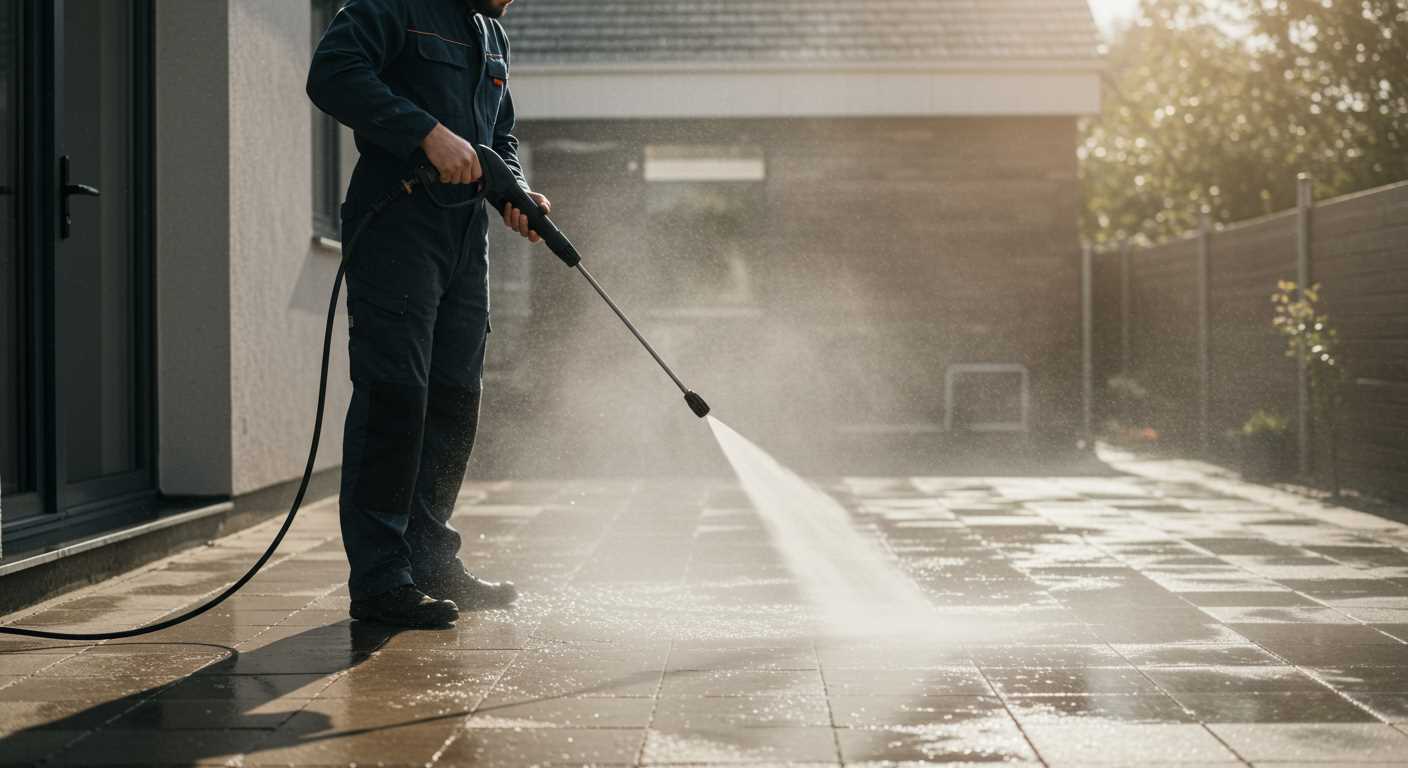
- Inspect the area for obstacles or nearby individuals. Clear the surroundings to prevent unexpected accidents.
- Ensure the equipment is in good condition. Check for signs of wear or damage on hoses, fittings, and the high-pressure nozzle.
During Operation

- Aim the nozzle at surfaces only after activating the device. This prevents any accidental spraying.
- Maintain a safe distance from surfaces, typically around 3-5 feet, depending on the intensity setting.
- Never point the nozzle at yourself, people, or pets, even when idle.
- Keep fingers away from the trigger when not in use to prevent accidental activation.
If using detergents or cleaning solutions, follow the manufacturer’s instructions closely. Ensure proper ventilation if chemical agents are involved. In case of contact with skin or eyes, rinse immediately with plenty of water and seek medical attention if necessary.
Remember, adhering to these safety measures can significantly reduce the risk of injury and enhance your cleaning experience.
Techniques for Cleaning Different Surfaces
For wooden decks, maintain a distance of 24 to 30 inches. Use a fan spray pattern to avoid damaging the wood. A cleaning solution designed for wood will enhance results, allowing you to lift dirt and mildew effectively.
When tackling concrete surfaces, such as driveways, employ a narrower spray angle, ideally 15 degrees, to penetrate the grime deeply. Move systematically to ensure comprehensive coverage. Stubborn stains may require pre-soaking with an appropriate cleaner.
For vehicles, always set the pressure lower, around 1200 to 1500 PSI, to prevent damaging the paintwork. Utilize a wide spray pattern, and maintain a distance of at least 3 feet from the car’s surface. A soap nozzle will help to loosen dirt before rinsing.
Brick surfaces demand a careful approach. Using the narrowest spray pattern, work in vertical stripes to avoid water pooling. A biodegradable cleaner specifically for masonry will assist in breaking down stains without causing erosion.
For patio furniture, particularly plastic and metal, opt for a moderate pressure setting of about 1500 PSI. Employ a fan spray to cover larger surfaces quickly. After cleaning, ensure to rinse thoroughly to prevent soap residues.
When cleaning glass, maintain a minimum distance of 2 feet and use a mild detergent. A gentle, sweeping motion helps reduce streaks, and always follow up with a clean rinse to maintain clarity.
Maintenance Tips for Your Blast Attachment
Regularly inspect the nozzle and housing for wear or damage. Ensure that there are no obstructions that could impede water flow, as these can reduce efficiency.
After each session, rinse the component thoroughly to remove any detergent residues or debris. This prevents clogs and maintains optimal function. A simple water flush is often sufficient.
Store the equipment in a dry, cool location. Avoid direct sunlight to protect plastic parts from degradation. Consider using a storage bag or container to prevent dust accumulation.
Lubricate any moving parts with a silicone-based spray occasionally to ensure smooth operation, extending the lifespan of the mechanism. Check the manufacturer’s recommendations for specific lubricants suitable for your product.
Periodically check the connection points for cracks or damage. If you find any defects, replace the parts promptly to avoid leaks or further complications.
Test the attachment regularly to ensure it’s functioning correctly. If you notice a significant drop in performance, it may signal a need for more thorough inspection or cleaning.


