

Before beginning any project, ensure you acquire the right nozzle for the task at hand. Opt for a 25-degree or 40-degree tip for cleaning exterior walls, as these nozzles provide a wider spray pattern and lower pressure, reducing the risk of damage to the surface. Always perform a test spray in a discreet area to gauge paint adhesion and surface integrity.
Next, carefully prepare the area surrounding your target. Clear any debris or obstacles that could hinder movement or become hazardous during the process. If necessary, cover plants and electrical outlets with a plastic sheet to protect them from excessive moisture and prevent accidental damage.
Fill the detergent tank with a suitable cleaning solution specifically designed for external surfaces. Choose eco-friendly options whenever possible to minimise environmental impact. Allow the detergent to dwell on the surface for the recommended time to facilitate the breakdown of dirt and grime, while keeping in mind that some detergents may require rinsing.
When ready to commence, maintain a consistent distance of approximately 30 centimetres from the surface. Move the lance in a sweeping motion from side to side, rather than focusing on a single spot, to evenly distribute pressure and avoid etching the material underneath. Close attention should be paid to corners and difficult-to-reach areas to ensure thorough cleaning.
Following the cleaning cycle, rinse off any residual detergent and grime with clean water, ensuring all surfaces are left free of cleaning agents. Always refer to the manufacturer’s guidelines for your equipment regarding safe operational practices and maintenance to prolong its life and performance.
Guidelines for Effective Exterior Cleaning
Begin with assessing the surface and type of material before any cleaning commences. Different substrates, such as wood, concrete, or vinyl, each have their own requirements. For instance, softer materials like wood necessitate a lower PSI setting to avoid damage.
Preparation Steps
Remove all furniture, planters, and items that obstruct the cleaning area. Cover any delicate plants or fixtures nearby to shield them from debris or water pressure. Ensure that windows and doors are properly sealed to prevent any water penetration inside. Identify and treat any mould or mildew spots with a suitable cleaner beforehand for optimal results.
Technique for Application

Hold the wand approximately 2-3 feet from the surface. Begin from the top and work your way down in a consistent, sweeping motion. Overlap each stroke slightly to achieve uniform coverage. Avoid lingering too long on any one spot to prevent potential damage. Rinse off cleaning solutions thoroughly after application to ensure no residue remains. Following these steps will maintain the integrity of your exterior while achieving a deep clean.
Choosing the Right Pressure Washer for Your Home

Selecting the appropriate cleaning machine is paramount for effective exterior maintenance. I recommend considering the specifications first: look for a model with a minimum of 1,500 PSI for general tasks, such as washing siding or outdoor furniture. For tougher stains and surfaces, opt for at least 2,000 PSI.
The type of unit–electric or gas–also plays a significant role. Electric machines are lighter and quieter, suitable for smaller areas and light-duty tasks. Gas-powered equipment provides more power and is ideal for larger jobs and more demanding applications.
Next, focus on the water flow rate, measured in GPM. A higher flow rate, around 1.4 to 2.5 GPM, ensures efficient cleaning and saves time by delivering more water to the surface.
Don’t overlook the types of nozzles available. Most machines come with interchangeable tips for varying spray patterns. A 25-degree nozzle is versatile for most tasks, while a 0-degree nozzle is useful for targeted cleaning of stubborn spots.
Pay attention to build quality and warranty. Look for reinforced hoses and solid construction materials. A machine with a minimum of a one-year warranty indicates reliability from the manufacturer.
Lastly, consider accessibility and storage options. Compact designs with built-in storage for hoses and nozzles ease the task of transporting the equipment and enhance organisation.
Preparing Your Property for High-Pressure Cleaning
Clear the surrounding area of furniture, potted plants, and decorative items. It prevents damage and ensures an unhindered cleaning process.
Cover or protect any electrical outlets and fixtures. Use waterproof covers to eliminate the risk of short circuits or electrical hazards.
Inspect surfaces for loose paint or damaged materials. Address these issues ahead of time to avoid further deterioration or additional debris during the process.
Secure windows and doors. Make sure they are shut tightly to avoid water intrusion that could lead to mould or mildew inside your property.
Remove any delicate outdoor items, such as wind chimes or light fixtures. These can be easily affected by intense water streams and should be safely stowed away.
Check for overhanging branches or obstacles that may interfere with the cleaning task. Trim or remove any that pose a risk during the operation.
Assess the condition of the ground beneath where you’ll be working. Ensure it is stable and free from obstacles to allow for safe movement.
| Task | Description |
|---|---|
| Clear Area | Remove all items from the vicinity to avoid damage. |
| Protect Outlets | Cover any electrical features to prevent hazards. |
| Surface Inspection | Check for and address loose materials before cleaning. |
| Secure Openings | Ensure windows and doors are tightly closed. |
| Remove Delicate Items | Safeguard fragile outdoor decorations. |
| Trim Obstacles | Eliminate any potential obstructions from foliage. |
| Ground Assessment | Ensure a stable, clear workspace for safe movement. |
By following these practical steps, I ensure an optimal and safe environment for thorough cleaning, avoiding mishaps and streamlining the process.
Selecting the Appropriate Nozzle for Different Surfaces
The choice of nozzle greatly impacts the outcome of your cleaning session. For delicate surfaces like wood decks, select a wide-angle nozzle, ideally 25° or 40°; this softer spray reduces the risk of damage. A smaller nozzle, such as 15°, suits tougher surfaces like concrete or brick, providing a concentrated stream effective for stubborn stains.
Easily Cleanable Surfaces
For vinyl siding or painted surfaces, a 25° nozzle offers an optimal balance, ensuring thorough cleaning without the threat of peeling paint or surface etching. Always maintain a distance of at least 2 feet to avoid direct contact pressure with these materials.
<h3-Rugged Exterior Areas
When tackling driveways or patios, switch to a 15° nozzle. The narrow spray pattern generates sufficient force to remove oil stains and grime. Remember to keep the nozzle moving to prevent surface damage. Adjust your distance according to the stain’s severity–closer for ingrained dirt and further for general cleaning.
Using the Correct Cleaning Solutions and Detergents
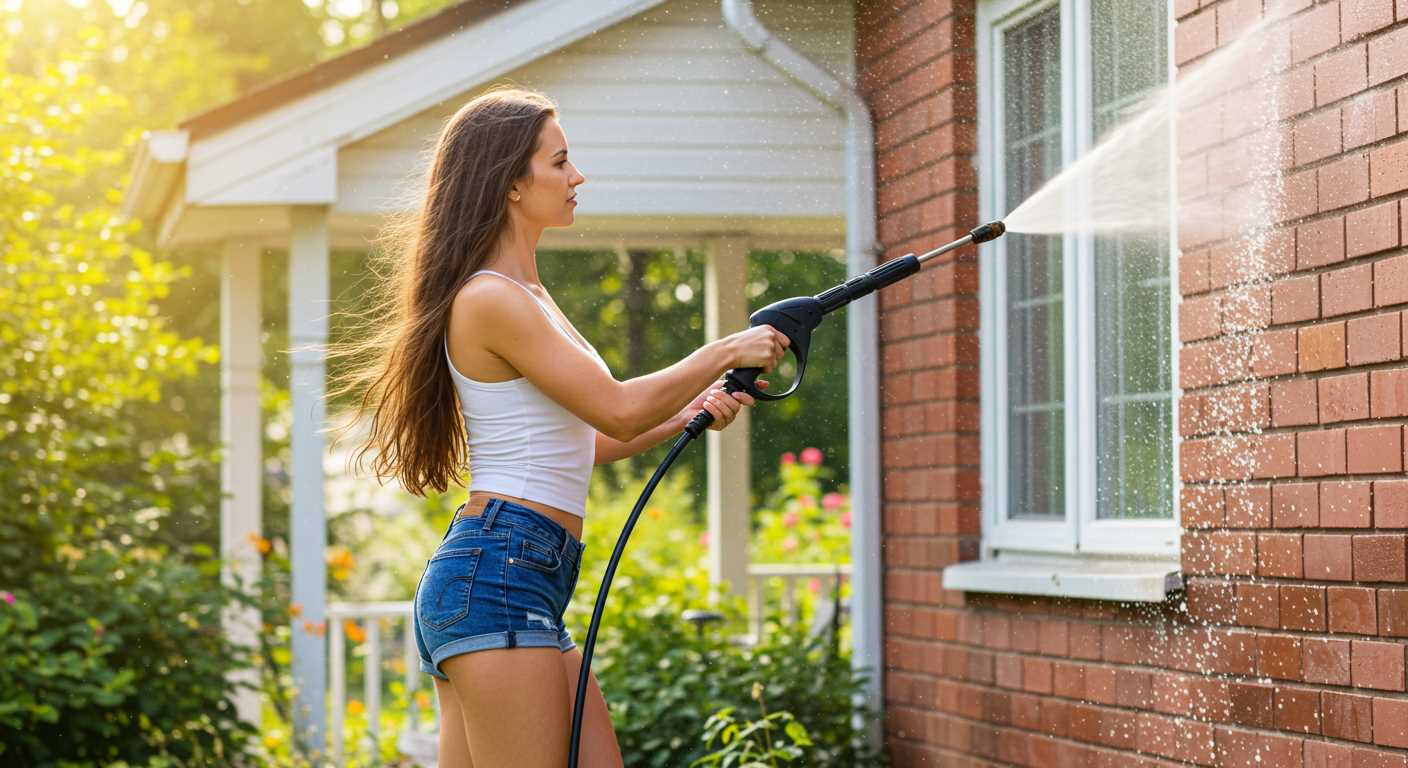
Choosing the right cleaning agents significantly impacts results while handling outdoor surfaces. It’s crucial to select solutions compatible with the materials being cleaned. For painted surfaces, opt for gentle detergents that won’t damage the finish.
For standard grime and mildew removal, I recommend using a biodegradable detergent specifically designed for exterior cleaning. These formulas often include ingredients that penetrate and lift dirt without harsh chemicals.
For concrete or masonry, a stronger alkali-based cleaner may be effective, as it breaks down tough stains. However, always follow up with thorough rinsing to prevent residue. Avoid using bleach, as it may damage surrounding vegetation and surfaces.
For wood decks and fences, choose a cleaner that includes a wood brightener to maintain the natural look of the material. These solutions typically contain oxalic acid, which helps restore the wood’s original colour.
When mixing solutions, carefully follow the manufacturer’s instructions to ensure proper dilution. Over-concentration can result in damage and inefficient cleaning. Experimenting with dilution ratios can help identify the most effective mixture based on specific cleaning tasks.
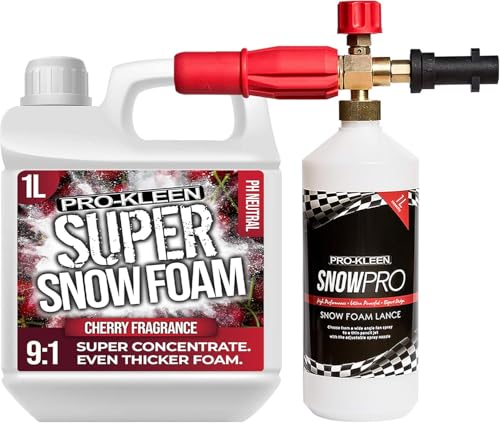
Utilise a dedicated soap nozzle designed for your machine, as this will optimise the application of detergent. I recommend applying the cleaning solution from the bottom upwards to avoid streaks and ensure even coverage.
Before starting, always perform a spot test on a small area to ensure compatibility and desired results. This approach helps prevent unexpected damage and gives peace of mind.
Safety Precautions While Operating a Cleaning Device
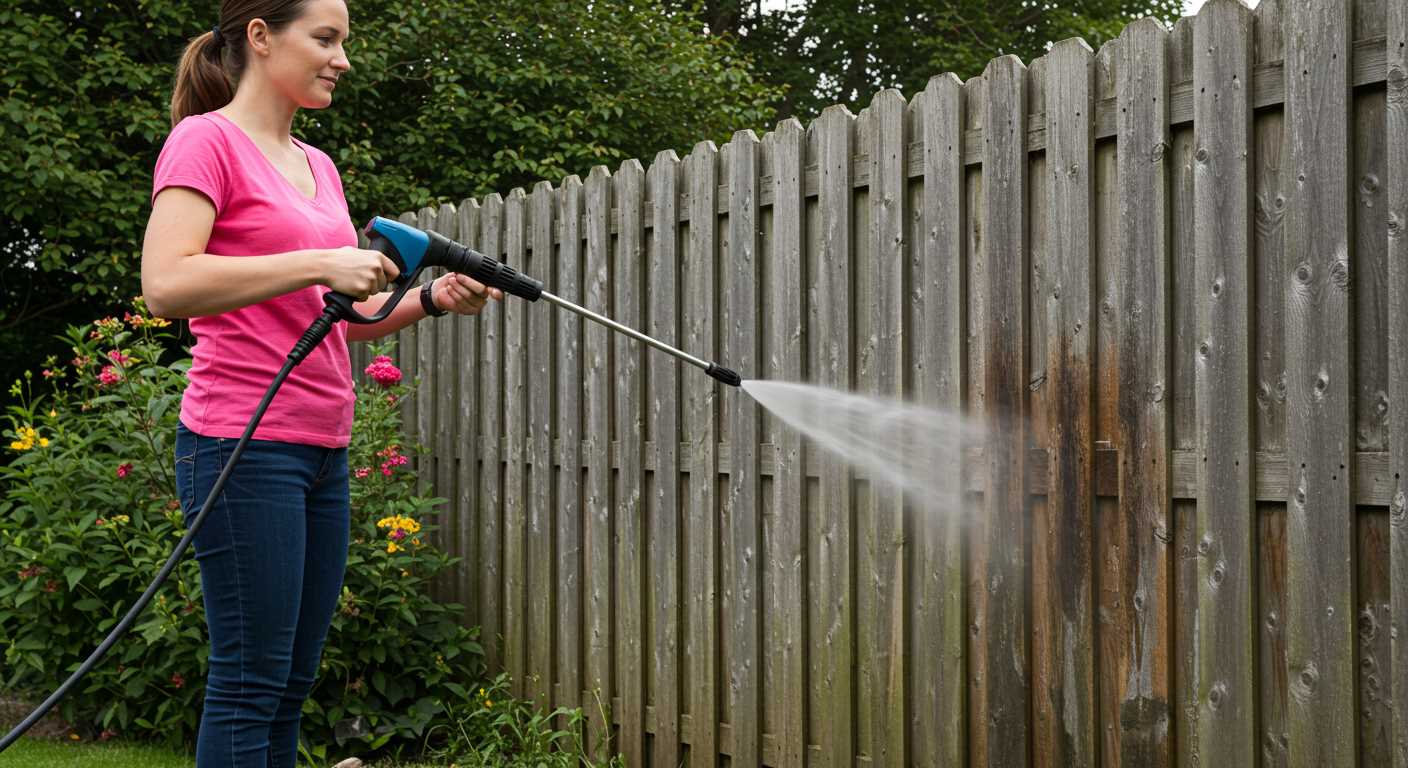
Always wear eye protection to shield your vision from debris and chemicals. A pair of safety goggles designed for high impact will keep your eyes safe from flying particles. Additionally, gloves are a must to protect your hands from harsh detergents and any potential injuries caused by high-pressure spray.
Clothing and Footwear
Choose sturdy, closed-toe footwear with slip-resistant soles to prevent accidents on wet surfaces. Long pants and long sleeves provide extra protection against injury and chemical splashes. Avoid loose clothing that could become caught in equipment during operation.
Electrical Safety
When dealing with electrical components, ensure the area is free from standing water. Use extension cords rated for outdoor use and with a sufficient amperage to handle the equipment. Regularly inspect cords for damage before connecting. If using a gas model, ensure it operates in well-ventilated areas to prevent carbon monoxide buildup.
Maintain a safe distance from people, pets, and fragile items. A minimum distance of 10 feet is advisable to avoid accidental injuries or property damage. Always direct the nozzle away from yourself and others, testing the device on a small, inconspicuous area first to understand its force.
Techniques for Pressure Washing Walls and Sidings
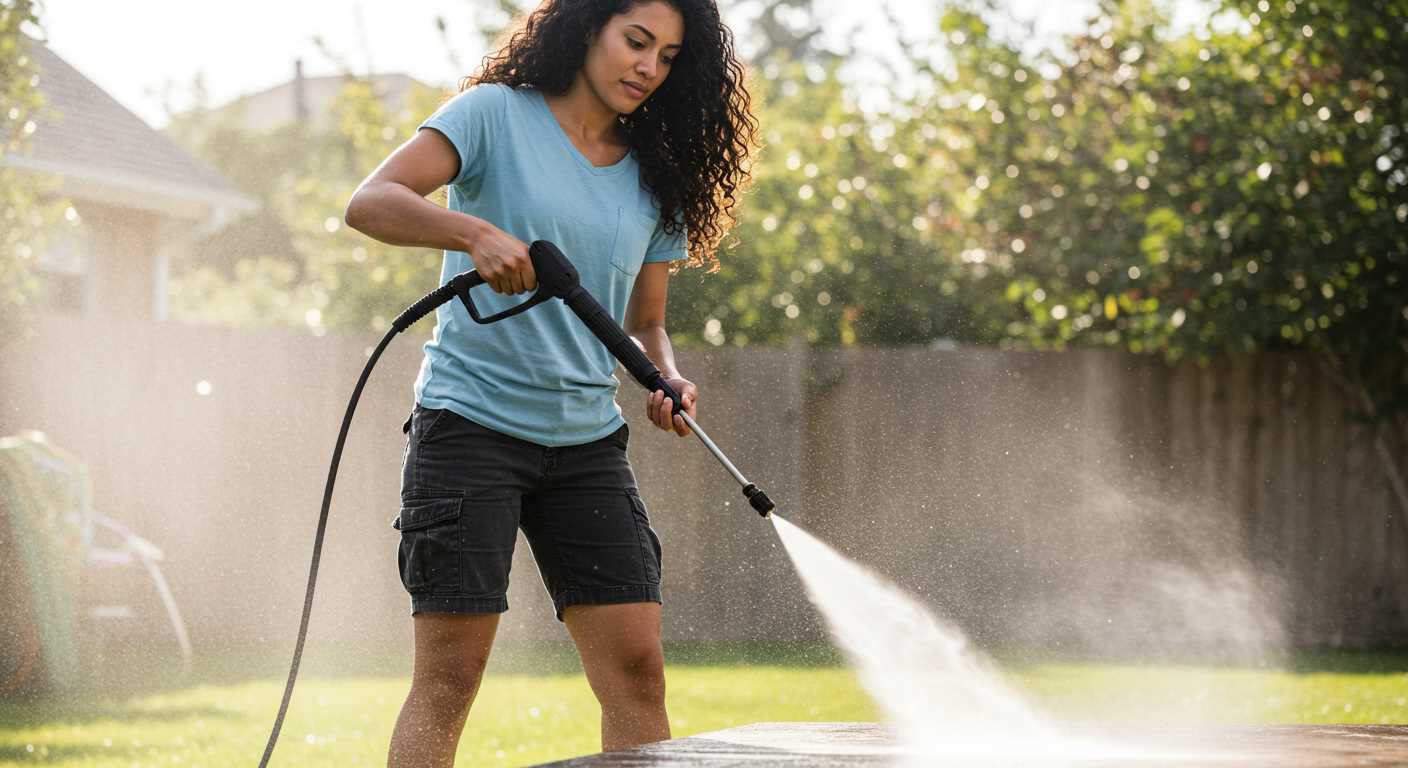
Begin at the top and work your way down. This approach prevents dirty water from streaking down onto already cleaned areas. Maintain a consistent distance, ideally between 2 to 3 feet from the surface, to ensure the best cleaning effect without causing damage.
Angle and Pattern
Hold the nozzle at a 45-degree angle to effectively lift grime without risking damage. Move the sprayer in a sweeping motion, ensuring coverage of each section methodically. For vertical surfaces, apply a side-to-side or up-and-down motion, while horizontal surfaces benefit from sweeping strokes across the width.
Section by Section
Divide larger walls into sections, which simplifies the process and ensures thorough cleaning. Focus on one area at a time, allowing any detergent applied to sit for the recommended time before rinsing. This also lets you monitor progress and adjust technique as necessary for stubborn spots.
Cleaning Roofs and Gutters with a Pressure Washer
Begin with a thorough inspection of the roof and gutters. Ensure all loose debris, such as leaves and twigs, is removed before launching into cleaning. This step prevents blockages and minimises risks when using the equipment.
For roofs, maintain a distance of at least 3-4 feet from the surface. This prevents damage to shingles while still ensuring effective cleaning. Set the machine to a low PSI setting, typically around 1200-1500 PSI, which is adequate for most residential roofing materials. Use a wide spray nozzle to cover larger areas evenly.
Mix a cleaning solution designed for roof applications according to the manufacturer’s instructions. Apply this solution using a soap nozzle for better coverage. Allow the mixture to sit for approximately 15-20 minutes to break down grime and algae effectively.
After the dwell time, switch back to the wider nozzle and rinse off the cleaning solution starting from the top of the roof to the bottom. Work in sections to ensure every part receives adequate rinsing.
For gutters, equip the lance with an appropriate nozzle, typically a 25-degree or 40-degree option. Position the nozzle inside the gutter to dislodge dirt and debris. Rinse with a sweeping motion, allowing debris to flow out freely. Remove any clogs manually if necessary before rinsing.
Maintain safety throughout the process by utilising a sturdy ladder. Ensure it is placed on level ground, and keep the equipment cord and hoses clear of hazards. Don protective eyewear and consider a harness if working on steep roofs.
- Inspect roofs and gutters before cleaning.
- Keep a safe distance of 3-4 feet from the surface.
- Set to low PSI: 1200-1500 for roofs.
- Use wide spray nozzles for roofs, narrowing for gutters.
- Apply cleaning solutions as per instructions.
- Allow solution to dwell for 15-20 minutes.
- Rinse from top to bottom for roofs.
- For gutters, sweep nozzle to dislodge debris.
- Ensure sturdy ladder placement and safety gear usage.
Following these recommendations will lead to effective cleaning of roofs and gutters without causing damage to surfaces or compromising safety.
Post-Washing Care and Maintenance Tips
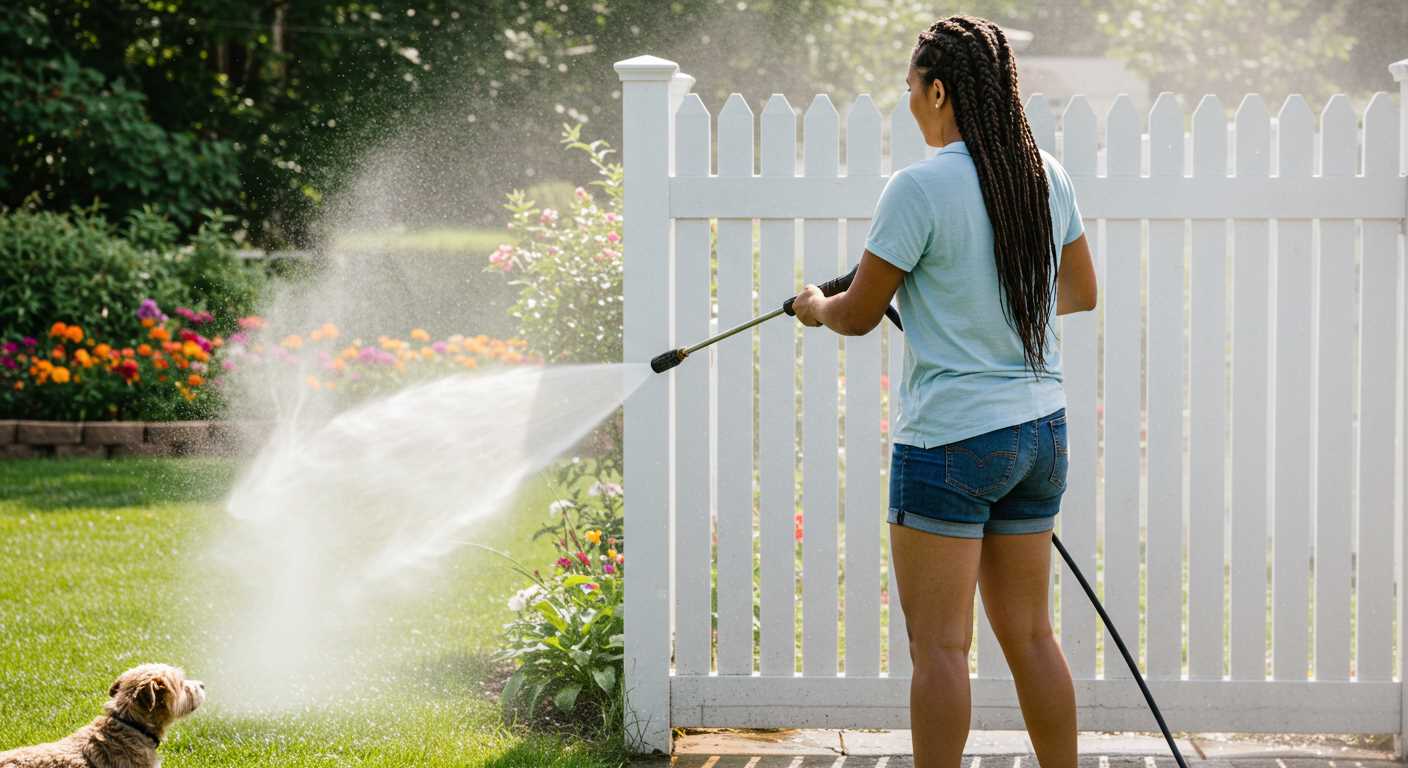
After cleaning the exterior surfaces, it’s crucial to follow specific steps to maintain the results and prolong the life of your property’s finish.
- Inspect Surfaces: Carefully check for any areas that may require touch-ups or further attention. Look for missed spots or lingering stains.
- Sealant Application: Consider applying a sealant to porous surfaces like brick or concrete. This protects against future staining and enhances durability.
- Regular Maintenance: Establish a cleaning schedule based on your environment. Regular light cleaning prevents the buildup of dirt, grime, and mould.
- Gutter Inspection: After washing, inspect gutters for clogs or blockages that might have been dislodged during the process. Ensure they are clear for effective drainage.
- Plant Care: Review any plants or landscaping around the property. Rinse off any water spray or cleaning solutions that may have affected them during the wash.
- Equipment Storage: Store any cleaning devices properly. Drain fluids, clean filters, and store in a dry, sheltered location to prevent rust and damage.
- Surface Protection: If your property has wood surfaces, check if they require staining or painting over time to shield them from the elements.
- Document Observations: Keep a record of what worked and what didn’t. Note any issues for future reference, which will assist in planning your next cleaning session.
With these steps, I’ve maintained the fresh look of my property while ensuring its surfaces remain protected and in good condition.


