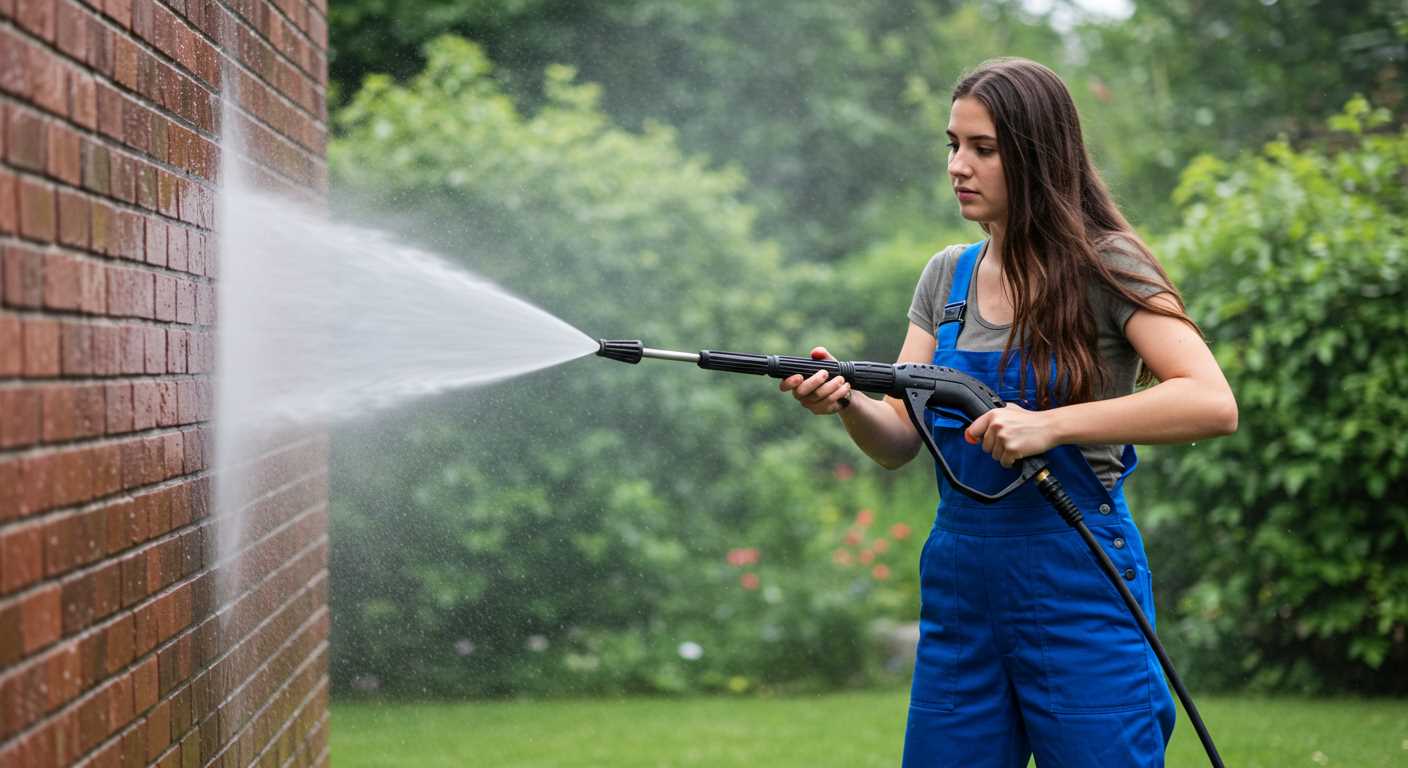


Begin by selecting the right nozzle for the task; a fan nozzle between 25 to 40 degrees is ideal for deep cleaning without damaging the surface. Maintain a distance of around 12 to 18 inches from the surface to prevent abrasive effects.
Always assess the condition of the stonework before proceeding. Look for cracks or loose pieces that could exacerbate during the cleaning process. If such issues are present, consider making repairs first to ensure that you don’t inadvertently cause further harm.
Clear the area of any furniture or fixtures to prevent water damage. It’s advisable to cover plants with plastic sheeting to protect them from debris and cleaning substances. Begin rinsing the stone surface to remove loose dirt, followed by applying a suitable cleaning solution if needed. Allow it to sit for the recommended time before rinsing thoroughly.
Finally, after washing, inspect the results. Any areas that still appear soiled may require a second pass or additional cleaning solution. This method fosters an effective cleaning process that maintains the stone’s integrity while achieving a refreshed appearance.
Choosing the Right Pressure Cleaner for Stonework Maintenance
For optimal maintenance of your stone surfaces, select a unit with a minimum pressure rating of 1300-2000 PSI. This range ensures the elimination of stubborn grime without damaging the underlying material.
A machine with an adjustable pressure setting offers versatility; you can modify the intensity based on the surface condition. Models equipped with interchangeable nozzles, particularly a 25-degree nozzle for general cleaning, produce effective results while preventing surface abrasion.
Electric vs. Gas Models
Electric models are typically lighter and more suitable for small projects. They provide adequate power for routine cleaning tasks. Gas-operated machines deliver higher performance and are preferable for larger areas or heavy-duty jobs, offering more durability and operational freedom without cords.
Consider noise levels and environmental impact when choosing your model. Electric variants tend to operate quietly, making them a better fit for residential areas.
Key Features to Look For

Look for a cleaner with a detergent injection system for enhanced cleaning. This feature allows simultaneous application of cleaning solutions, effectively tackling tough stains and dirt build-up.
Lastly, ensure that the unit has a reliable warranty, reflecting the manufacturer’s confidence in its product longevity. This aspect can save costs on repairs or replacements over time.
Preparing the Surface for High-Pressure Cleaning
Begin with a thorough inspection of the area. Identify any loose bricks or signs of structural damage. Repair these spots before commencing any cleaning to prevent further issues. Removing debris, dirt, and leaves ensures a clear path for the cleaning process.
Next, sweep the surface to eliminate any loose materials. A stiff broom works well for this task, ensuring no dirt particles remain that could cause scratches or damage during the cleaning.
Cover surrounding vegetation and delicate surfaces with tarps or plastic sheeting. Protecting nearby plants from the cleaning solution or potential overspray is vital, as harsh chemicals can harm them.
Mix any cleaning solution according to the manufacturer’s guidelines. If utilising a chemical cleaner, test on a small, inconspicuous area first. This step confirms that the solution won’t discolour or damage the surface.
Check the surroundings for factors that may hinder the process, such as electrical outlets, outdoor furniture, or fixtures. Move these items out of the way to create a safer, more efficient workspace.
Lastly, ensure that the water source is functioning correctly with adequate pressure. A reliable supply is foundational for achieving optimal results in cleaning.
Selecting the Appropriate Nozzle for Brick
Choose a nozzle with a 25-degree or 40-degree wide spray pattern for delicate surfaces like masonry. The wider angle disperses water, reducing potential damage while providing adequate cleaning power.
For tougher stains, a 15-degree nozzle delivers a concentrated jet of water ideal for grime without being overly harsh on the surface. Always test on a discreet area before applying it to the entire wall.
The following table outlines the recommended nozzles based on cleaning needs:
| Nozzle Angle | Application |
|---|---|
| 25 Degrees | General cleaning of soot, dirt, and mildew |
| 40 Degrees | Washing away light debris |
| 15 Degrees | Removing stubborn stains or paint |
Always ensure the nozzle fits snugly on the wand and clean or replace it if damaged to maintain performance. Selecting the correct nozzle ensures effective and safe cleaning, preserving the integrity of your surfaces.
Determining the Correct Pressure Settings for Brick
.jpg)
I recommend starting with a pressure between 1,500 to 2,500 psi for cleaning the masonry surfaces. This range effectively removes dirt and grime without risking damage to the material.
Low Pressure for Delicate Surfaces
For older or more fragile structures, lower settings around 1,200 to 1,500 psi work best. These settings help prevent chipping or loosening of mortar between the stones. It’s wise to inspect the condition of the bricks beforehand.
Testing and Adjusting Pressure
Always conduct a spot test on an inconspicuous area first. Begin at the lower end of your chosen psi range. If the cleaning results are unsatisfactory, gradually increase the pressure, checking the surface’s response at each step. Monitoring closely is key to avoiding unintended harm.
Techniques for Evenly Cleaning Brick Surfaces
To achieve uniform results on various surfaces, adjust your approach with the following techniques:
- Start from the Top: Begin cleaning at the highest point of the surface and work your way down. This prevents dirty water from cascading over clean areas.
- Maintain Consistent Distance: Keep the nozzle at a uniform distance from the surface, ideally around 12-18 inches. This helps avoid streaks and uneven patches.
- Overlap Passes: Make overlapping passes while moving sideways to ensure every inch is covered. A 50% overlap is often effective.
- Use a Wide Spray Pattern: A wider spray can help distribute the water more evenly, reducing the risk of concentrated areas that may cause etching or over-washing.
- Adjust the Angle: Alter the angle of the nozzle slightly to direct the flow effectively into the crevices and textured parts of the surface. A 30-degree angle generally works well.
- Work in Sections: Divide the surface into manageable sections. Focus on one section at a time before proceeding to the next, which enhances control and efficiency.
- Alternate Cleaning Solutions: For tough stains, consider alternating between water and a suitable cleaning solution. Apply the solution and allow it to sit for a few minutes before rinsing, ensuring better penetration and removal.
Following these methods can result in a thorough, uniform clean while also protecting the integrity of the surfaces you are working on. Remember to take breaks to check your progress and adjust your strategy as needed.
Using Detergents and Cleaning Solutions Safely

Always select a detergent specifically formulated for masonry surfaces. These solutions effectively penetrate grime and stains. Inspect the labels for compatibility to avoid any damaging reactions. Dilute concentrated products according to the manufacturer’s instructions to enhance safety and effectiveness.
Apply the detergent from the bottom to the top of the surface to prevent streaks. Allow it to sit for the recommended duration to break down tough deposits. Monitor for any signs of bleaching or discoloration on the surface during this process.
Before application, test a small, inconspicuous section to ensure no adverse reactions occur. This precaution helps verify the compatibility of the cleaning agents with the material at hand.
While applying any product, wear protective gear, including gloves and goggles, to shield against splashes. Ventilation is also vital if working in enclosed areas. After completing the cleaning, thoroughly rinse away all residues to prevent a build-up of chemicals that could damage the surface over time.
Dispose of any leftover cleaning solutions responsibly, following local regulations. Avoid pouring them down drains unless specified safe for such disposal.
Aftercare: Rinsing and Drying Surface Post-Cleaning
.jpg)
Thorough rinsing is critical after removing dirt and grime. I recommend using a gentle spray from your equipment to wash away any residual cleaning solutions or debris. Start from the top sections, working downwards to ensure thorough removal. This approach helps prevent streaks or spots from forming as water runs down the surface.
Ensure the water gently flows over all areas, particularly in crevices and joints where residues may linger. An even distribution prevents pooling, which can lead to mould or mildew. After rinsing, allow natural airflow to aid in drying. If the weather permits, sunlight will assist in this process, enhancing evaporation.
Additional Drying Techniques
If immediate airflow is insufficient, consider using a clean, absorbent towel or cloth on flat surfaces. Buffing lightly can help absorb moisture without damaging the finish. Avoid pressure from heavy scrubbing to prevent any surface abrasion.
Watch for spots where water may collect, particularly in shaded areas, and ensure these are adequately dried to prevent future staining or vegetation growth. Following these aftercare steps will maintain the integrity of the surface and prolong its clean appearance.
Common Mistakes to Avoid When Pressure Washing Brick

Avoid using excessive force. High-output equipment can harm porous surfaces and lead to water infiltration, causing erosion and damage over time.
Neglecting to test on a small area first can result in discolouration or surface damage. Always check the reaction of the material before proceeding with full-scale cleaning.
Incorrect nozzle selection often leads to uneven cleaning or surface pitting. Always match the nozzle to the specific requirements of your cleaning task.
Overlooking the importance of proper distance from the surface can be detrimental. Maintain a consistent distance to prevent damage while ensuring effective cleaning.
Failure to use appropriate cleaning solutions can result in subpar results. Ensure that detergents are designed for masonry to avoid chemical reactions that could harm the structure.
Rushing through the rinsing process may leave behind residue or cleaner, potentially leading to long-term staining or degradation of the material.
Ignoring weather conditions can also complicate the cleaning process. Avoid days with high wind or extreme temperatures, which can affect drying times and solution effectiveness.
Finally, neglecting aftercare can diminish the results achieved. Sealants or protective treatments should be considered to maintain cleanliness and prevent future build-up.


