


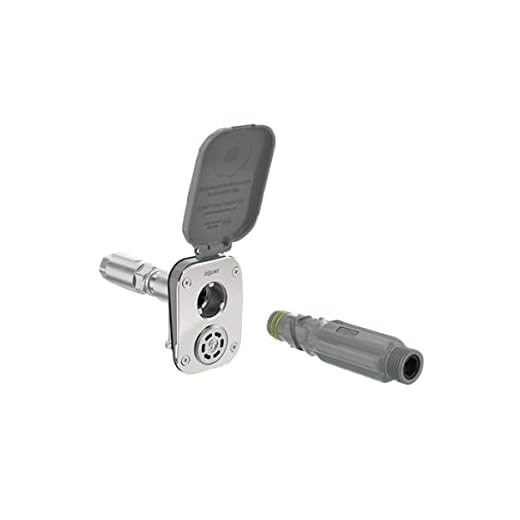
Before initiating any cleaning task, always don appropriate personal protective equipment (PPE). This includes safety goggles, gloves, and sturdy footwear. Upholding these precautions protects against debris and high-velocity water streams that can cause injuries.
Test the water flow prior to connecting your machine. Ensure that hoses are securely attached and that there are no leaks or blockages. Proper maintenance of these components can prevent sudden pressure spikes when the device is activated, minimising risks of accidents.
Always establish a safe distance from surfaces being treated; a minimum of 2 feet is advisable for most situations. This distance allows for controlled cleaning while reducing the chance of damage to delicate surfaces. It’s recommended to set the nozzle to a fan spray pattern to achieve an even coating and avoid concentrated blasts that can lead to mishaps.
Identify any nearby obstacles or hazards in the area, such as electrical outlets or unstable surfaces. Maintaining a clutter-free workspace prevents tripping and ensures that you remain focused on the task at hand. Keeping bystanders at a safe distance from the operational zone is equally important to prevent unintended injuries.
After completing the cleaning, properly disconnect the equipment and release any remaining pressure before storing it away. This prevents accidents and prolongs the life of the unit. Regularly check and clean the nozzles to ensure optimal performance for future uses.
Choosing the Right Equipment for Your Needs
First and foremost, determine the cleaning tasks you plan to tackle. For lighter jobs like washing cars or outdoor furniture, a model with a PSI (pounds per square inch) rating of 1300 to 1900 will suffice. If you aim to clean patios or driveways, consider a more powerful variant, ideally between 2000 and 3000 PSI.
Types and Specifications
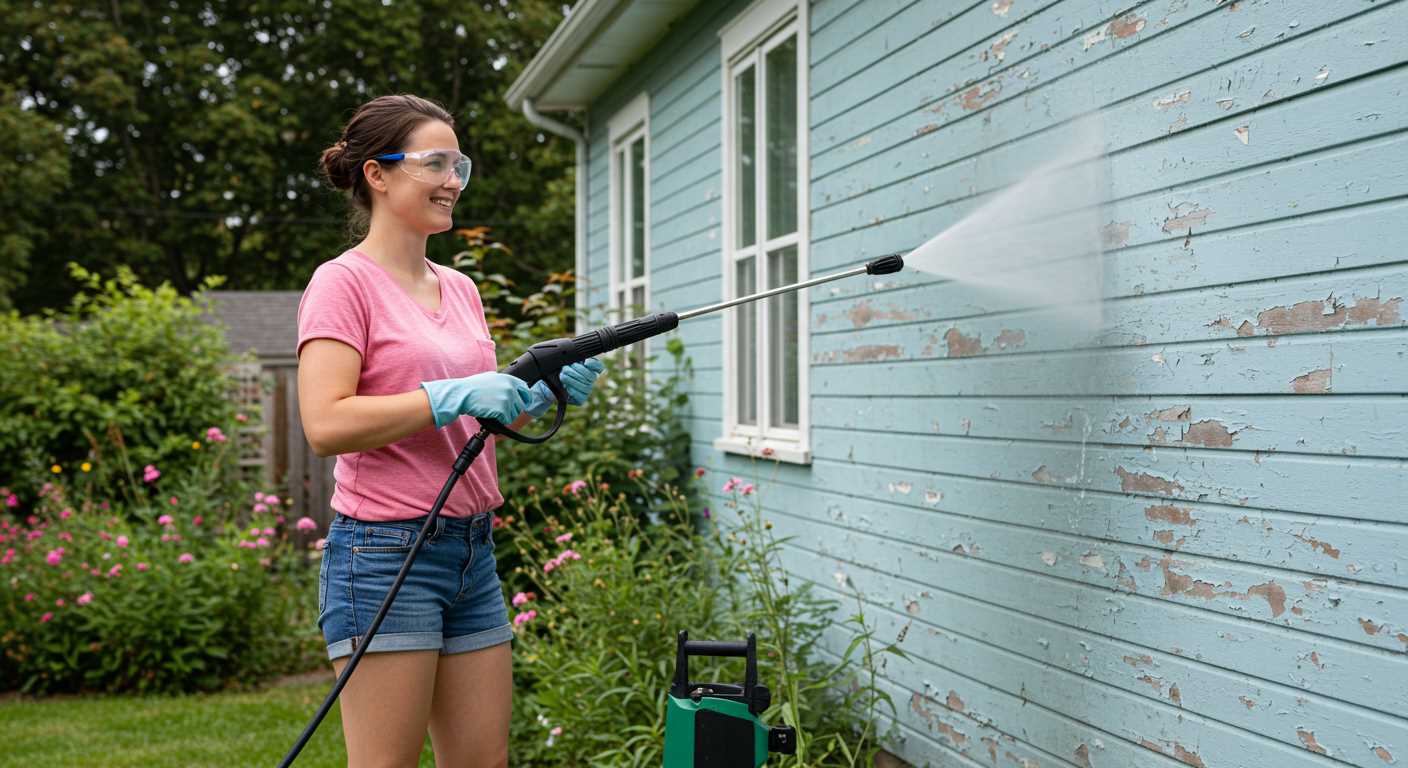
Electric models are generally quieter and require minimal maintenance, making them suitable for smaller, manageable tasks. Conversely, gas-operated versions offer higher pressure levels and greater mobility, making them better for extensive or heavy-duty cleaning. Evaluate your access to power sources and the frequency of your cleaning projects to choose appropriately.
Additional Features
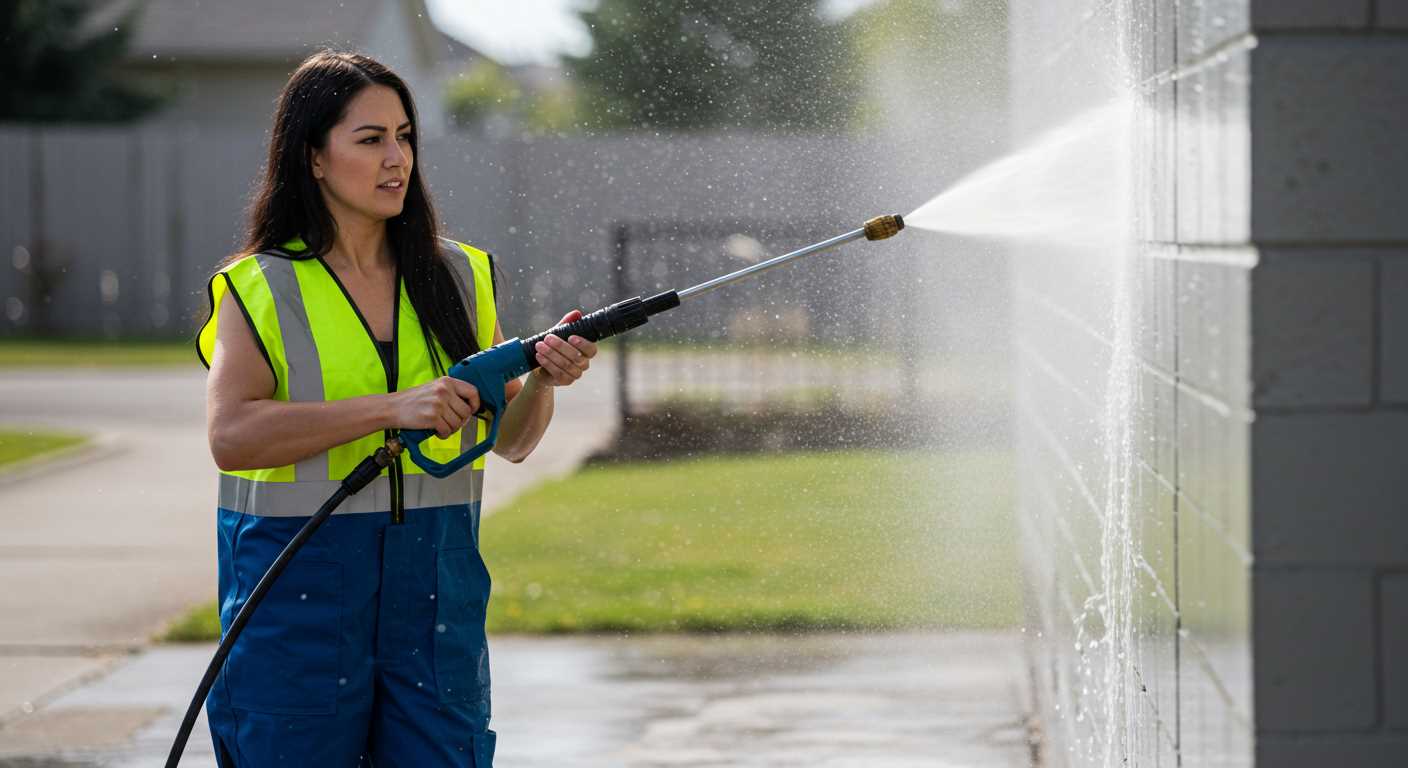
When assessing functionality, look for features such as adjustable nozzles, which allow versatility between high-pressure and low-pressure spraying. A longer hose can enhance your reach, reducing the need to reposition the machine frequently. Also, consider attachments for specific applications, such as surface cleaners or turbo nozzles, which can improve cleaning results.
Understanding Safety Gear and Equipment
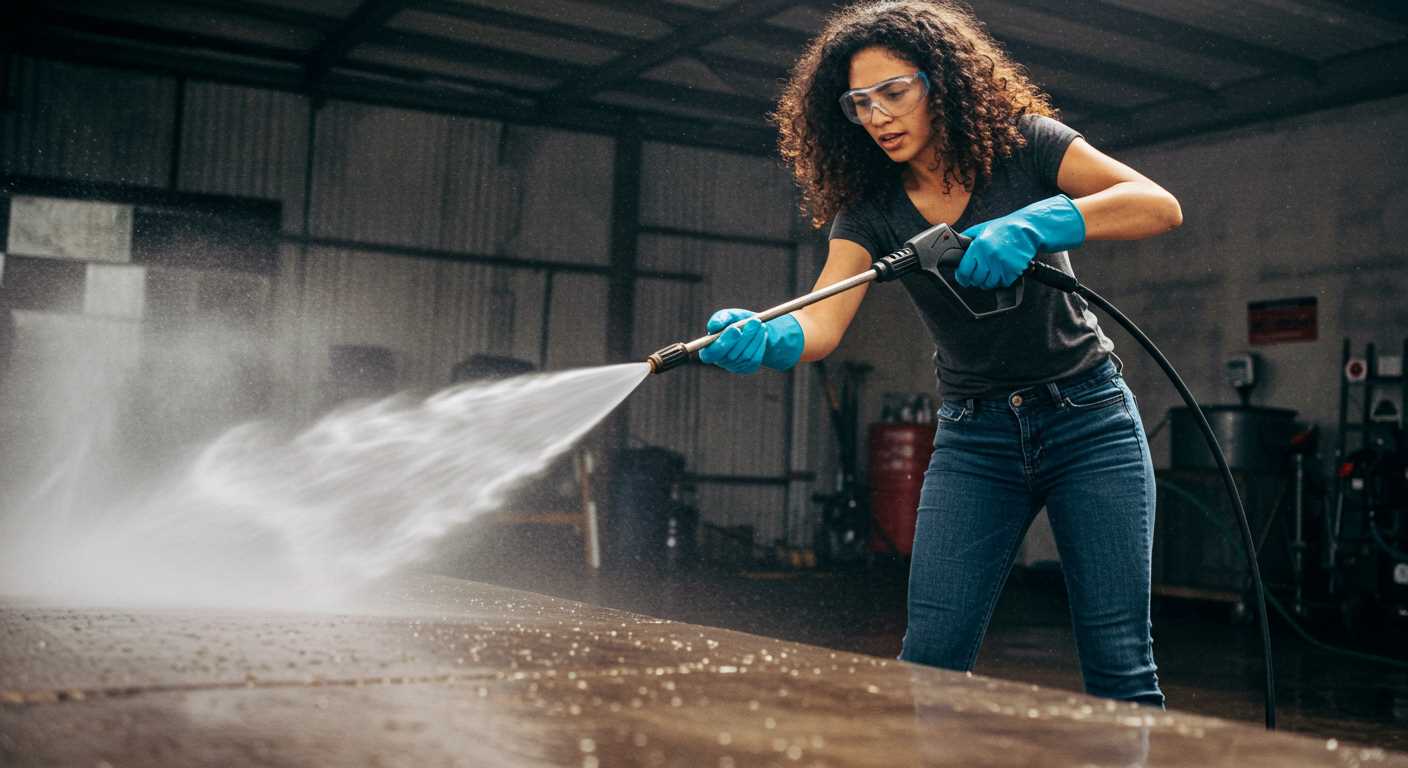
Always wear safety goggles to protect your eyes from debris and high-pressure water jets. This is a non-negotiable step; failure to do so can result in serious injury.
Use ear protection, particularly in louder environments. Prolonged exposure to the noise produced by these devices can lead to hearing damage.
Gloves are critical. Choose water-resistant and sturdy options to maintain grip and shield your hands from hazardous elements, including chemicals in cleaning solutions.
Wear non-slip footwear. Solid, rubber-soled shoes provide better traction, especially on wet surfaces, reducing the risk of slips and falls.
Consider a full-body suit or protective overalls made from water-resistant material if you’re working with strong detergents or in areas where heavy debris is present.
A face shield can add an extra layer of protection, especially during tasks that produce a lot of splash, like surface cleaning.
Be mindful of nearby individuals. Ensure a safe distance between bystanders and your setup, preventing accidental injuries or exposure to sprays.
Before operation, inspect your gear and equipment. Make sure everything is in good condition to avoid malfunctions during use.
Utilise a pressure gauge or safety latch if available on your device, ensuring you have control over the pressure settings and can disable operation quickly if needed.
Know the location of emergency shut-off features and keep a first-aid kit on hand. Immediate access to these resources can be life-saving in case of an incident.
Preparing Your Work Area Before Starting
Clear the surrounding area of any furniture, vehicles, and outdoor decor. This reduces the risk of accidental damage while cleaning surfaces.
Ensure the ground is stable and dry to prevent slips or falls. If cleaning on a slope, take extra precautions to secure your footing.
Check for overhead hazards such as low branches or electrical wires that might interfere with your activities.
Protect nearby plants and delicate landscaping. Use tarps or plastic sheets to cover them, avoiding any potential chemical exposure from detergents.
Gather all necessary equipment within arm’s reach: hoses, nozzles, extension cords, and cleaning agents. This reduces unnecessary movement and enhances productivity.
Before connecting any equipment, inspect the outlets and ensure they are not damaged. If necessary, use a GFCI (Ground Fault Circuit Interrupter) outlet to mitigate electric shock risks.
Make a checklist of tasks to maintain focus and organization throughout the cleaning process. Below is a simple table for item collection:
| Item | Status |
|---|---|
| Protective Gear | ✔️ |
| Hoses | ✔️ |
| Nozzles | ✔️ |
| Cleaning Agents | ✔️ |
| Extension Cords | ✔️ |
Establish a safe work zone, indicating where you will be operating, especially if other individuals or pets are nearby. This promotes safety and awareness for all present.
Proper handling and operation techniques
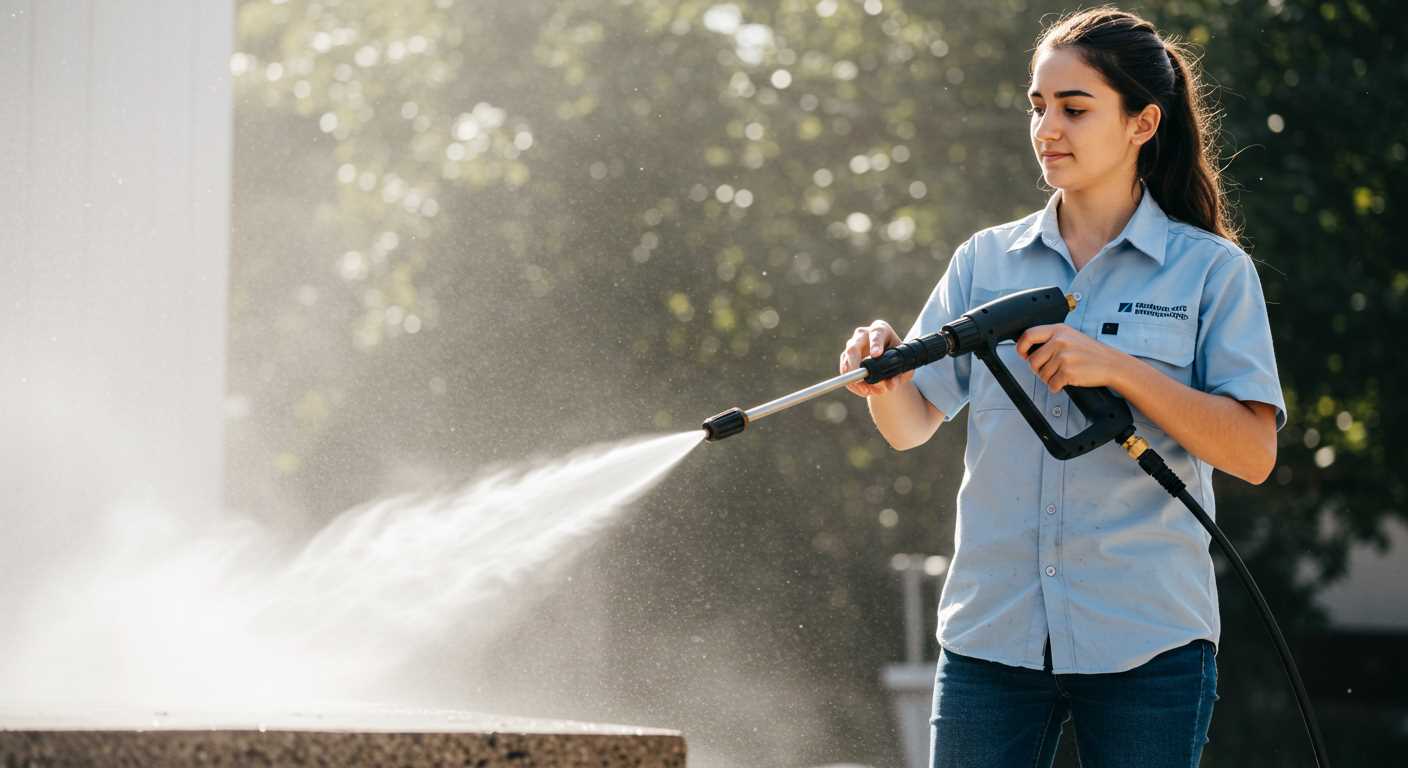
I recommend always maintaining a firm grip on the trigger handle when operating this equipment. Ensuring a secure hold will help you control the direction and intensity of the stream. Maintain a safe distance from surfaces; closer ranges can cause damage or injury, especially to delicate materials.
Footing and Stance
A stable stance is vital. Position your feet shoulder-width apart for balance, and keep your weight evenly distributed. If the model generates significant recoil, consider positioning yourself at an angle; this will reduce the force directed against your body. Be cautious of slippery surfaces; if necessary, wear non-slip footwear.
Post-Operation Care
After finishing, always disconnect the hose and power supply before attempting any maintenance or adjustments. Carefully inspect hoses and nozzles for wear and tear. Storing your equipment in a dry location will prevent damage and prolong its lifespan. Ensure any residual water is drained to avoid freezing in cold conditions.
Avoiding hazards and common mistakes
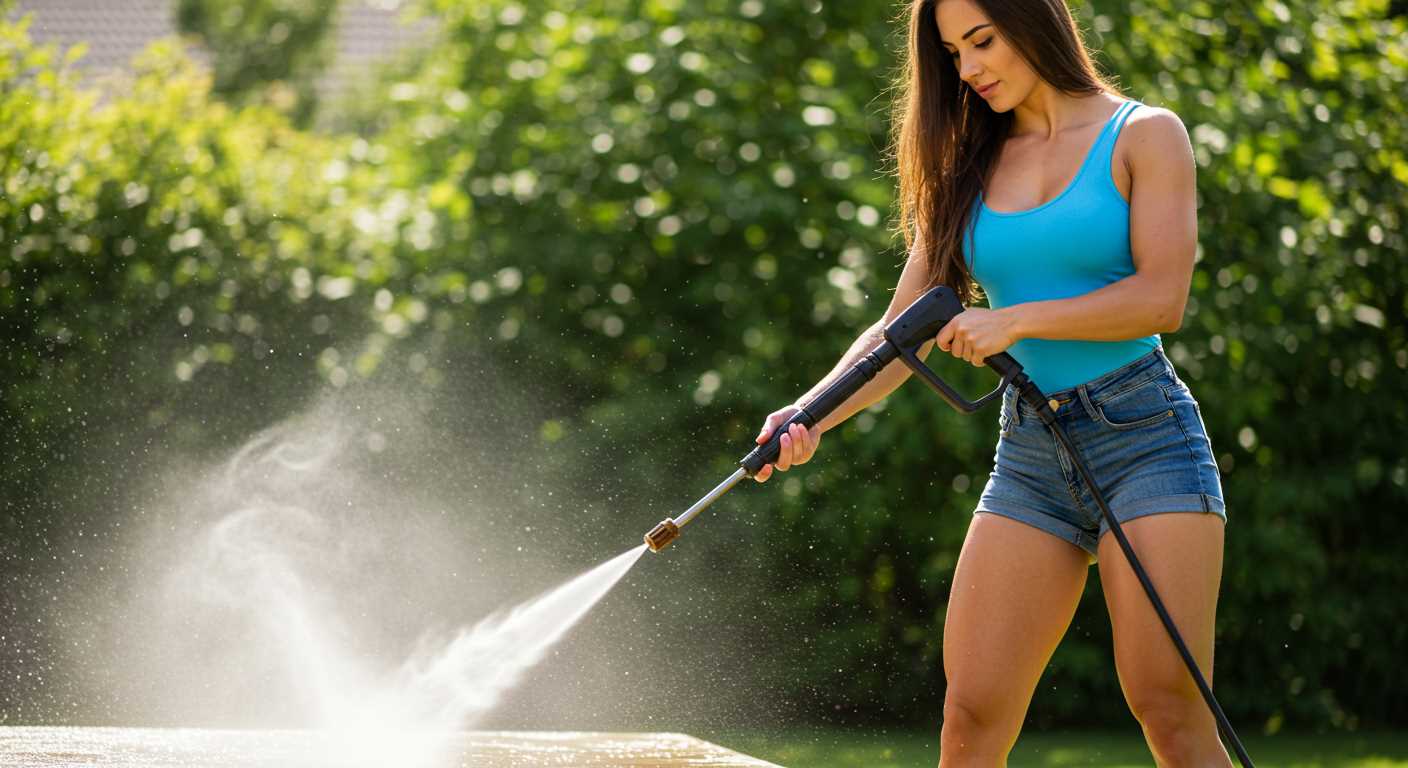
Prioritise stability. Always place the equipment on a flat, solid surface to prevent accidental tipping. Uneven ground leads to loss of control and potential injuries.
Secure the area. Remove obstacles, debris, and any fragile items which may become projectiles during operation. Check for overhead power lines that could pose a risk while working.
Stay clear of electrical sources. Water and electricity are a dangerous mix; ensure that all connections are dry and check for damaged cords before activation. If wet, address any issues before proceeding.
Utilise the right nozzle. Each nozzle has specific functions; using the wrong one can result in damage to surfaces or materials. Refer to the manufacturer’s guidelines for proper compatibility.
Avoid direct spraying at people, pets, or surfaces that can easily be damaged. Maintain a safe distance and a proper angle to prevent accidents.
Keep a safe perimeter. Restrict access to the work area, particularly from children and animals. Clearly indicate that work is in progress to minimise unexpected interruptions.
Inspect your gear regularly. Check hoses, nozzles, and connectors for any signs of wear or damage before operation. Replace any faulty components promptly to ensure safe functioning.
Don’t ignore personal protection. Always wear appropriate gear such as gloves, eye protection, and non-slip footwear. This helps mitigate risks associated with debris, chemicals, or high-pressure water.
Be cautious with chemicals. If using detergents or other cleaning agents, read the labels carefully. Follow dilution instructions and recommendations, ensuring proper handling to avoid harmful exposure.
Avoid prolonged operation without breaks. Fatigue can lead to lapses in attention, increasing the likelihood of mistakes. Take regular pauses to maintain focus and control.
Finally, never disregard the user manual. Each device has its specifications and instructions unique to the model. Familiarity with these guidelines helps prevent errors and potential hazards.
Cleaning techniques for various surfaces
For concrete paths and driveways, a narrow fan nozzle at high pressure works best. Hold the nozzle around 30 cm from the surface, maintaining a consistent motion to avoid etching the concrete. Start from one end and proceed to the other, overlapping slightly with each pass.
When tackling wooden decks or fences, select a wide fan nozzle to distribute the force evenly. Keep the unit at a 45-degree angle to the wood, maintaining a distance of at least 60 cm. This prevents damage and preserves the wood’s integrity. Always pursue the grain while cleaning.
For delicate surfaces like vehicles, use a low-pressure setting and a soap attachment. A wide fan nozzle is ideal here. Keep the nozzle at least 90 cm away to prevent paint damage. Rinse the car from top to bottom to avoid soap residue spots.
Siding, whether vinyl or aluminium, benefits from a medium-pressure setting. Test a small area first to ensure that there is no damage. Use a wide spray pattern and keep the sprayer about 60 cm away, moving in a horizontal motion to effectively remove dirt and mould.
Brick and stone surfaces can withstand stronger pressure. Opt for a narrow nozzle aimed at crevices to remove dirt build-up effectively. Maintain a distance of around 30-45 cm and use long, sweeping motions for even coverage.
For fences, a mix of clean water and a mild detergent can enhance results. Apply this solution with a standard sprayer before using stronger settings. Rinse thoroughly afterwards to remove any residue.
In situations involving outdoor furniture, always check material specifications first. For most plastics, a low-pressure setting with a wide nozzle is adequate. For metal or powder-coated finishes, use a medium setting to eliminate grime without risking damage.
Tile and grout on patios may require a more targeted approach. Use a rotary nozzle for tougher stains, ensuring you’re at the correct distance to avoid chipping. Follow up with a grout cleaner if necessary for a thorough finish.
Finally, always finish with a rinse to remove any cleaning solution or dirt residue on all surfaces to ensure optimal results.
Post-use maintenance and storage tips
After finishing with your cleaning equipment, it’s crucial to ensure it remains in optimal working condition. Start by rinsing the components thoroughly with clean water to remove any residual cleaning agents or dirt. This prevents clogging and maintains the integrity of the motor.
Regular Maintenance Steps
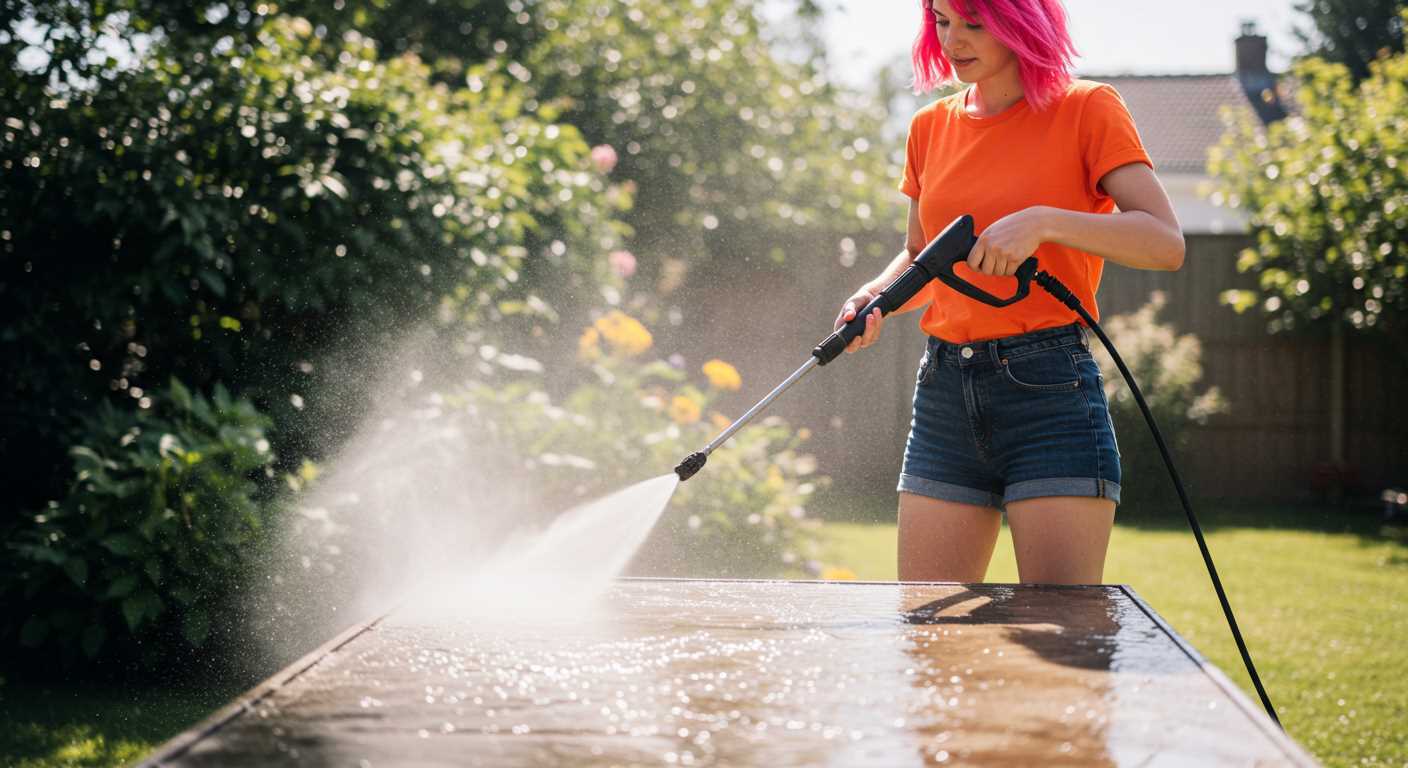
- Inspect hoses and nozzles for cracks or wear. Replace them if necessary.
- Check the filter and clean it; a dirty filter can hinder performance.
- Essentially, drain any leftover water from the system to prevent freezing or damage during storage.
- Lubricate moving parts according to the manufacturer’s guidelines.
Efficient Storage Procedures
Store the equipment in a dry and shaded area, preferably indoors. If you must store it outdoors, ensure it is sheltered from direct sunlight and moisture. Use a cover for added protection against dust and debris.
- Avoid coiling hoses tightly. Instead, loosely wrap them to prevent kinks and damage.
- Ensure all accessories are stored close to the main unit to prevent loss.
- Keep the user manual accessible for future reference and maintenance schedules.
By adhering to these guidelines, the lifespan of your cleaning equipment can be significantly extended, ensuring it remains efficient for your next cleaning task.


