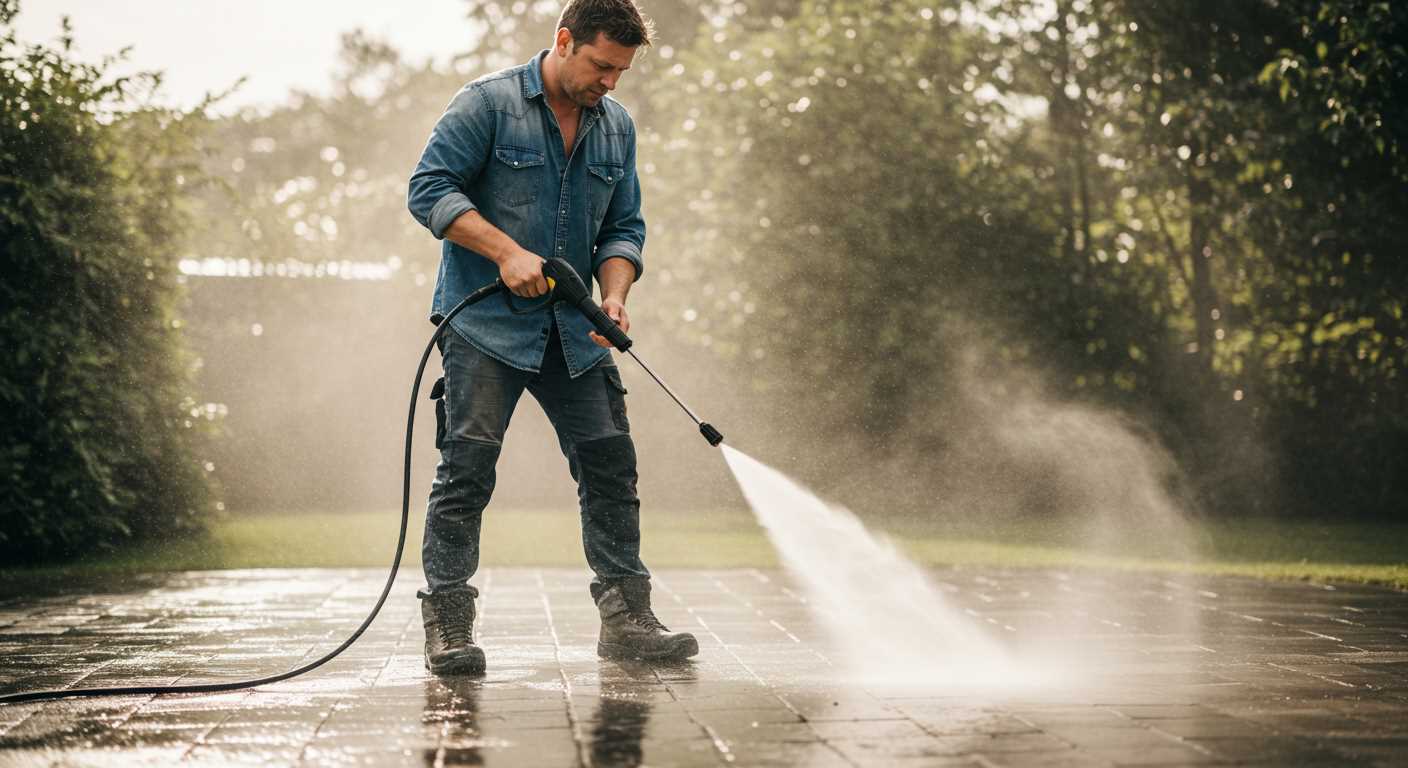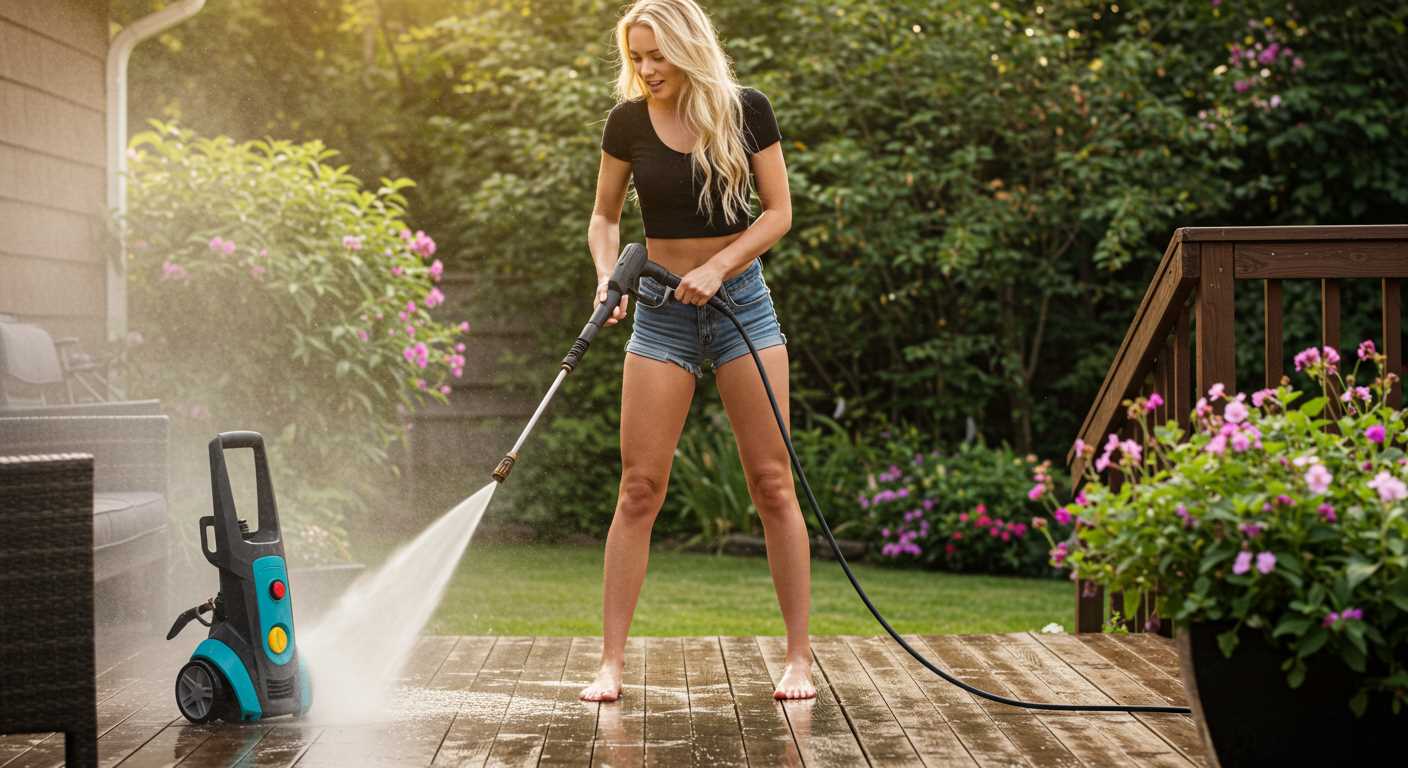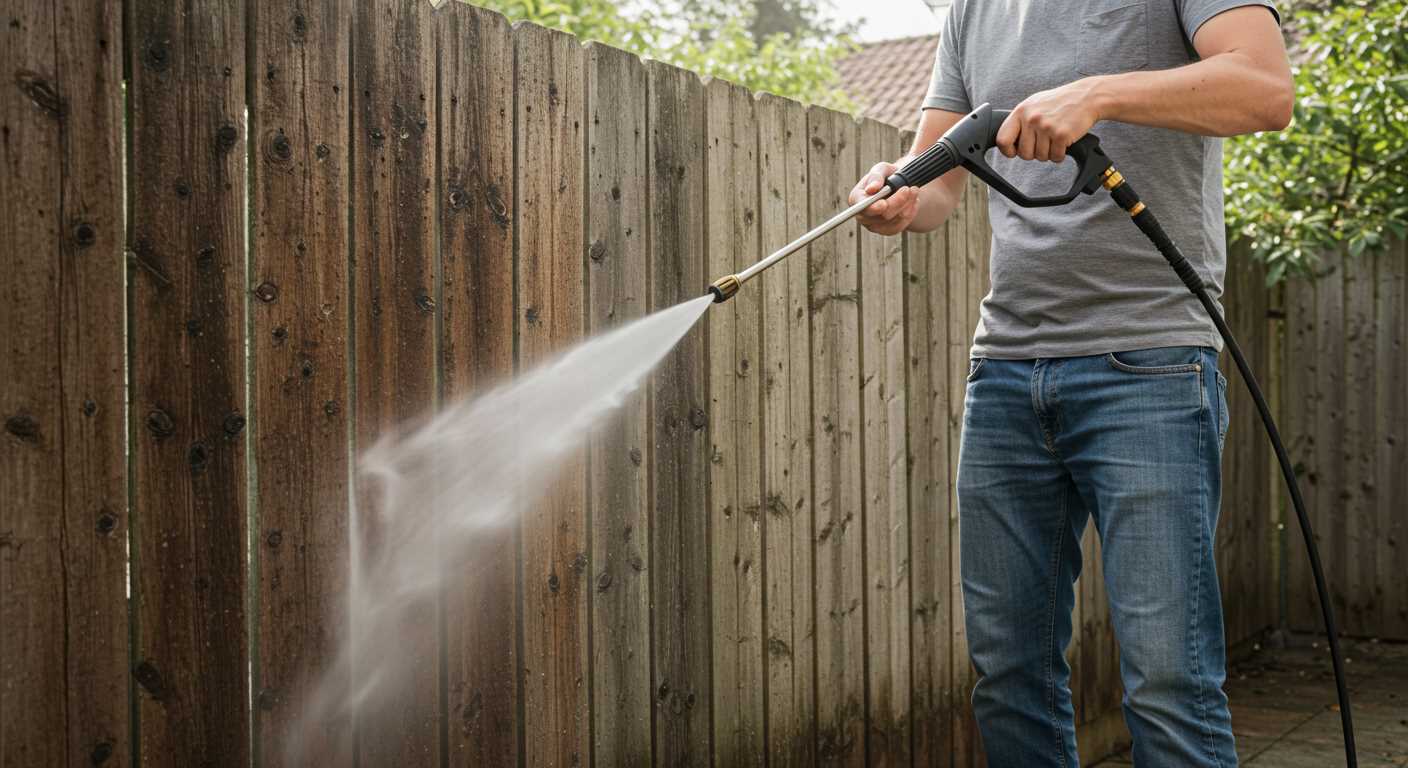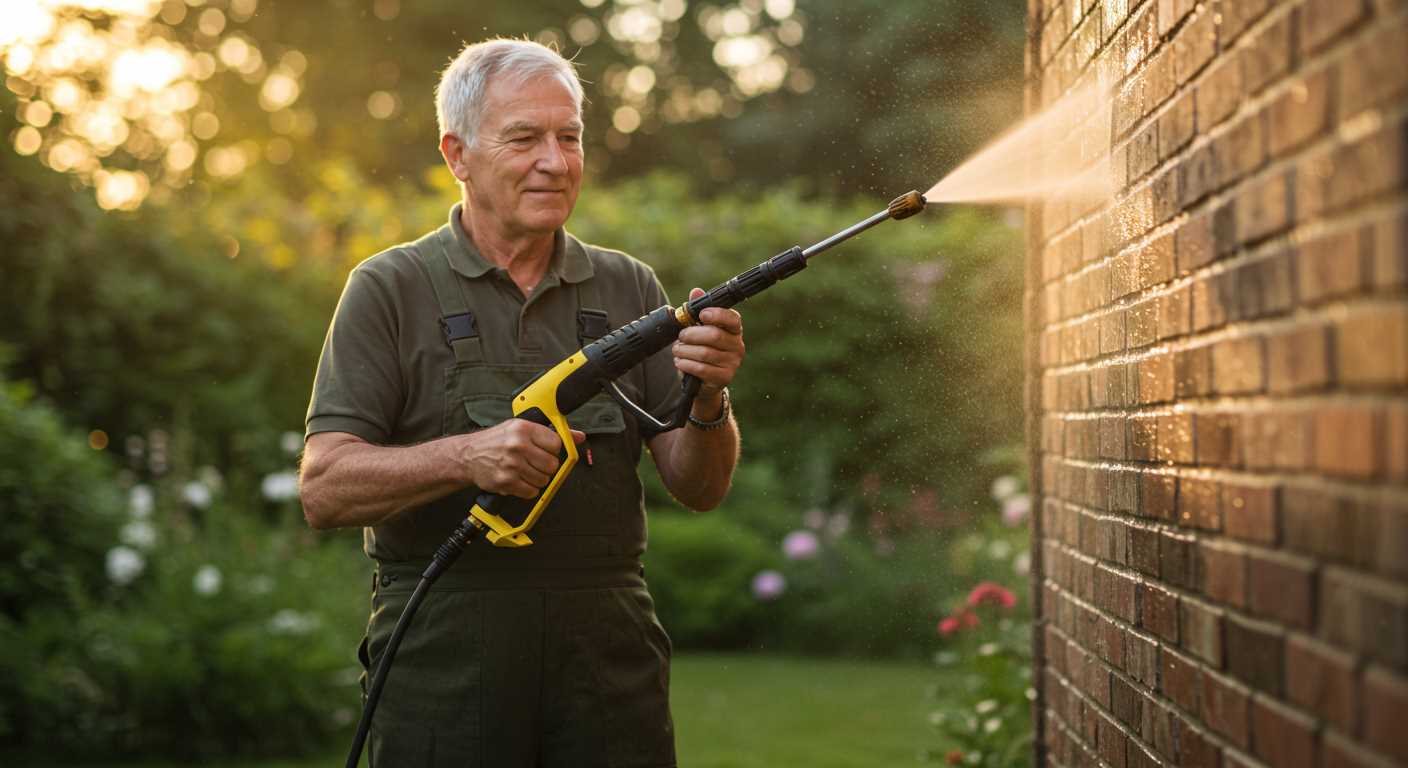


Begin with a careful selection of the right attachment for optimal results. The flat cleaning disc significantly enhances coverage compared to a standard nozzle, reducing cleaning time by up to 50%. This tool excels in tackling extensive areas like driveways or patios, where traditional methods may falter.
Preparation is critical. Ensure the surface is free from debris and larger particles to prevent damage and achieve a pristine finish. I recommend a quick sweep followed by rinsing with water if necessary. Maintaining a consistent distance of roughly 3 to 6 inches from the surface enhances performance while protecting it from potential harm.
Choosing the appropriate cleaning solution can further elevate your results. Select a pH-neutral cleaner suitable for the material being treated, especially for delicate surfaces like wood or painted areas. Always follow the manufacturer’s guidelines to prevent any adverse reactions.
While operating, keep a steady, overlapping motion. This technique guarantees even distribution and prevents streaks. If you notice stubborn stains, adjust the angle slightly or pause briefly to let the cleaner work its magic before resuming your glide.
Finally, after completing the task, rinse all components thoroughly to prevent any residue build-up that could affect future performance. This simple yet effective maintenance step can prolong the life of your equipment significantly.
Choosing the Right Attachment for Your High-Pressure Cleaner
The selection of the correct accessory directly impacts your cleaning outcomes. Opt for a model that matches the surface type; for concrete or wooden decks, a rotary style delivers optimal results. For larger areas, a wider diameter attachment reduces cleaning time significantly.
Compatibility with your existing device is paramount. Always check the PSI and GPM ratings to ensure effective operation without risking damage. Brands typically list compatible models, which simplifies the decision-making process.
Pay attention to the brush materials. Nylon bristles work well for sensitive surfaces, while steel bristles are suitable for tougher jobs. A dual-brush option can offer versatility for various tasks.
Consider the weight and manoeuvrability of the attachment. Heavier models can become cumbersome, especially during prolonged use, whereas lightweight options are easier to handle, allowing for a comprehensive clean without fatigue.
Finally, evaluate ease of connection. Quick-connect designs make switching attachments hassle-free, allowing for smooth transitions between different cleaning scenarios. Investing time in choosing the right tool for your device will pay off in efficiency and effectiveness.
Preparing Your Equipment for Surface Cleaning Tasks

Before tackling any cleaning assignment with this remarkable tool, ensure the following steps are adhered to for optimal performance.
Inspect Your Unit
.jpg)
- Check for leaks in hoses and connections. Replace any damaged components to avoid loss of pressure.
- Examine the power cord for frays or cuts. A damaged cord can be hazardous.
- Verify that the water inlet filter is clean and free of debris. This ensures proper water flow.
Gather Necessary Supplies

- Equip yourself with suitable detergents that are compatible with your machine. Always check the manufacturer’s recommendations to avoid damages.
- Have a collection of different nozzles. Depending on the surface, the nozzle type can influence cleaning results.
- Ensure you have extension cords if needed for reach. Always opt for outdoor-rated cords for safety.
Ensure your equipment is positioned and stable before commencing. A secure setup will make your task easier and safer.
Connect the water supply firmly. Turn on the water before activating the motor to avoid running it dry, which can lead to pump damage.
Perform a brief test run to confirm functionality and check for any unusual noises or irregular spray patterns. Making these checks prior to your cleaning session can enhance the overall efficiency and effectiveness of the task at hand.
Techniques for even and thorough cleaning with a surface cleaner

Maintain a steady pace while moving the attachment over the area. A speed of around 0.5 to 1 metre per second ensures optimal cleaning without missing patches.
- Overlap passes by 50% to guarantee consistent coverage. This method reduces the likelihood of streaks or uncleaned sections.
- Adjust your approach based on the surface type. For concrete, a straight line method may work best, while a circular motion can be beneficial for smoother surfaces.
Allow the equipment to glide above the surface with minimal downward pressure. This technique reduces strain on the machine and promotes an even distribution of cleaning force.
- Begin from the edge and work inwards. This prevents dirt from spreading to already cleaned areas.
- Use a sweeping motion for larger spaces. This approach efficiently covers extensive areas while ensuring uniformity.
- Always maintain a consistent height. Keeping the tool at the same elevation avoids uneven wear and maximises cleaning efficiency.
Incorporate a pre-treatment of stubborn stains with a suitable biodegradable solution, if necessary. Allow a few minutes for the cleaner to penetrate before proceeding with the equipment.
Finally, conduct a visual inspection post-cleaning to identify any missed spots. Touch up these areas manually to ensure a pristine finish.
Adjusting Water Pressure Settings for Different Surfaces

For optimal results, select an appropriate water pressure level based on the material and condition of the surface. For delicate surfaces such as wood decks or painted surfaces, I recommend adjusting the pressure to a lower setting, typically around 1000-1500 PSI. This prevents damage and ensures the finish remains intact.
When tackling concrete or stone pavements, a higher PSI, typically between 2500-3000, is suitable. This level effectively removes dirt, grime, and stubborn stains without causing harm.
Special Considerations for Surfaces
For textured surfaces, such as brick or textured concrete, I advocate adjusting the nozzle to ensure the stream reaches the crevices while maintaining a moderate setting. A rotating nozzle attachment can also enhance cleaning efficiency in these situations.
Remember to always conduct a spot test on a small, inconspicuous area before applying higher pressures to a larger section. This precaution helps prevent unexpected damage.
Final Tips
Consistently monitor the surface as you clean. If you notice paint chipping or wood splintering, immediately lower the pressure. Adjustments may be necessary throughout your task, so stay attentive to the material’s response to the cleaning process.
By adapting the water pressure according to the specific needs of each surface, I assure the task can be accomplished effectively without compromising the integrity of the flooring or walls.
Maintaining your surface cleaner for optimal performance
Regular checks on the attachment are vital for consistent results. After each project, rinse the unit thoroughly to remove debris and residual detergent. This prevents clogging that can hinder water flow.
Inspect the nozzles frequently for blockages or wear. Cleaning or replacing these parts will enhance the cleaning action. A simple practice involves soaking them in vinegar to dissolve mineral deposits.
Lubricate the bearings on a regular basis. This reduces friction and prolongs the life of the rotating head. Use a silicone-based lubricant for best results, applying it cautiously to avoid overspray on surrounding surfaces.
Check the hoses for kinks or leaks. Damaged hoses can significantly affect pressure and performance. Replace any compromised sections immediately to maintain a steady water supply.
Store the unit in a cool, dry place when not in use. Exposure to extreme temperatures or moisture can lead to deterioration. Consider suspending it on a wall or keeping it in a designated storage area to avoid unnecessary wear.
| Maintenance Task | Frequency |
|---|---|
| Rinse attachment after use | Every use |
| Inspect nozzles for blockages | Every 3 uses |
| Lubricate bearings | Monthly |
| Check hoses for damage | Before each use |
| Store in a dry place | Always |
Following these steps ensures that the equipment operates at peak performance. Regular maintenance not only extends the lifespan of the attachment but also optimises cleaning efficiency for every task at hand.
Common mistakes to avoid when using a surface cleaning tool

Avoid starting on a surface without testing the tool’s impact in an inconspicuous area. Checking how the equipment interacts with the material can save time and prevent damage.
Incorrect distance from the surface is another frequent error. Maintain a consistent height to ensure even results. Too close can lead to gouging, while too far may lead to inadequate cleaning.
Failing to properly clean your equipment between tasks can lead to streaks or residue being left behind on future surfaces. Regular maintenance keeps the attachments working efficiently and effectively.
Ignoring the type of detergent
Using the wrong cleaning agent can hinder results. Ensure compatibility with the tool and the surface material for optimal effectiveness. Some surfaces may require specific solutions for better outcomes.
Not considering weather conditions
Attempting to clean in adverse weather can affect both effectiveness and safety. Wind can cause overspray, while cleaning during intense heat may dry detergents too quickly, leaving streaks or residue behind.
FAQ:
What is a pressure washer surface cleaner and how does it work?
A pressure washer surface cleaner is an attachment designed to enhance the cleaning efficiency of a pressure washer, particularly on large flat surfaces such as driveways, patios, and decks. It consists of a rotating head with nozzles that spray water at high pressure, allowing for even cleaning over a wider area compared to a standard nozzle. When used, the surface cleaner glides over the surface, producing consistent results in a shorter amount of time.
How do I properly set up my pressure washer and surface cleaner?
Begin by assembling the surface cleaner according to the manufacturer’s instructions. Make sure your pressure washer is compatible with the surface cleaner attachment. Next, connect the pressure washer to a water source and ensure it has sufficient water supply. Attach the surface cleaner to the pressure washer’s wand securely. Adjust the pressure settings based on the type of surface you are cleaning, typically starting around 2000 PSI for concrete. Always wear protective gear like goggles and gloves before starting the cleaning process.
What surfaces can I clean with a pressure washer surface cleaner?
A pressure washer surface cleaner is versatile and can be used on various surfaces including concrete, brick, stone, and some types of wood decks. It is particularly effective for large, flat areas like driveways, sidewalks, patios, and outdoor furniture. However, it is important to test the surface in an inconspicuous area first to ensure that it can handle the pressure without damage. Avoid using it on delicate surfaces like painted wood or thin vinyl siding.


