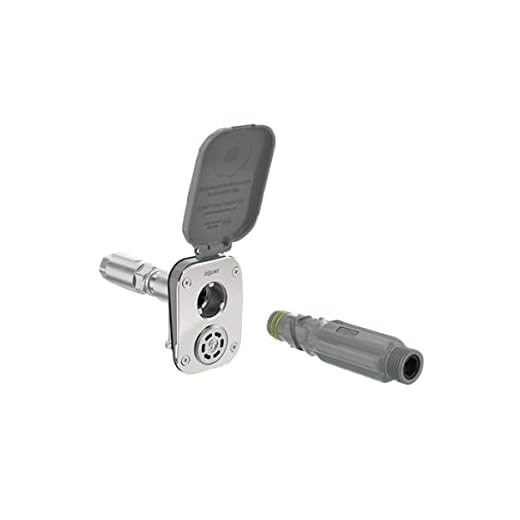


A precise angle of 25 degrees is ideal for tackling stubborn grime on plastic panels. This specific nozzle produces a balanced spray that effectively dislodges dirt without damaging the surface. Pair this with a distance of around 12 to 18 inches from the surface, ensuring that the water pressure penetrates the filth while remaining gentle enough to avoid scuffs.
Incorporating a specialised detergent designed for your exterior will enhance the cleaning process. Apply this solution before rinsing, allowing it to dwell for roughly five to ten minutes. This dwell time is crucial for loosening tough stains, ensuring your surfaces return to their original luster. Always rinse with clean water post-application to remove any residue.
Begin from the top and work your way down, preventing streaks from forming. Overlapping each pass slightly guarantees uniform coverage, creating a polished finish. If corners and edges are difficult to access, a secondary, more focused nozzle can help tackle those tricky spots. Remember, patience is key; rushing through will lessen the quality of the outcome.
Selecting the Right Pressure Washer for Vinyl Siding
For optimal results with your cleaning tasks, focus on a machine with a pressure rating between 1200 and 2000 PSI. This range provides sufficient force to eliminate dirt without risking damage to the surface. Avoid models exceeding 2000 PSI, as they may cause unwanted harm.
Consider the Flow Rate
A flow rate of 1.4 to 2.5 gallons per minute (GPM) is recommended. A higher GPM aids in removing stubborn grime efficiently, while lower GPM can require extra passes. Strike a balance based on your specific requirements.
Choose the Right Nozzle
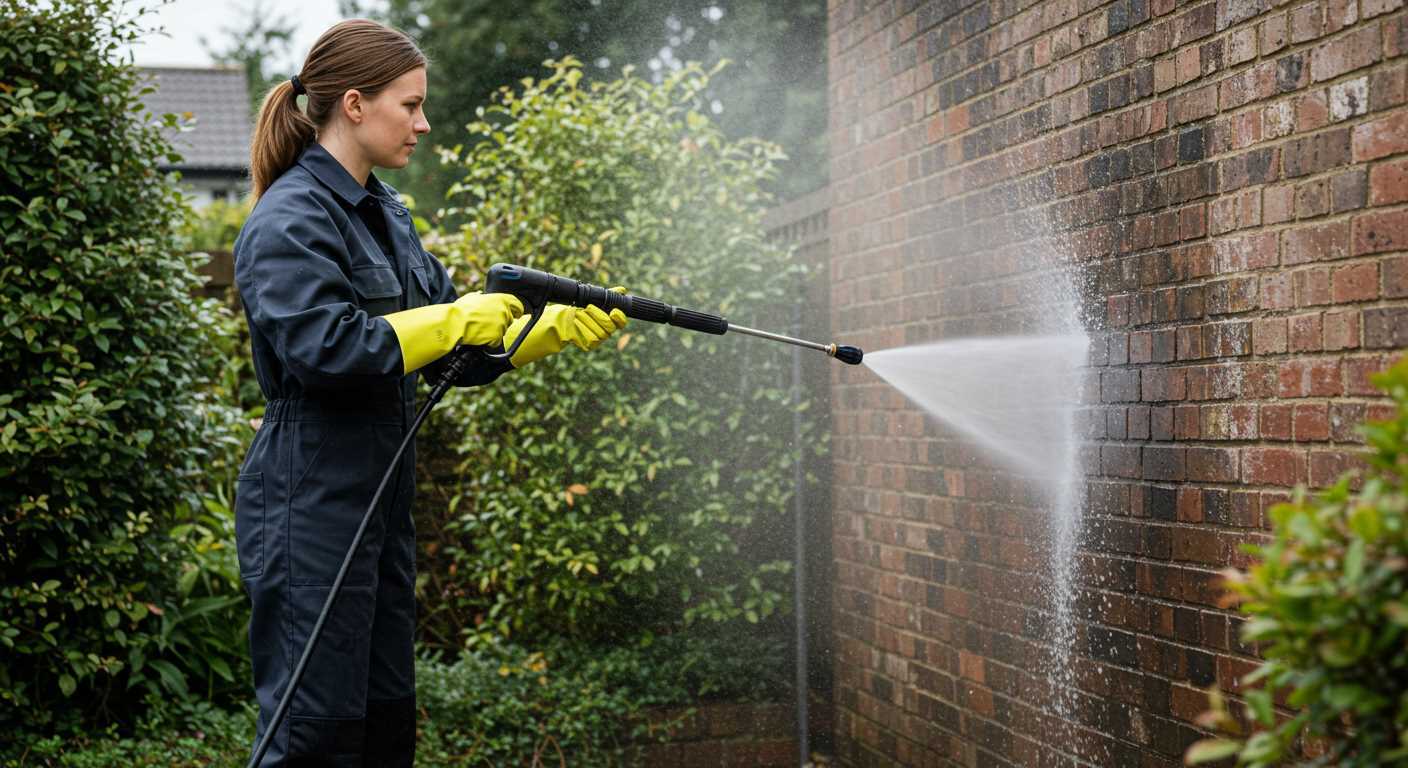
Select an adjustable or interchangeable nozzle to vary the spray pattern. A 25-degree nozzle is suitable for general tasks, while a 40-degree nozzle offers a gentler touch. Some machines even include detergent injection systems, which facilitate the application of cleaning solutions effectively.
Preparing Your Exterior Material for Pressure Cleaning
Before tackling any project, ensure the area is free of debris. Remove furniture, potted plants, and any other items that could obstruct the washing process. Clear the surrounding ground of dirt, leaves, and other loose materials to facilitate easier access.
Inspect and Repair
Examine the facade for damage. Look for cracks, loose panels, or signs of mould. Seal any openings to prevent water from entering and causing further issues. Repair any imperfections for a smoother outcome.
Protect Surroundings
Cover nearby plants and shrubs with plastic sheeting or drop cloths to shield them from overspray. Also, safeguard windows and doors by applying tape to the edges. Use a suitable protective gear, such as goggles and gloves, to ensure your own safety during the process.
Choosing the Correct Cleaning Solution for Vinyl Exteriors
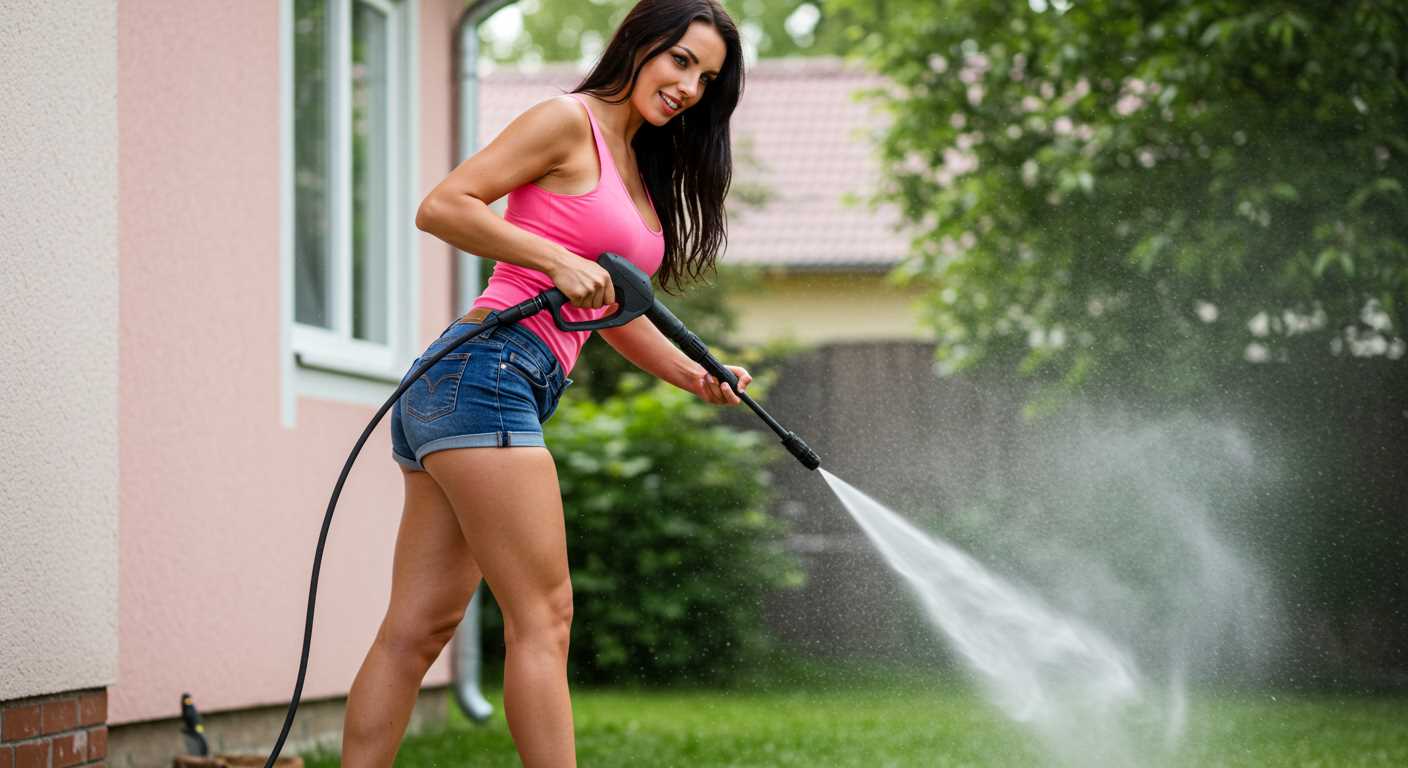
Opt for a solution specifically formulated for synthetic materials. These products effectively target dirt, mildew, and stains without risking damage to the surface. A bleach-free formula is generally preferred to avoid fading or degradation.
Here are key points to consider:
- Choose a biodegradable cleaner to minimise environmental impact.
- Look for non-toxic options that ensure safety for plants and pets.
- Evaluate the pH level; neutral or slightly alkaline solutions work best.
- Select a product that inhibits the growth of mildew and algae, prolonging the appearance.
Commercial cleaners may provide superior results, but homemade solutions can also be effective. A common recipe consists of:
- One part white vinegar.
- One part water.
- Add a small amount of dish soap to enhance lifting power.
Mix these in a bucket and apply with a sprayer before rinsing with clean water. Always test on a small, inconspicuous area first to ensure compatibility with the material.
Make informed decisions about the products you select; they can greatly impact the success and safety of the exterior maintenance process.
Setting up your pressure washer for optimal cleaning
For the best results, adjust your equipment to suit the specific task at hand. Focus on setting the correct nozzle before you commence. The 25-degree nozzle is typically ideal for this type of exterior maintenance, delivering adequate power without the risk of damage.
Adjusting the Pressure
Lower the pressure setting to avoid causing harm to the surface. A range of 1300 to 1600 PSI is usually sufficient. If your device doesn’t allow for easy adjustment, select one that provides a gentler output suited for delicate materials.
Preparing the Equipment
- Ensure all hoses are securely connected to prevent leaks.
- Check that the water supply is stable and at the correct temperature–lukewarm is most effective.
- Before starting, run water through the system to eliminate air pockets.
- Test the nozzle’s spray pattern on a small, inconspicuous area to confirm appropriate spray characteristics.
Keep the cleaning wand at a distance of around 2 to 3 feet from the surface you’re addressing. This balance maximises efficacy while minimising the chance of damage. As you progress, maintain a consistent distance, moving methodically to cover the entire area.
Be ready to adjust your approach based on how your home’s exterior is responding to the process. Communication with fellow team members or household members will help ensure everyone is aware of the operation, enhancing overall efficiency.
Techniques for applying pressure to vinyl siding
Maintain a distance of approximately 3 to 4 feet from the surface while directing the nozzle for a gentle yet effective approach. This distance reduces the risk of damage while still allowing for penetration of built-up grime.
Utilise a fan spray pattern instead of a concentrated jet to distribute the force evenly across the surface. This technique helps prevent streaking and reduces the likelihood of surface abrasion.
Angle of approach
Position the nozzle at a downward angle. This helps direct water away from seams and prevents moisture from seeping behind the panels. Working from the top down ensures that dirty water flows off the bottom of the surface rather than being pushed back onto already cleaned areas.
Consistent movement
Keep a steady, even motion while applying water. This prevents localised damage and ensures thorough muck removal. Avoid lingering too long in one area to mitigate risk of potential issues.
Overlap each stroke slightly. This technique guarantees comprehensive coverage and reduces the chance of missing spots, leading to a more uniform appearance.
Safety Precautions When Operating High-Pressure Equipment
Wearing appropriate personal protective equipment is non-negotiable. A pair of safety goggles shields your eyes from debris, while gloves provide grip and protect your hands from potential injuries. Sturdy footwear is essential to ensure stability on slippery surfaces.
Before starting, inspect the area for hazards such as power lines, overhanging branches, or loose stones. These elements can pose significant risks during your task. It’s prudent to keep bystanders, especially children and pets, at a safe distance to prevent accidents.
Equipment Handling and Maintenance
Always review the manufacturer’s manual for specific safety instructions. Ensure the equipment is in good working condition before each use; check hoses for leaks and connections for security. If you encounter any unusual noises or performance issues, cease operation immediately and conduct a thorough inspection.
Never point the nozzle at yourself or others, regardless of the pressure setting. Maintaining control of the equipment is key; firm grip and a stable stance reduce the likelihood of accidents. Additionally, take caution with angle adjustments; directing the spray at surfaces from an appropriate distance helps manage the force on the material, preventing damage.
Environmental Awareness
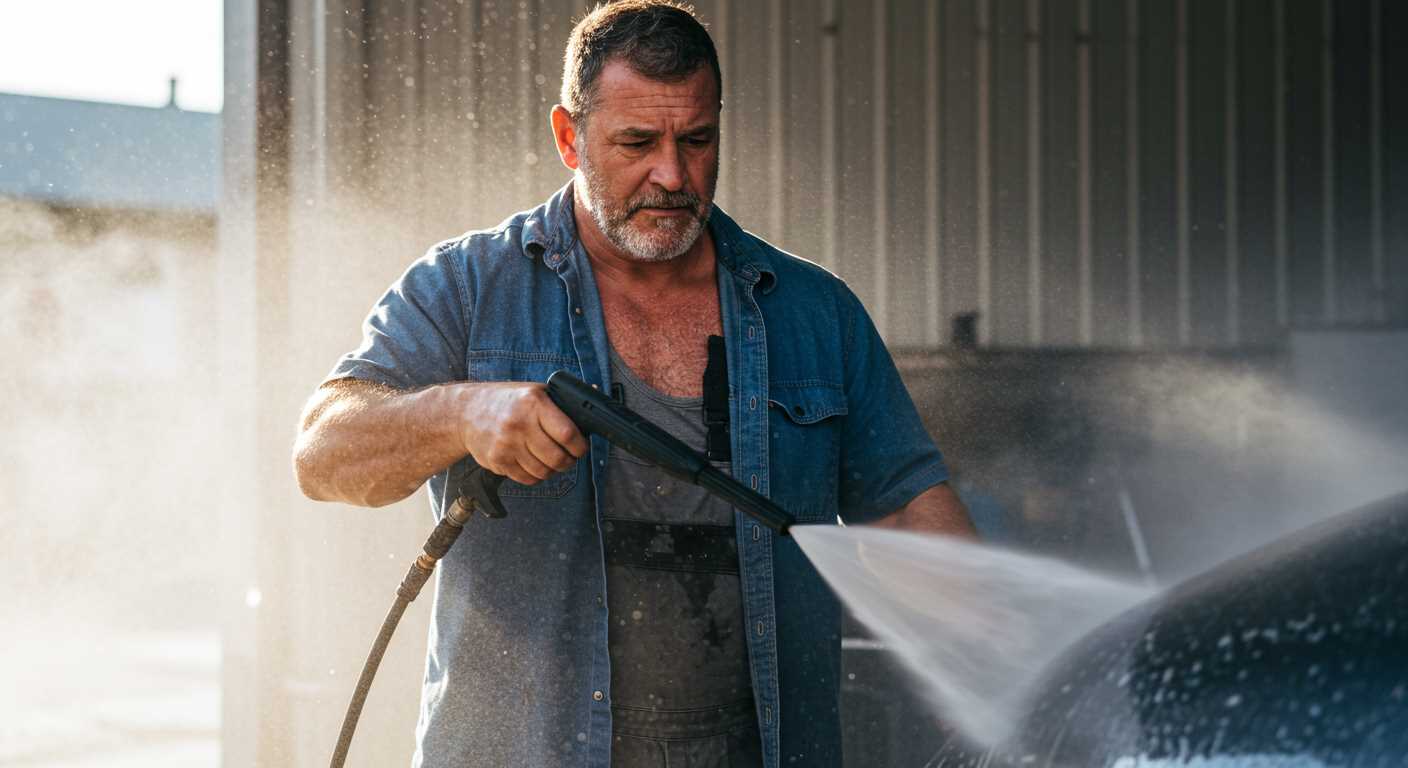
Be mindful of your surroundings and weather conditions. Wet surfaces can cause slips, while wind can disperse debris unexpectedly. If rain is imminent, adjust your plans; wet conditions can hinder the effectiveness of the job and elevate risks. Always be conscious of local regulations regarding water use and waste management to ensure compliance during your work.
Post-cleaning care for your vinyl siding
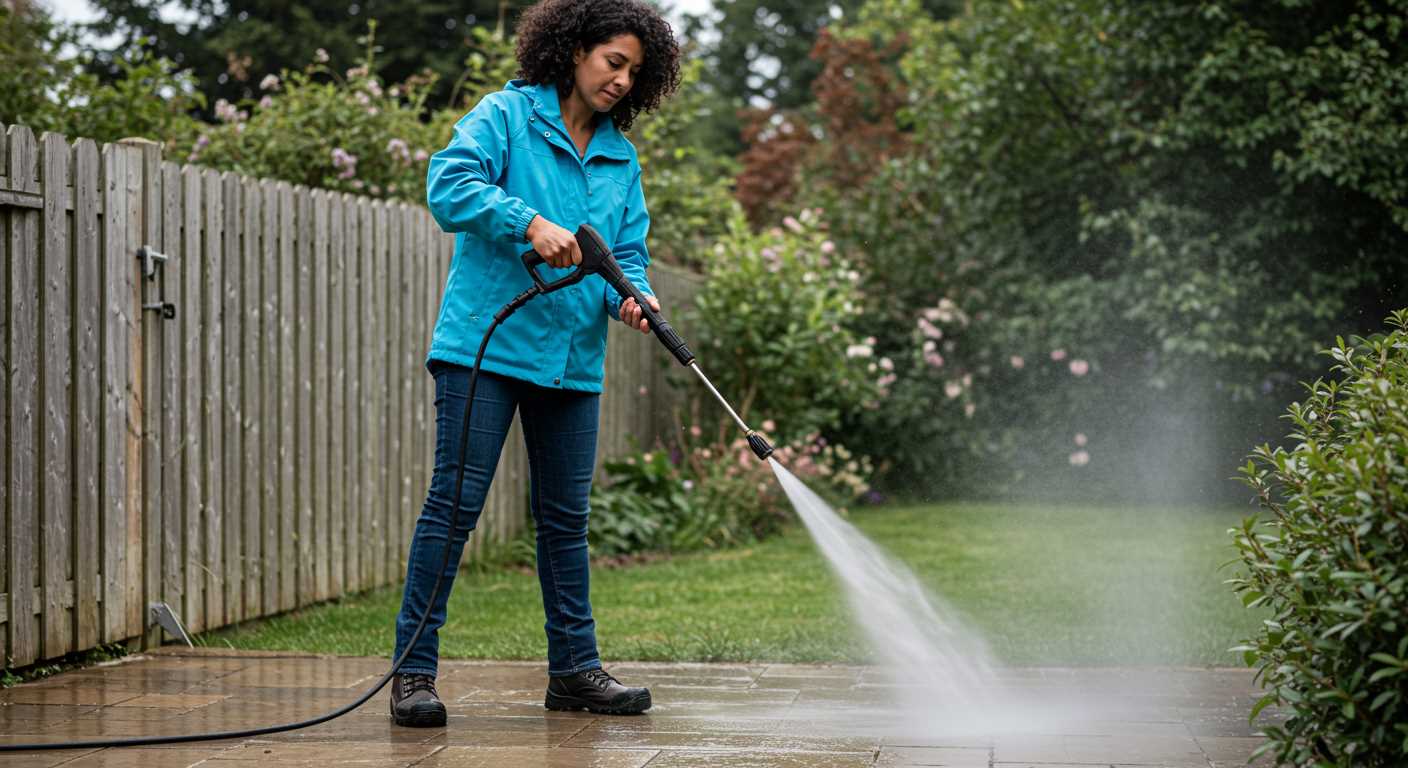
After addressing the surfaces, it is vital to conduct a thorough inspection. Check for any signs of damage such as cracks or loose panels that may have been hidden by grime. Repair these areas promptly to prevent water ingress that could lead to significant issues.
Routine Maintenance Schedule
Establish a schedule for regular upkeep. I recommend inspecting and maintaining the exterior at least every six months to avoid severe buildup. This approach lessens the need for intensive cleaning sessions.
Preventative Measures
Consider applying a protective treatment suitable for your exterior arrangement. This layer can help repel dirt and grime, making future cleaning much simpler. Ensure that any product used is compatible with the material to avoid deterioration.
| Task | Frequency |
|---|---|
| Inspect for damage | Every 6 months |
| Apply protective coating | Every 1-2 years |
| General washdown | Annually |
Lastly, always ensure that gutters and downspouts are clear to prevent water runoff from causing stains or erosion on the surfaces below. Keeping this system functional will protect the integrity and appearance of your home’s cladding over time.
Common mistakes to avoid while pressure washing vinyl siding
Avoid using too high a pressure setting. Excessive force can damage the surface and lead to cracks or holes. Always start with the lowest setting and gradually increase as necessary to gauge the effect.
Never direct the stream upwards. This can force water under the lap joints, leading to moisture issues within the structure. Instead, angle the nozzle downwards to let the water run off naturally.
Neglecting preparation
Failing to remove loose dirt and debris before starting can hinder the cleaning process. It’s vital to inspect the area and clear away any large particles to ensure an effective wash.
Using the wrong cleaning solutions can result in streaks or discolouration. Stick to recommended cleaners specifically designed for the materials being treated, and always test in a small area first.
Overlooking safety measures
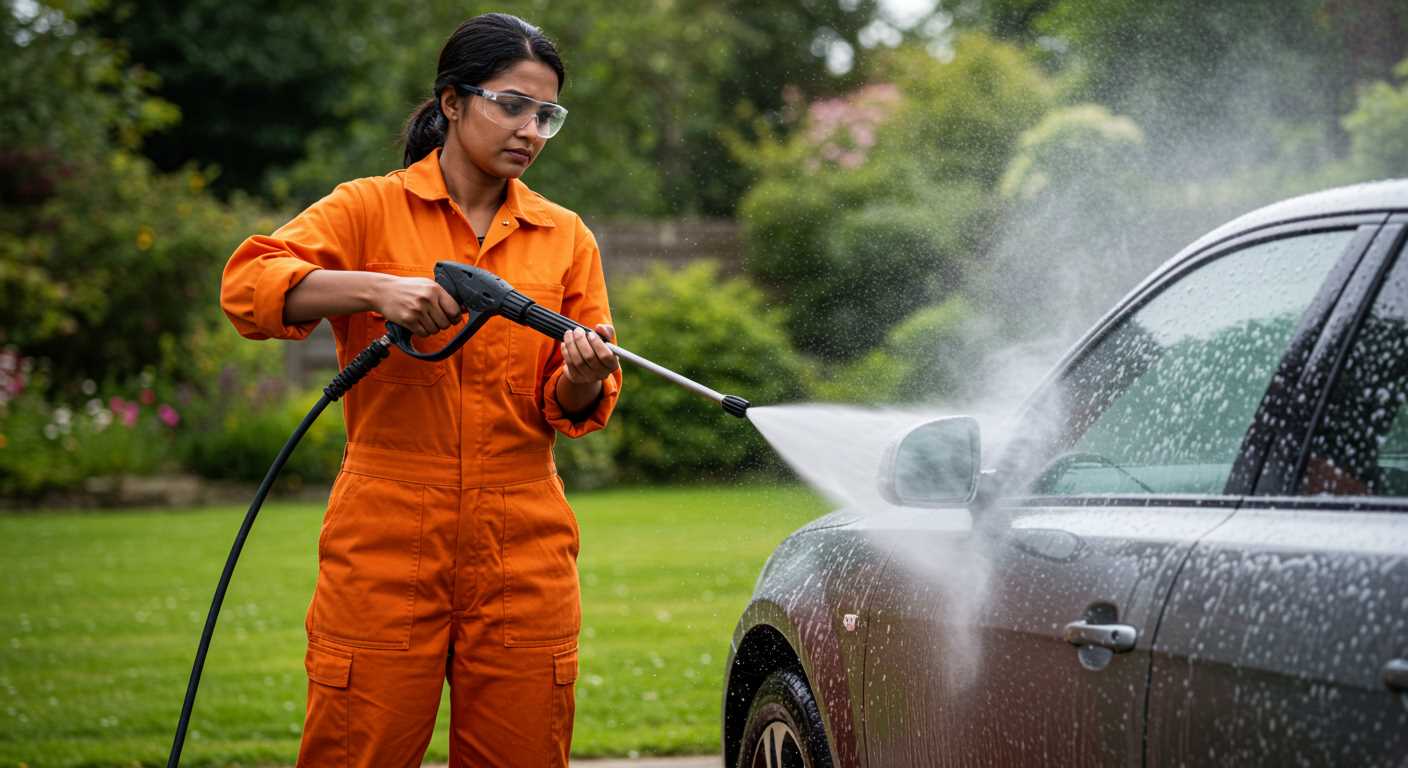
Forgetting to wear appropriate protective gear, such as goggles and gloves, can lead to injuries. Ensure you’re equipped with the right safety equipment before tackling the project.
Finally, avoid working alone. Having someone assist can help monitor the surroundings and ensure that any potential hazards are addressed promptly.


