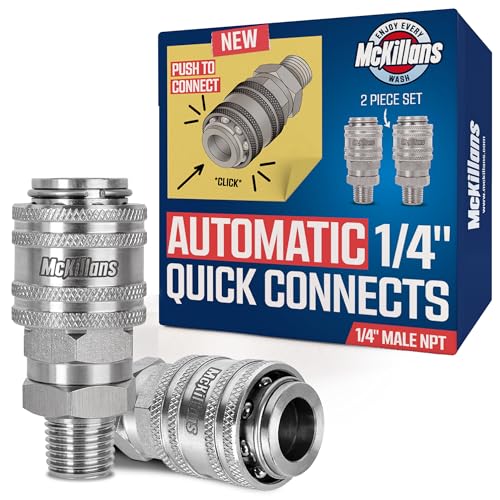


Before you begin, ensure that your machine is positioned optimally near the water source. Connect the appropriate hoses securely to prevent any leaks during operation.
Fill the reservoir to the recommended level indicated in the user manual. A clean supply is crucial to maintain optimal performance. If your device is equipped with a strainer, ensure it is clear of any debris to prevent blockages.
Adjust the nozzle settings based on the specific surface you intend to clean. For hard surfaces, consider using a narrow spray angle for effective penetration. Softer surfaces will benefit from a wider spray to avoid damage.
Maintain a consistent distance from the surface being treated to achieve uniform results. Experiment with different pressures as needed, but always err on the side of caution to prevent surface damage.
Regularly check the connections to ensure everything remains secure throughout the cleaning process. Should you notice any irregularities in performance, pause to investigate before proceeding further.
Selecting the Right Equipment for Tank Integration
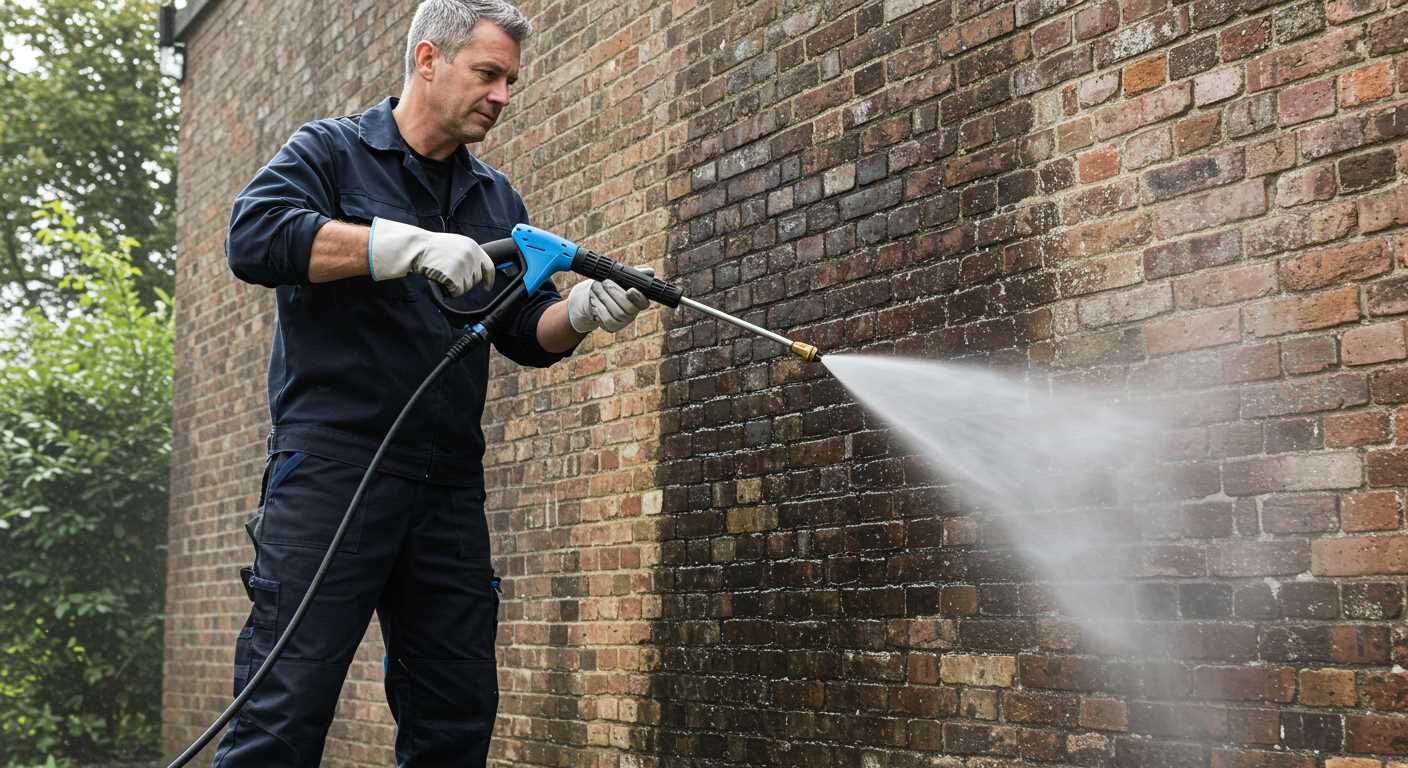
Opt for a unit with a minimum PSI of 2000 for adequate cleaning efficiency. This pressure level ensures the removal of dirt and grime from various surfaces, making the task straightforward. Units below this threshold may struggle, resulting in subpar results.
Consider electric versions if mobility isn’t a key factor. These models tend to be quieter and simpler to operate. However, if you need portability, fuel-powered options provide greater pressure and flexibility, allowing adjustments on the go.
Evaluate GPM for Better Performance
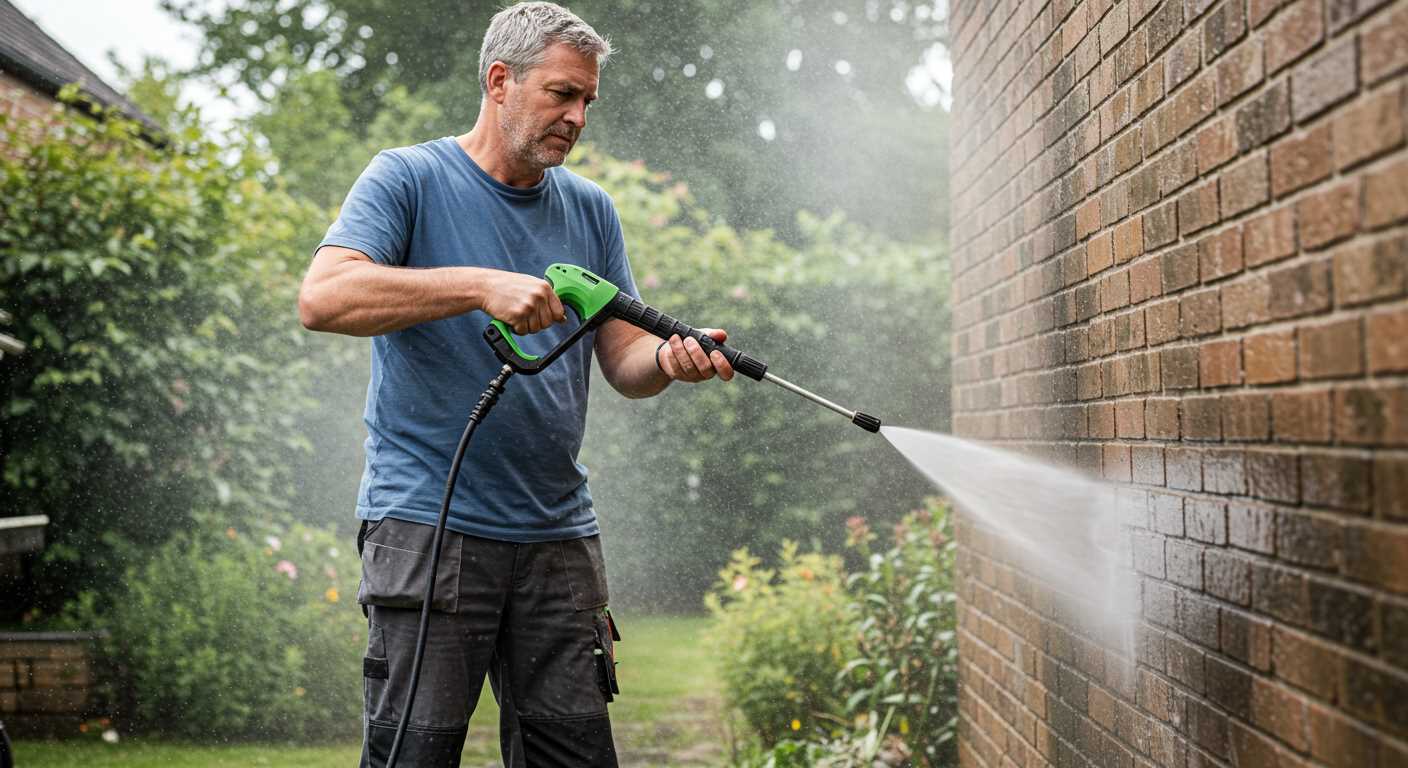
Prioritise models with a higher GPM (gallons per minute) rating. This measurement indicates how much water flows through the system, directly affecting cleaning speed. For larger jobs, a GPM rating of 2.5 or above will significantly reduce time on task.
Accessory Compatibility is Key
Ensure your chosen machine is compatible with common accessories such as surface cleaners and varying nozzles. These attachments enhance versatility and allow adaptation for different surfaces or cleaning solutions, offering more thorough results.
Review warranty and support options thoroughly. A robust warranty reflects the manufacturer’s confidence in their product, which often translates to reliability in performance. When investing in equipment, peace of mind is invaluable.
Understanding the requirements for water tank compatibility
Choosing the right reservoir for your cleaning equipment involves several key aspects:
- Capacity: Ensure the reservoir’s volume meets the demands of your cleaning sessions. A larger capacity allows for extended use without refilling, particularly beneficial for extensive projects.
- Material: The construct should be robust enough to withstand pressure variations. Opt for tanks made from durable plastic or metal to prevent damage.
- Connection Type: Check that the outlet of the reservoir matches the inlet specifications of your machine. Standard attachments can simplify compatibility.
- Height and Positioning: Elevated tanks can improve flow, while a stable ground base aids in safety and accessibility during operation. Consider space requirements for placement.
- Filtration System: Integrate an adequate filter to prevent contaminants from entering the pump, ensuring longevity and consistent performance.
Before the initiation, perform a compatibility check. Discrepancies between the equipment and reservoir can lead to performance issues or equipment damage. Having the appropriate accessories readily available, such as hoses and connectors, will facilitate a seamless working experience.
A reliable system will not only enhance effectiveness but will also prolong the lifespan of your devices, ensuring every cleaning effort is executed efficiently.
Setting up your water tank for cleaning tasks

To optimise performance, ensure the storage unit is securely positioned on a level surface. This prevents any instability during operation, reducing the risk of spills or equipment damage.
Inspect the inlet filter thoroughly before connecting. A clean filter prevents debris from entering the system, safeguarding both the unit and the cleaning solution.
Connect an appropriate hose, ensuring it matches the specifications of the cleaning apparatus. A diameter of at least 3/4 inch is recommended to guarantee adequate flow. Maintain a length of no more than 50 feet to avoid flow restrictions.
Prior to activating the equipment, fill the reservoir to the recommended level. This ensures a continuous flow and prevents air locks, which can hinder performance.
| Specification | Recommended Value |
|---|---|
| Hose Diameter | 3/4 inch |
| Maximum Hose Length | 50 feet |
| Reservoir Fill Level | Optimal Full |
Additionally, check for leaks in all connections. Any leakage can lead to a drop in pressure or efficiency. Tighten any loose fittings and replace worn-out components as necessary.
After setup, it’s beneficial to flush the system. This removes any residual contaminants from the storage unit, ensuring only clean liquid enters the equipment.
Regular maintenance of both the storage unit and hose will extend their lifespan. Be sure to clean filters and inspect hoses for cracks or wear after each session.
Adjusting pressure settings for different surfaces
The key to optimising cleaning efficiency lies in correctly adjusting the output force, tailored to the specific material being treated.
Soft surfaces
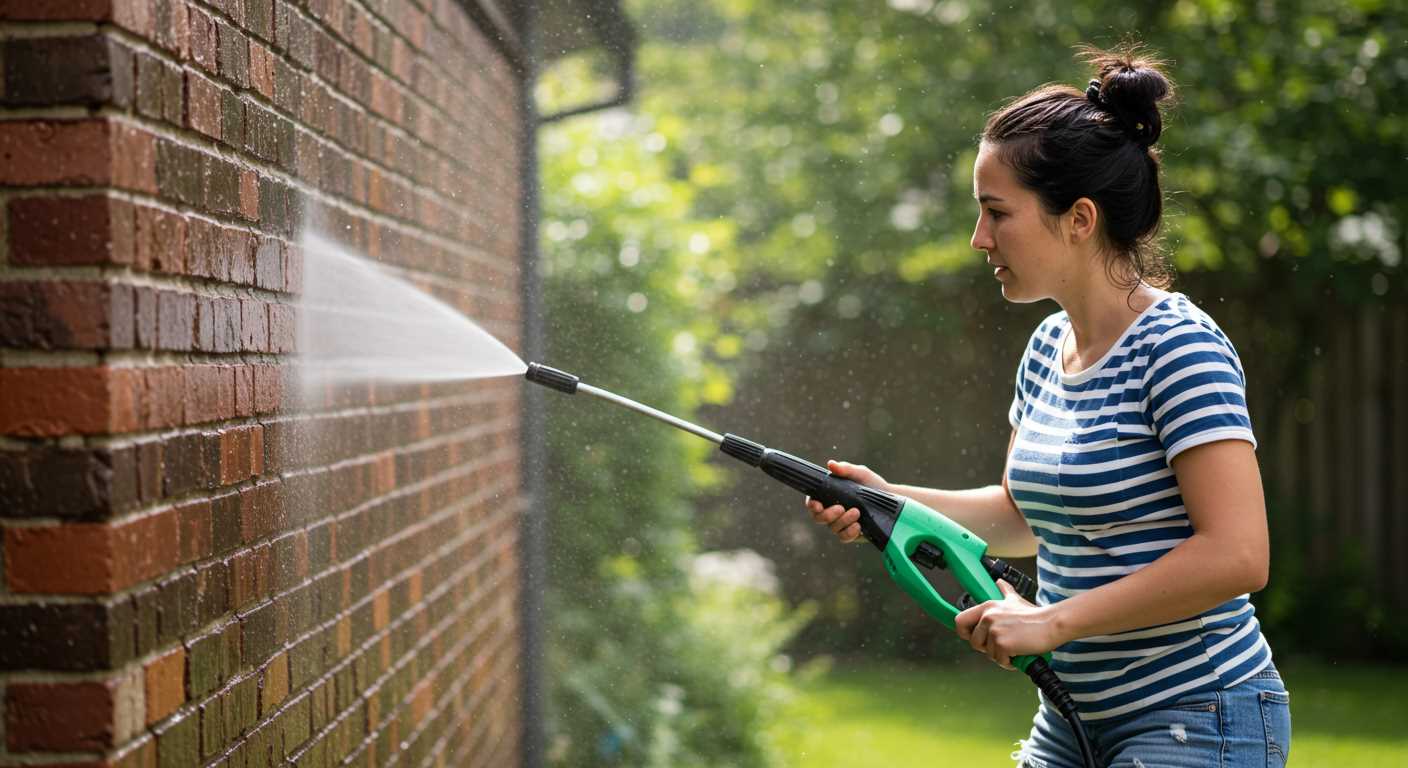
For delicate materials such as wood, plastic decks, or painted surfaces, utilise a lower setting, typically around 1,200 to 1,500 PSI. This ensures protection against damage while effectively removing dirt and grime. Employ a wide spray nozzle to distribute the flow gently across the area.
Hard surfaces
On harder materials like concrete or brick, elevate the settings to about 2,500 to 3,000 PSI. A narrow spray aperture helps concentrate the flow for deeper penetration into stubborn stains. For extreme cases, consider employing a rotating nozzle to enhance effectiveness without compromising the surface integrity.
Always assess the impact of the force beforehand on an inconspicuous area, adjusting as necessary to suit specific conditions. This not only safeguards the materials but also enhances cleaning outcomes.
Techniques for optimal cleaning with a pressure sprayer
Adjust the nozzle to match the task. For delicate surfaces like windows, employ a fan spray to distribute flow evenly. Conversely, for tougher grime on hard surfaces, switch to a narrow jet for concentrated impact.
Maintain a consistent distance from the surface. Typically, a range of 30 to 60 cm works well. Getting too close causes damage, while staying too far reduces cleaning effectiveness.
Incorporate detergent for stubborn stains. Begin with a low-pressure setting to apply the soap, let it sit to penetrate, then rinse thoroughly with a higher flow. Always check for compatibility with the equipment to avoid damage.
Move the device in a sweeping motion. Avoid lingering in one spot to prevent etching or uneven cleaning. Sweep left to right or top to bottom, ensuring complete coverage.
Pre-soak surfaces when necessary. For areas with heavy dirt build-up, soaking with soapy water beforehand can enhance results. Allow the solution to sit for a few minutes before rinsing.
Monitor the water level in your reservoir closely. Running low can lead to inconsistent performance and strain on the motor. Always refill as needed to maintain optimal operation.
Utilise attachments designed for specific applications. A rotating brush or surface cleaner can improve cleaning efficiency on larger areas, ensuring thorough removal of grime.
Regularly clean and maintain your equipment. After each session, flush the system to prevent clogs and corrosion, extending the lifespan of your machine.
Maintaining your pressure cleaner after drawing from a reservoir
After drawing liquid from a reservoir, flush the unit with clean water. This prevents any remaining debris or contaminants from causing damage to the internal components. Run the machine for a few minutes while using clean water to ensure all residues are expelled.
Cleansing the inlet filter
Regularly inspect and cleanse the inlet filter. A clogged filter can diminish performance capabilities. Remove the filter, rinse it thoroughly under running water, and reinsert it only after ensuring it is dry.
Checking seals and connections
After every operation, inspect all seals and connections for wear or leaks. Properly functioning seals prevent fluid loss and maintain pressure. Replace any damaged or worn seals immediately to uphold efficiency.
Ensure that all attachments are clean and free from obstructions. Detach nozzles and rinse them to clear away any build-up. This maintains optimal spray patterns and prevents blockages that might affect efficacy.
Store the appliance in a dry area to avoid corrosion. Use a cover if necessary to protect it from dirt and dust. Maintaining cleanliness around the unit reduces the likelihood of future issues.
Lastly, refer to the owner’s manual for specific maintenance intervals and procedures unique to your model. Adhering to these guidelines prolongs the lifespan of the machine.
Troubleshooting common issues with water tank operation
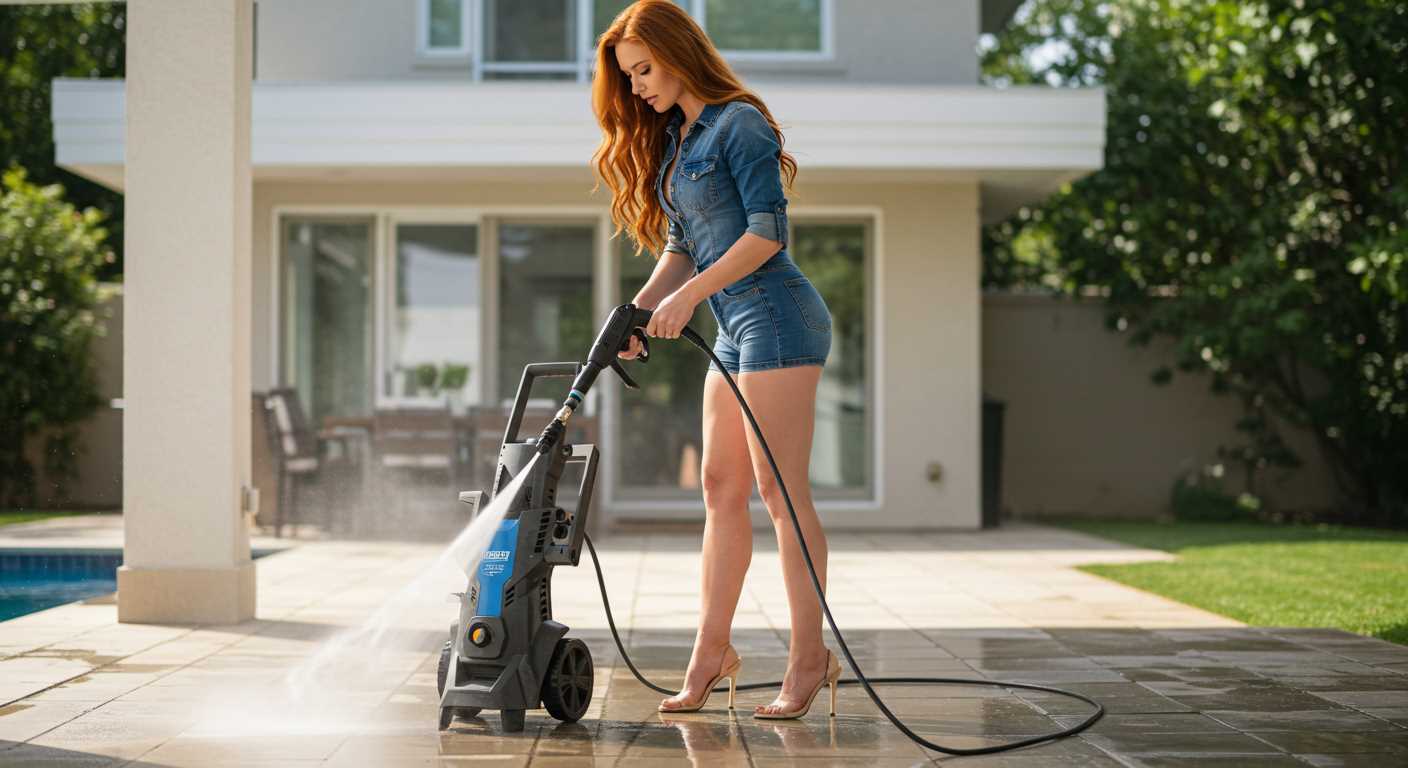
If the flow is inadequate, check the tank’s outlet for clogs. Debris can easily obstruct water flow. Ensure the hose connecting the tank to the device is properly fitted and free from kinks.
Unusual noises or vibrations
Strange sounds may indicate an air leak. Inspect all connections for tightness and look for any cracks in the hose. Also, check the tank for any signs of damage.
Pressure fluctuations
These can stem from inconsistent water supply. Ensure the tank is filled adequately before starting. If the tank intake strainer is dirty, clean it to ensure optimal flow. Additionally, examine the filter and pump for buildup that could restrict movement.
For performance issues, consider the temperature of the fluid. Too cold or too hot water can negatively impact how well the system operates. Using water at recommended temperatures is crucial.
If you notice leaks around the connections, re-tightening fittings often resolves the problem. Regularly check seals for wear; replacing worn components can prevent future leaks.
FAQ:
What type of water tank can I use with a pressure washer?
You can use a variety of water tanks with a pressure washer, including both portable and stationary ones. Ensure that the tank is clean and able to hold sufficient water for your cleaning tasks. A tank with a capacity of at least 50 gallons is often suitable for larger jobs, while a smaller tank may suffice for minor tasks. Always confirm the tank’s compatibility with your specific pressure washer model.
How do I connect my pressure washer to a water tank?
To connect your pressure washer to a water tank, you need to use a suitable hose that can handle the pressure of the washer. First, ensure that your tank is filled with water. Then, attach one end of the hose to the water outlet of the tank, and the other end to the water inlet on the pressure washer. Some pressure washers come with a specific adapter for tank usage; check your manual for details.
What should I do if the pressure washer is not drawing water from the tank?
If your pressure washer isn’t drawing water from the tank, there are several troubleshooting steps you can take. First, ensure that the hose is not kinked and is securely connected at both ends. Check the water level in the tank; if it’s too low, the washer may not function properly. Also, inspect the water filter for clogs, as debris can restrict water intake. Lastly, verify that your pressure washer is designed to work with a water tank; some models might not be compatible.
Can I use a pressure washer with a water tank outdoors?
Yes, using a pressure washer with a water tank outdoors is quite common and practical, especially in areas where tap water is not readily available. Ensure that your setup is safe, with the tank positioned securely to prevent tipping. Be mindful of any local regulations regarding water usage, especially during droughts, and try to use the water responsibly to avoid wastage.
What maintenance do I need to perform on my pressure washer after using it with a water tank?
After using a pressure washer with a water tank, it’s important to perform routine maintenance. Begin by cleaning the hose and the inlet filter to prevent any debris buildup. Check for any leaks or damage to the hoses and connectors. If you used a cleaning detergent, flush the system with clean water to remove any residue. Lastly, store the pressure washer in a dry place, and ensure that it’s protected from the elements to prolong its lifespan.


