


For optimal cleanliness, ensure your machine’s adjustable nozzle is set based on the task at hand–narrow for stubborn stains or wide for gentle cleaning. This adaptability enhances the effectiveness of your cleaning routine and conserves water, allowing you to tailor your approach to various surfaces.
Accurate preparation is vital. Prior to commencing, check all connections, ensuring secure fittings between the water source and your unit. A tight seal prevents leaks, maintaining pressure and improving cleaning efficiency. Regularly inspect the filter for blockages; a clean filter facilitates a steady flow, maximizing performance.
In addition, always utilise the right cleaning agents. For tough grime, a specialised detergent works wonders. Make sure it’s compatible with your equipment to prevent damage. Apply the solution before activating the high-velocity stream, allowing it to penetrate and break down dirt effectively. Following application, a thorough rinse with pure water will leave surfaces spotless.
Finally, maintain a consistent distance from the target surface while operating. A distance of around two feet allows ample force while preventing damage. This technique ensures thorough cleaning without risking abrasion, especially on softer materials like wood or painted surfaces.
Choosing the Right Nozzle for Your Cleaning Task
For optimal cleaning results, matching the nozzle to your task is key. Various nozzles alter the spray pattern and intensity, allowing precise control over your cleaning efforts. To achieve the best outcome, consider the following:
First, for delicate surfaces like cars or furniture, employ a wider spray angle (25° to 40°). This gentle approach prevents damage while effectively removing dirt. The green (25°) and white (40°) nozzles are ideal for this purpose.
Next, for moderate cleaning jobs, such as driveways and patios, a 15° nozzle provides a focused jet that tackles tougher grime without excessive force. Its red colouring indicates high impact and is suited for more resilient surfaces.
For stubborn stains, like oil or mildew, the zero-degree nozzle delivers a concentrated, powerful stream, useful for specific applications on robust materials. However, caution is necessary to avoid causing surface damage; reserve this for the most challenging tasks.
Lastly, consider attachment options. Some systems may feature adjustable nozzles or turbo nozzles that oscillate the spray, enhancing efficiency. These adaptable tools can save time by providing versatility in one attachment.
Selecting the appropriate nozzle significantly improves results and prevents unintended surface wear, ensuring your cleaning efforts are both effective and safe.
Preparing the Equipment for Operation
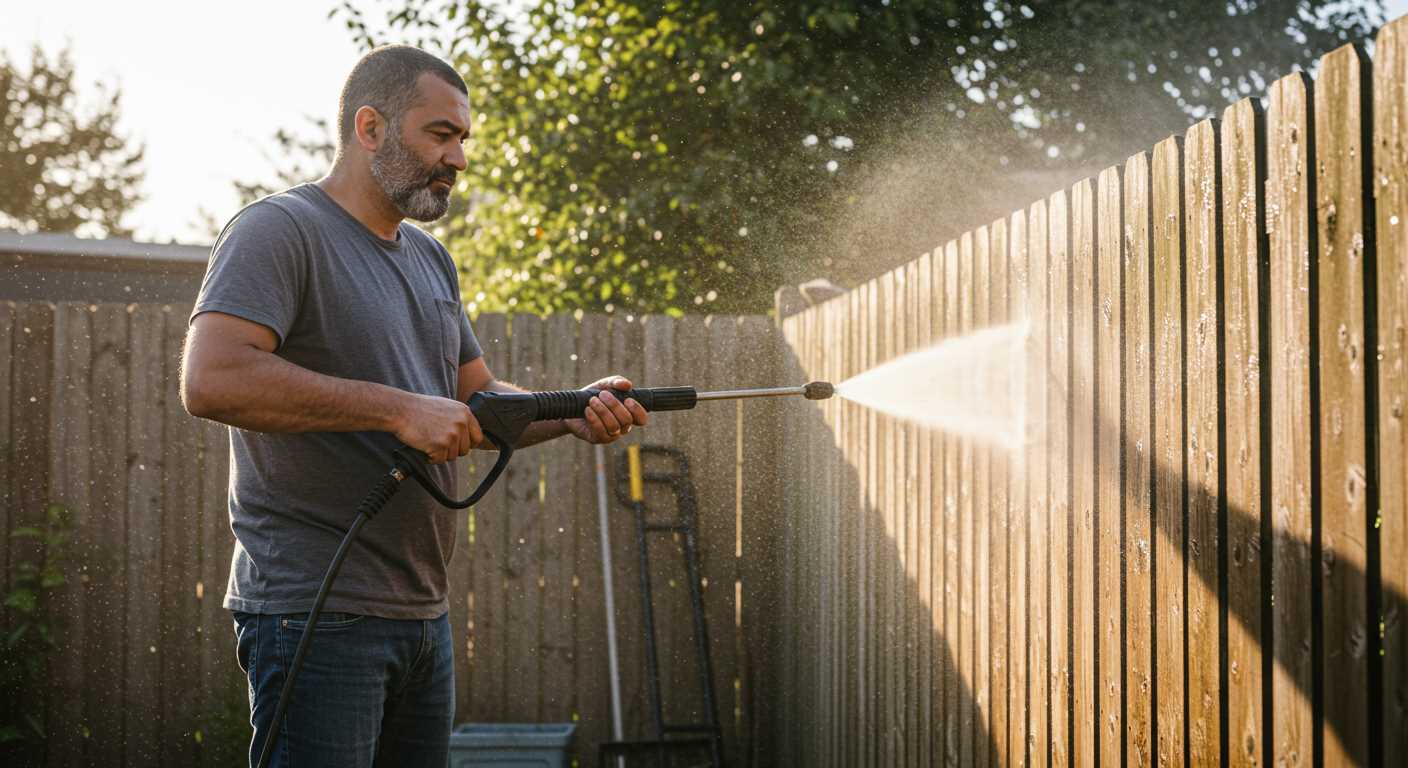
Before getting started, ensure the device is positioned on a stable surface. Verify that the unit is powered off and unplugged to prevent accidental activation.
Follow these steps to ready your machinery:
- Check the water supply: Ensure you have a consistent source of clean water. Use a hose that is free from leaks and kinks.
- Connect the water intake: Securely attach the hose to the inlet of the machine. Ensure it’s tight to prevent leaks during operation.
- Inspect the filter: Remove and clean the water filter to avoid clogging. Replace it if it’s damaged.
- Attach the appropriate nozzle: Select and connect the suitable attachment based on the task assigned. Confirm it locks in place.
- Fill the detergent tank: If needed, pour the recommended cleaning solution into the designated compartment. Do not exceed the maximum fill line.
- Check the power connection: If your model is electric, verify that the power cord is intact and plugged into a suitable outlet. For gas-powered units, check the fuel levels.
After completing these checks, I find it helpful to review the operator’s manual for any specific guidelines related to the model I am working with. Regular maintenance ensures longevity and performance.
Connecting the Water Supply and Power Source
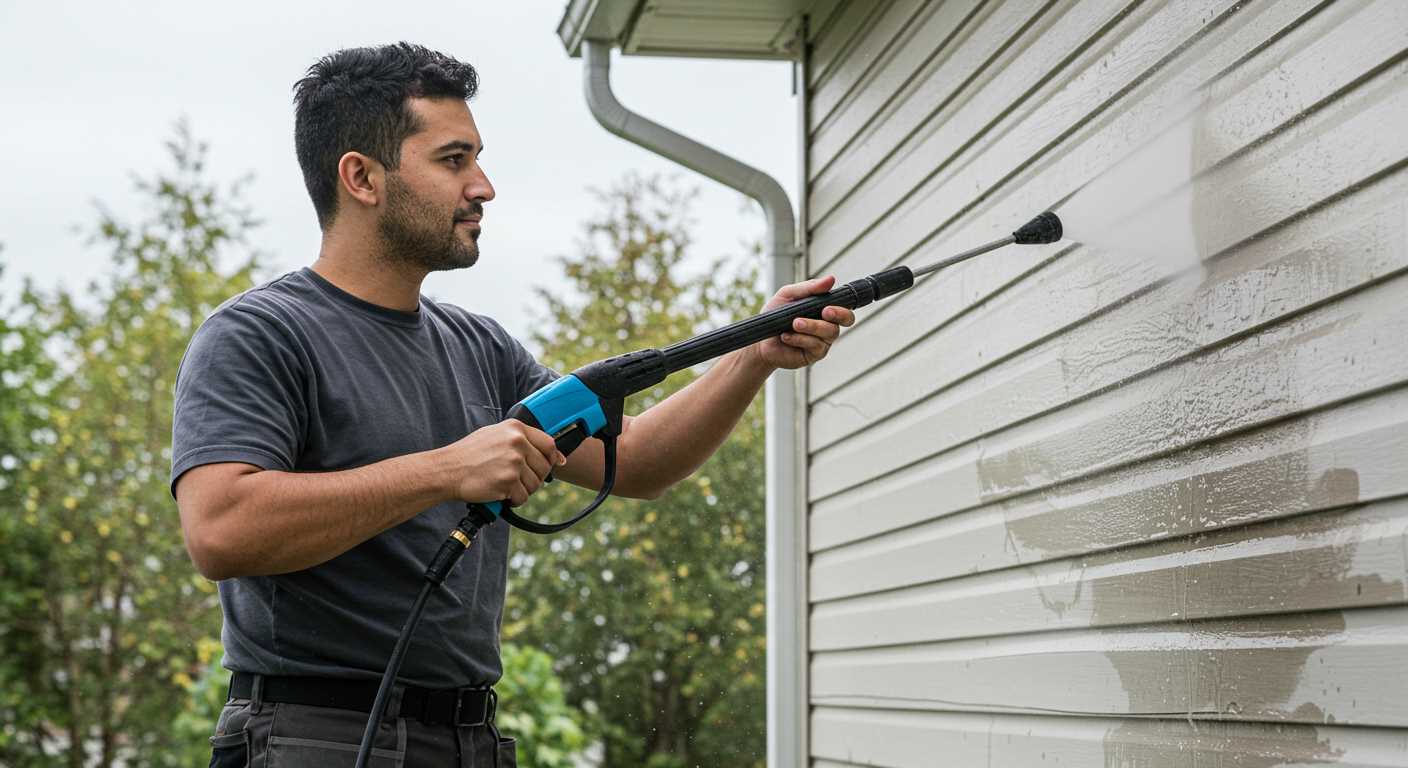
Begin with attaching the garden hose to the inlet valve. Ensure the connection is secure to prevent leaks. Use a rubber washer to enhance the seal and tighten the connection by hand. Then, position the other end of the hose at a water source. Turn on the tap to check for any leaks at the connection point.
Next, determine the electrical power requirements. If the machine operates on electricity, plug it into a suitable outlet. The power source should match the voltage specified in the operational manual. Using an extension lead may be necessary, but ensure it is rated for outdoor use and suited for the amperage of the unit.
Safety Precautions
Before powering on the device, verify that the water supply is sufficiently flowing. Running the equipment without adequate water can damage the motor. In cases where the model requires a specific water pressure, do a quick check to confirm that the available pressure meets those needs.
Final Checks
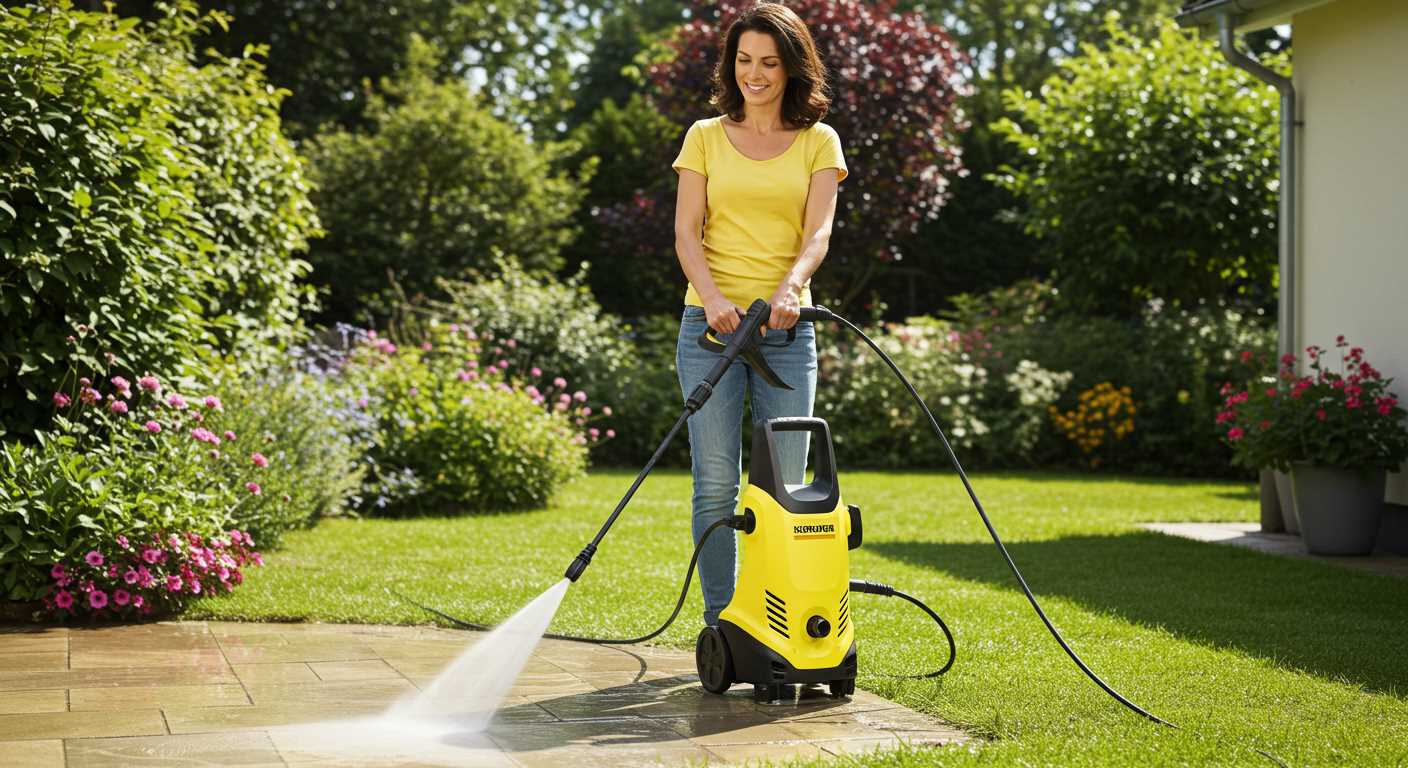
Inspect all connections for any signs of wear or damage before starting. This includes both the water inlet and the power cable. A faulty connection can lead to malfunction or a safety hazard during operation. By following these straightforward steps, optimal performance will be assured right from the start.
Adjusting the pressure settings for different surfaces
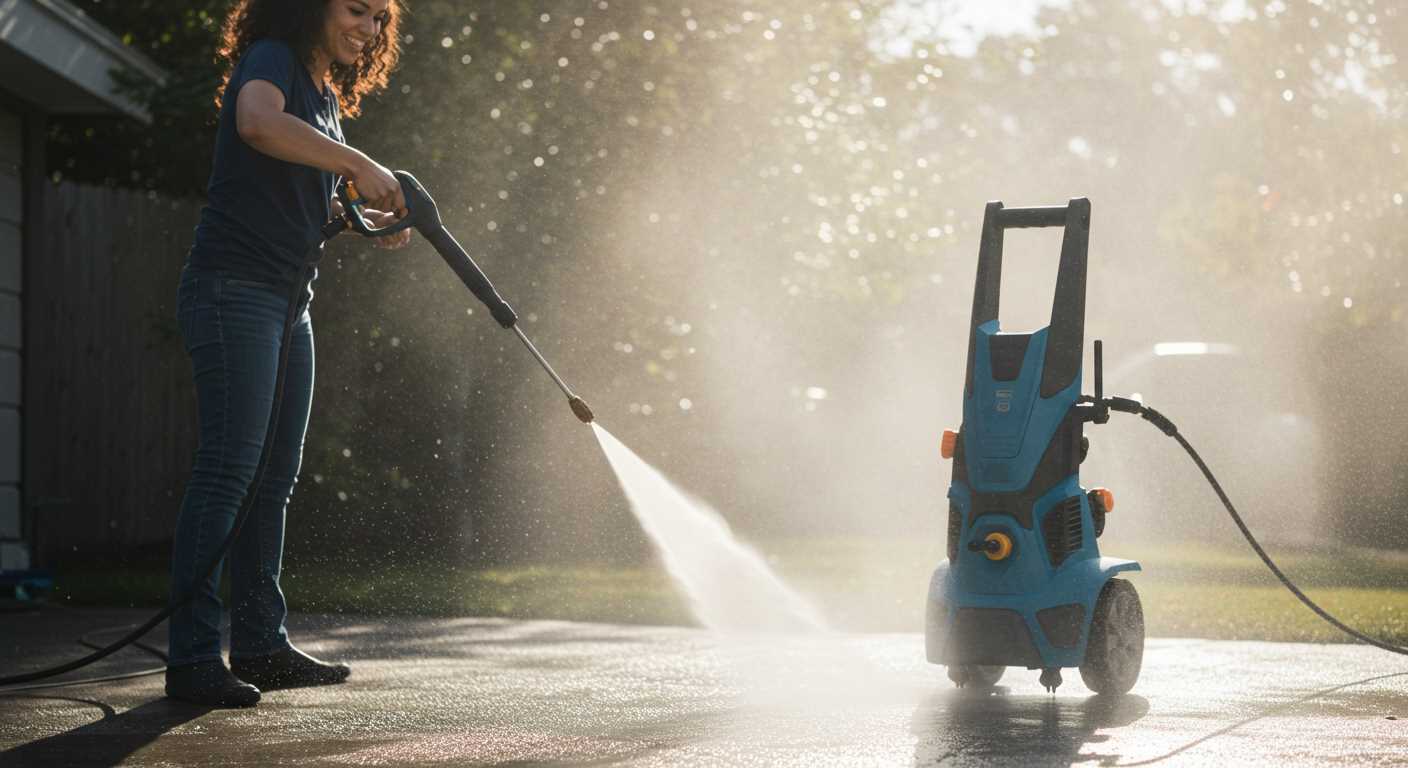
For delicate surfaces like car paint or wood, set your machine to a lower pressure, typically around 1000 to 1500 PSI. This will prevent damage while still providing effective cleaning. For more resilient surfaces such as concrete or brick, a higher setting of 2500 PSI or more is appropriate to tackle tough stains and grime.
When handling outdoor furniture or painted surfaces, start at a lower setting and gradually increase if needed. Always test a small, inconspicuous area first to gauge the impact. For driveways and paved surfaces, a high-pressure setting works best; however, watch for any surface degradation.
For patios or decks, I recommend adjusting the pressure between 1500 to 2000 PSI, as this is usually sufficient to remove dirt without causing harm. Pay attention to any special coatings on the surfaces, as these may require adjustments and care to avoid stripping or damaging them.
For cleaning vehicles, adjust the settings to avoid exceeding 1500 PSI. Ensure you keep a safe distance, about 2 feet away, to prevent chipping or scratching. Moving too close at higher pressures could cause more harm than good.
In cases where stubborn dirt remains, consider applying detergents suitable for the surface first, using lower pressures to agitate the grime, then switching to higher settings for rinsing.
Proper techniques for achieving optimal cleaning results
Maintain an even distance from the surface, typically around 30 cm, to prevent damage while ensuring thorough cleaning. Begin at the top of the surface and work your way down, allowing dirt and debris to fall away rather than getting pushed upwards. This technique ensures a more uniform clean and reduces the chances of streaks.
Angle the nozzle appropriately
Hold the nozzle at a slight angle rather than straight on, which helps direct water flow effectively. This method improves cleaning power and limits the risk of surface damage. For tricky areas, move closer and maintain the angle to focus on specific spots without oversaturating.
Utilise sweeping motions
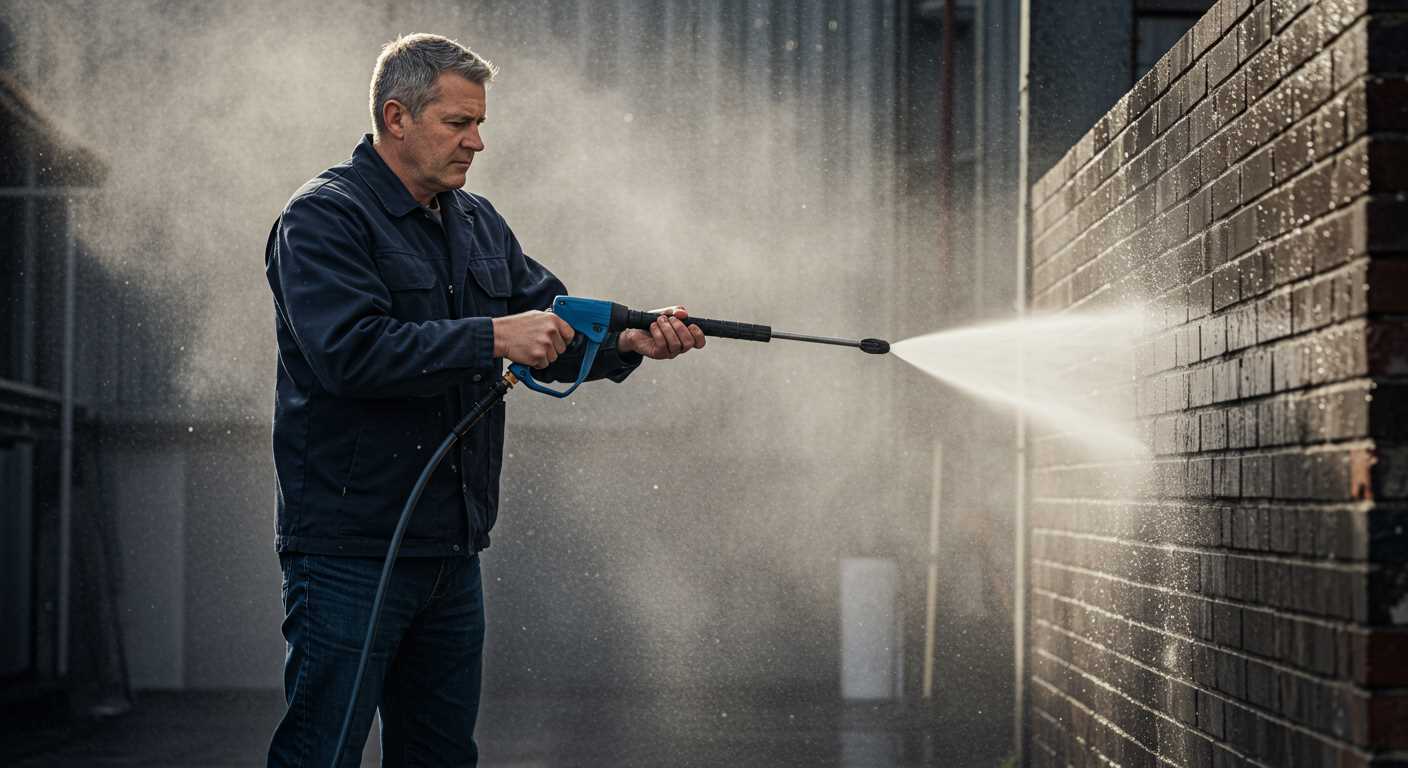
Employ sweeping movements rather than stationary spraying to avoid excess pressure in one area. This technique not only optimises cleaning but also prevents etching or gouging of softer materials, such as wood or painted surfaces.
| Surface Type | Recommended Nozzle | Distance | Motion |
|---|---|---|---|
| Concrete | 25-degree | 30-45 cm | Sweeping |
| Patio Furniture | 40-degree | 30 cm | Gentle Sweeping |
| Wood Decking | 40-degree | 30-40 cm | Diagonal Sweeping |
| Vehicles | 25-degree | 45 cm | Gentle Circles |
Adjust your technique based on the surface type. Softer surfaces require increased caution to prevent damage, while harder surfaces may tolerate more aggressive cleaning. Always perform a test patch if unsure about the appropriate technique.
Cleaning and Maintaining Your Equipment After Use
After completing your cleaning task, ensure immediate attention to the following maintenance steps to prolong the life of your equipment and maintain optimal performance.
Step-by-Step Cleaning Procedure

- Disconnect all hoses, including the water supply and power cord. This prevents accidental activation during maintenance.
- Flush the detergent tank and rinse the nozzle with clean water. This removes any remaining cleaning agents that could cause corrosion.
- Run plain water through the unit for a few minutes to clear any residual debris from the system.
- Wipe down the housing and accessories with a damp cloth to remove dirt and grime.
- Examine the filter screen and clean it if necessary. Blockages can lead to pressure fluctuations.
Long-term Care
- Store in a dry area to prevent moisture buildup, which can damage electrical parts.
- Inspect hoses and connections for wear and replace any damaged components to prevent leaks.
- Periodically check the oil level (if applicable) and change it according to manufacturer guidelines to ensure smooth operation.
- Consider using a stabiliser in the fuel if your model relies on gas to prevent degradation over time.
- Review the user manual for any specific storage recommendations tailored to your equipment.
Adhering to these steps will ensure reliable performance each time you prepare for the next cleaning task.


