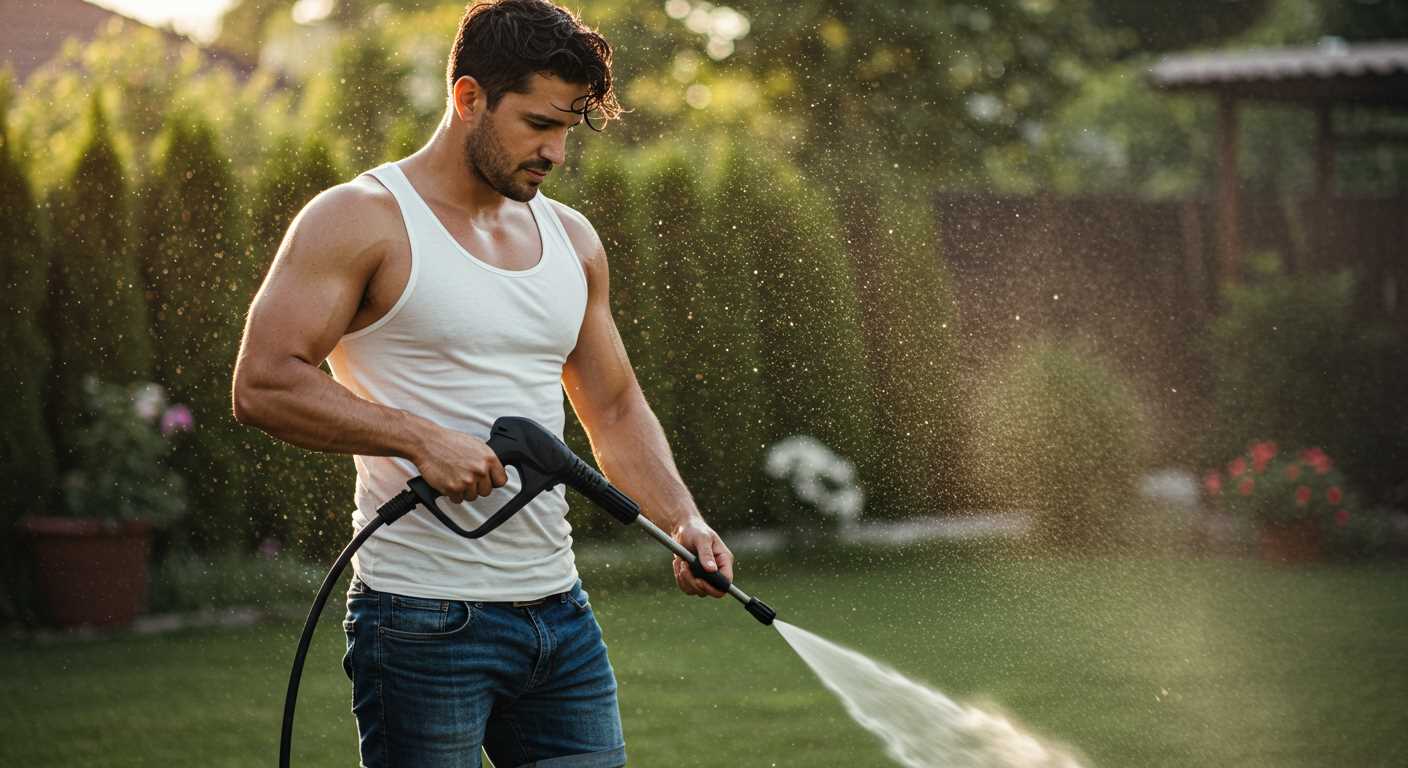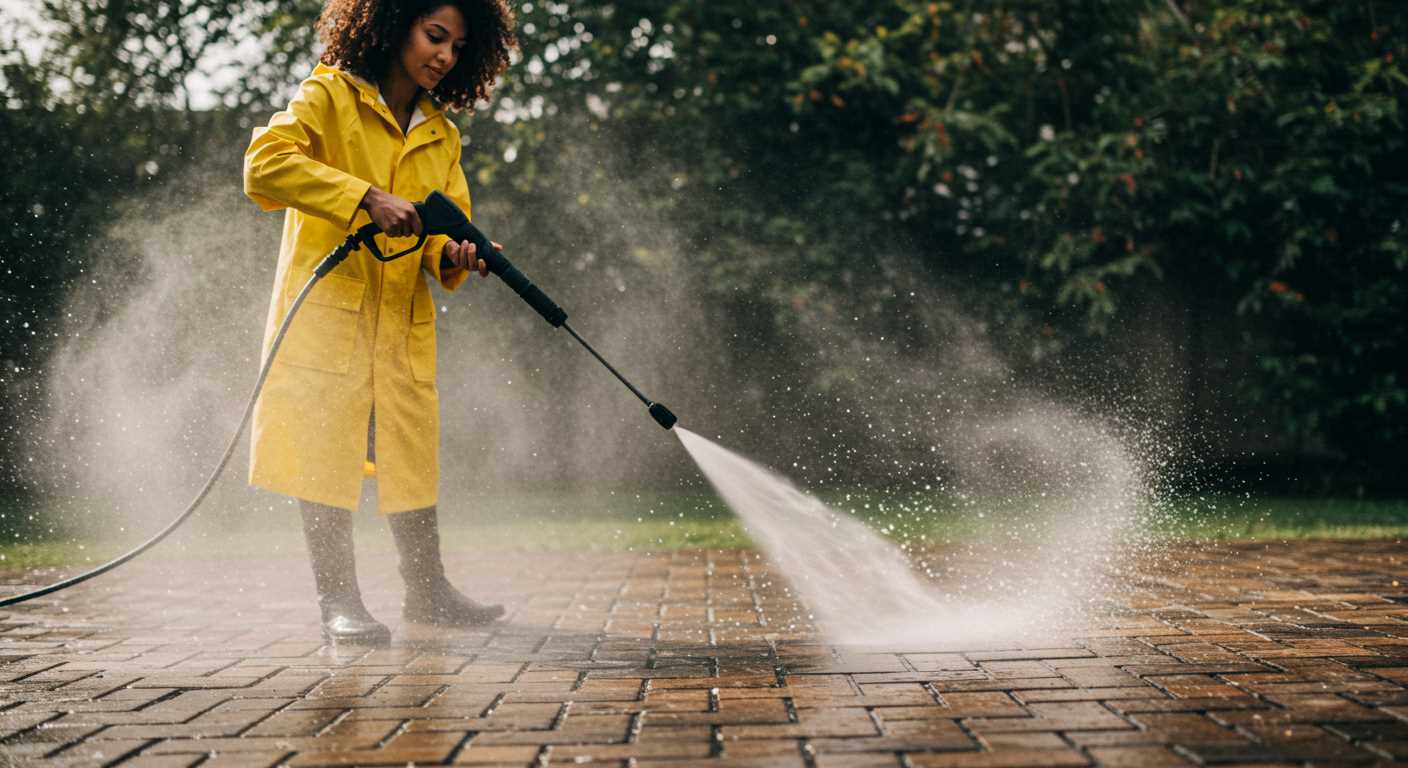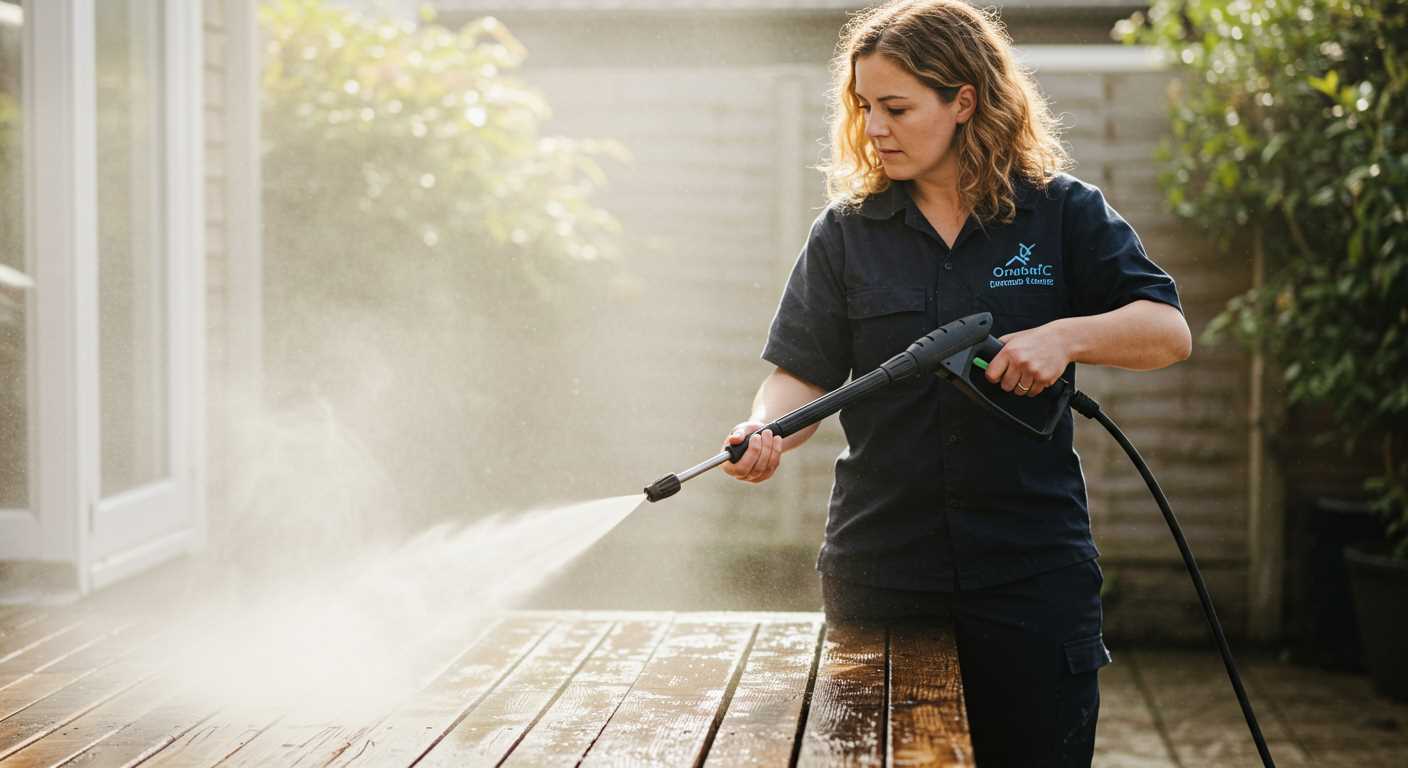


Filling the tank with the correct cleaning solution is fundamental. This step ensures that the machine operates at peak performance and delivers optimal results. I recommend using a solution specifically designed for your model, as this not only enhances cleaning effectiveness but also protects internal components from damage.
Before commencing any task, inspecting the hoses and connections for leaks or wear is crucial. A simple visual check can save time and prevent potential mishaps during operation. Ensure that all attachments are securely fastened–this prevents any unnecessary splashing and promotes a more efficient cleaning process.
The nozzle selection plays a pivotal role; using the appropriate one according to the surface type maximises cleaning efficiency. For instance, a narrow jet for tough stains and a wider spray for gentle cleaning will ensure that surfaces are treated correctly without causing damage.
Maintaining consistent pressure is key in achieving a thorough clean. If you notice a drop in power, it may signal a need for immediate attention, perhaps through checking filters or unclogging any blocked lines. Regular maintenance keeps your equipment functioning well and extends its lifespan.
Finally, always remember to follow the manufacturer’s guidelines for post-use care. This includes draining liquids and storing the machine in a dry, sheltered place. Proper aftercare will have a significant impact on the longevity and reliability of your equipment.
Operating AR Blue Clean Equipment
Before starting, ensure that the machine is placed on a flat surface and the power cord is connected to a suitable outlet. Check the water supply; it must be adequately connected to avoid interruptions during your task.
Assembly Steps
Begin by attaching the hose to the water inlet. Secure it tightly to prevent leaks. Next, connect the spray gun to the high-pressure hose. Make sure the connections are firm to avoid any pressure loss.
Adjusting Settings
Select the appropriate nozzle for your task, ranging from a wide fan spray for delicate surfaces to a concentrated jet for stubborn stains. Adjust the pressure settings based on the surface type to achieve optimal results without causing damage.
| Surface Type | Recommended Nozzle | Pressure Setting |
|---|---|---|
| Wooden Deck | 25° Fan | 1200 PSI |
| Concrete Driveway | 15° Turbo | 1500 PSI |
| Vehicle | 40° Fan | 1000 PSI |
Once the setup is complete, turn on the water supply followed by powering on the machine. Squeeze the trigger on the gun to release pressure. Adjust your position and begin the cleaning, moving steadily to ensure uniform coverage.
After completion, switch off the generator and water supply. Disconnect the hoses, starting with the spray gun to allow any excess pressure to release safely. Store the equipment in a dry place, ready for your next cleaning task.
Selecting the Right Model for Your Needs

Identify your cleaning tasks before choosing a specific model. For residential purposes, lighter units that deliver around 1300 to 1600 PSI are adequate for cleaning patio furniture, garden equipment, and vehicles. If you have tougher surfaces, such as driveways or decks, consider models with a pressure rating of 2000 PSI and above.
Evaluate Key Features
Pay attention to the following features:
- Portability: Look for units with lightweight designs and wheels for easy manoeuvrability.
- Motor Type: Electric machines are quieter and suitable for home use, while gas-powered options offer more power, ideal for larger areas.
- Hose Length: Longer hoses provide more flexibility during cleaning without needing to reposition the unit repeatedly.
- Attachments: Various nozzles and brushes enhance versatility, allowing you to tackle different surfaces with ease.
Budget Considerations
Determine your price range early on. Entry-level options can range from £100 to £250, suitable for light cleaning. For more robust models with higher capabilities, be prepared to invest between £250 and £500. Assess warranties and customer support options as well; these can add value to your purchase.
Ultimately, aligning the washer’s capabilities with your specific cleaning needs will ensure satisfaction and effective outcomes.
Setting up your pressure washer correctly

First, ensure the machine is on a stable, level surface to prevent tipping during operation. Next, connect the inlet hose to a water source, checking for any leaks to avoid interruptions. I recommend using a hose of at least 7.5 metres for optimal water flow.
Ensure that the high-pressure hose is securely attached to both the unit and the spray gun. Before connecting the nozzle, check that it’s appropriate for your cleaning task; a tighter angle is suitable for stubborn grime, while a wider angle works best for larger areas.
After these connections, turn on the water supply and pull the trigger on the spray gun to clear air from the system. This step is crucial; it helps prevent air pockets that can affect performance. Once steady water flows from the nozzle, you can engage the motor.
Adjust the pressure settings if your model allows it, based on the surface being cleaned. Remember, different materials require different levels of force–delicate surfaces need lower settings, whereas concrete or brick can handle higher pressures.
Always keep safety gear on hand, including goggles and non-slip footwear, ensuring that accidents are minimised during operation. Check the power cord for damage and confirm that the outlet is rated for your machine’s voltage.
Finally, store your equipment in a dry location after each use, coiling hoses properly to prevent kinks and damage. Regular maintenance extends the life of your machine and preserves its performance attributes.
Choosing the Appropriate Nozzle for Various Tasks
Selecting the right nozzle can significantly enhance your cleaning tasks. Each nozzle type serves a specific purpose, providing optimal results depending on the surface and the grime involved. Here’s a breakdown of the most common nozzles and their applications.
Fan Nozzle
The fan nozzle, typically marked in degrees, is versatile for general cleaning. A 25-degree nozzle is great for broader surfaces, such as decks or patios, while a 40-degree option works well for lighter jobs like washing cars or outdoor furniture. For delicate tasks, such as cleaning windows or other fragile surfaces, the wider spray ensures a gentler approach.
Rotary Nozzle
This nozzle combines pressure and a rotating spray pattern, which is highly effective against stubborn stains like oil, grease, or built-up dirt. It’s particularly useful on driveways or concrete pathways. When facing tough grime, this nozzle’s concentrated cleaning power can save time and effort compared to standard nozzles.
When engaging with surfaces like wood or painted areas, it’s essential to assess the cleaning needs carefully. Some nozzles may apply too much pressure, leading to damage. Always test in a small area first to determine compatibility.
Choosing the appropriate nozzle can enhance efficiency, reducing the time spent on each task. Remember, matching the nozzle to the job at hand is key to achieving pristine results without risking damage to your surfaces.
Preparing the Surface Before Washing
Ensure all debris is cleared from the area to allow thorough cleaning. Clear leaves, dirt, and any loose items that might obstruct the washing process.
Identifying the appropriate cleaning solution is key. For example, if tackling grease-stained surfaces, a degreaser aids in breaking down stubborn residues. Read all instructions carefully to avoid damaging surfaces.
Protect surrounding areas with tarps or plastic sheeting. This will prevent any accidental splashes from causing damage to plants, vehicles, or delicate surfaces nearby.
Inspect the surface for any damages or weaknesses. Cracks or loose materials can become exacerbated by high-pressure sprays, so repair them beforehand to prevent further issues.
For painted surfaces, check for paint chips or peeling. Testing a small area first helps determine if the paint can withstand the applied force without further degradation.
Ensure proper drainage by clearing any blockages in drains or gutters. Water accumulation can lead to unwanted pooling, which may cause additional problems post-cleaning.
Wear appropriate safety gear: goggles, gloves, and sturdy footwear. This will protect you from splashes and debris throughout the cleaning process.
Finally, plan the sequence of cleaning. Start from the highest point and work downwards, ensuring that dirty water flows away from already cleaned areas.
Operating the Equipment Safely
Before activating the unit, always put on appropriate personal protective equipment, such as safety goggles, gloves, and non-slip footwear. This reduces the risk of injury from debris or water pressure accidents.
Ensure the work area is clear of people, pets, and obstructions. Maintain a safe distance from windows, delicate surfaces, and electrical items to mitigate the risk of damage and ensure safety.
Check all connections, hoses, and fittings for leaks or wear. If any components show signs of damage, replace them immediately to prevent malfunction while operating.
Grip the trigger handle firmly and maintain control over the nozzle at all times. If carrying the apparatus or moving between locations, turn off the motor first. This reduces the chance of accidental discharge.
Always aim the spray nozzle away from people and animals while operating and never direct the stream at yourself or anyone else, even at a distance.
Keep a safe distance from the surface being treated, adjusting based on the task and nozzle type chosen, to prevent injury or damage. Avoid spraying vertically upwards, as this can lead to losing control.
Familiarise yourself with the emergency shut-off switch and operate the machinery only in well-ventilated areas. If using any detergents, follow manufacturer instructions for safe application and storage.
Finally, after finishing the task, disconnect the unit from the power supply, drain all water from the hoses, and store everything properly to maintain the equipment’s longevity and safety for future use.
Cleaning Different Materials: Wood, Concrete, and Vehicles
For wooden surfaces, use a wider nozzle–typically a 25°–and maintain a distance of at least 12 inches. Begin at the top and work your way down to avoid streaks. Test in a small area first to prevent damage. For decks, consider using a detergent specifically formulated for wood. After cleaning, apply a protective sealant once the surface is dry.
When tackling concrete, utilise a narrow nozzle, around 15°, for tough stains. Keep the tip 6 to 12 inches away from the surface and move in a consistent pattern to effectively lift grime. If the surface is profoundly stained, pre-treat with a suitable concrete cleaner and let it sit briefly. Rinse thoroughly after cleaning to ensure no residue is left behind.
For vehicles, select a 25° or 40° nozzle to avoid damaging the paint. Maintain a distance of 2 to 3 feet. Start from the top of the vehicle and work downwards in sections. Avoid direct spraying into sensitive areas like the engine bay or electronic components. Use a car wash soap that is compatible with high-pressure cleaning, and finish with a thorough rinse.
| Material | Nozzle Angle | Distance from Surface | Additional Tips |
|---|---|---|---|
| Wood | 25° | 12 inches | Test area, apply sealant after drying |
| Concrete | 15° | 6-12 inches | Pre-treat stains, rinse thoroughly |
| Vehicles | 25° or 40° | 2-3 feet | Avoid sensitive areas, use compatible soap |
Maintaining Your Equipment for Longevity

Regular maintenance can significantly extend the lifespan of your cleaning equipment. Start with the most straightforward task: after every session, disconnect the water source and power supply. Run the unit for a minute without loading to clear out any residual water in the pump. This practice helps prevent internal rusting.
Examine the hoses and connections frequently for any signs of wear or damage. Replace any frayed or cracked hoses immediately, as they can lead to leaks and reduce performance. Ensure that the fittings are tight, yet avoid overtightening, which could cause stress fractures.
During periodic checks, replace the filters at the water inlet. Clogged filters restrict water flow, leading to decreased power and potential damage to the internals over time.
Lubrication is key. Follow the manufacturer’s guidelines for oil changes in the motor or pump. Regular lubrication keeps components moving smoothly and reduces friction, promoting longevity.
Store the equipment in a dry, temperature-controlled environment. Extreme cold can damage the pump, while excessive heat can degrade plastic parts. Invest in a protective cover to shield the device from dust and debris.
Cleansing the nozzles is equally vital. After every few uses, check for blockages and clean them with a soft brush or compressed air. This ensure they continue to perform optimally.
Finally, consider a professional inspection annually. A qualified technician can address any underlying issues and ensure your equipment functions at its best for many years.
Common troubleshooting tips for pressure washer issues
Begin by checking the power source; ensure the electrical outlet functions properly, and the extension cord is in good condition. An inadequate power supply often leads to operational failures.
If there’s no water flow, inspect the inlet filter for clogs and ensure the water supply is turned on fully. A blocked filter can hinder performance significantly.
If pressure fluctuates or drops, examine the nozzle for debris. A clogged or inappropriate nozzle can affect the output drastically. Switching nozzles may resolve this issue immediately.
In case of abnormal noises, such as excessive vibrations, evaluate the connections and mounting of the unit. Loose parts or accumulations of dirt can cause disturbance. Tighten components as necessary.
If the unit fails to start despite checking the power source, inspect the trigger gun and safety lock. A faulty trigger may prevent activation. Ensure it engages correctly before attempting to start.
Inconsistent spray patterns may indicate a need for nozzle replacement or cleaning. Look for signs of wear or damage. Regular maintenance helps sustain optimal function.
Finally, if the motor overheats, allow it to cool down. Continuous running without breaks can lead to overheating. Adhering to recommended operation times can prevent this issue.


