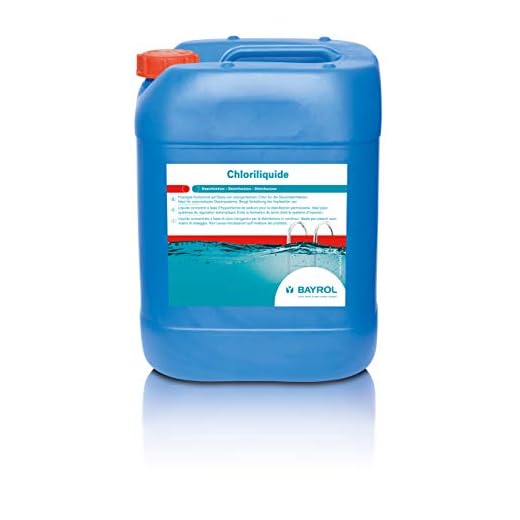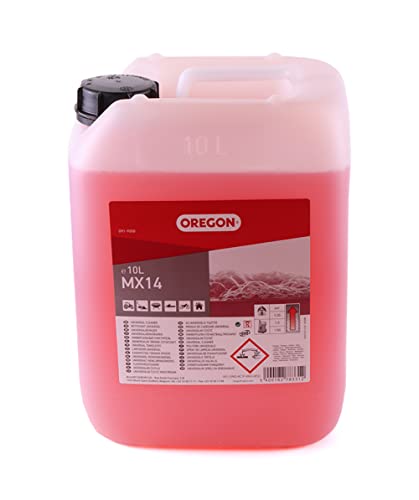


Incorporate a cleaning solution consisting of sodium hypochlorite into your routine for tackling tough stains and organic growth. Achieve a dilution ratio of 1:10; this balance optimises cleaning performance while minimising the potential for damage to surfaces.
Prior to application, ensure that all nearby vegetation is adequately protected. Cover plants and shrubs with plastic sheeting to prevent any adverse reactions. Rinse the surrounding area thoroughly with water to safeguard delicate flora.
Attach a suitable nozzle to the sprayer, ideally one with a wider spray pattern. This configuration helps distribute the cleaning mixture evenly across surfaces, allowing for effective penetration and subsequent removal of stains. Apply the solution starting from the top and work your way down.
Monitor application closely, allowing the cleaner to sit for no longer than 15 minutes to avoid surface damage. After this period, rinse thoroughly with clean water from the same equipment to remove residues and restore the area to its original state.
Following these steps will ensure that you achieve optimal results while safeguarding both your equipment and the environment. A well-executed cleaning session not only revives appearance but also helps maintain the longevity of various surfaces.
Applying Chlorine Solution Effectively
To blend a chlorine solution, follow a ratio of one part chlorine to ten parts water. This concentration works well for most surfaces, helping eliminate mould and mildew. Always mix it in a well-ventilated area, wearing protective gear such as gloves and goggles.
Preparation Steps
- Ensure the area is free from plants, as the solution can harm vegetation.
- Test the mixture on a small, inconspicuous section to check for discolouration.
- Set the sprayer to a low-pressure setting, generally around 1000-1500 PSI, to minimise surface damage.
Application Techniques
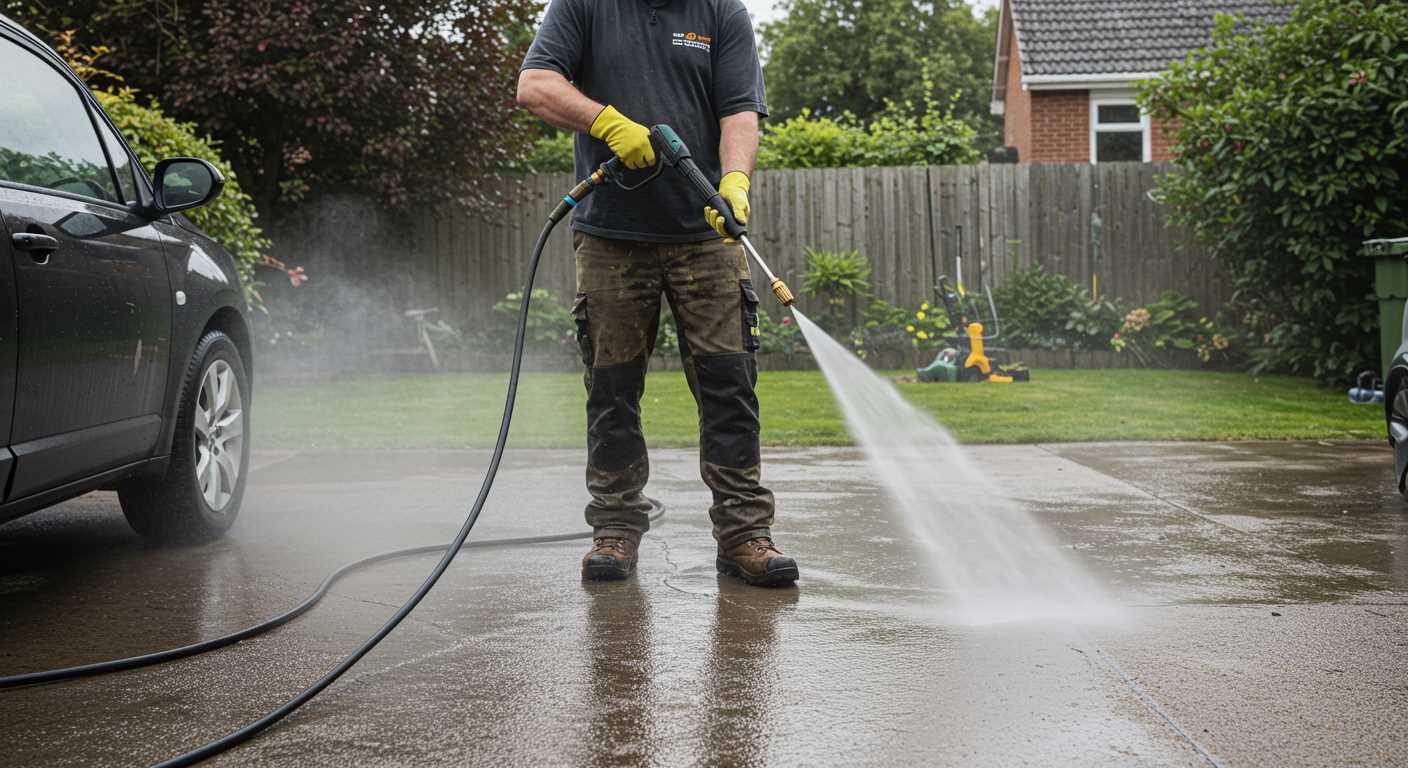
Apply the solution starting from the bottom of the surface moving upwards. This technique avoids streaks and ensures complete coverage. Allow the mixture to sit for 10-15 minutes but do not let it dry out. Rinse thoroughly with clear water at the end to prevent residue build-up.
- Use a wide spray pattern to cover larger areas efficiently.
- For vertical surfaces, maintain a distance of 12-18 inches from the surface.
- For horizontal surfaces, a 10-12 inches distance works best.
After finishing, clean the equipment immediately to prevent corrosion and damage from any residual chlorine.
Choosing the Right Bleach for Pressure Washing
Opt for a sodium hypochlorite solution with a concentration between 10% and 12%. This concentration effectively removes mildew, mould, and algae without damaging surfaces.
Consider using an eco-friendly alternative, such as hydrogen peroxide. It’s less harsh, safer for plants, and biodegradable, making it suitable for green cleaning enthusiasts.
Be wary of blends containing additives. Some formulas include surfactants that enhance cling and cleaning ability but may require extra rinsing to avoid residue.
| Type | Concentration | Notes |
|---|---|---|
| Sodium Hypochlorite | 10-12% | Effective on mildew and algae; surface-safe. |
| Hydrogen Peroxide | 3-7% | Eco-friendly; safer for plants and surfaces. |
| Commercial Cleaner Blends | Varies | May include additives; check for rinsing requirements. |
Always read product labels. Some manufacturers specify optimal dilution ratios for their specific products. Diluting incorrectly may reduce cleaning efficiency or damage surfaces.
Test any solution on a small, inconspicuous area before full application. This ensures compatibility and effectiveness without risking damage.
Store chosen cleaning solutions in a cool, dark place to maintain potency and prevent degradation.
Preparing Your Power Cleaner for Disinfectant Application
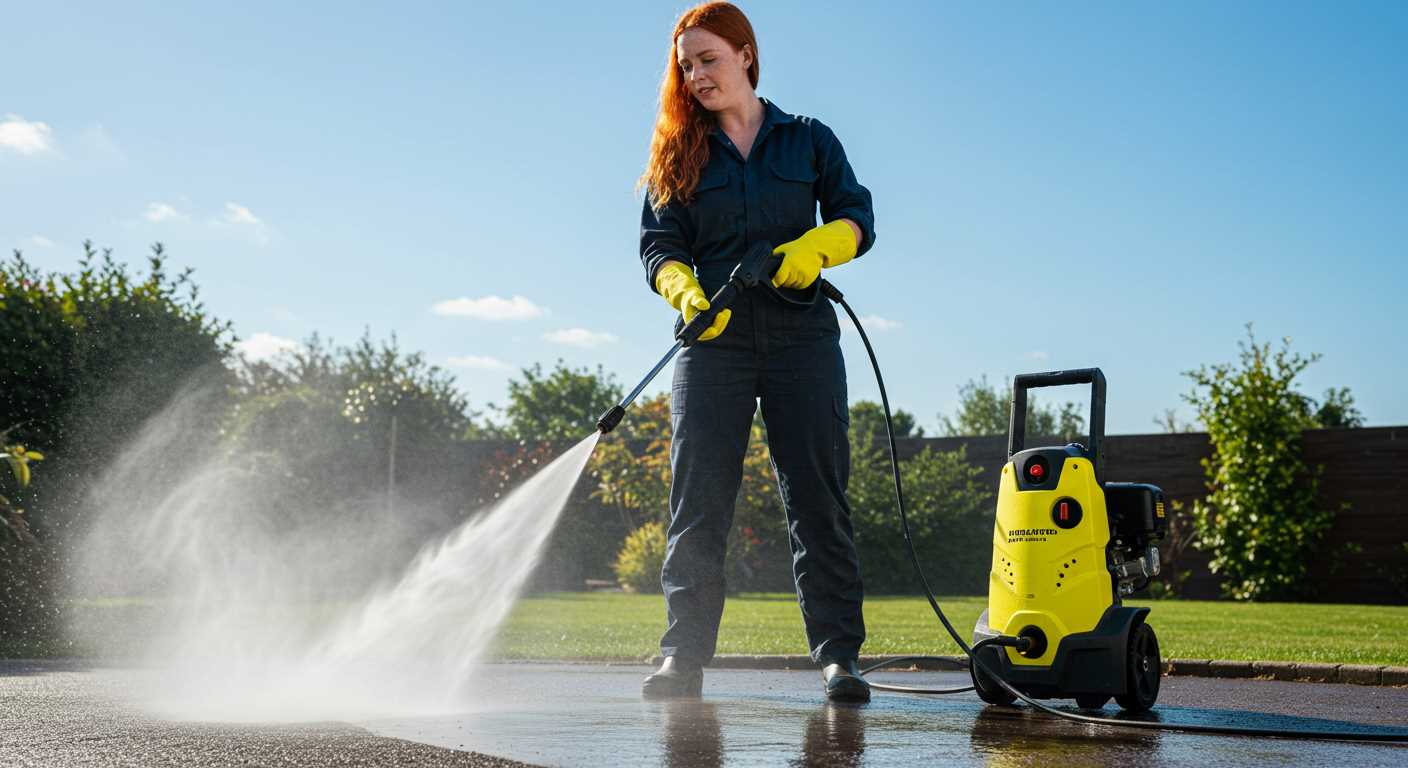
First, ensure the unit is completely off and disconnected from the power source. Any residual liquid should be removed from the tank or reservoir to prevent contamination. Rinse the system thoroughly with water to eliminate remnants that could react adversely with your selected solution.
Utilise a designated injector or chemical nozzle designed specifically for the application of cleaning agents. Standard nozzles may clog, leading to improper functionality or damage. Adjust the pressure settings accordingly; a low-pressure setting is typically suitable for applying cleansing solutions.
Examine the system’s hoses and connections for wear or leaks. Any damage could result in dilution or ineffective application. It’s advisable to use hoses that can withstand the corrosive properties of the formulated solution.
Wear appropriate personal protective equipment, including gloves, goggles, and a mask, to safeguard against any splashes or fumes. Testing the solution on a small, inconspicuous area can help ascertain compatibility and effectiveness on your specific surfaces.
Always follow the manufacturer’s instructions for the cleaning agent to achieve optimal results. With the right preparation, you’ll ensure a smooth and efficient cleaning process.
Diluting Solutions Safely for Effective Application
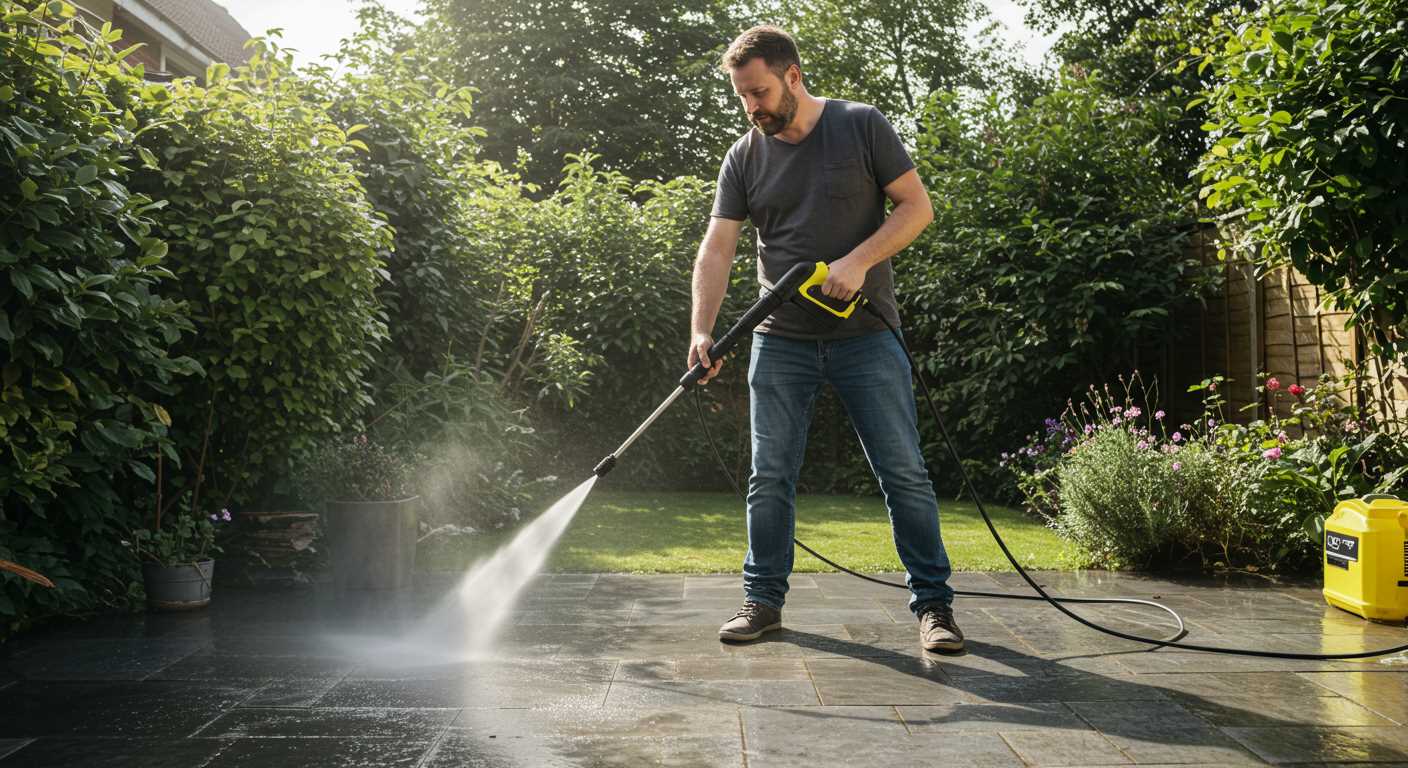
Begin with a ratio of one part cleaner to ten parts water. This standard dilution prevents damage to surfaces while maintaining cleaning efficiency. For stubborn stains or heavily soiled areas, you might adjust to a one-to five ratio, but always test on a small section first.
Follow these steps for a safe and effective mixture:
- Gather materials: a clean bucket, measuring cup, and mixing stick.
- Pour the required amount of cleaner into the bucket.
- Add the appropriate quantity of water slowly, stirring gently to mix thoroughly.
- Always wear protective gloves and eyewear during this process.
Store any unused solution in a sealed container, away from sunlight and heat. Signs of degradation include separation or a strong odour. Should these occur, dispose of the solution properly and create a new mixture.
Remember to never mix any cleaning agents unless specifically stated, as this can produce harmful vapours. Keeping the workspace well-ventilated is also advisable during preparation and application.
Applying Bleach with Your Pressure Washer
Begin by equipping your equipment with a suitable injector for safe transfer of the solution. A 12-volt or dedicated chemical injector is ideal for this process. Ensure the nozzle attached to the lance produces a low-pressure spray, as this prevents overspray and potential harm to surrounding areas.
Prior to application, assess the surface to treat. Any nearby vegetation should be shielded or watered down to mitigate damage. Utilize a test patch on a hidden area to confirm compatibility of the chemical and surface, observing for adverse reactions.
Application Technique
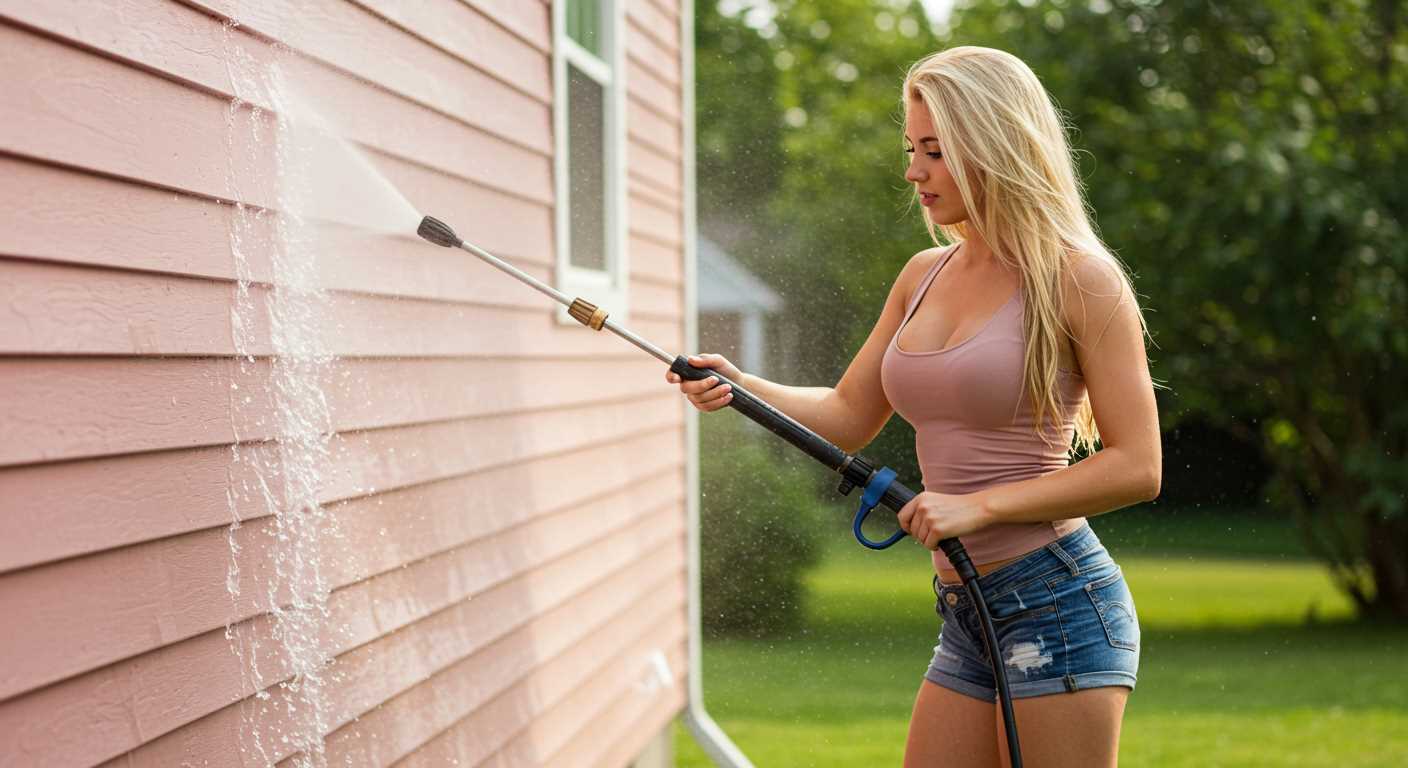
Hold the wand approximately 2-3 feet from the surface, spraying in a sweeping motion. Begin from the bottom and work upwards to prevent streaks. Allow the solution to rest for a few minutes, ensuring it effectively penetrates the grime without drying out. If necessary, agitate the surface gently with a soft brush to enhance cleaning efficiency.
Rinsing and Finishing Touches
After a brief dwell time, switch to a high-pressure setting and rinse thoroughly. Start from the top, moving downwards to ensure complete removal of residue. Inspect for any missed spots and repeat as necessary. After rinsing, allow the area to dry naturally for optimal results.
For ongoing maintenance, consider regular applications, adjusting concentration as needed based on surface conditions and previous results.
Protecting Surroundings and Yourself While Using Bleach
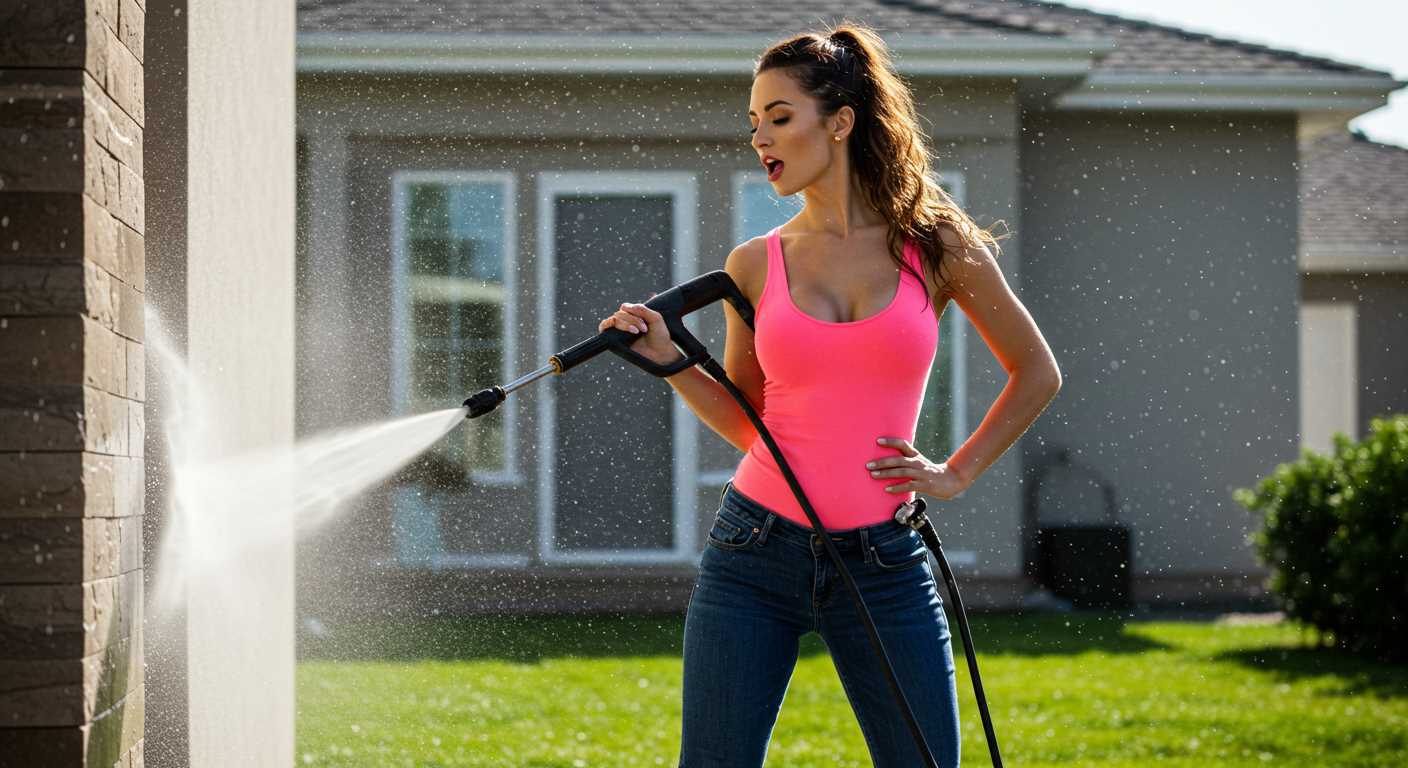
Prior to commencing, ensure surrounding flora, outdoor furniture, and fittings are adequately protected. Place drop cloths or tarps over items vulnerable to damage from chemical exposure. Consider using plastic sheeting or painter’s tape around plants to create a barrier against splatter.
Wield appropriate personal protective equipment (PPE). This includes rubber gloves, goggles or a face shield, and a respirator if working in confined spaces. Chemical-resistant footwear is advisable to prevent skin contact. Avoid wearing clothing that can absorb the solution, opting for long sleeves and pants.
Maintain an emergency supply of water nearby for rinsing. In case of accidental contact, flush affected areas immediately. Familiarise yourself with the local regulations regarding chemical use and disposal. Dispose of any waste responsibly, preventing potential environmental hazards.
Ensure good ventilation if working indoors or under cover. Open windows or doors to enable adequate airflow, reducing the risk of inhalation. Always follow label instructions for any products used to mitigate potential reactions.
Take time to review safety data sheets for materials involved. These documents highlight risks associated with chemical use and provide guidance on first aid responses. Regularly check for any signs of skin irritation or respiratory distress, halting work if any symptoms arise.
Cleaning and Maintaining Your Equipment After Use
Once the job is complete, it’s crucial to follow a thorough cleaning regimen to enhance longevity and performance. Start by rinsing the exterior thoroughly. This removes any residual cleaning agents that could corrode surfaces or hinder future functionality.
Remove the nozzle and spray wand, rinsing them well to eliminate any leftover substance. Pay close attention to the filter; if clogged, clean or replace it. This maintains the flow and pressure needed for efficient operation.
Next, empty the detergent tank fully. If your model includes a siphoning tube, detach and flush it with clean water. This prevents buildup and maintains proper function for the next application.
Run clean water through the system for several minutes to remove any internal residues. This step is essential, especially if using acidic or alkaline cleaners. It avoids potential damage to internal components.
Check the hoses for any signs of wear or damage. A cracked or frayed hose can lead to leaks and decreased performance, so replace any compromised units promptly. For storage, ensure that hoses and cords are loosely coiled to prevent kinks.
Finally, store the unit in a clean, dry place, away from extreme temperatures. Regular inspections for loose fittings or damaged parts before each use can prevent mishaps during operation.
Alternatives to Bleach for Pressure Washing
Hydrogen peroxide stands out as a powerful alternative. This chemical, when diluted appropriately, acts as a disinfectant and stain remover. I often recommend a 3% concentration mixed with water for effective results, particularly on organic materials like mould or mildew.
Vinegar provides a natural solution for many cleaning tasks. Its acidic nature makes it suitable for tackling various garage and patio stains. Combining vinegar with baking soda can create a potent cleaning concoction that foams upon contact, effectively breaking down grime.
Oxygen bleach is another safe option, especially for colour-sensitive surfaces. Unlike its chlorine counterpart, it releases oxygen, which lifts stains without risking material integrity. A diluted solution can be quite efficient for outdoor cleaning projects.
Commercial cleaning agents specifically formulated for outdoor surfaces offer targeted efficacy. Many products are eco-friendly and biodegradable, ensuring safety for plants and pets in the vicinity. Always follow the manufacturer’s instructions for dilution and application.
Remember that hot water can enhance the cleaning power of any cleaning agent. If your equipment allows for hot water output, incorporating it can lead to superior results without the harshness of chemicals.
Lastly, ensure to read labels and conduct a patch test when using any alternative product on sensitive surfaces. This precaution prevents unexpected reactions or damage, ensuring your cleaning remains both effective and safe.


